


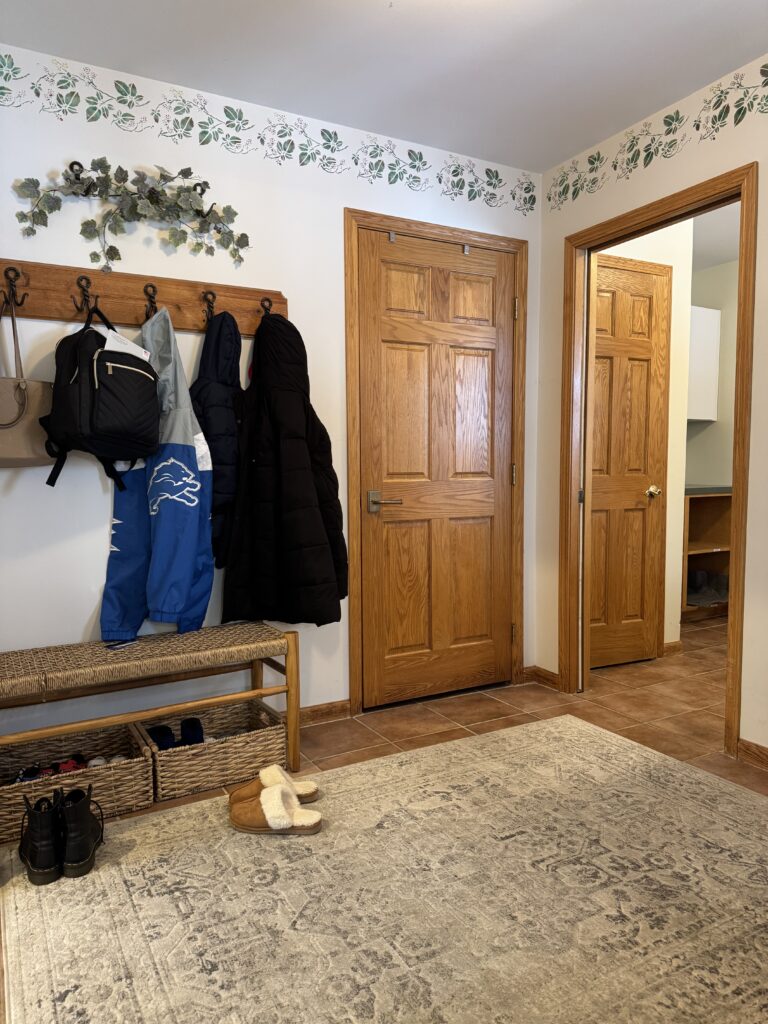

The mudroom is in between the laundry room and kitchen and the orange oak and stencil border were not matching the vibe so I decided it was time for an upgrade! As part of the laundry room renovation, I removed the tile and continued the flooring from the rest of the house. I used Hewn Flooring in the color Weathered from the Becki Owens collection. This flooring is incredible– so durable, waterproof, AND easy to install! Once the flooring was finished, I ordered super affordable lockers from Wayfair to add more functional storage and the wood tone compliments the cabinets in the laundry room perfectly!


Originally, I was going to paint the doors and trim with Even Better Beige by Behr to match the rest of the house, but the lighting was throwing everything off so I called an audible and went and got another color. I ended up doing Gateway Gray by Sherwin Williams and I could not be more obsessed! It’s just slightly darker with green/ gray undertones. Then it was time to pick a wallpaper that matched the vibe. I knew I wanted a neutral floral pattern and ultimately decided on this super cute wallpaper from Home Depot! I love the simplicity of the design it feels so charming and welcoming– perfect for this space!


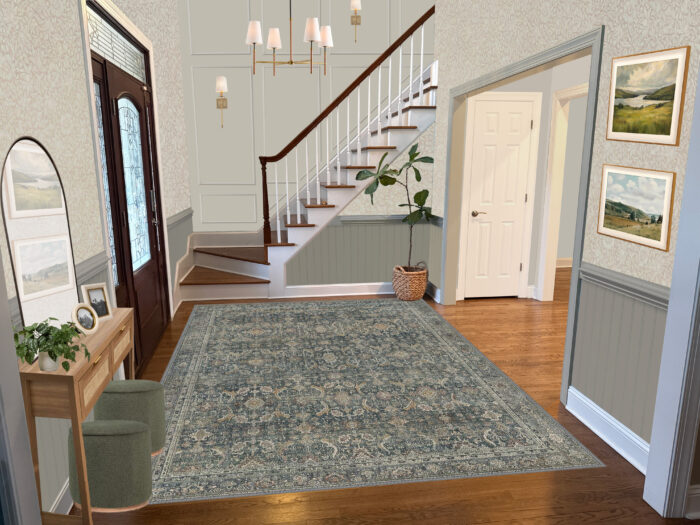
Once I had picked out the wallpaper, it was time to put the paneling up! I used beadboard paneling and chair railing from Home Depot to create an accent wall, I did the same thing in the dining room and am obsessed with how it turned out! This is a super beginner-friendly DIY, all you need is a stud finder, paneling, chair railing, and a brad nailer. Use the stud finder to find the studs, mark them so you know where to nail in the paneling, then cut the paneling to fit your space. The average height of an accent wall like this is between 32-36 inches, so I did mine at 34 inches. To cut the paneling I used my circular saw with a rip cut guide, and to cut out the outlet holes I used my jigsaw. Then to finish and prep for paint, I used joint compound on the paneling where the edge was exposed and made a mitered return on the railing to make it look more finished. Tap here to watch!


After the paneling and paint was finished, it was time to put up the wallpaper! I used pre-pasted wallpaper, so all I had to do was line up the panels with my laser level, spray with a water, and use a smoothing tool to get out any air bubbles. Once the wallpaper was finished, I added a gorgeous gold light fixture to the center of the room, added baskets to the lockers, and an area rug to tie everything together. I’m obsessed with the way this room turned out. This room has officially left 1990 and entered 2025… and DAMN SHE LOOKS GOOD!