


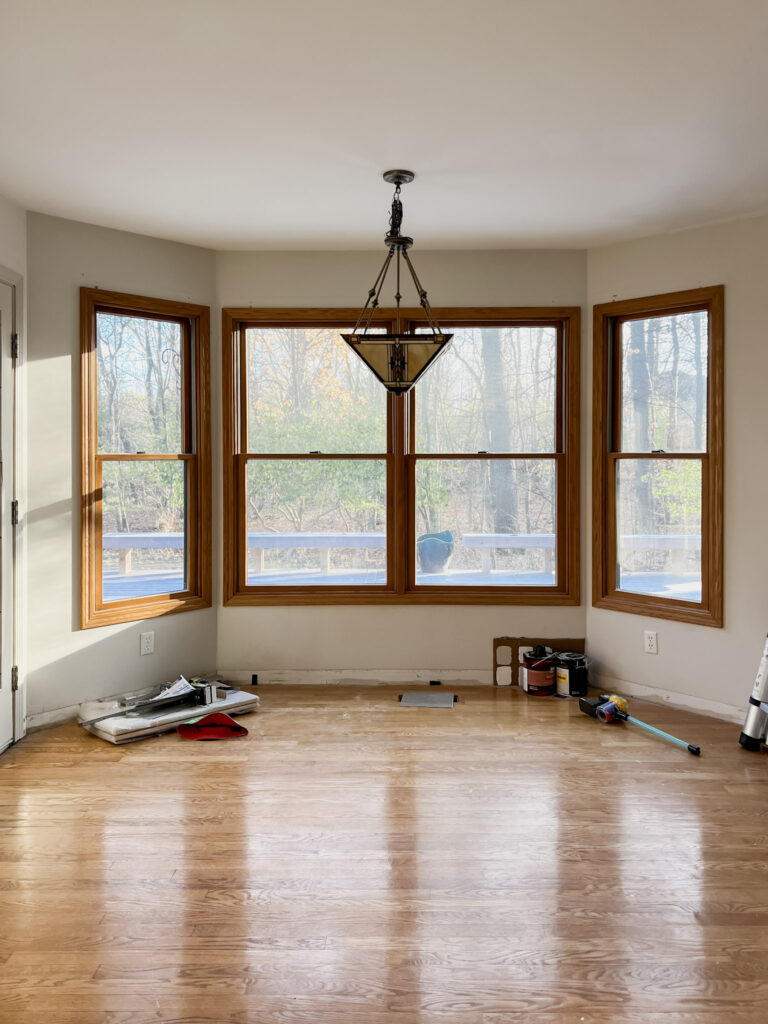
Everything about the bones of our new house is exactly what I had imagined, but the finishes and oak trim scream early 90’s. I first transformed oak with this project in our previous home and it turned out amazing. The power of paint is truly underestimated but it is one of the biggest transformations to a space!
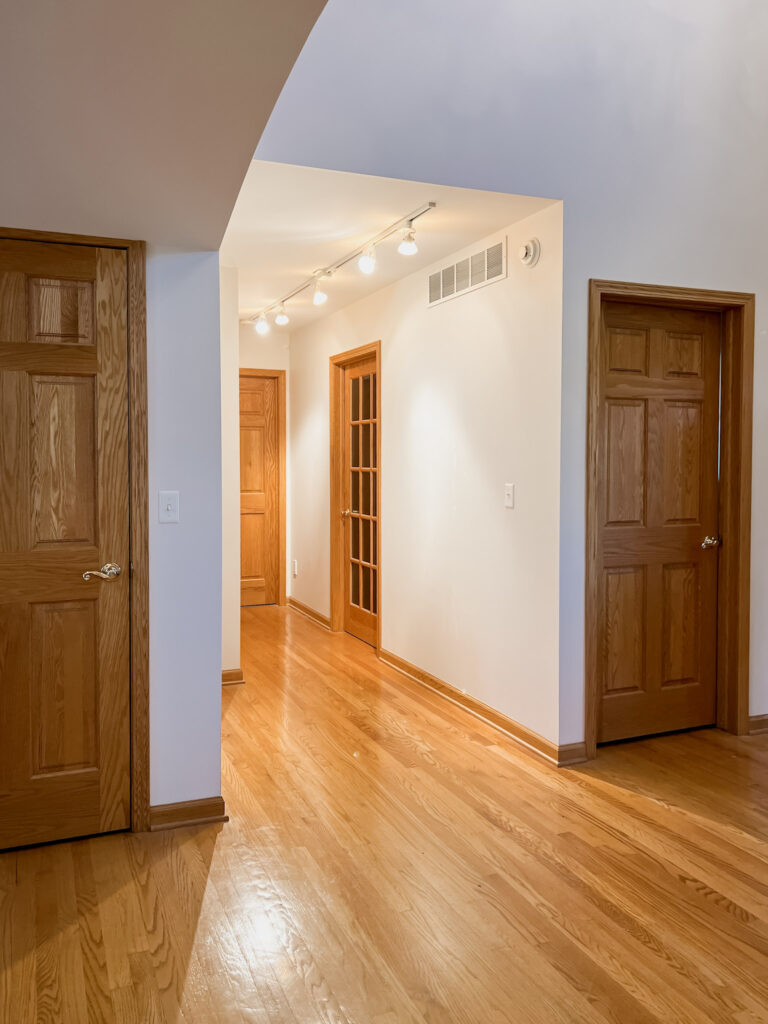
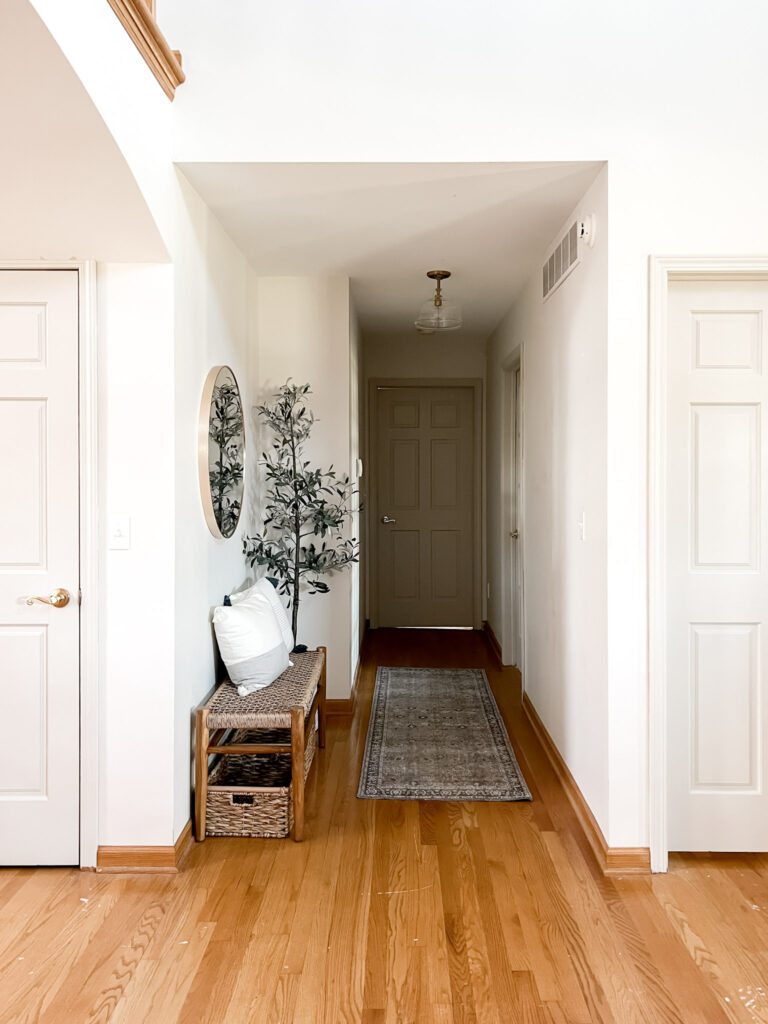
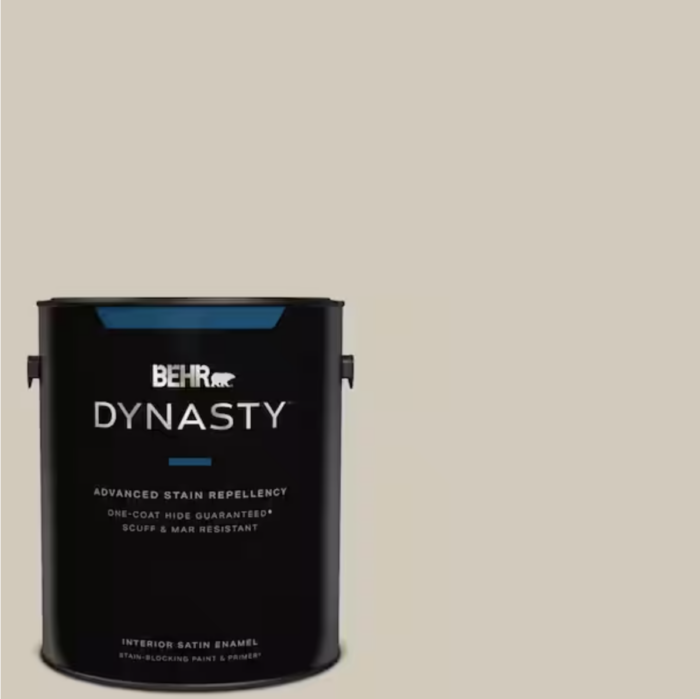
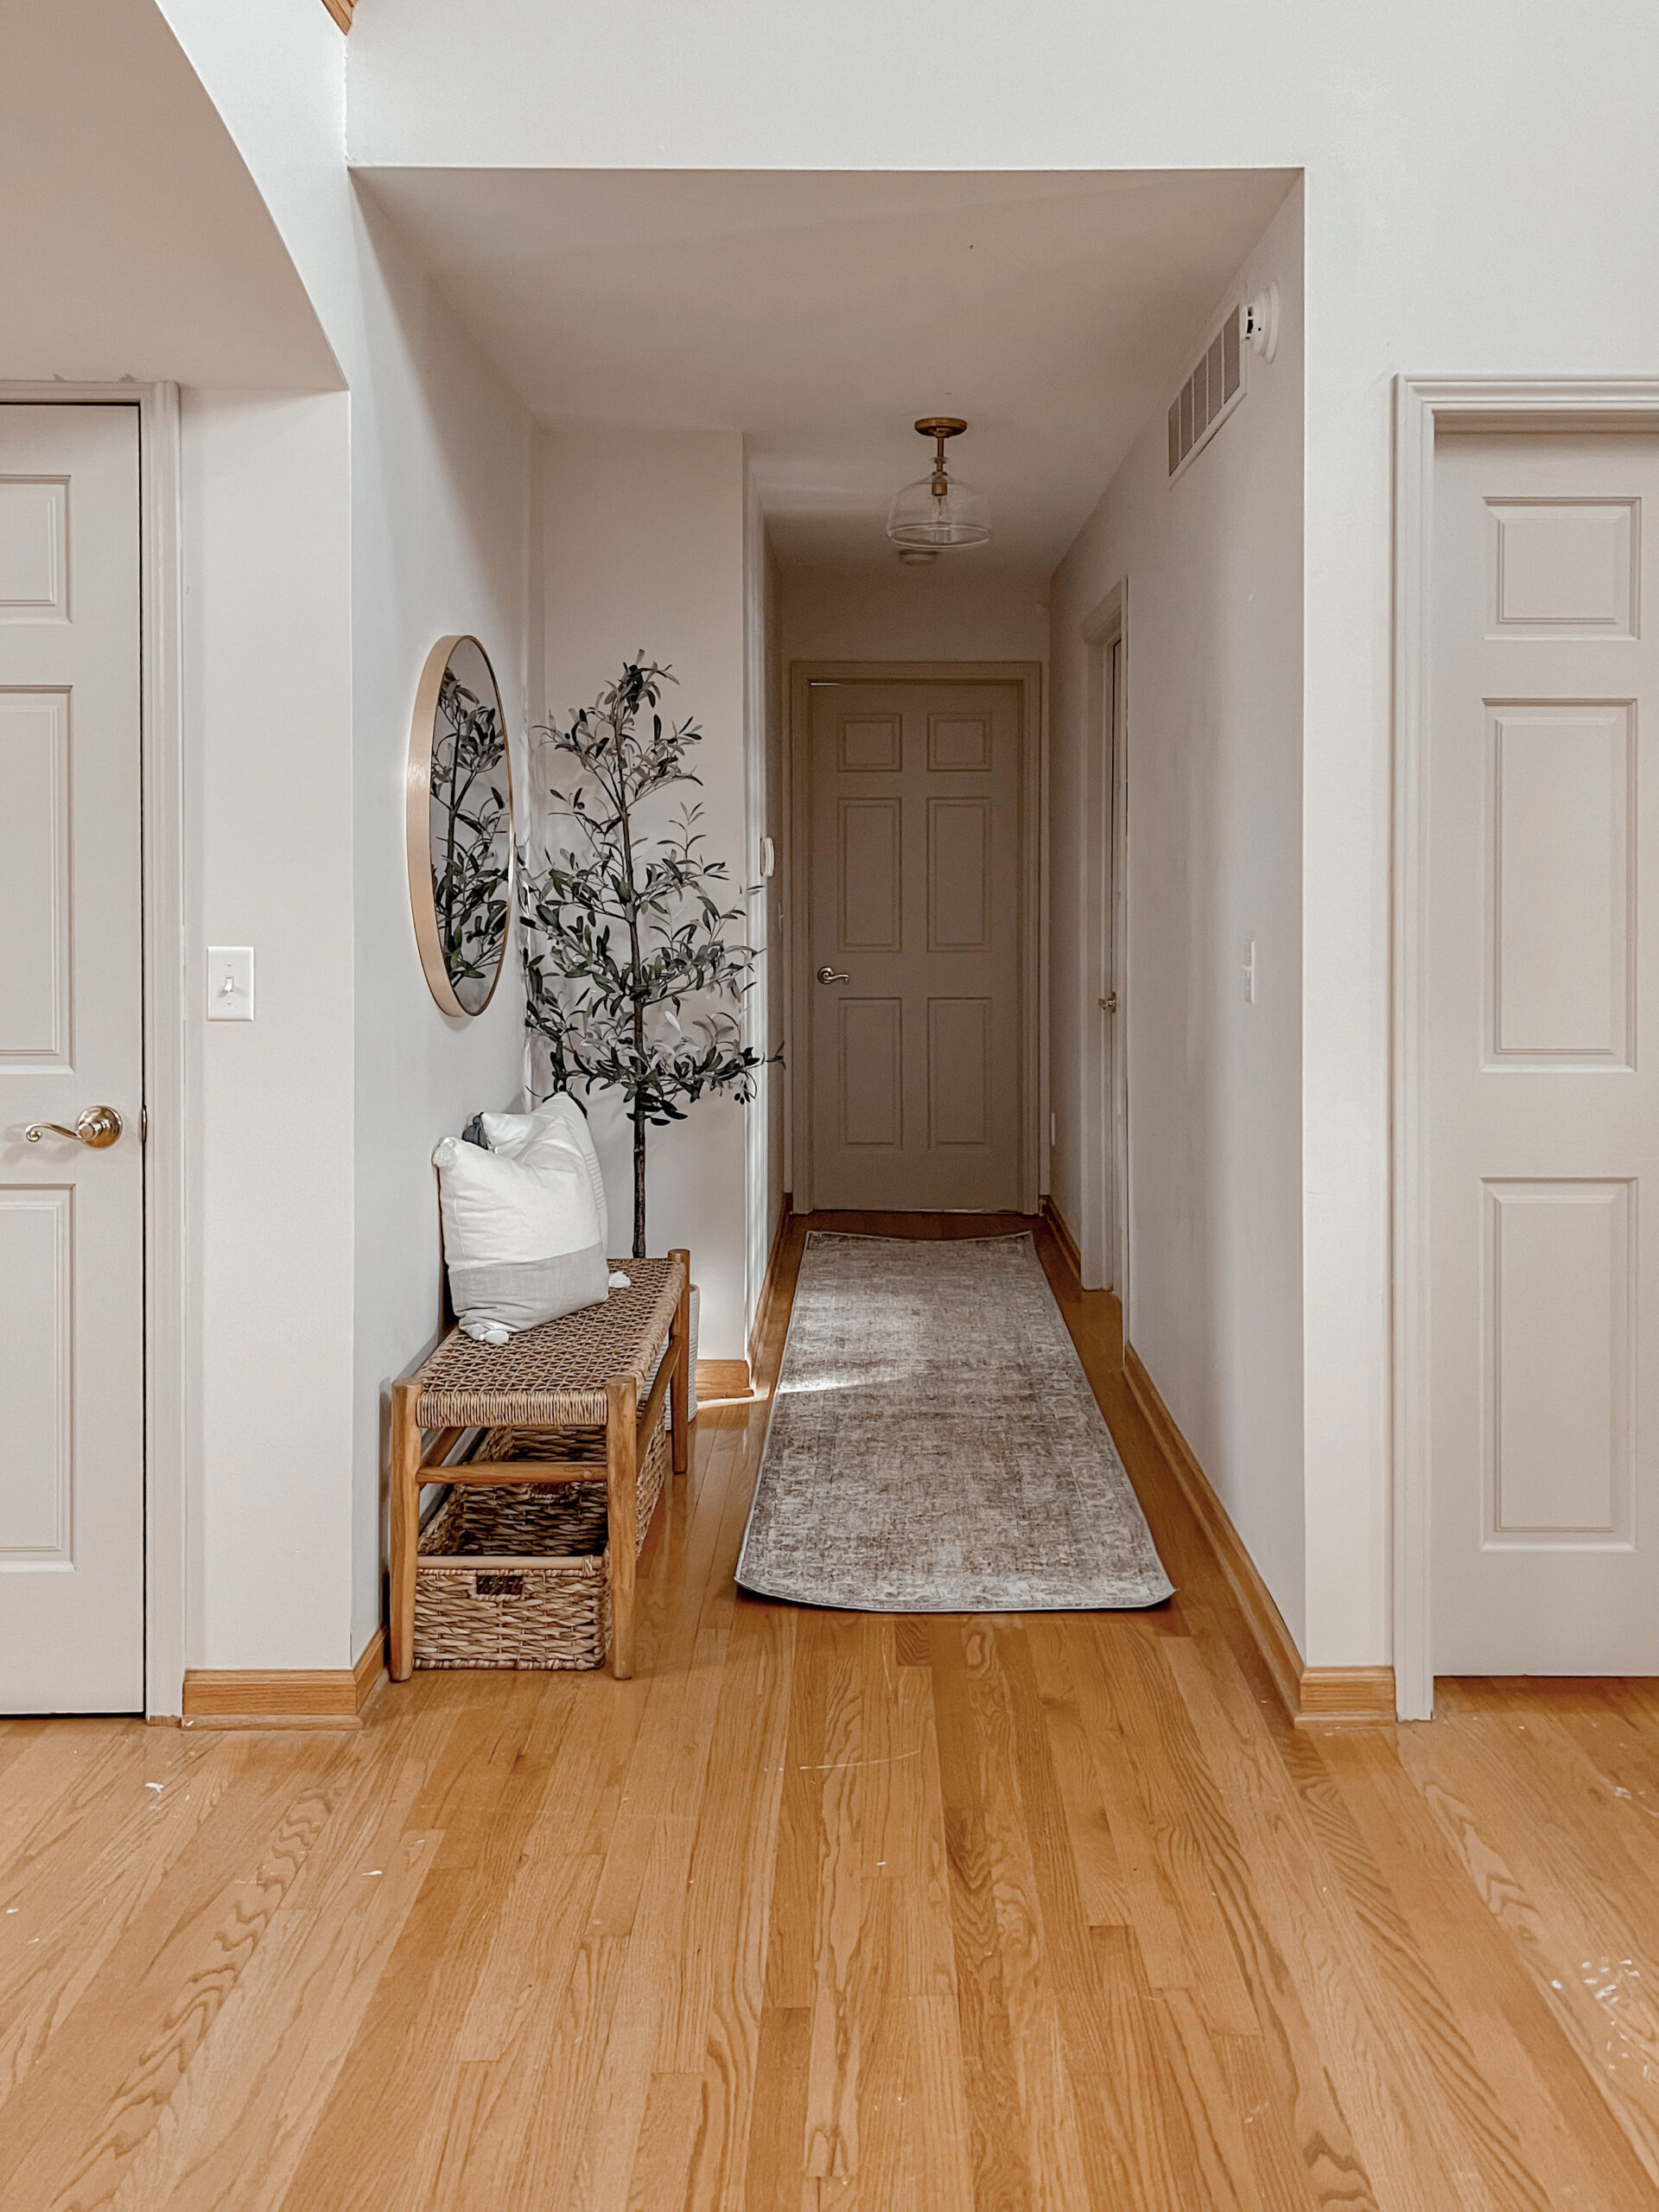
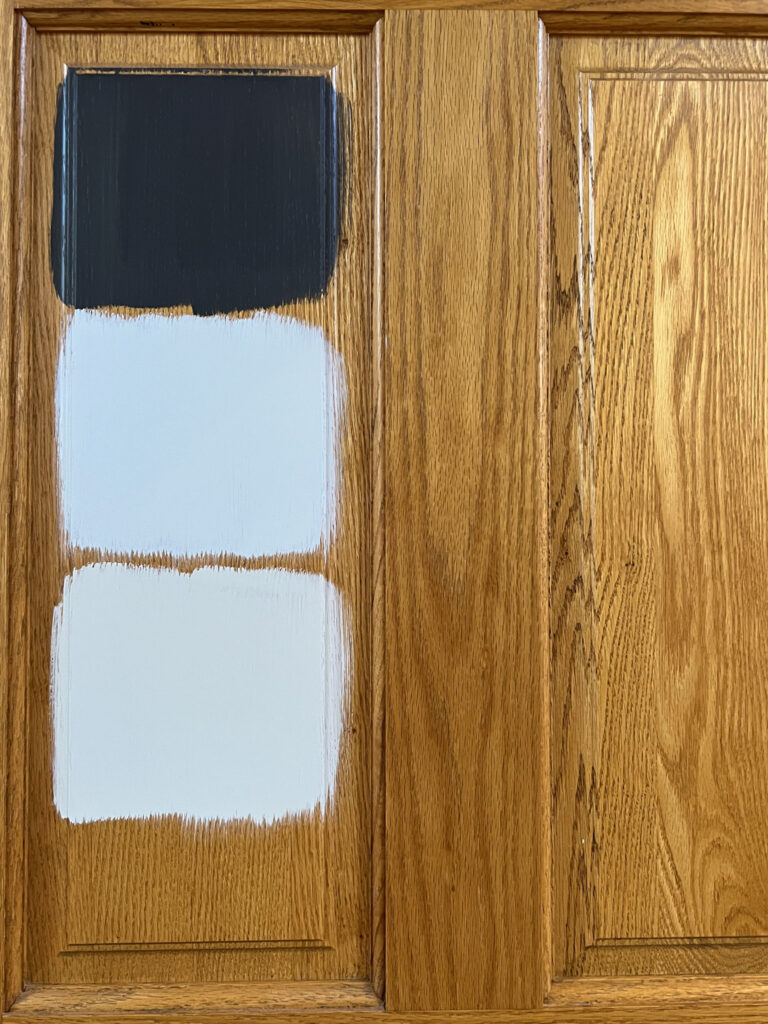
I was so excited to cover up the oak trim and doors, but I had a hard time picking a color! I started by painting samples on a piece of cardboard and then holding it up around the house in different lighting. Then I chose a door and painted my samples on the door to visualize it even better. I ended up picking Even Better Beige by Behr Paint and it is ended up being the perfect choice!

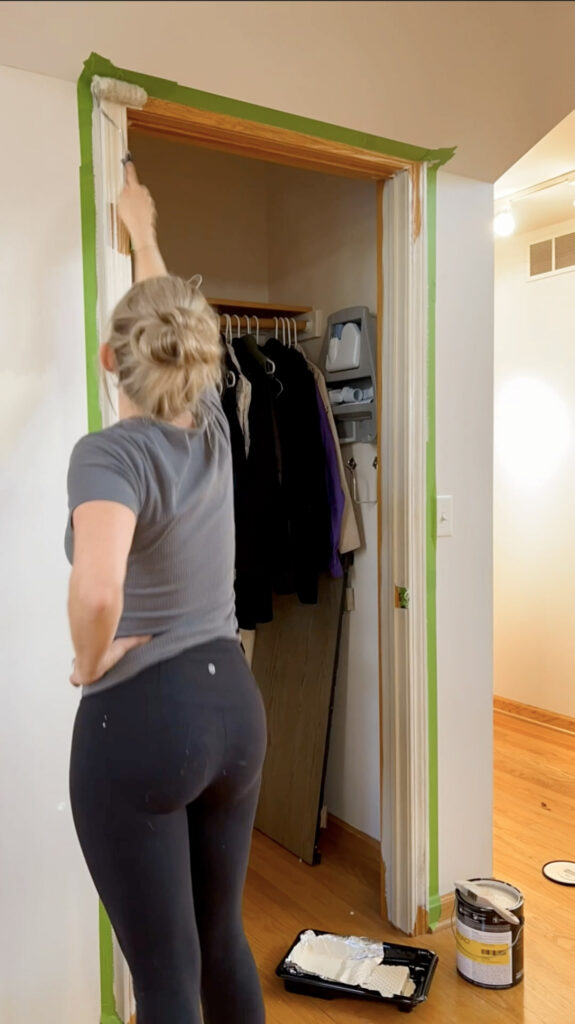
Ideally, when painting wood doors, you want to start with a really good primer. I recommend using the KILZ BIN primer. It gives a good base coat so that your paint will adhere well and not chip over time. We are painting all the doors and wall trim in the house, so we started by removing all the doors and then taping the walls so we can start painting the trim. I use an angle brush to cut in corners and a foam roller to roll the trim. TJ was able to help me with this project, and we were able to get all the trim painted pretty quickly and I only had to go over a few of his door frames twice ????
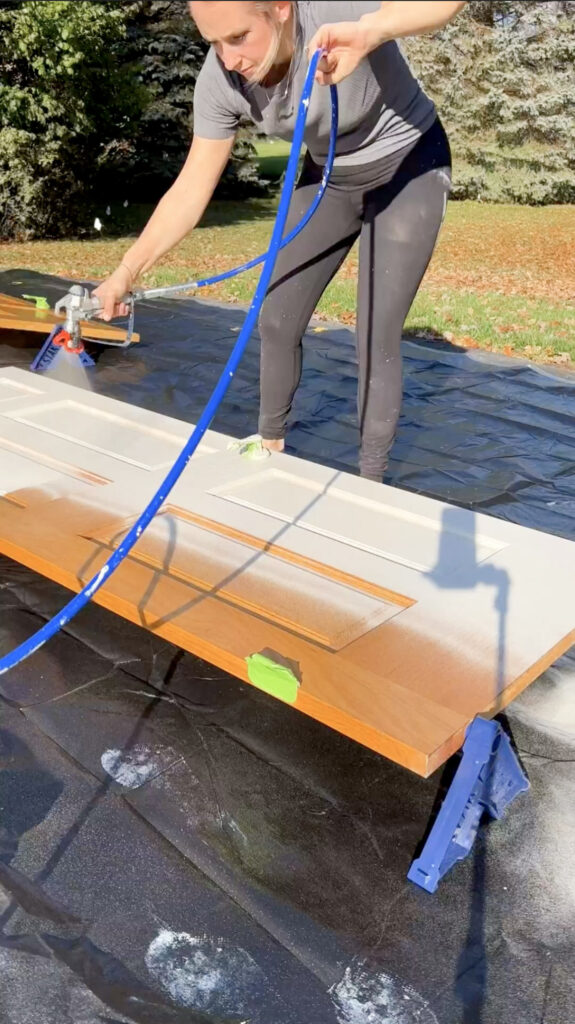
I moved all the doors outside onto tarps and put them on these really cool door racks so I could spray them. If you use a paint sprayer, make sure you go in slow steady strokes from one end to the other. I let them dry slightly before using the racks to flip them over and then paint the other side. This is the paint sprayer I used for this project. The racks saved me probably 6 hours of drying time because both sides were able to dry simultaneously. I highly recommend them if you are painting your doors.
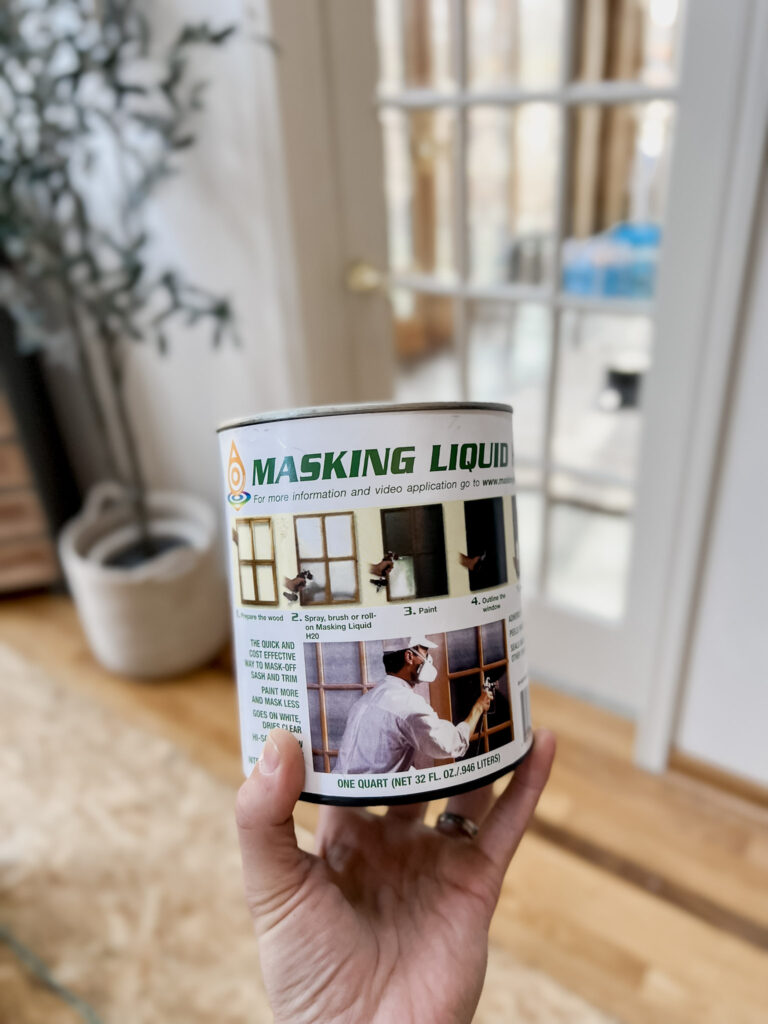
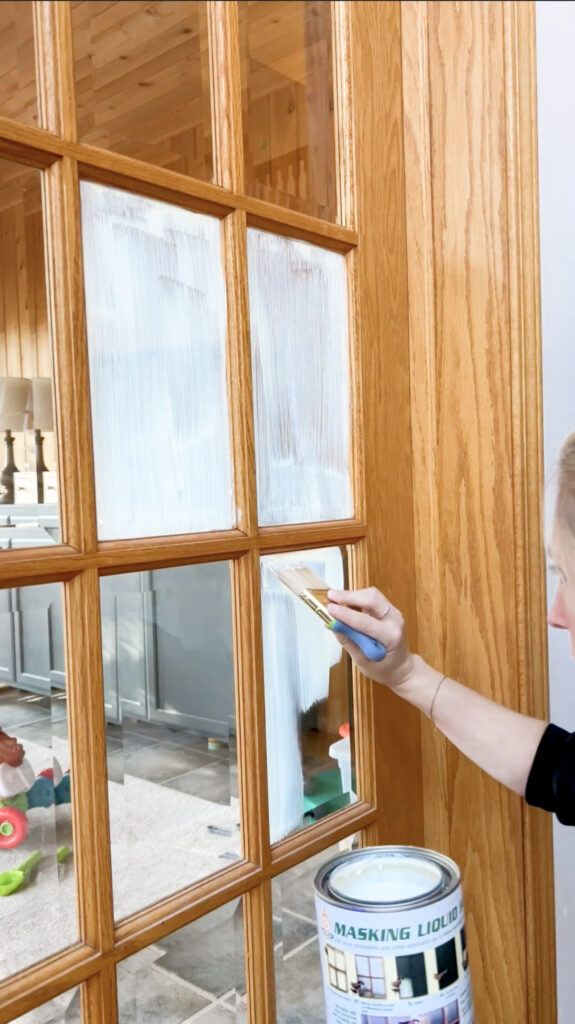
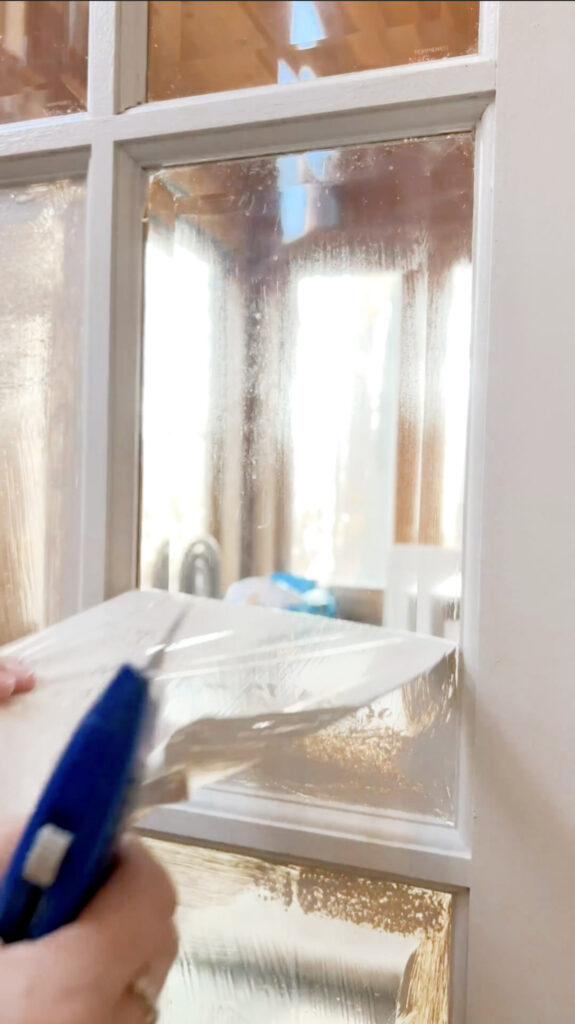
We have a few glass interior doors with wooden dividers, and a lot of windows! I was able to test out a new product called masking liquid. This project is the first time I used it, and it worked so well! I couldn’t recommend it more. This is perfect for painting windows or french doors with dividers in them. You want to paint it on really thick so you can peel it off once you are done. You don’t have to worry about not touching the wood, it won’t stick to that. After you apply the masking liquid, paint the door or window including any dividers, and wait for the paint to dry. Once everything is dry use a box cutter to cut around the edges and then peel off the masking liquid!
After the doors and trim dry, it’s time to re-install! Hanging the doors isn’t super difficult, and it can be done by yourself but it’s way faster if you have an extra set of hands.
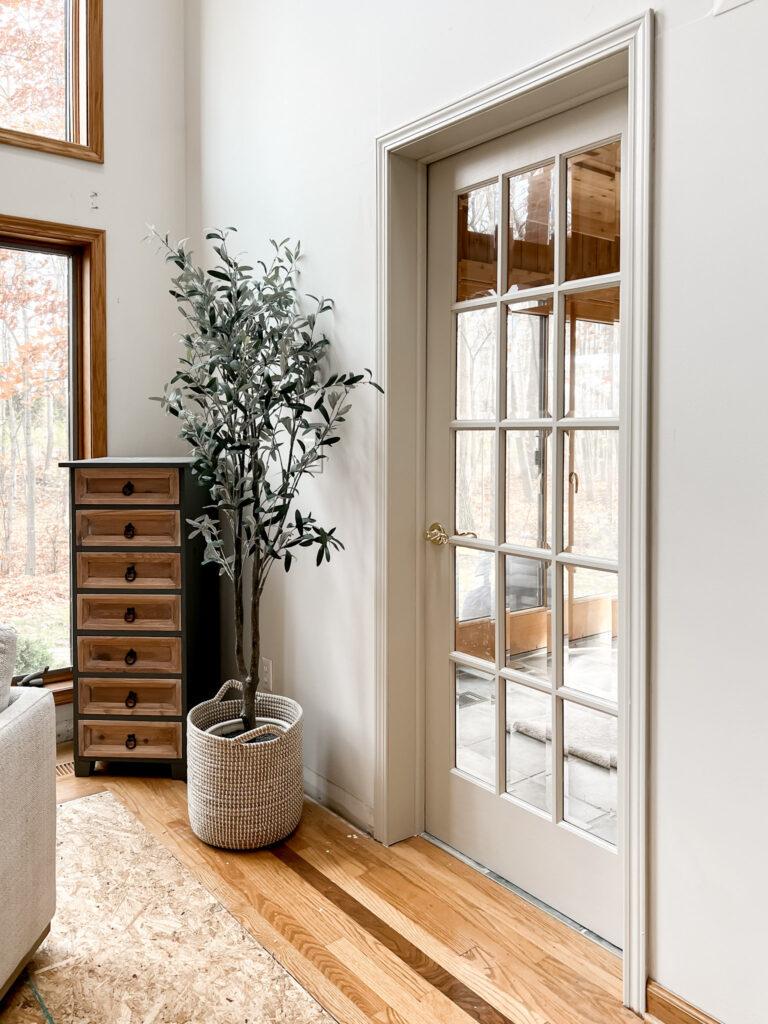
I’m still blown away that I was able to transform the look of our home so quickly and easily using only paint! Next up, style the entryway and install flooring!
Total Cost $355 without paint sprayer // $653 with paint sprayer