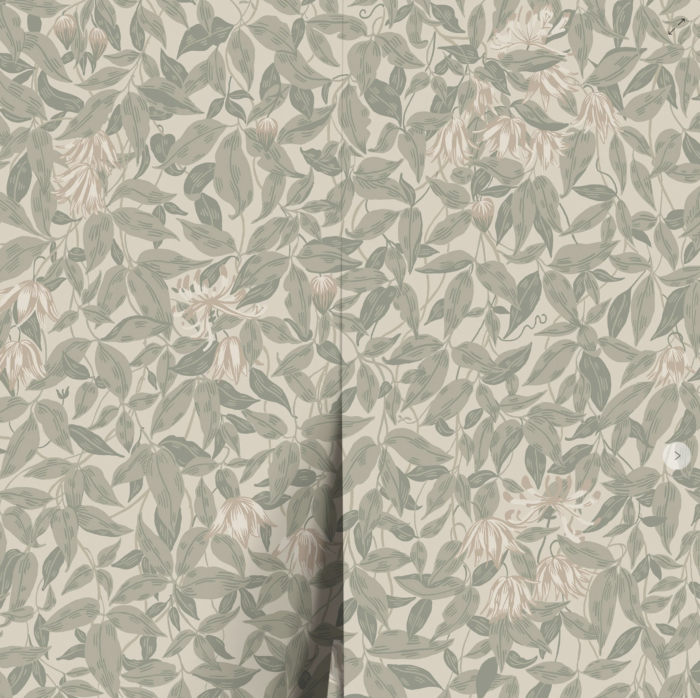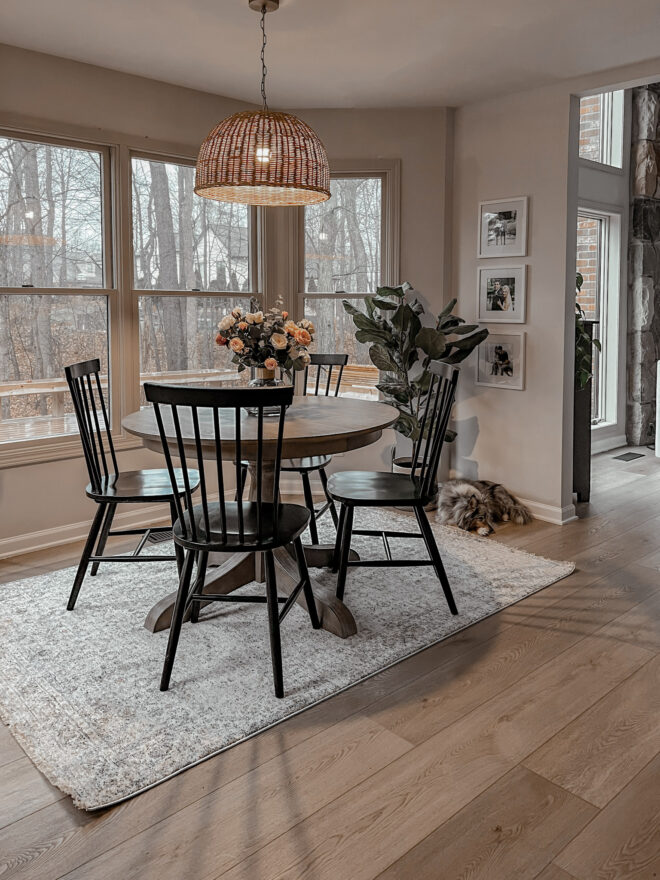


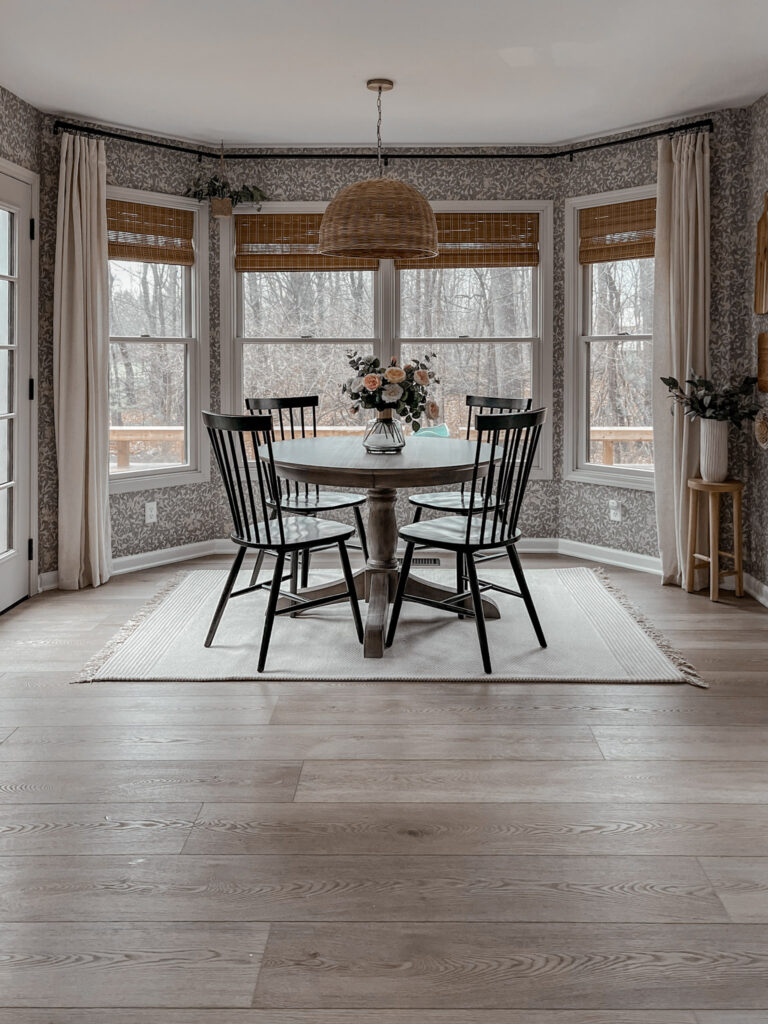
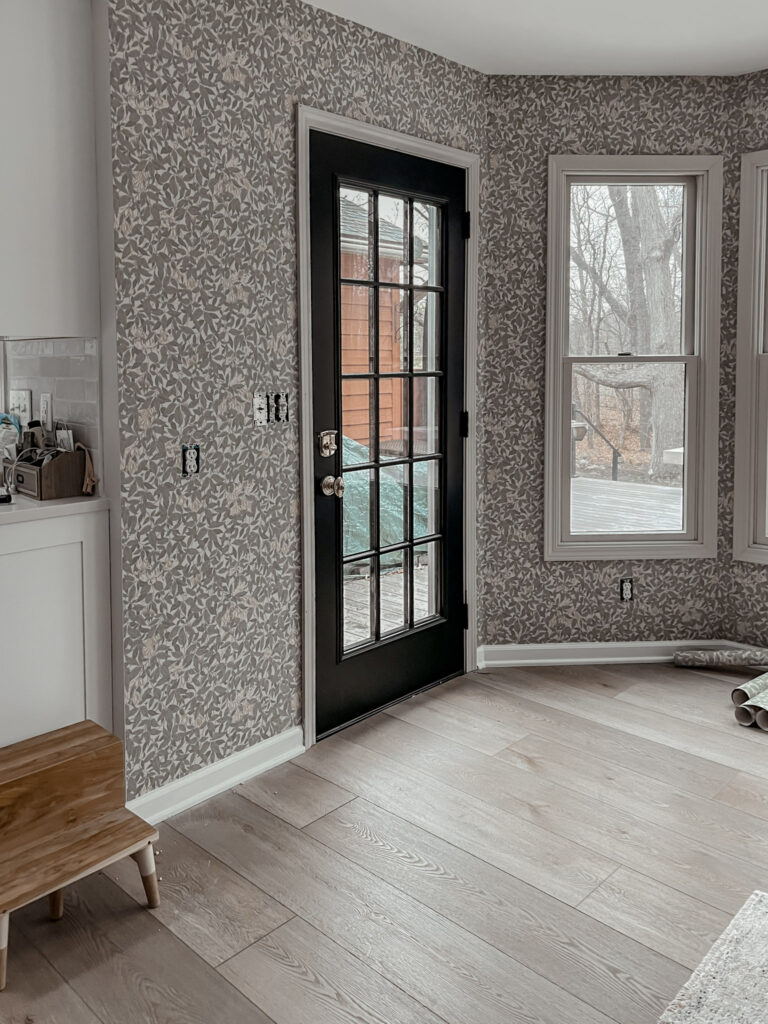
With just a few changes to the decor and adding this wallpaper from Lulu and Georgia I found a simple way to completely transform this space! TJ hates wallpaper, but I set out to prove him wrong. Wallpaper is a quick and easy way to completely transform a space on a budget. Another easy way to transform a space is paint! I did that here and here and loved the results.
I removed all the outlet covers and switches and then applied this wallpaper paste from Zinsser to the wall. I just used a roller to roll it on the wall, it dried quite a bit quicker than I was anticipating so I ended up having to reapply in a few spots. I recommend applying this sheet by sheet as you go so it isn’t too dry for the wallpaper to stick to.

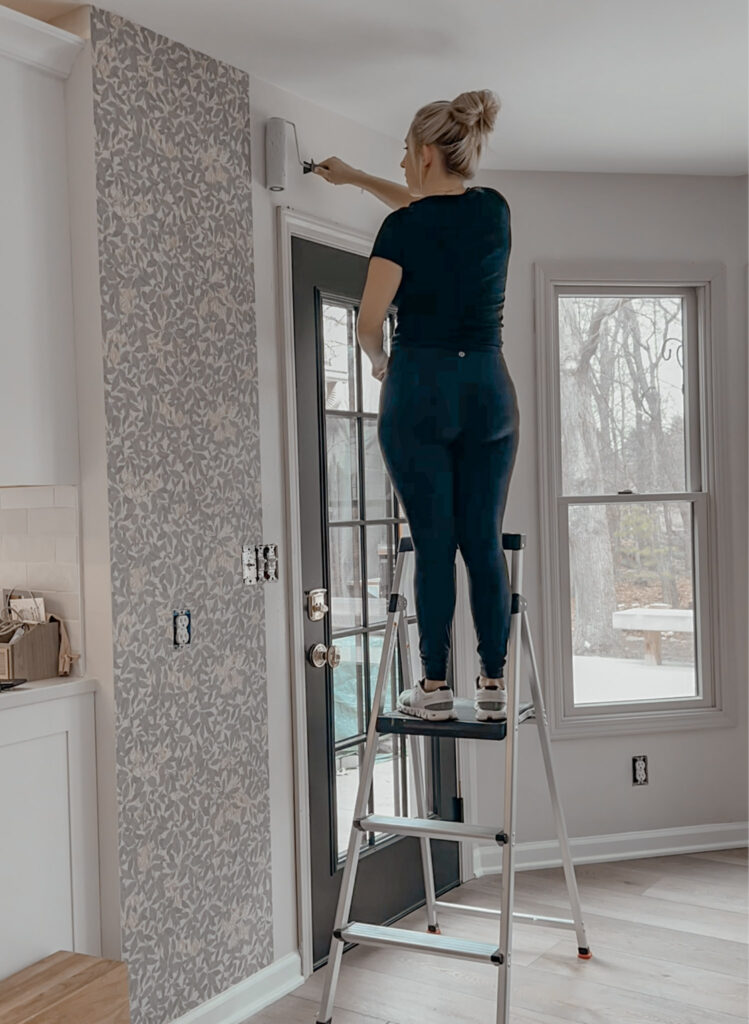
This is my first time using wallpaper that isn’t peel & stick! While the process is different, there are also similarities. It’s important when applying wallpaper that the first sheet is perfectly plumb (vertically level) this ensures you can match all the other pieces up perfectly. To do this you want to make a level line where the edge of the wallpaper will meet the wall.
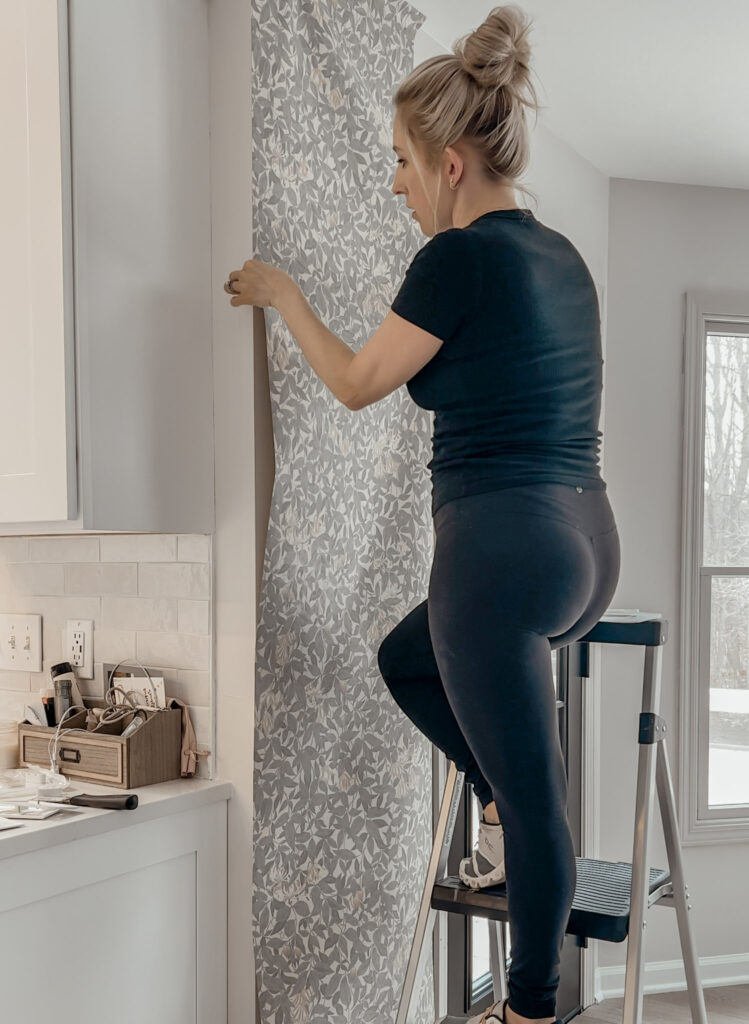
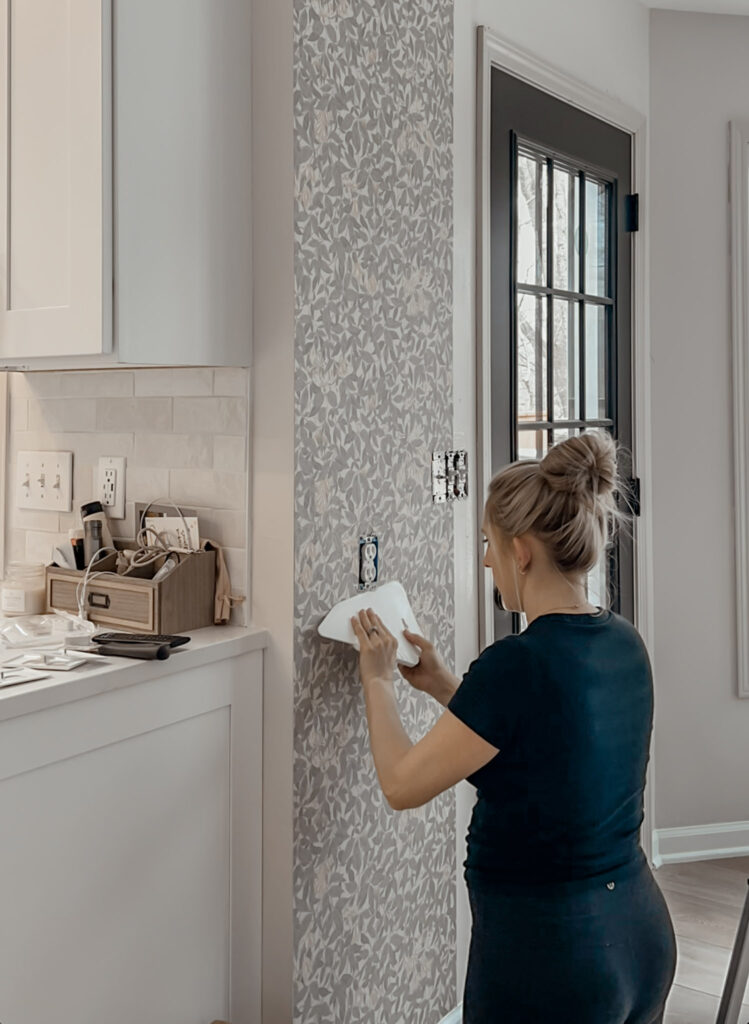
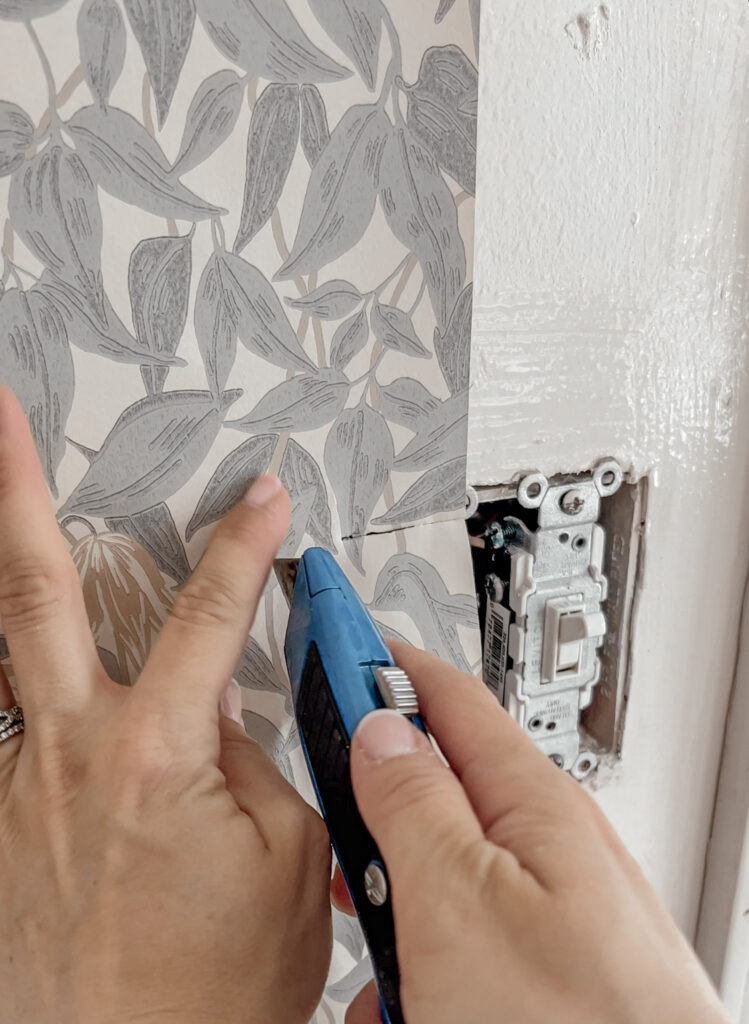
After applying the wallpaper paste and ensuring the edge is plumb, you place your wallpaper on the wall and apply firm pressure. Once the entire piece is on the wall you will use a straight edge to remove all the bubbles and any wrinkles. After you apply the sheets you can use a utility knife to trim around outlets and doors.
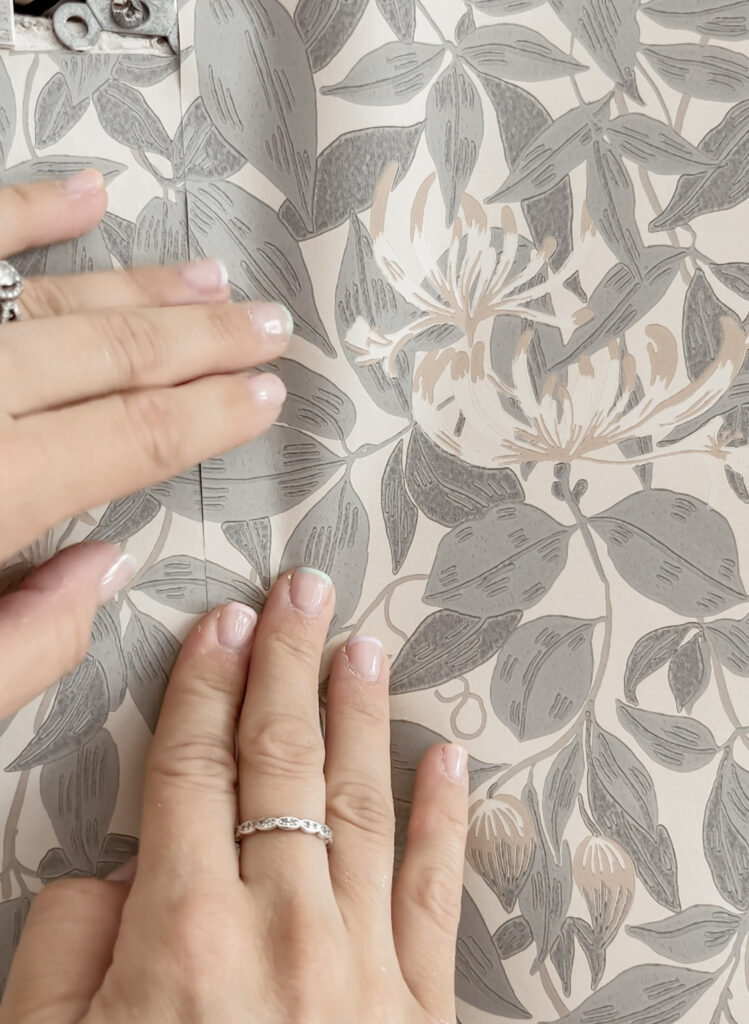
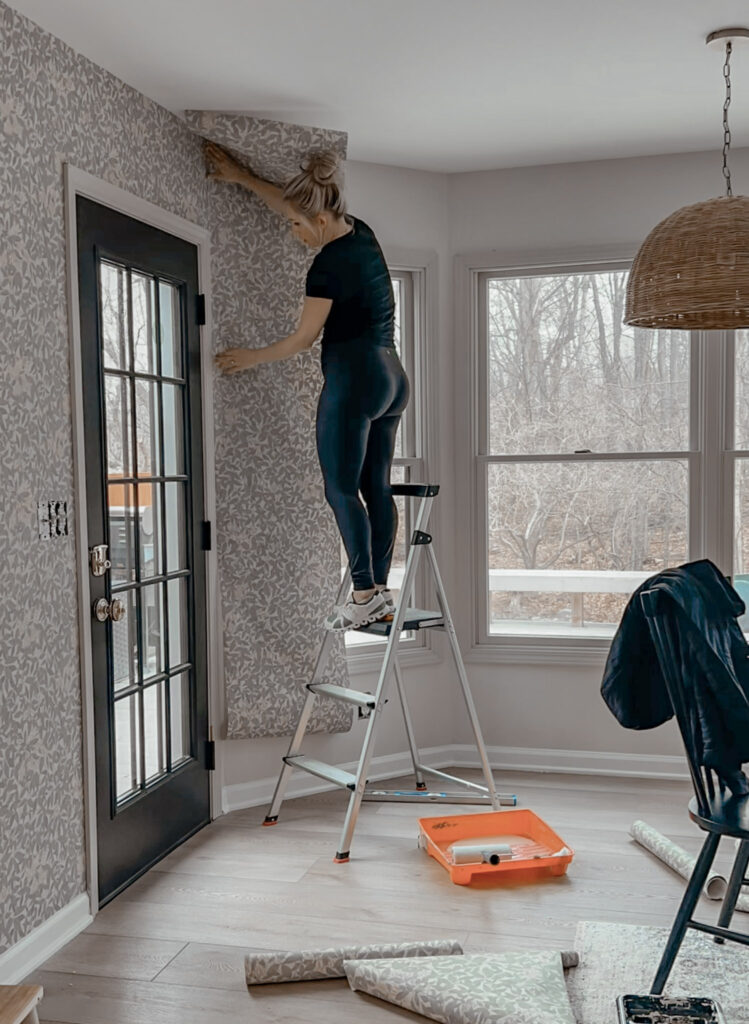
Lining up the seams between sheets is probably the most time consuming and difficult part, but I promise it is worth it! Once the pattern is matched perfectly the seam will basically disappear.
It was frustrating at first, but I took a few breaks, and finally it started to feel familiar. My word of advice, don’t let this be a project you have a strict time constraint on! Give yourself time to take breaks and come back to it.
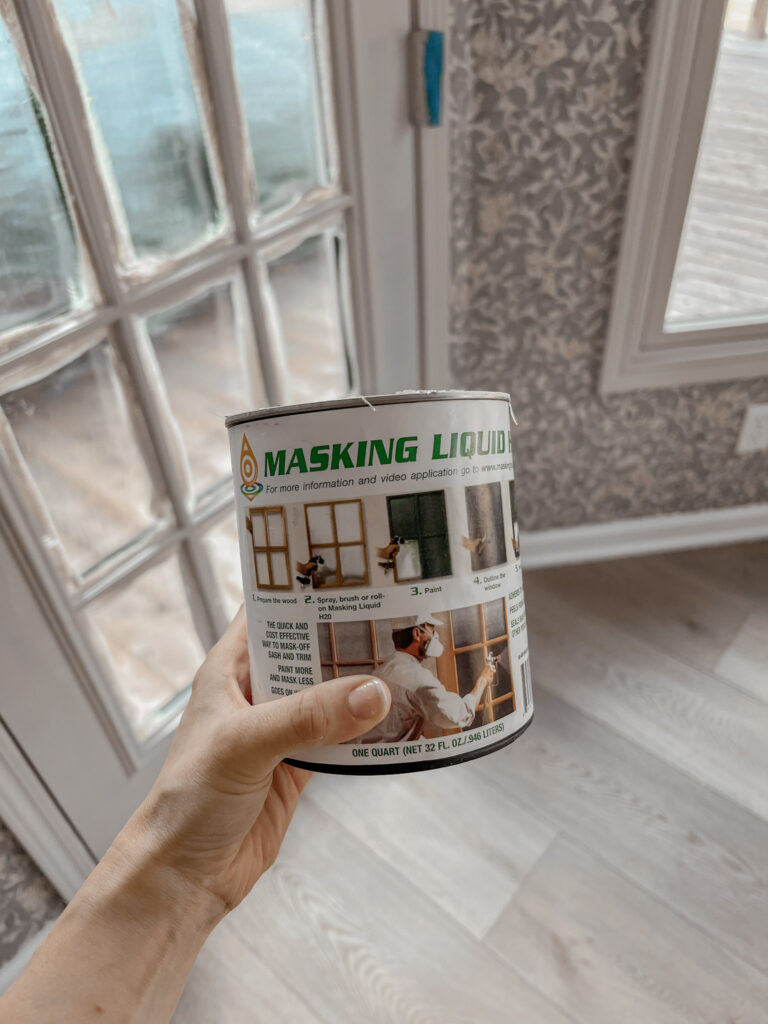
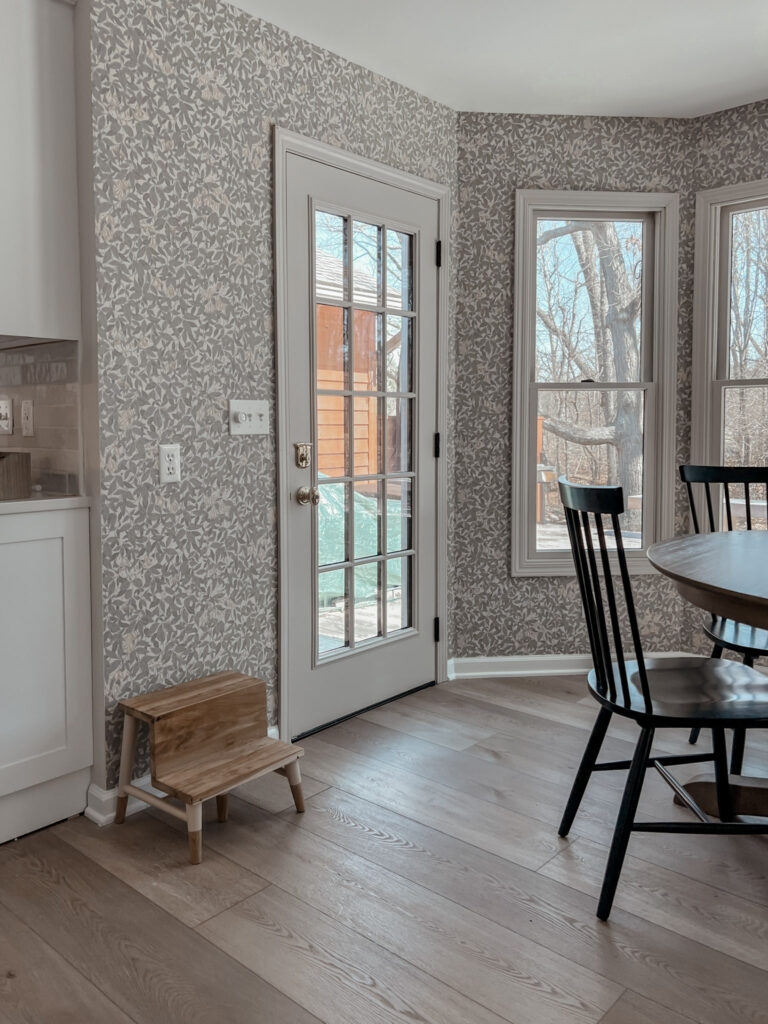
If you’ve been around you’ve seen me use masking liquid before! Right when we moved into the house in the fall I updated all the trim and used masking liquid to help do it. This is an amazing product for painting around glass. For a full tutorial on how to use it check out this blog. I decided to paint the door Even Better Beige to match the rest of the trim in the house.
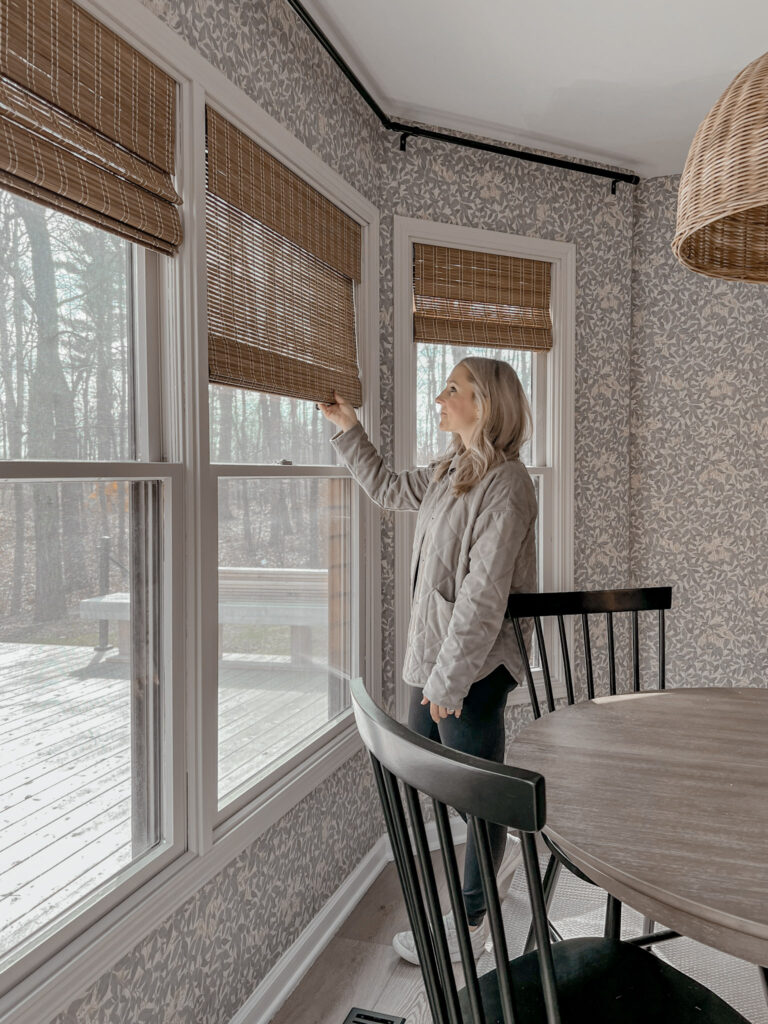
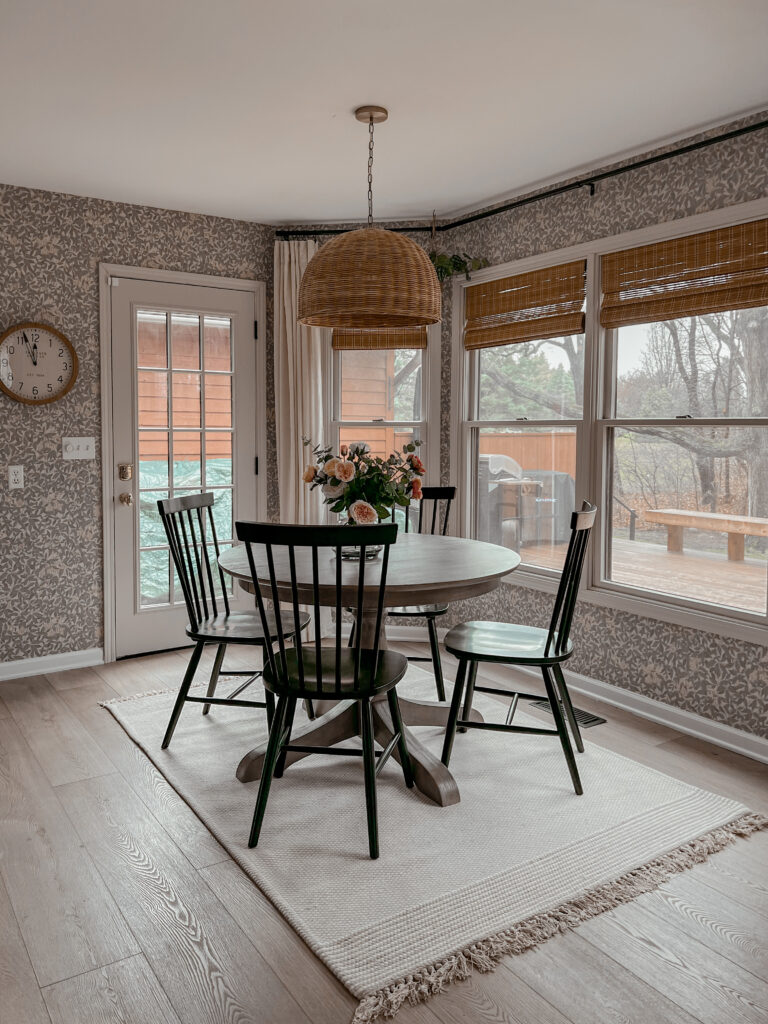
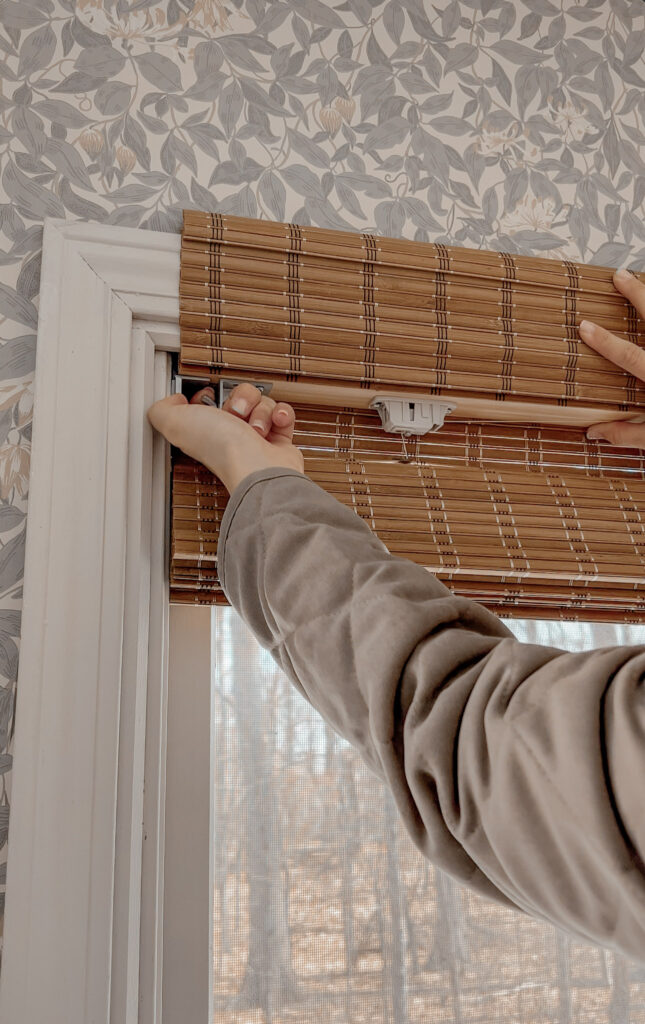
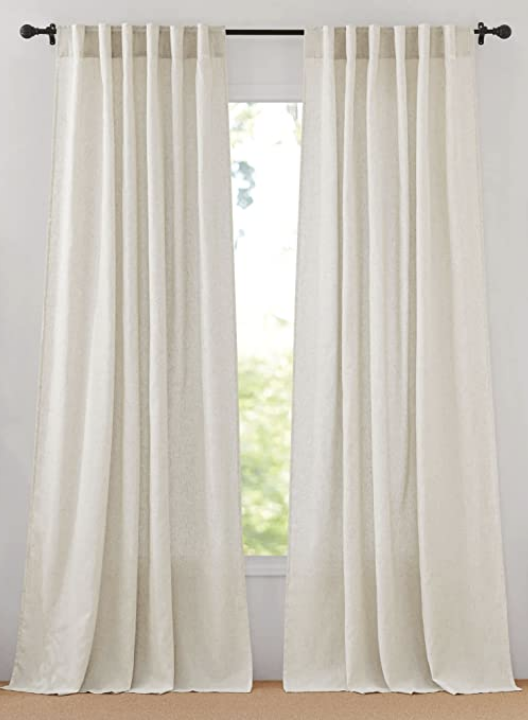
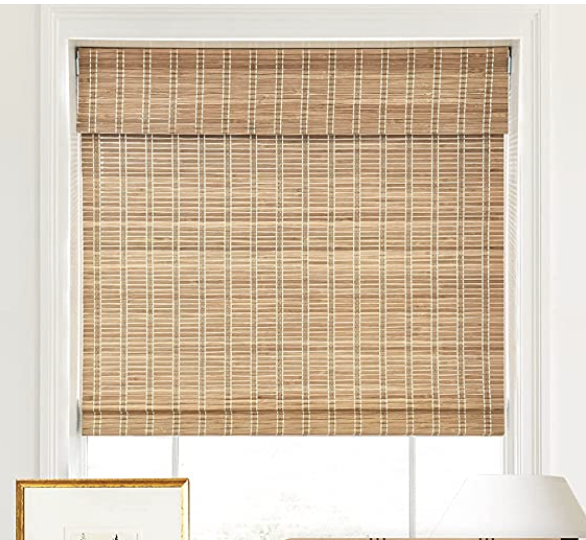
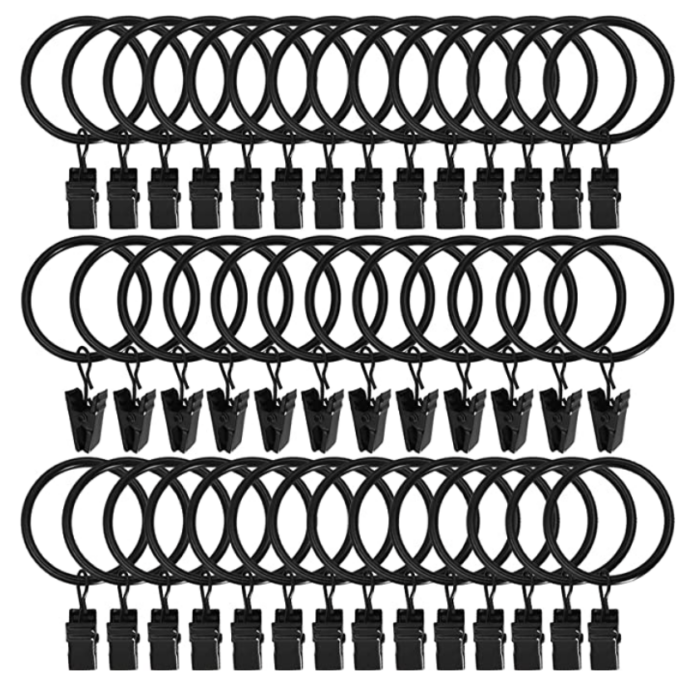
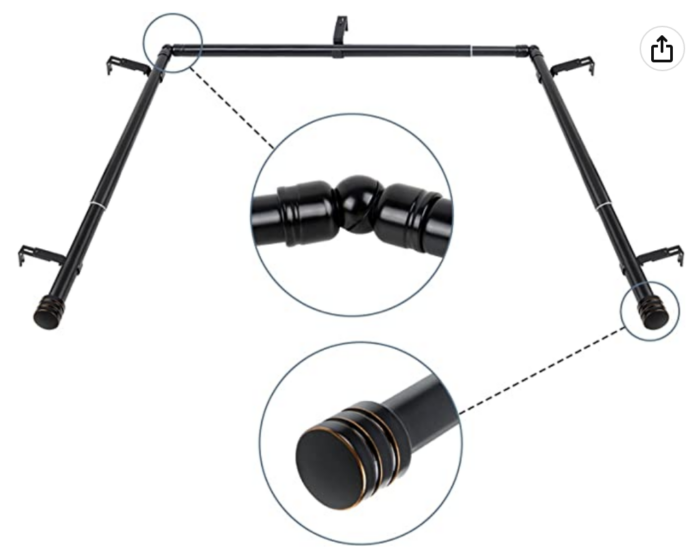
I decided to add roman shades and curtains, to cozy up the space! These roman shades feel like the find of the year. They are cordless and can be installed using zero tools. No screws, drills, nothing! There are tension screws on each end that you use to install them. It took less than 5 minutes! I’m literally still amazed at how great they look and how versatile they are. I added the roman shades, then installed this bay window curtain rod from Amazon and hung these linen curtains on just the very end windows. I love the mix of textures and warm neutral tones this brings to the space.
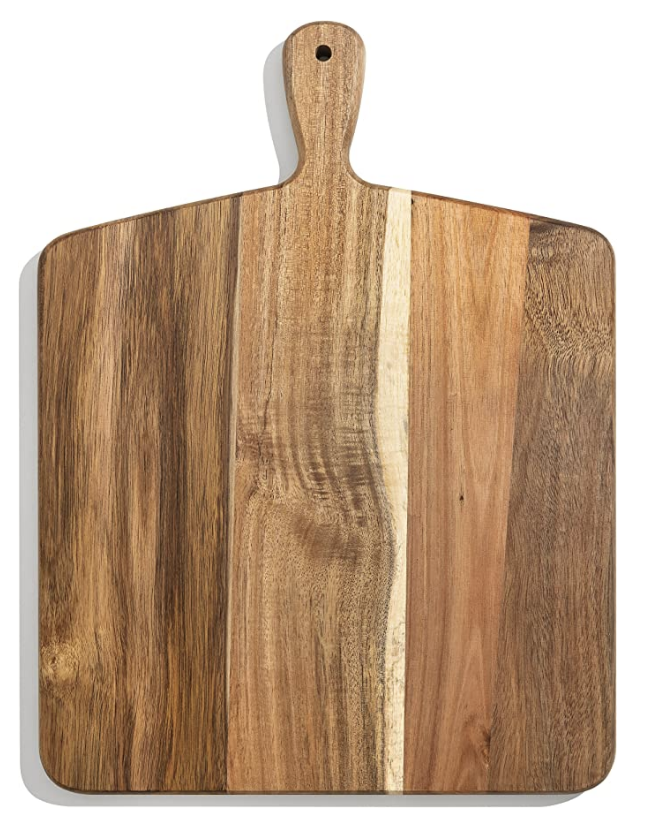
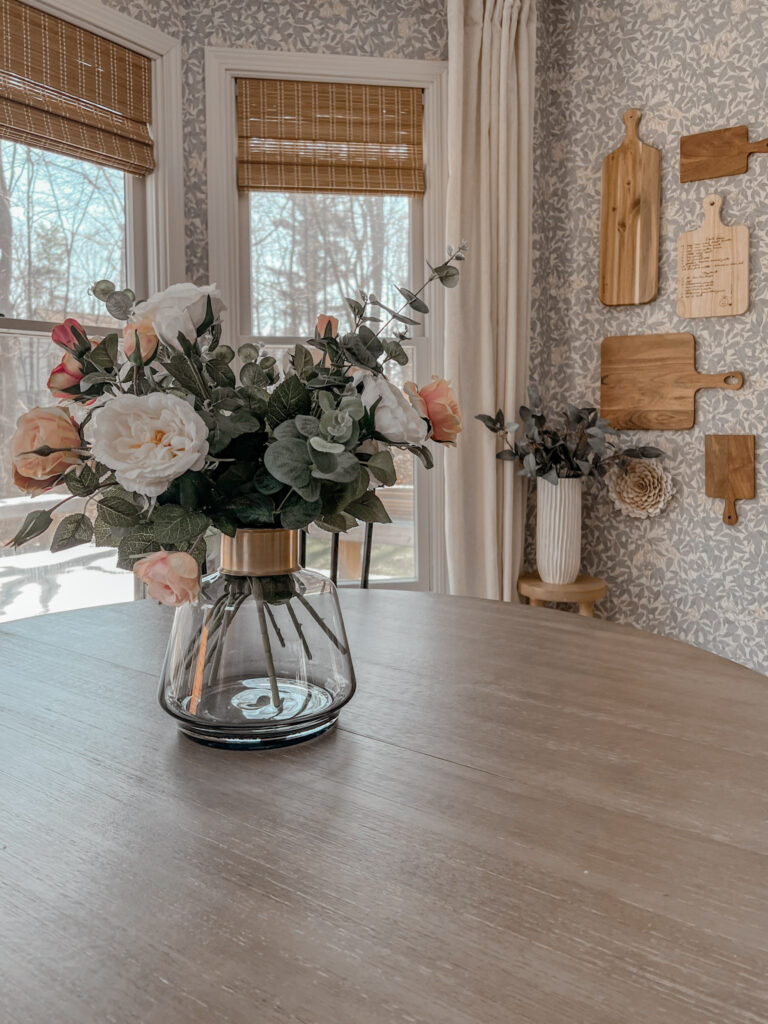
Probably my favorite part of the decor is this gallery wall of cutting boards! It’s something I haven’t seen done very many times but is such a homey touch. My husband’s family is Italian and we have the family pasta sauce recipe engraved on a cutting board. I started collecting other cutting boards as well and I wanted to find a cute way to display it in the kitchen. This turned out even better than I imagined! It’s such a good way to mix design with functionality!
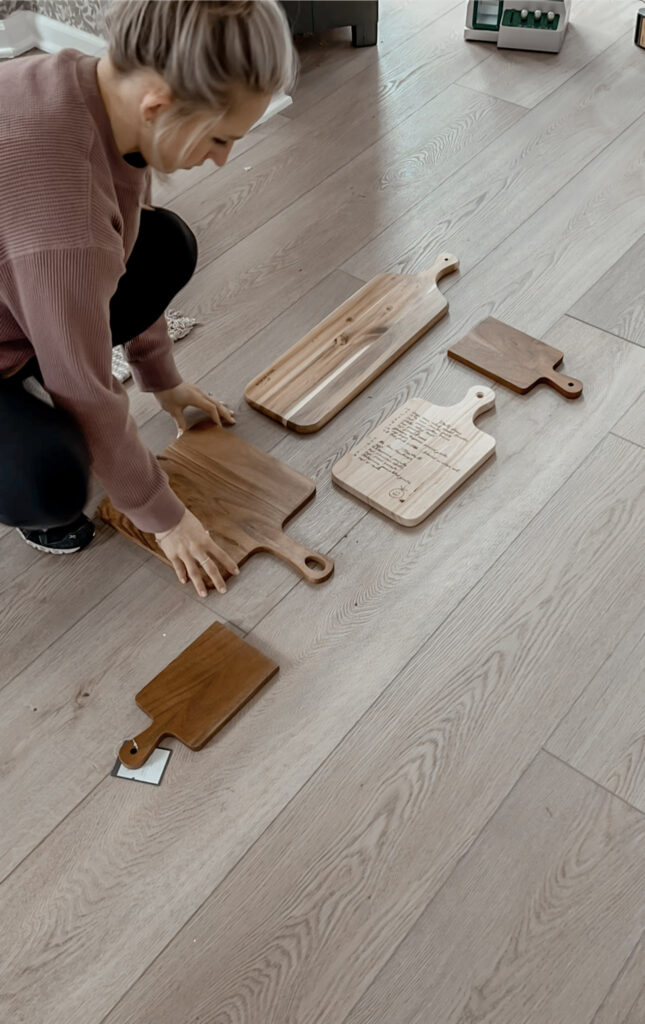
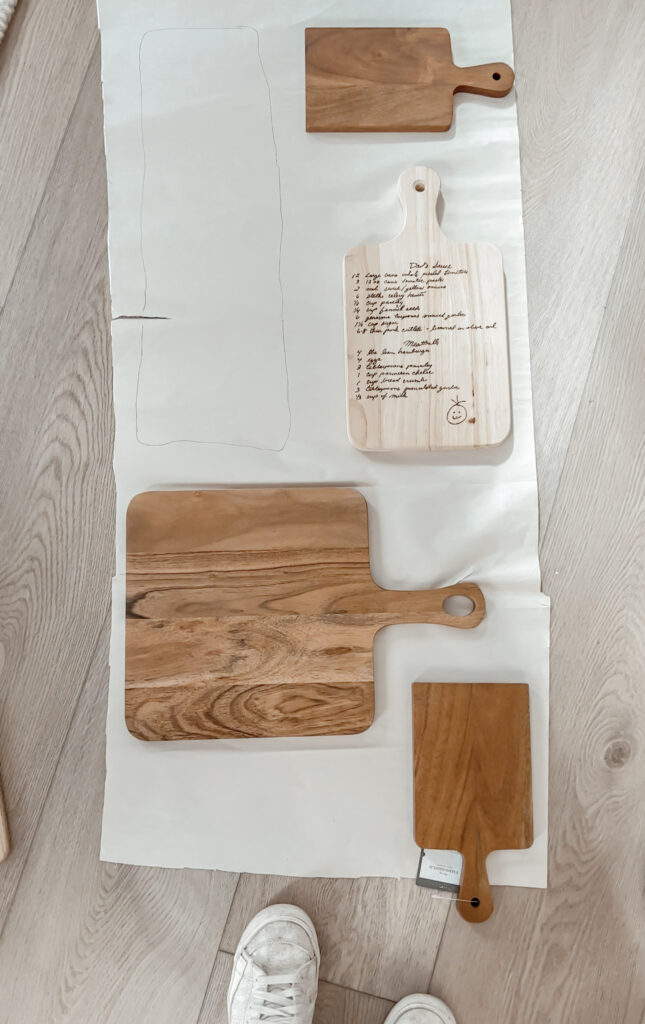
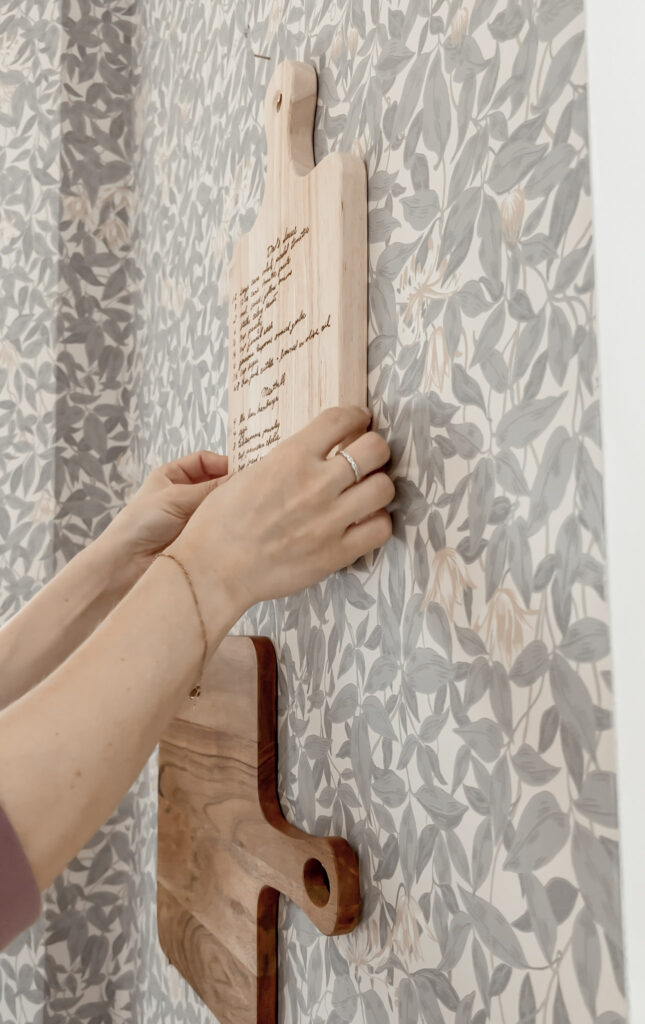
I started by laying out the design on paper and then once I had a good idea where I wanted the placement I hung them on the wall using a combination of nails and command strips.
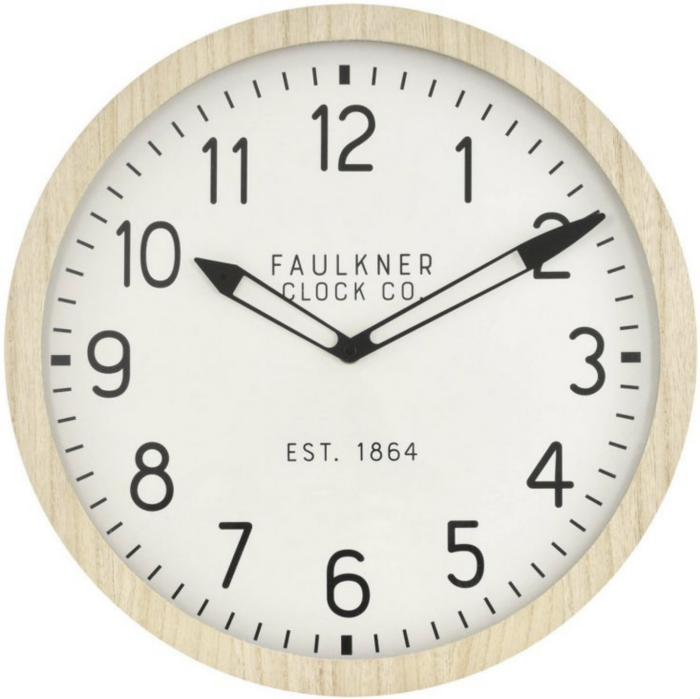
For the finishing touches I added a cute wall clock from Target that I ended up deciding to stain with my favorite stain, and I got a few plants for the space! Never underestimate how simple additions like that can really complete a space and give a cozy feeling.
Total Cost $677 (including crown molding)