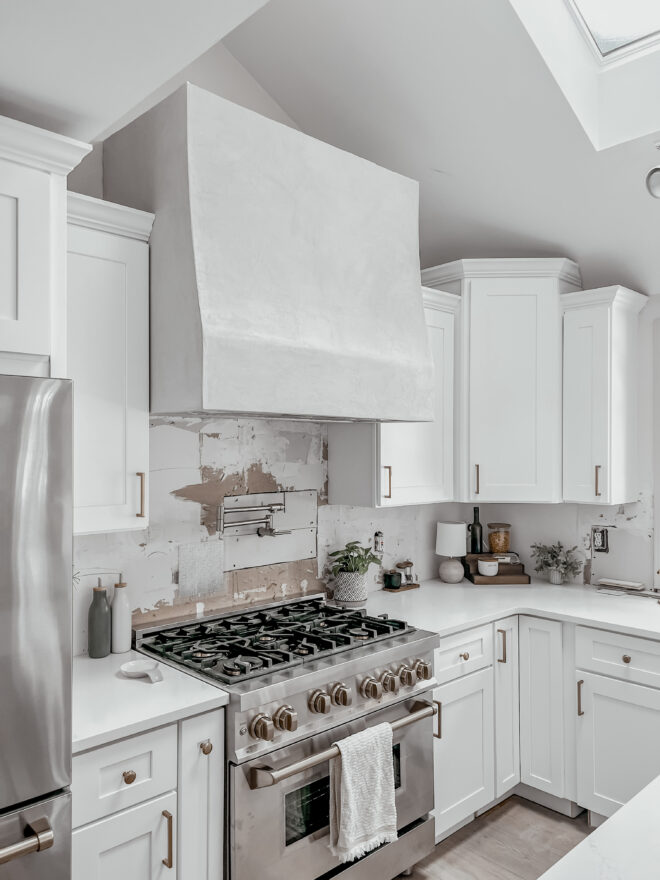


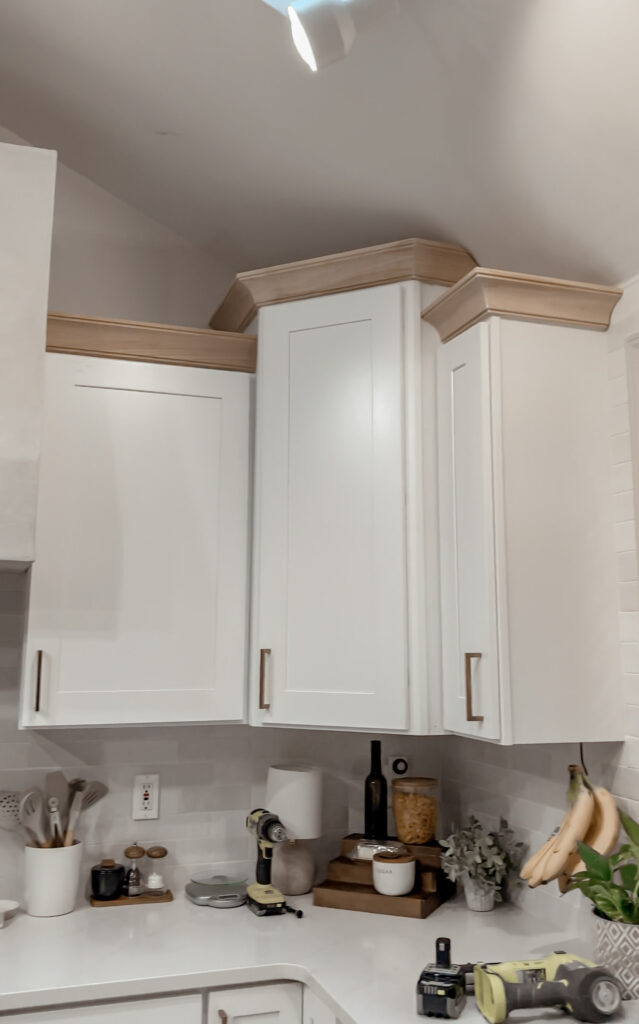
I installed crown molding 2 & ½ times before I found the perfect combo! I did a complete install, and then decided I wanted a more modern style. So, I started a second attempt, got it partially installed and hated it. Finally on the third try I found the winning combination! Now I’m here to share all the tips with you!
If you want to see the first attempt, check out my kitchen backsplash recap. It was during that project that I decided I definitely wanted to re-do the crown molding. There wasn’t anything wrong with it, it just didn’t fit my style once I saw it completely installed
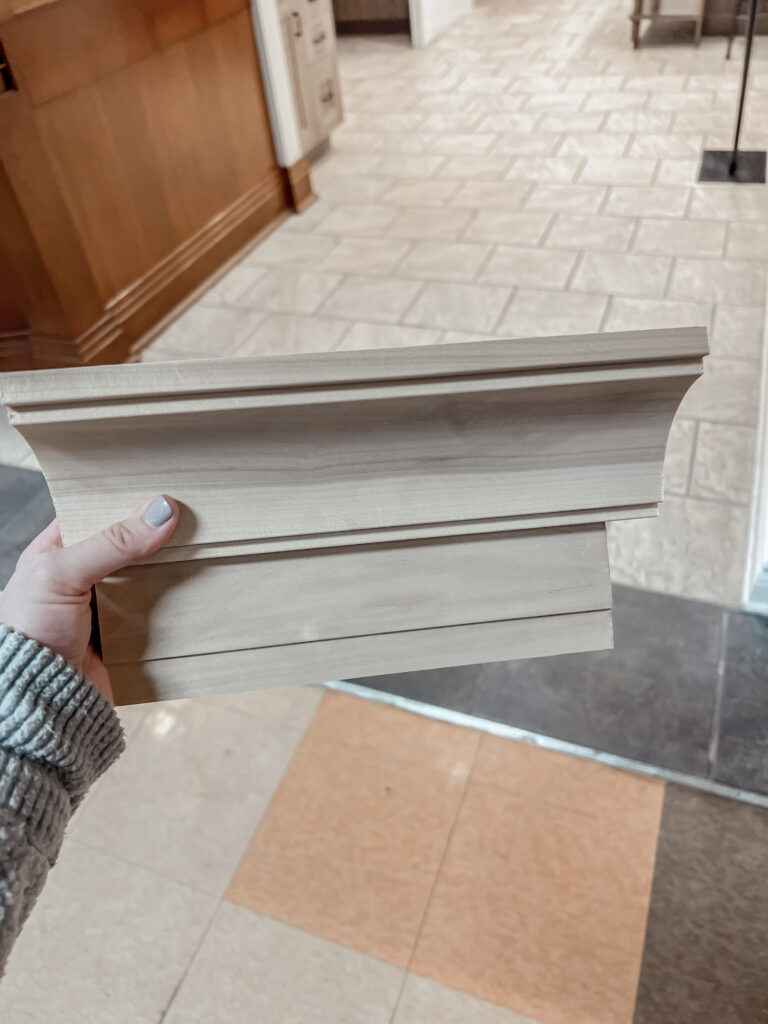
I ended up getting my crown molding materials from a custom cabinetry shop in town. They offered some extra options not available at the hardware store and they were able to help me fully envision the final look.
I’m going to explain this the best way I can, and I’ll show you the process that works for me! As always, trial and error will teach you so much, so don’t be afraid to adapt to what works best for you!
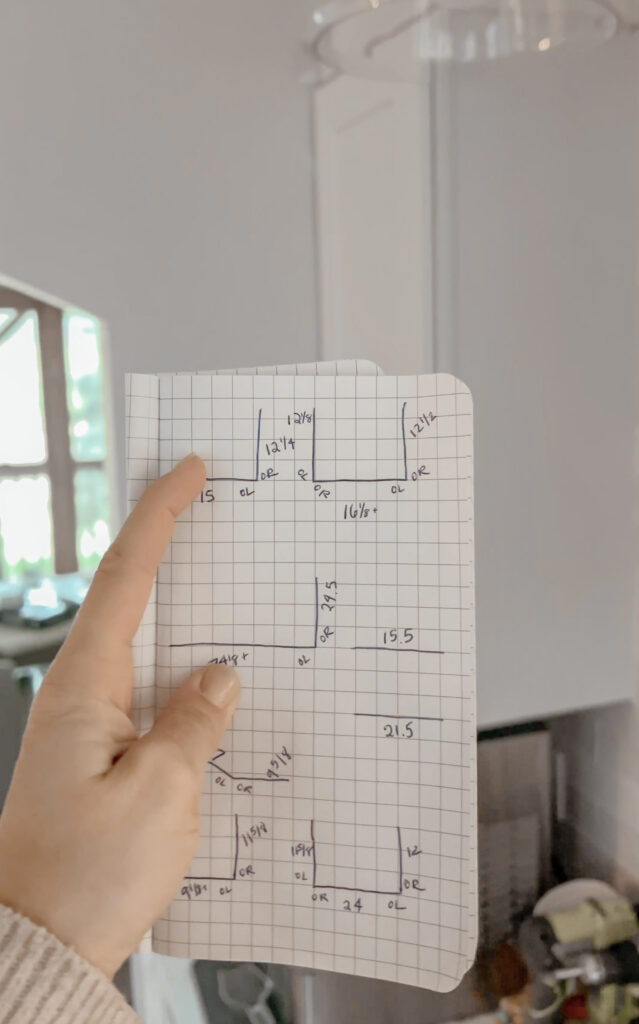
I start by basically mapping out everywhere I’m going to be putting up crown. I use grid paper and draw diagrams to match the shape the crown is going to be when finished. Next, I measure all the sides and write them on my diagram.
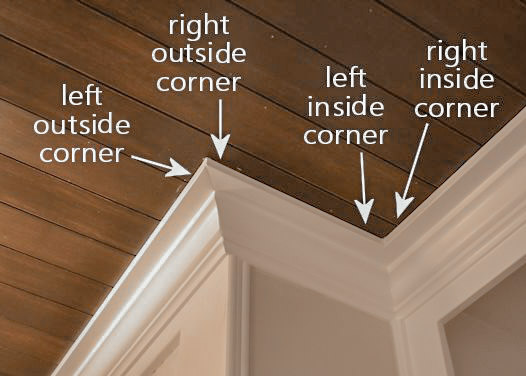
It’s super important to know if it is an outside corner, or an inside corner. My tip for this is to think of the corners as arrows. If the arrow points out it’s an outside corner, if the arrow points in, it’s an inside corner. Next I mark my diagram to match for the inside and outside corners along with sides, left or right.
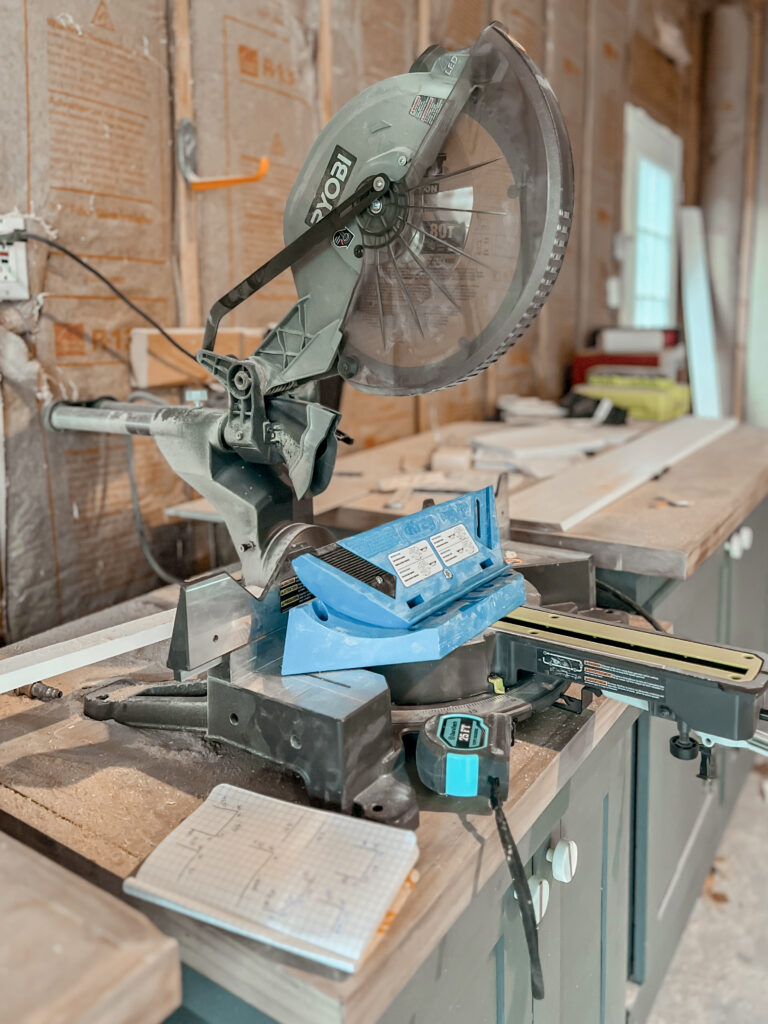
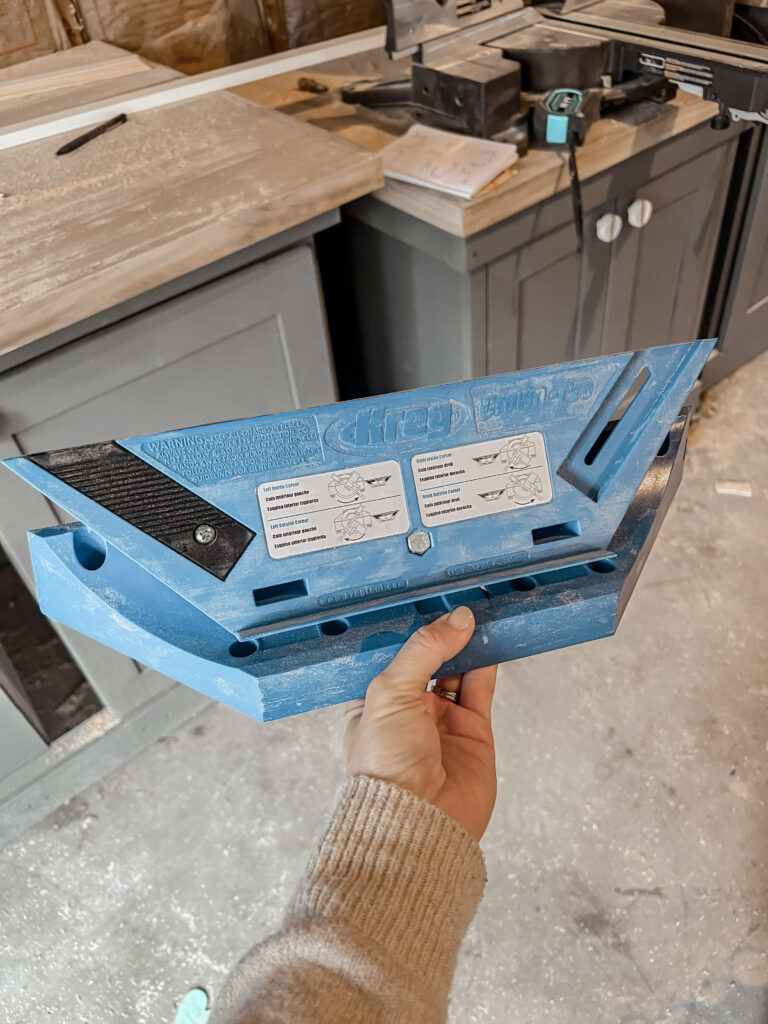
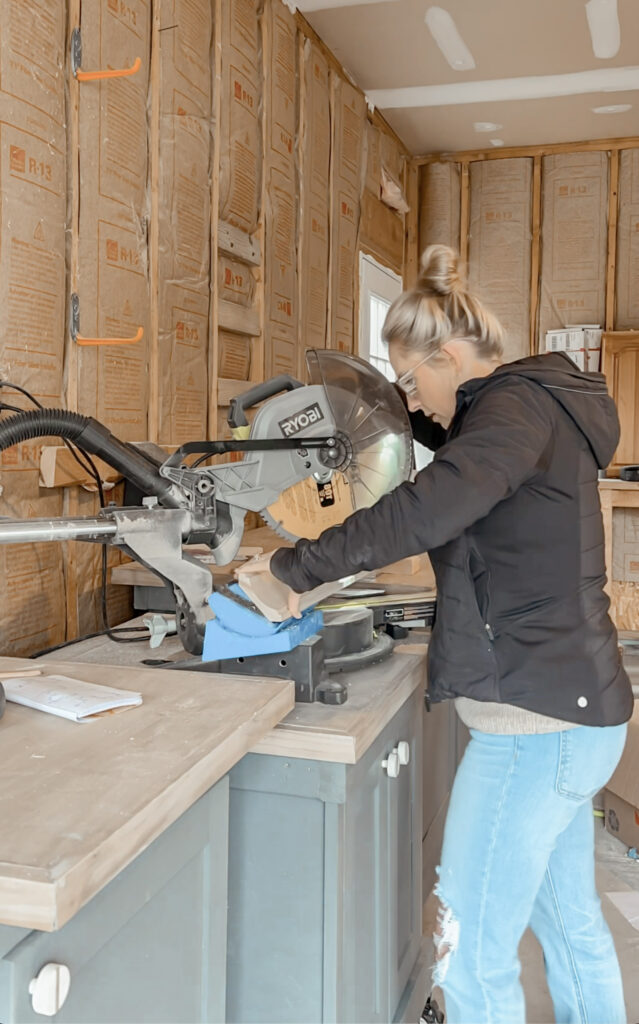
This is where the magic of the crown jig comes in. If you take all the notes when you go to your saw and look at the jig it tells you exactly where to place your board and where to adjust your saw.
My preference is to get in a groove and cut all the pieces at one time. I make sure to check every time that I have the measurement correct and the jig set properly. Measure twice, cut once!
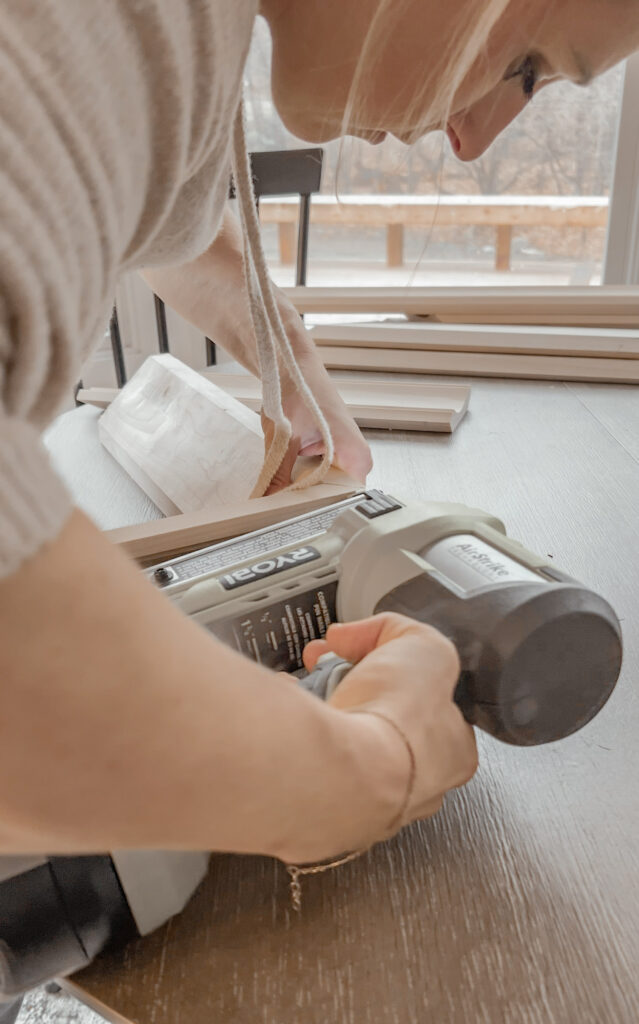
My preference is to preassemble the crown molding by section using my head nailer, and then attach to the cabinets. I think preassembling makes the corners tighter and helps keep it all straight.
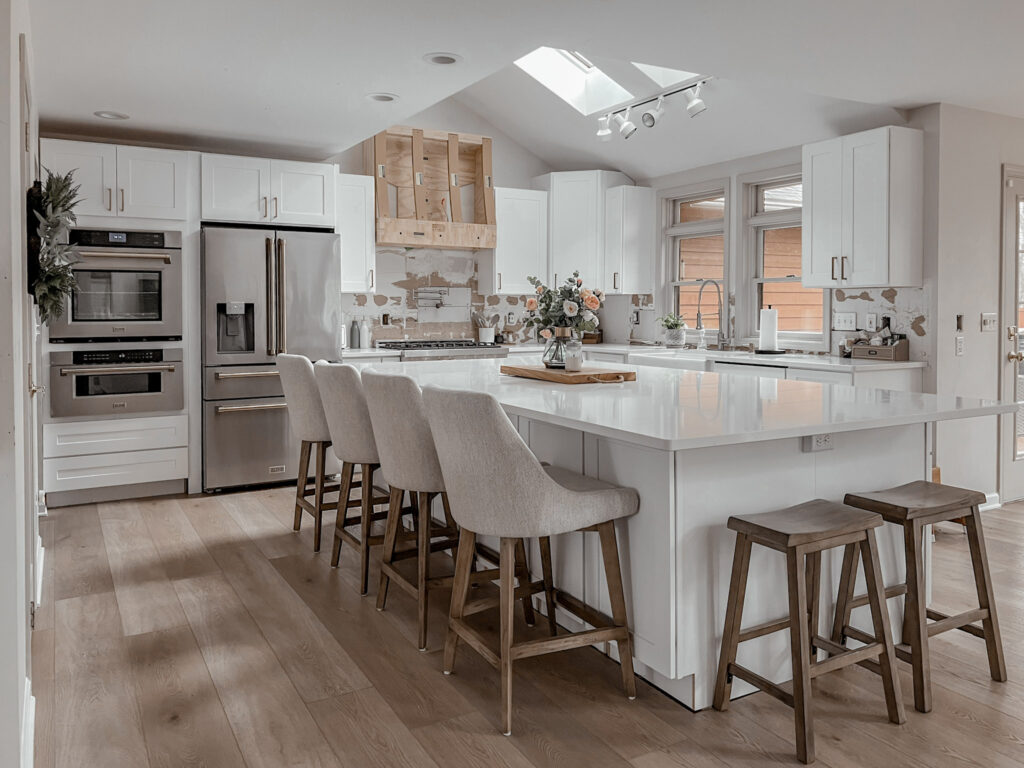
If you have a gap between your cabinets and the ceiling, then before you can install the crown, you want to install cleats on your cabinets. This can be done using scrap wood. It gives you something to nail the crown to so it can sit right on top of your cabinets vs. overlaying them.
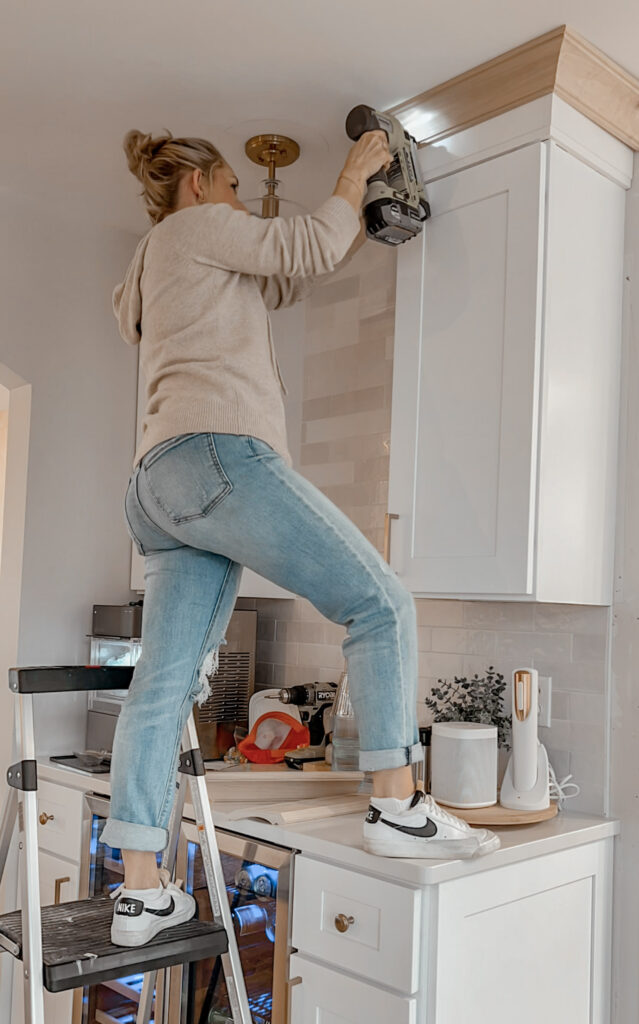
Once the cleats are on and the crown is preassembled you can attach it to either the cleats or directly to the ceiling. This step goes by fast! Measuring and cutting is by far the most time consuming part of this project. If you get the cuts right, the rest will fly by.
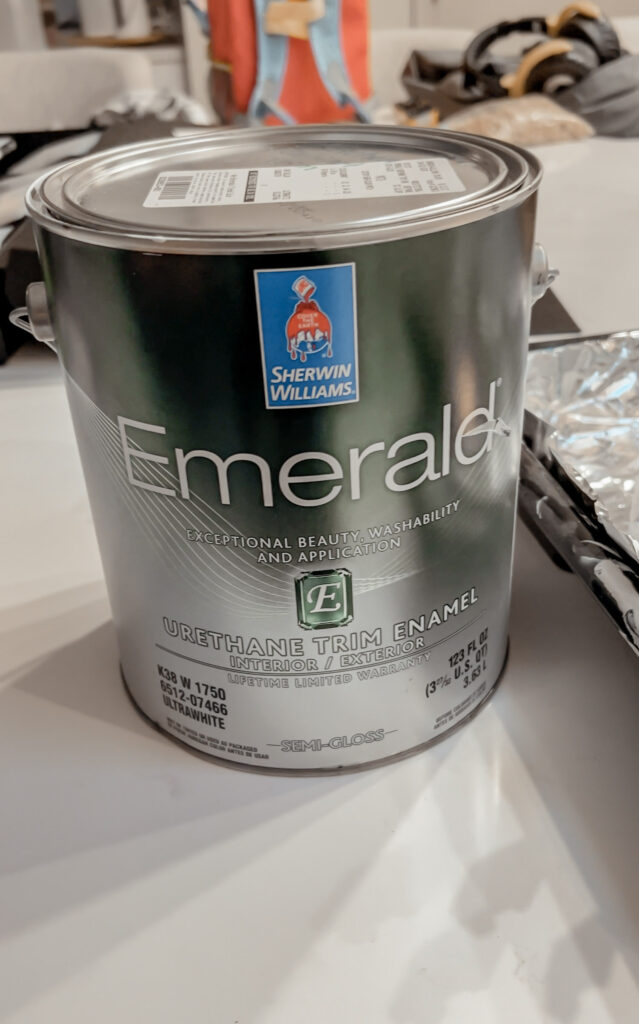
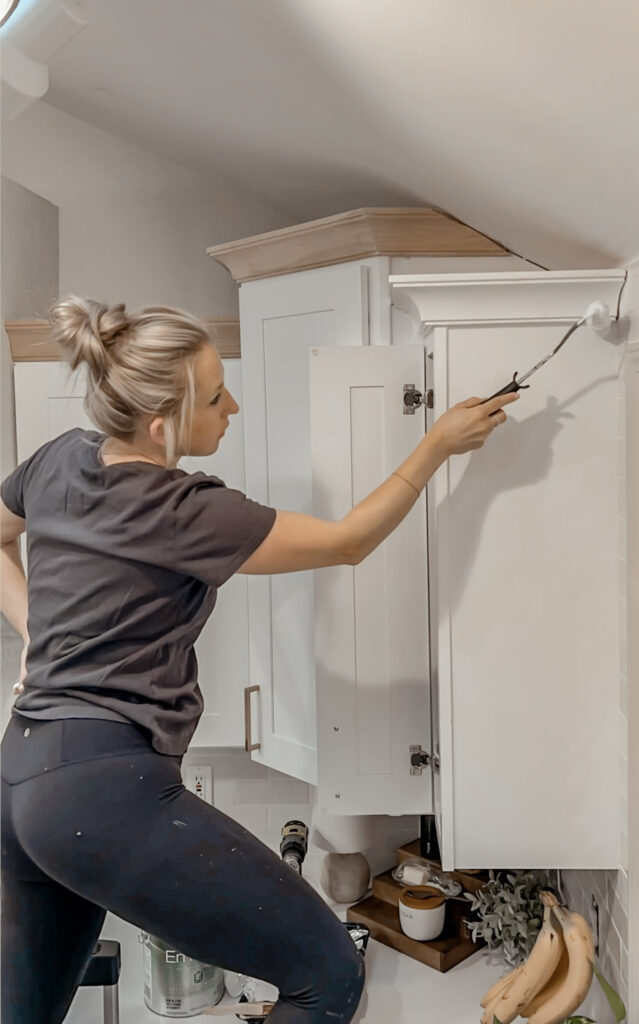
I decided to paint the crown after installation, and then I regretted it. If I had painted it before hand I could have used a sprayer and it would have gone so much faster. The nail holes would still need to be filled after install, but that is quick and easy. I’m using the Sherwin Williams Emerald Urethane Trim Enamel. This is my favorite whenever you’re doing a cabinet finish or trim on the floor. It cures to a hardened finish and is much more durable.
If you decide to paint them after install, like me, be sure yo use an angle brush for the corners. You can get the paint color matched to your cabinet at any hardware store. jumping castle
Total Cost $618 (including crown molding)
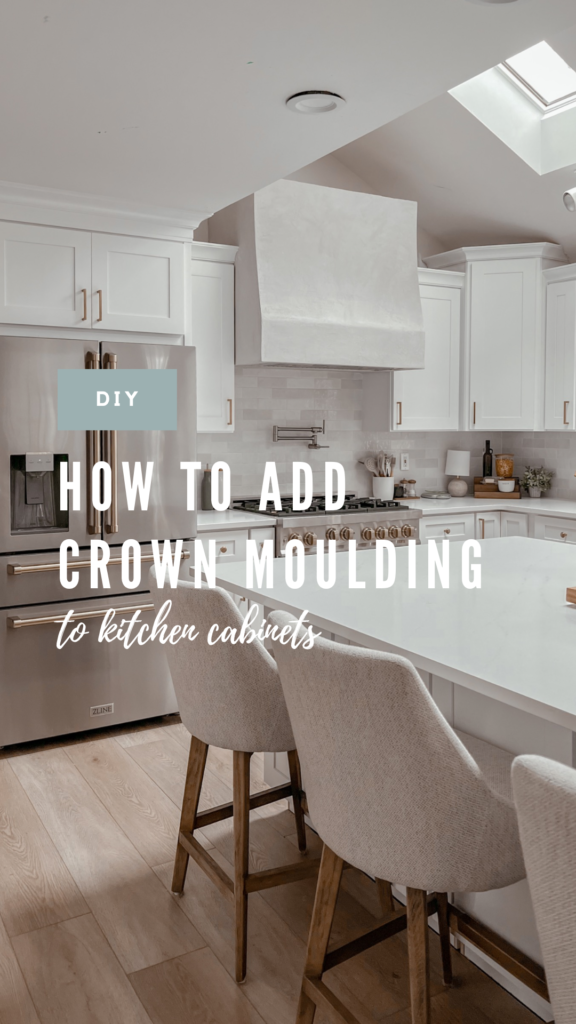
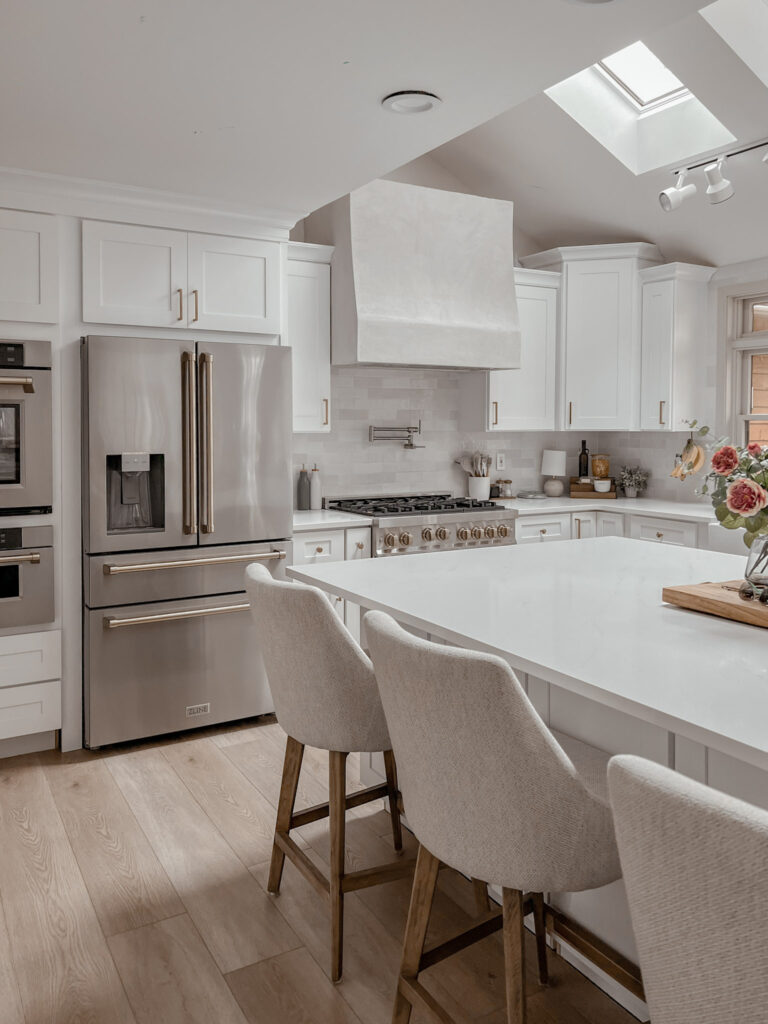
I promised myself that with this house I wouldn’t compromise on anything. If I do a project and don’t love it, I won’t stop until I do. So what do you think? Do you like the original style I picked or the more modern look I decided to go with?