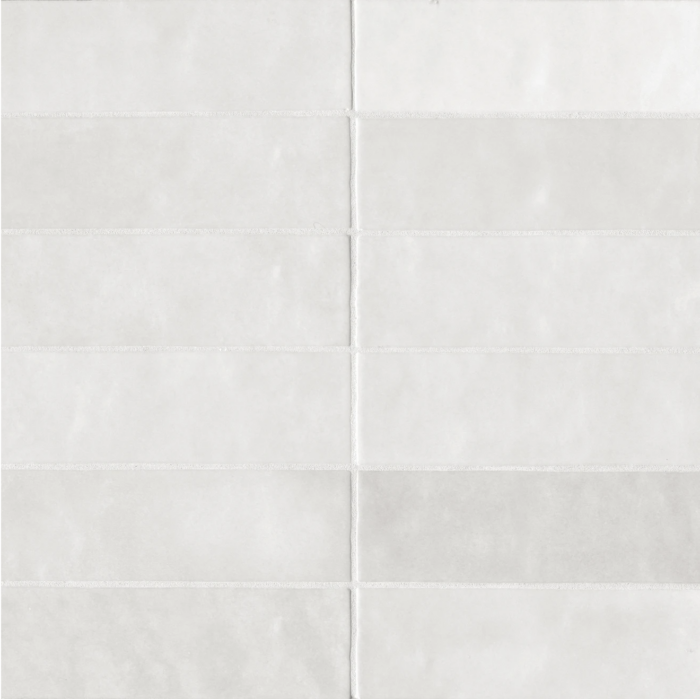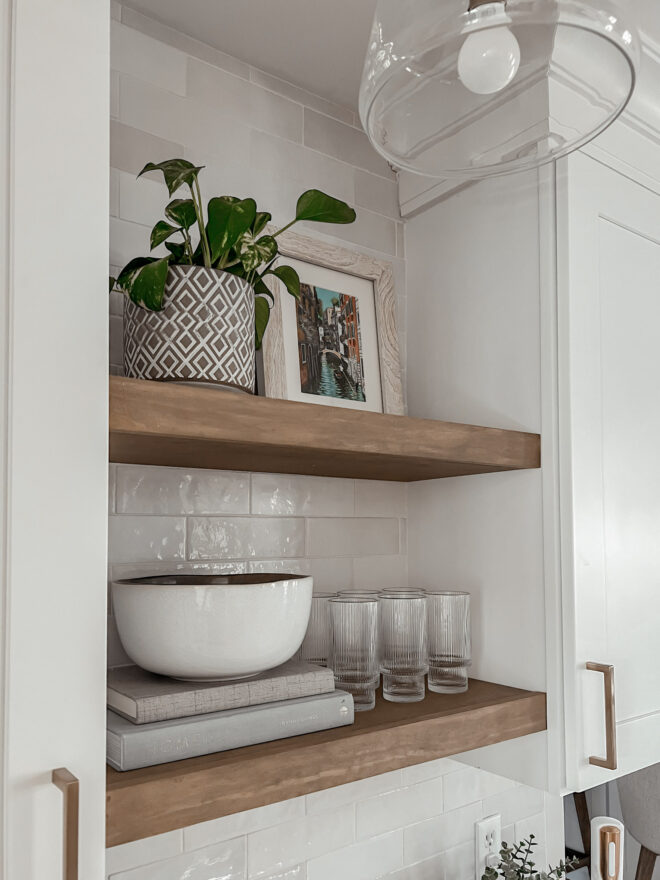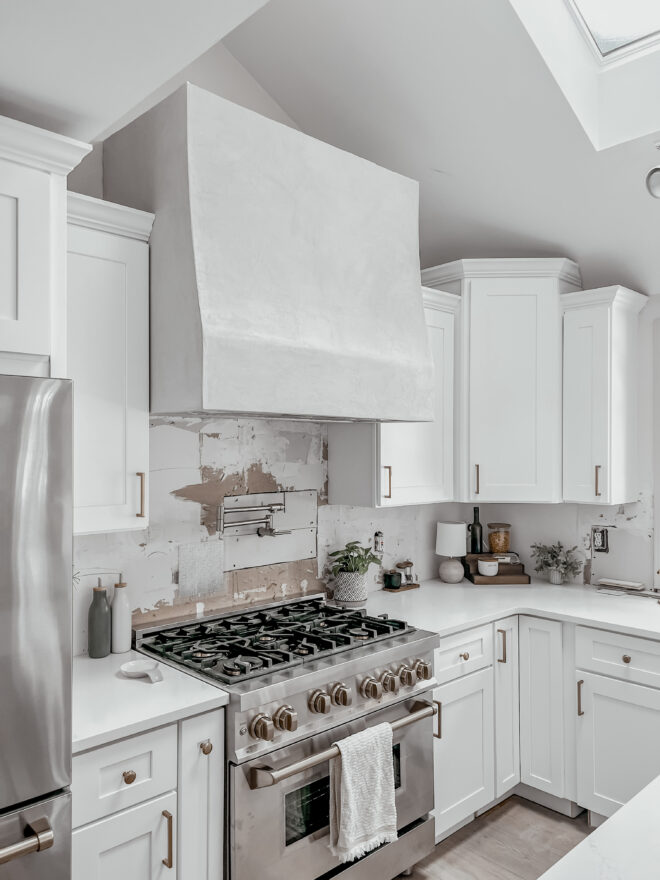


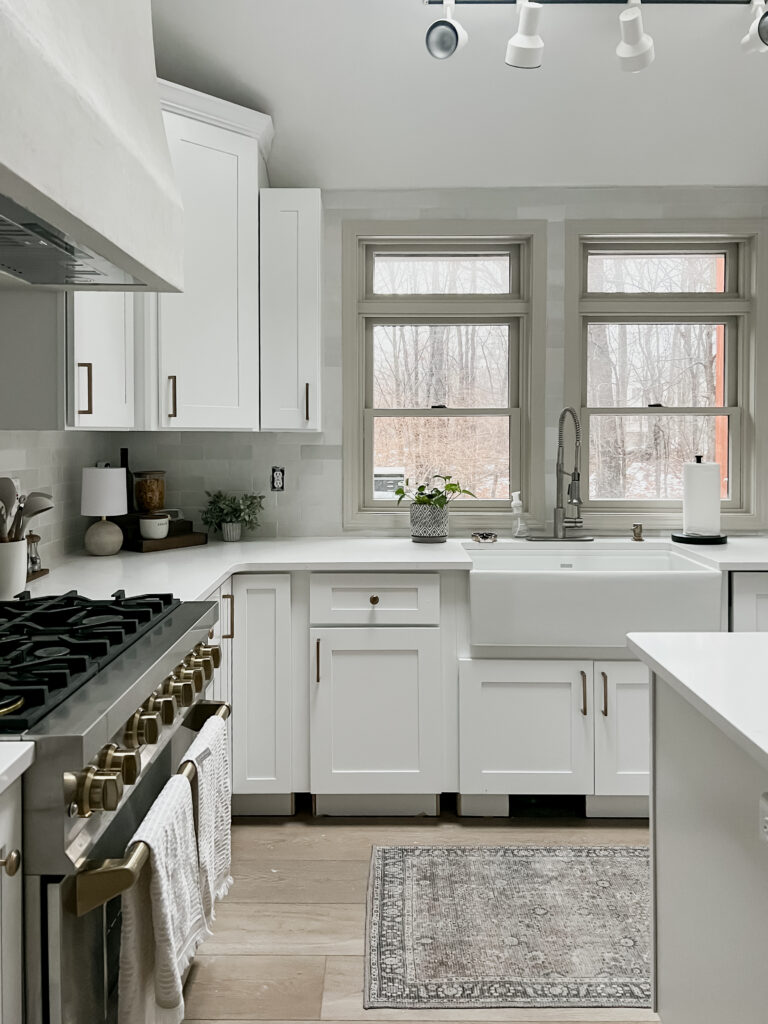
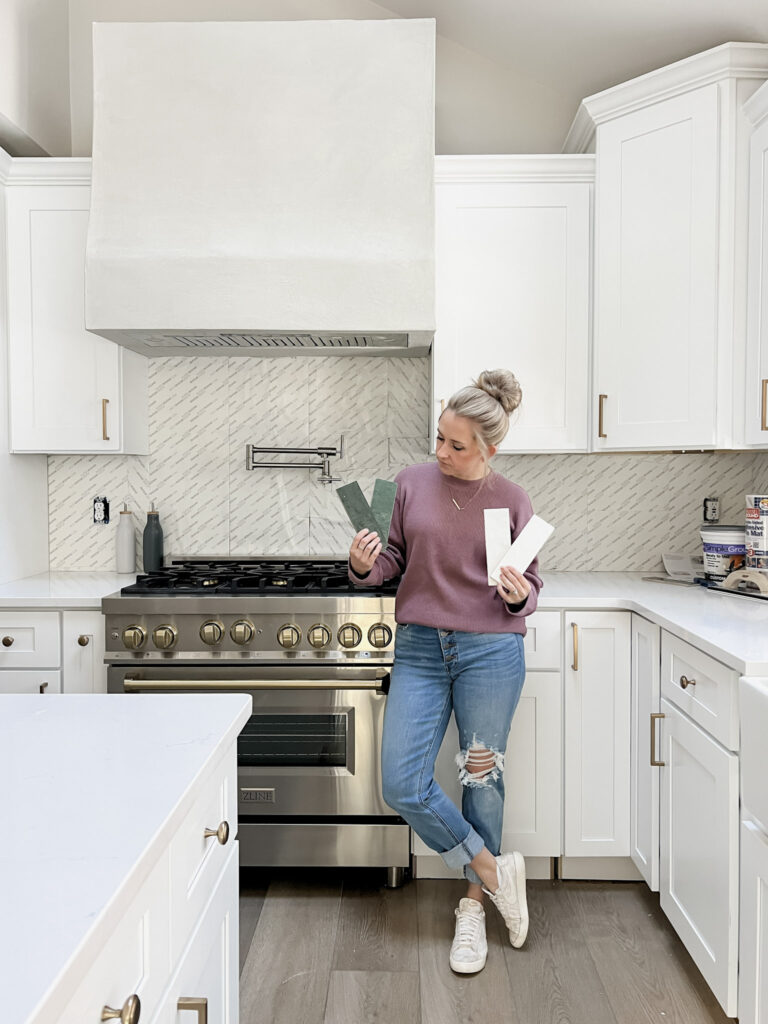
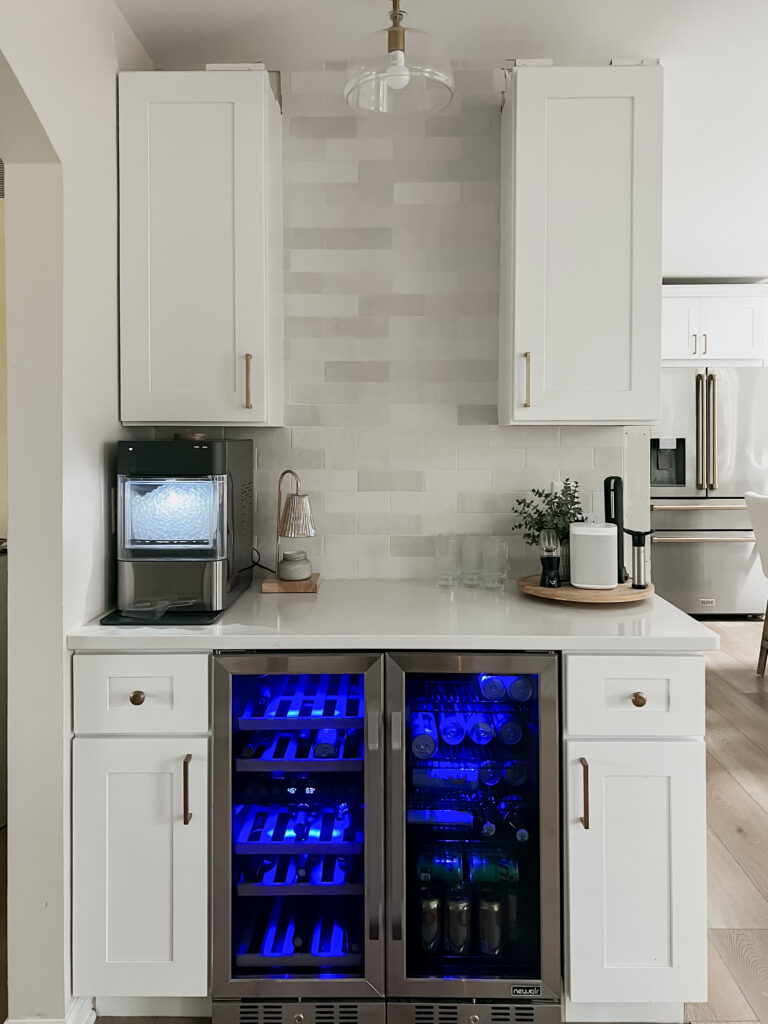
I’m going to be tiling the entire backsplash up the ceiling around the kitchen window + our bar area backsplash. I’m using the Cloe tile in white from Bedrosian Tile & Stone and I am obsessed with the coloring. It has a nice variation of grays and beiges to add texture and depth while still being overall a white coloring. It is magical!
If you’ve never installed tile before, you’re in the right place! I think tiling sounds like one of the more intimidating projects but it is actually super beginner friendly and I’m here to tell you why. If you’re looking for an even quicker way to update your backsplash, this was one of my very first projects!
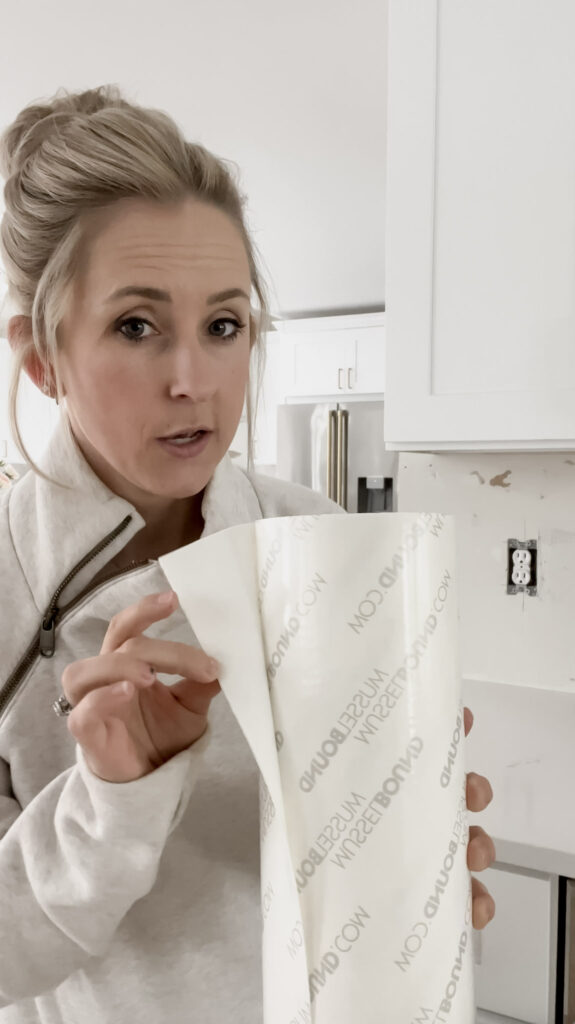
The first step is to attach your tiling edge trim. I’m using something called Schluter trim for the edging. You will most often see this or bull nose tile used to trim out the edges when installing tile. I like this because it leaves a sleek, flat, edge and is easy to install. You want to measure the height of your exposed edge and cut the Schluter trim to size. Next, cut a piece of Mussel Bound the same height and width at the trim piece. Attach the Mussel Bound to the wall, peel off the double sided backing, and attach the trim on top.
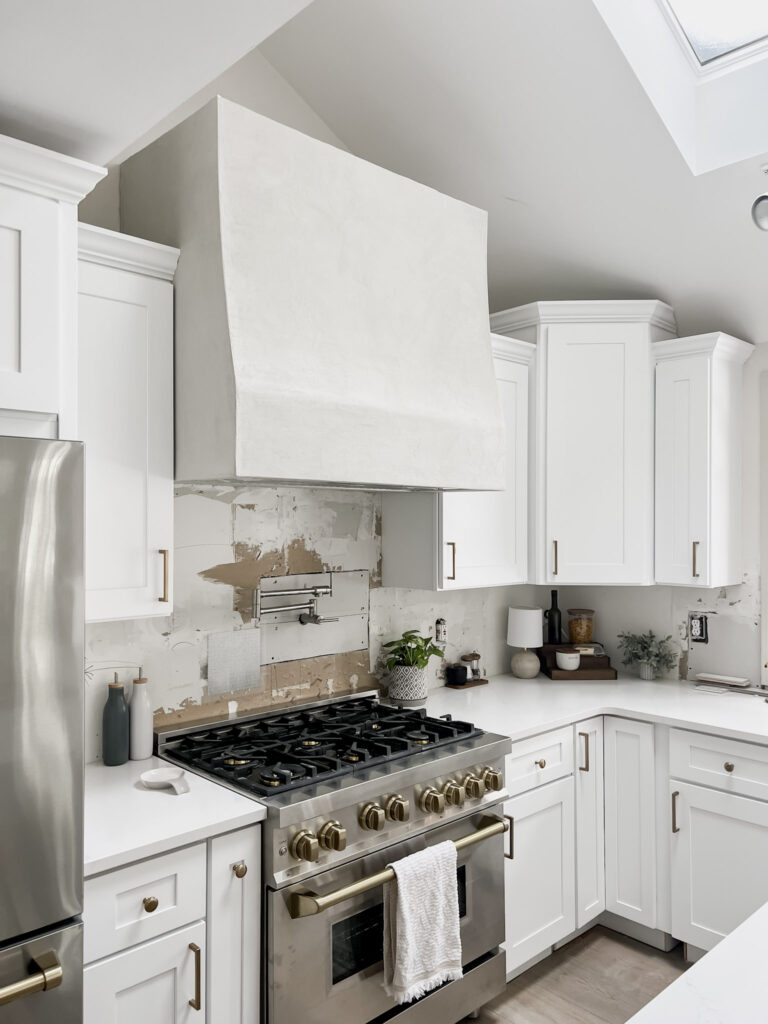
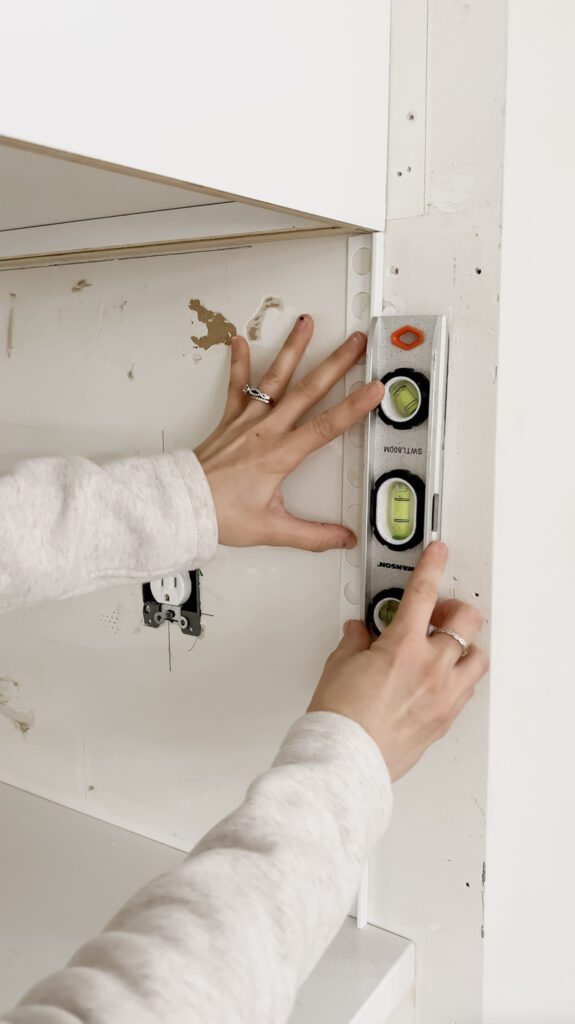
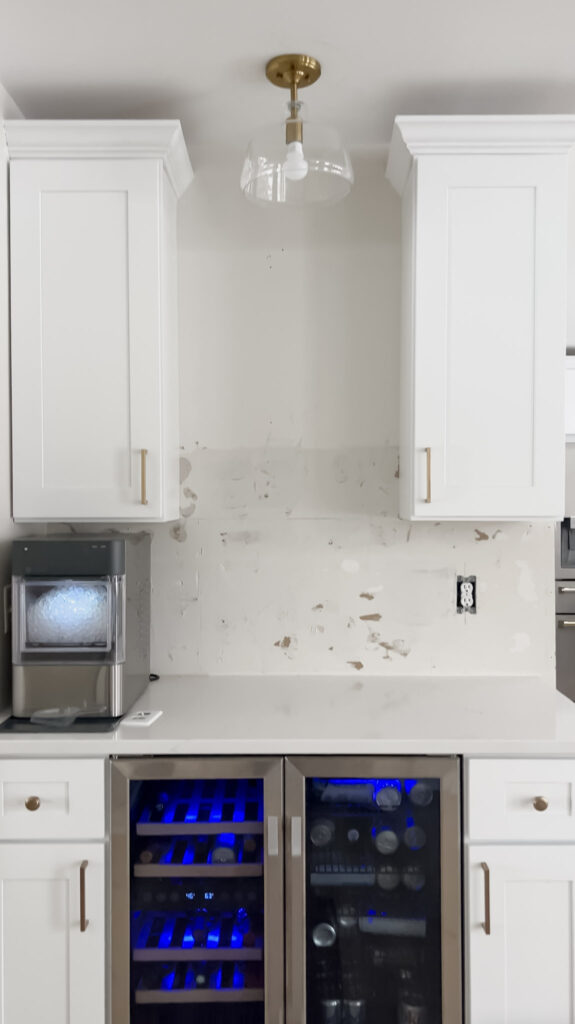
Remove all your outlet covers, and unscrew the outlets pulling them slightly away from the wall. Then, make sure your surface is flat and free of all dust.
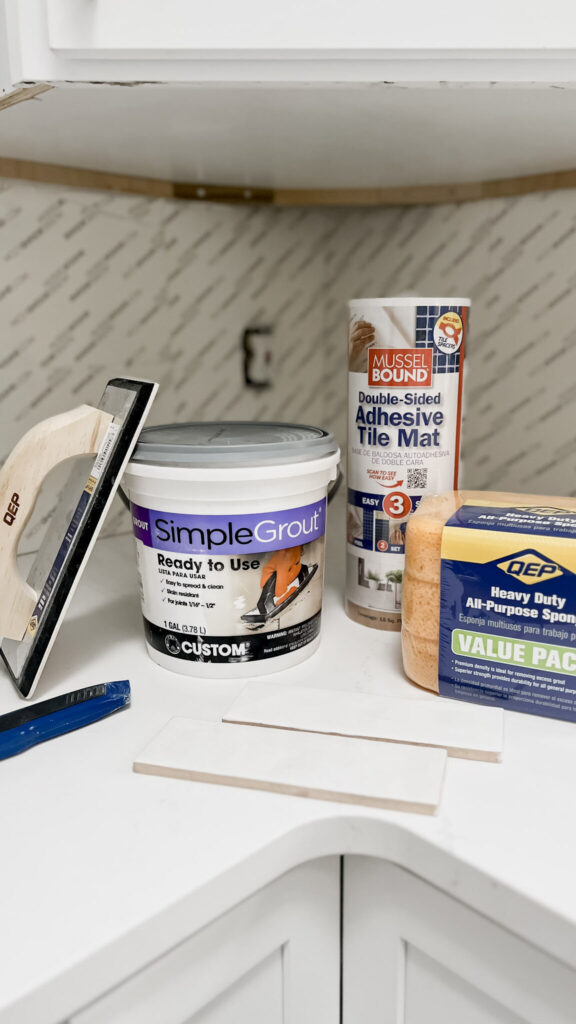
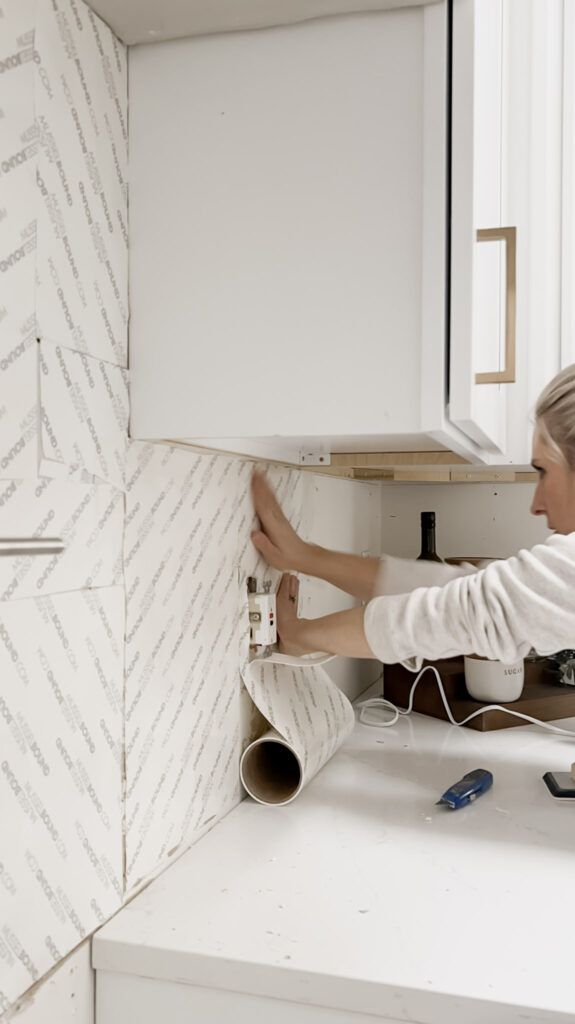
Next up is attaching the Mussel bound to the entire surface you will be tiling. Mussel Bound is a double sided tiling adhesive mat. You apply it to the wall in place of thin-set or mortar and the tile sticks directly to it. This eliminates so much mess, and you don’t have to wait for dry time. You could put the tiles on and grout in the same day!
When attaching you peel off one side of the backing, and stick to the wall. Make sure you work top to bottom, and us a razor or xacto knife to cut off the excess and trim out around the outlets. Follow along after yourself with a grout float pressing into the wall just to ensure it is completely stuck.
I had the hugest hiccup in my project that bummed me out! I had ordered the tile a month ahead of time and it was happily sitting in my garage waiting for me. After I finished my tile prep I went out to the garage to bring in a few boxes and when I opened them my beautiful white tile was green.
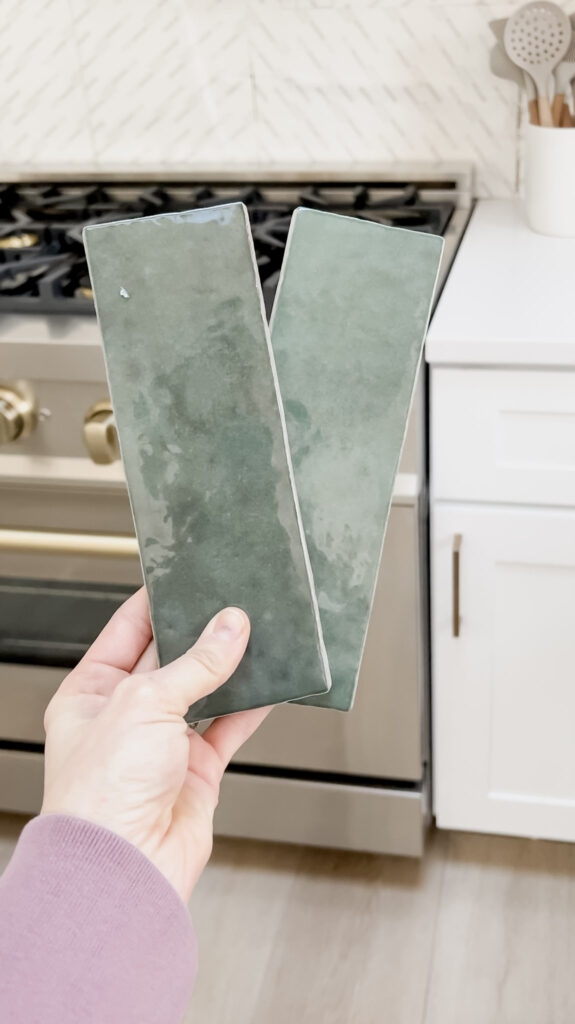

That completely halted my progress and left me wondering what to do. I ended up going to the store to look for other tile in case there was anything in stock I could use right away. I found nothing I liked, and I decided I didn’t want green so my only option was to wait.
Luckily, when I decided to contact the tile company they were able to OVERNIGHT me 2 boxes of tile, so I was able to get started on the tile only a couple of days late.
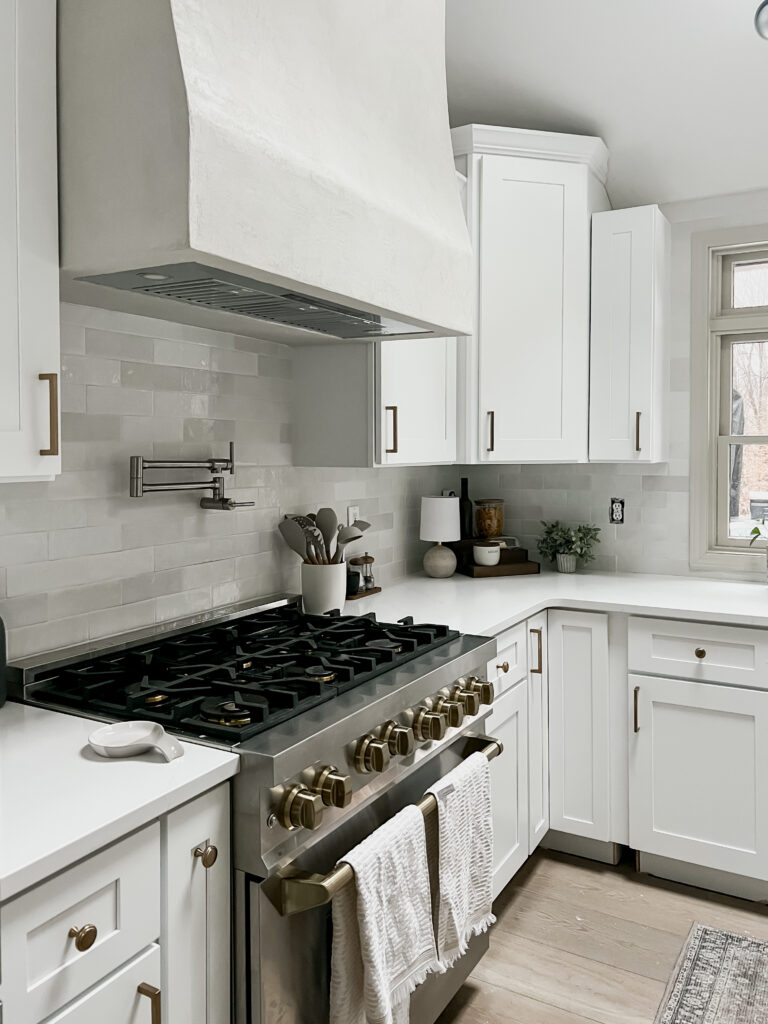
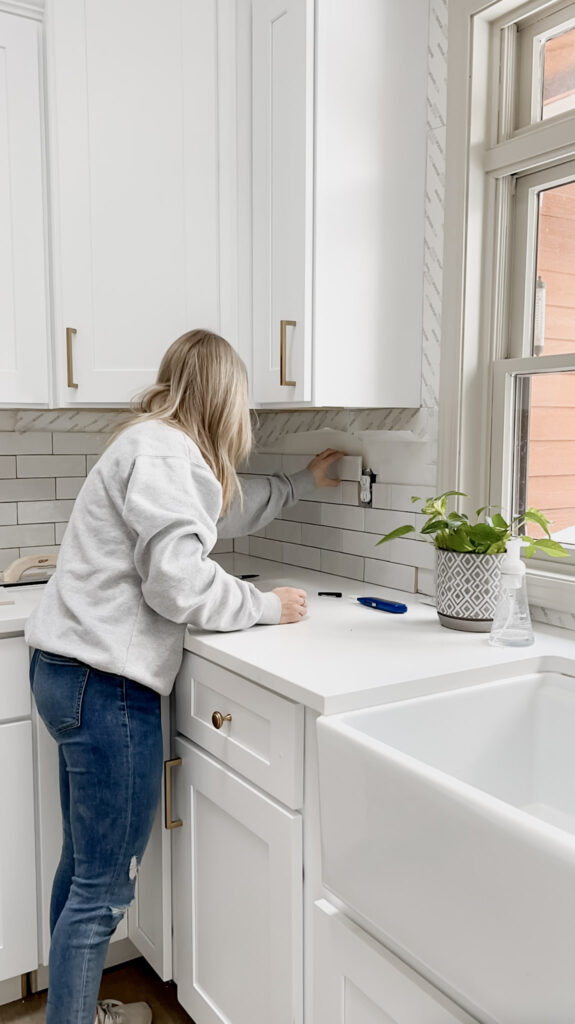
To start laying the tile, use a laser level to ensure your bottom row is completely level. It is very important that your first row is straight and level because every row after that will be based on what you did to start. Normally the spacers would keep it perfect, but for this tile I decided not to use spacers. The nature of the tile is imperfect, the edges aren’t 100% straight and the color is intended to have variation, so I wanted the more organic look without the use of spacers. It is totally up to you what you decide to do for your project. If I was using a more standard subway tile I would incorporate spacers.
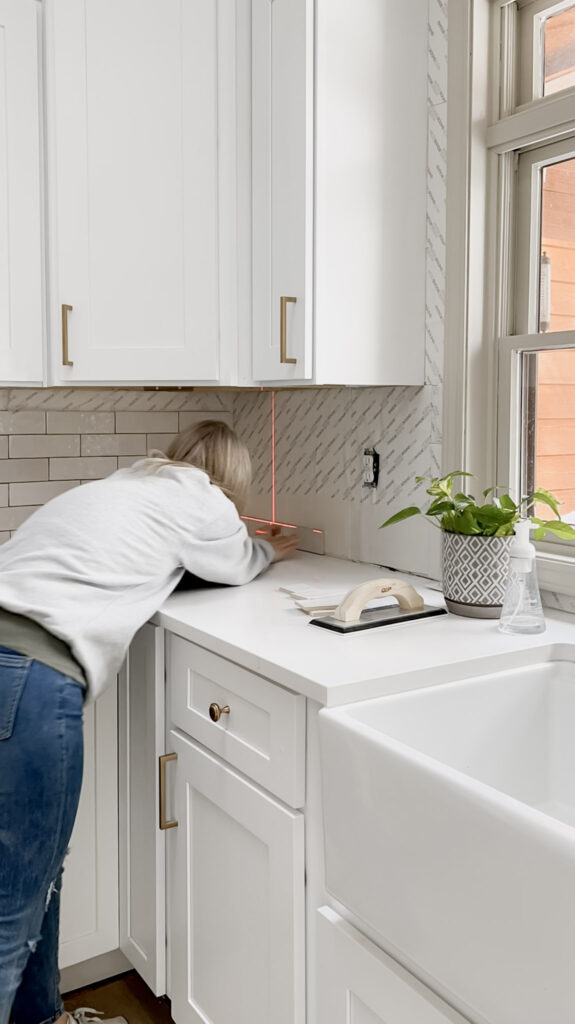
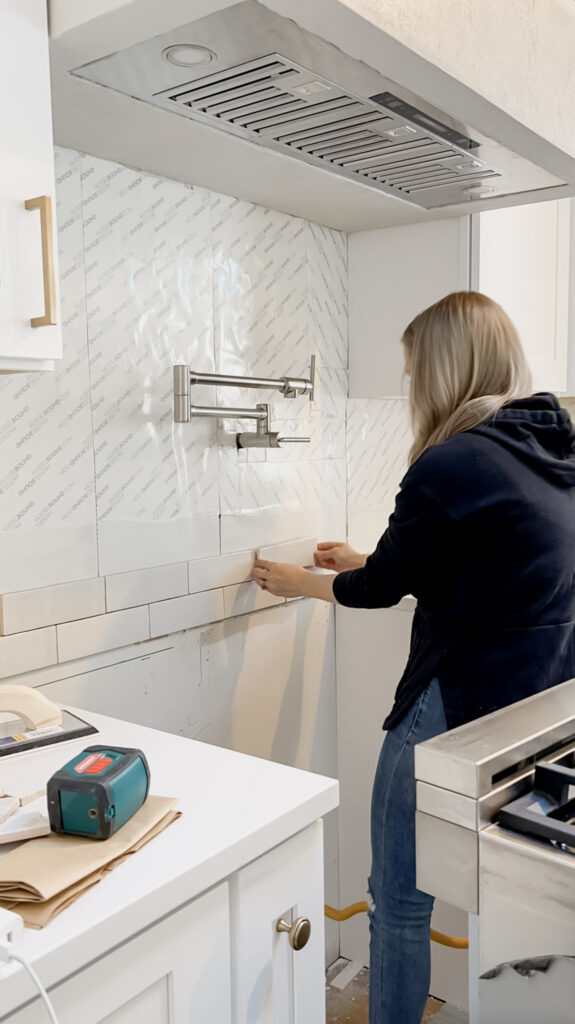
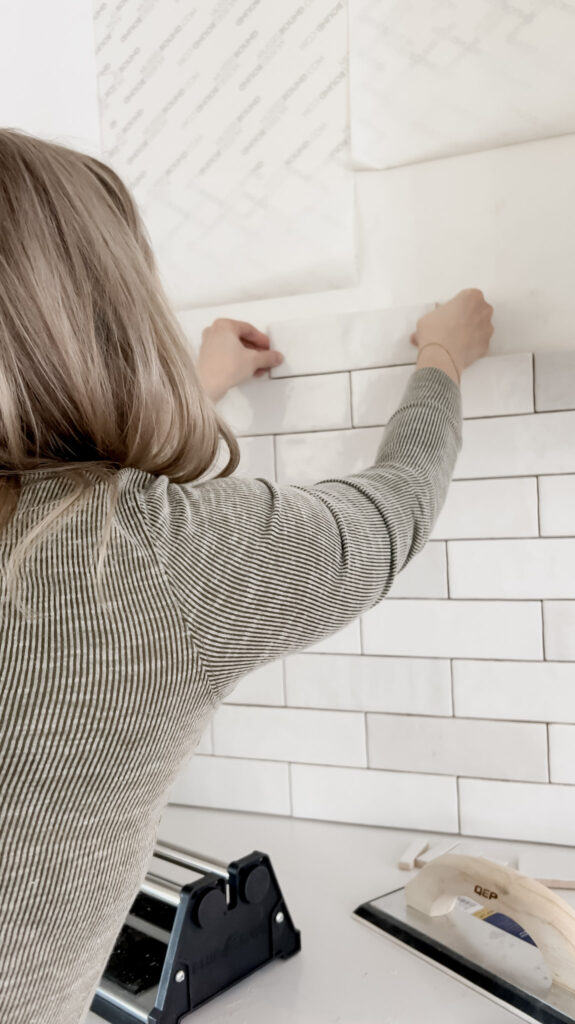
Once you have your laser level lined up you can start laying the tile! I’m doing a brick pattern so I started in the very middle and moved out from there. The Mussel Bound is VERY sticky, so when you are installing your tiles you want to ensure they are placed correctly before officially pushing them onto the wall. They will be VERY hard to move after if you make a mistake. Don’t let that deter you, as long as you’re aware ahead of time you will see how simple it is!
There are two ways to cut tile, with a manual score and snap tile cutter, or with a wet saw. I prefer to use a manual tile cutter to make most of my cuts. You simply measure, score, and snap the tile. It creates much less mess than the wet saw. It is still necessary to have a wet saw on hand for more intricate or angled cuts that you cant use the manual cutter for.
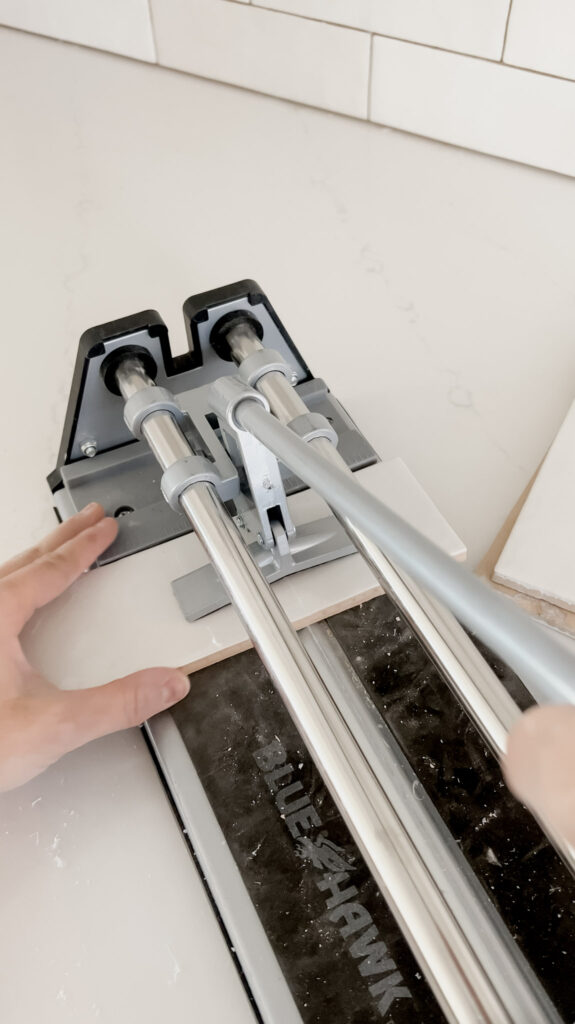
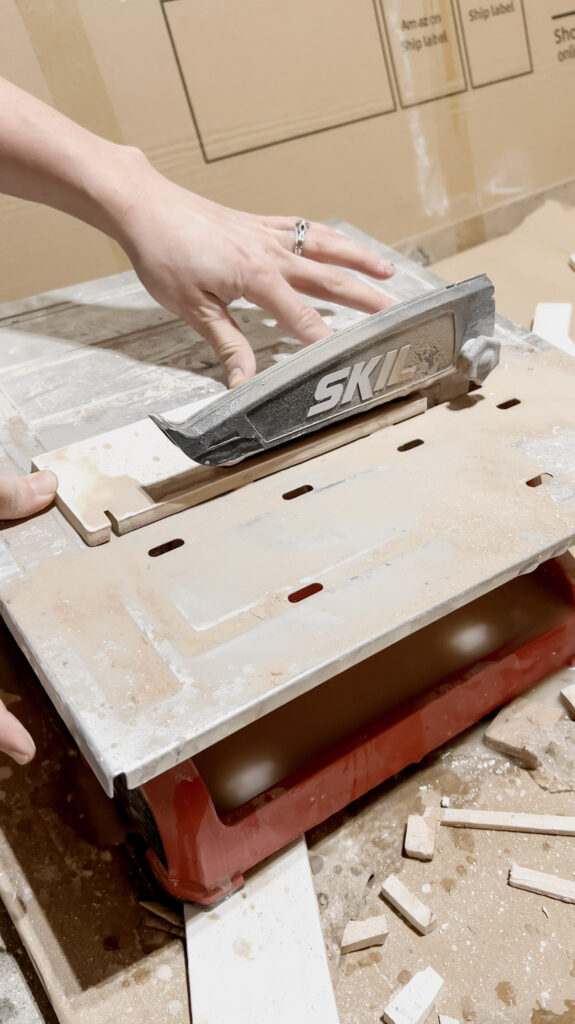
For the wet saw, you mark your tile before hand and then line it up the same you way any other saw. I know even the word saw is intimidating to new DIY’ers, but I promise a wet saw is the least dangerous and easiest to use! The blade cuts using water and grinds the tile, so the blade isn’t even really sharp.
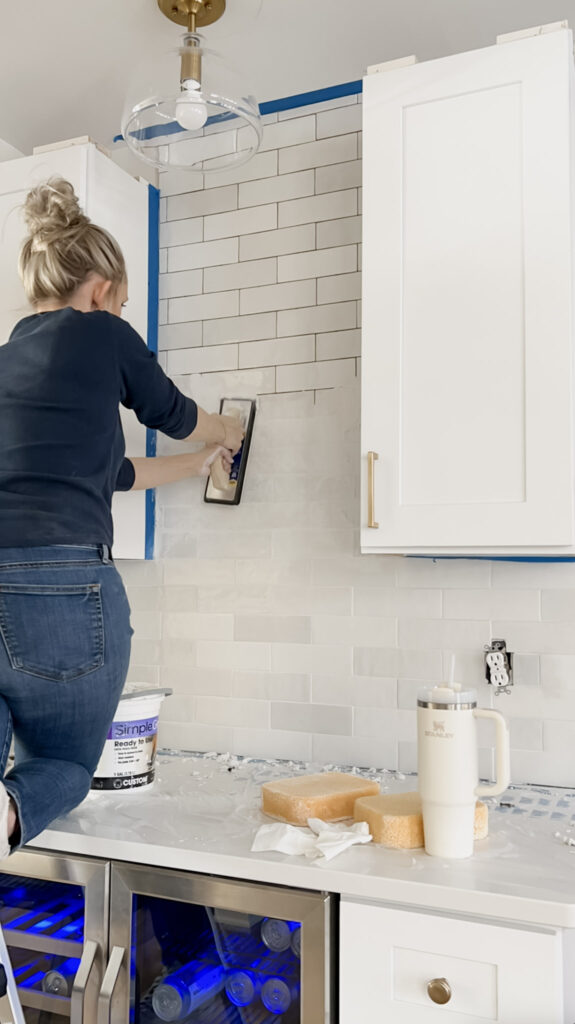
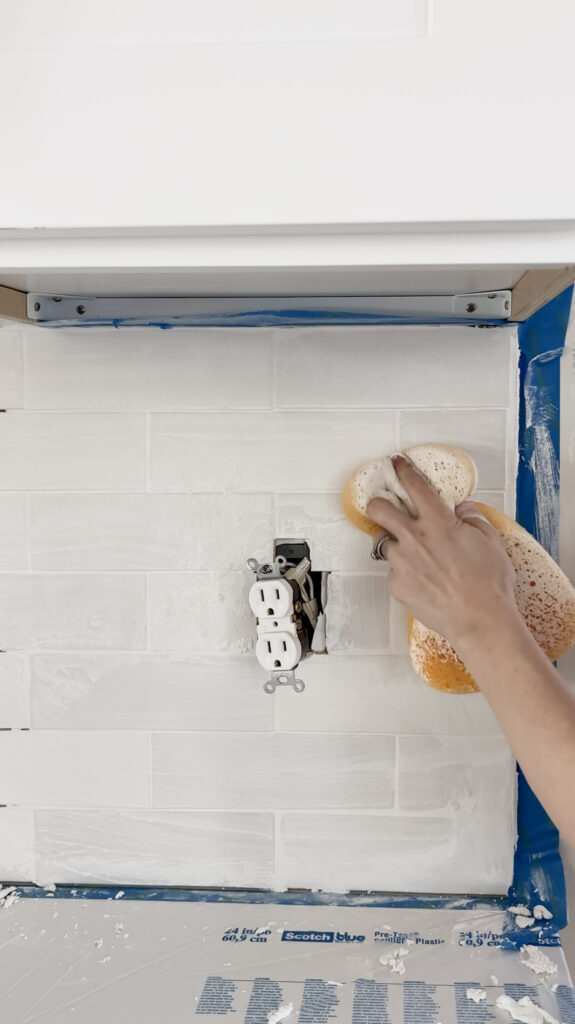
Grouting can be a little messy, so make sure you have some sort of plastic or covering down on any surface you don’t want grout on. You will take your grout float, and use it to scoop up a small amount of the grout. I’m using pre-mixed grout to save myself a step and ensure it is the right consistency for a good hold. You will firmly push the grout into the cracks and crevices of the tile making sure to fully fill them with grout. You want to work in small sections at a time so the grout doesn’t dry too much before you’re able to wipe it off.
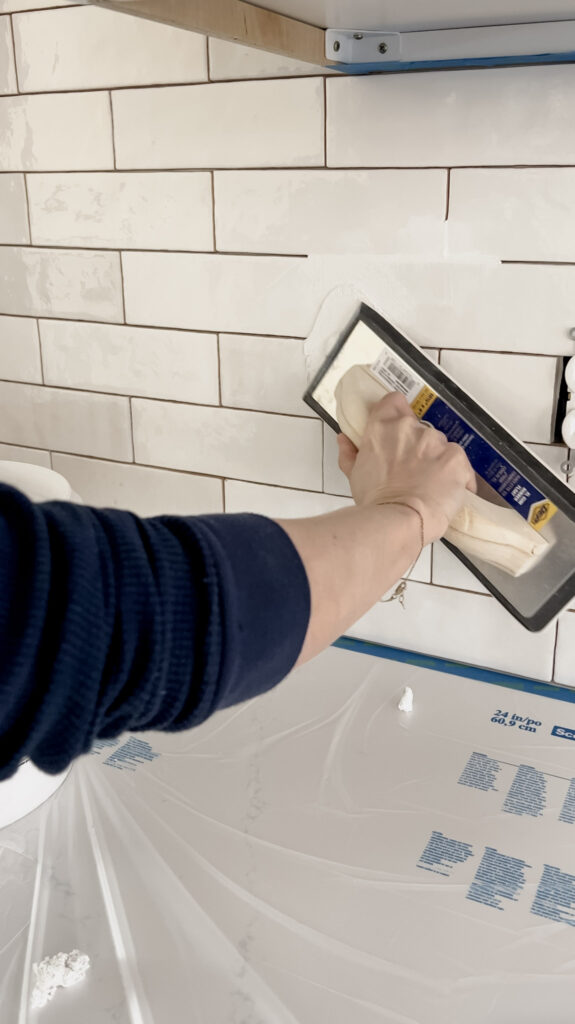

After you finish a small section, you will get your damp sponge and slowly wipe the same direction as the tile so as to remove a lot of the excess grout. Once you have most of the extra grout wiped clean you will take your dry sponge and wipe all of the remaining water, etc off of the tile. This process is easier with glossy finish tile like I’m using, if you’re using a stone finish tile this step will take a little more time.
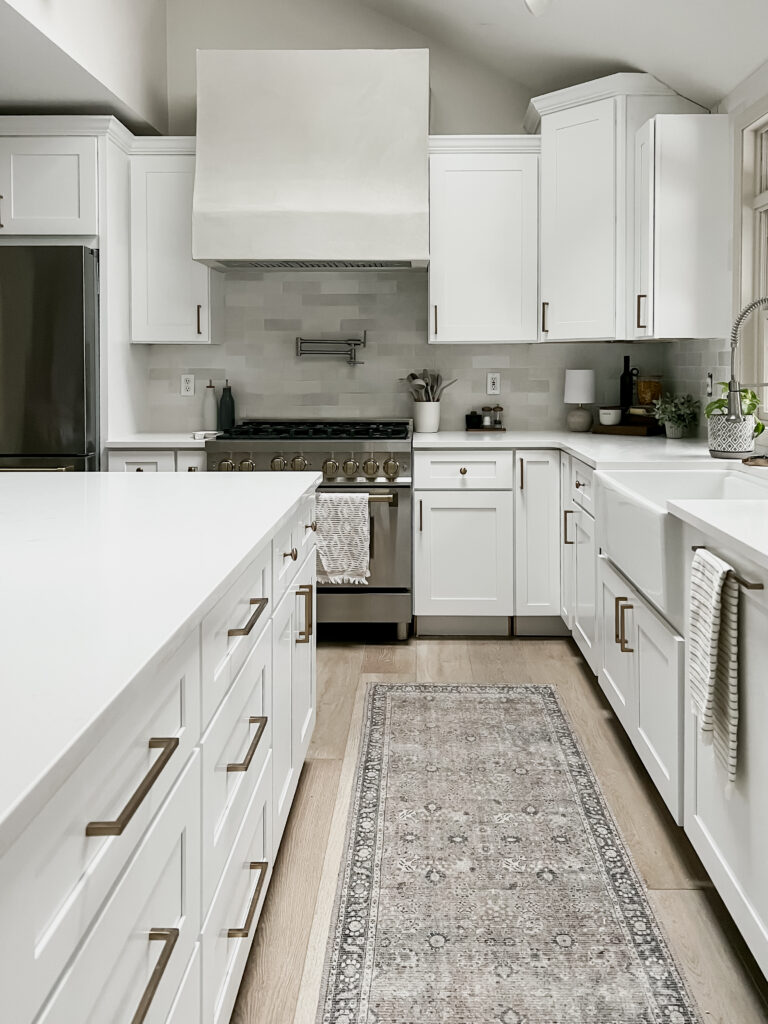
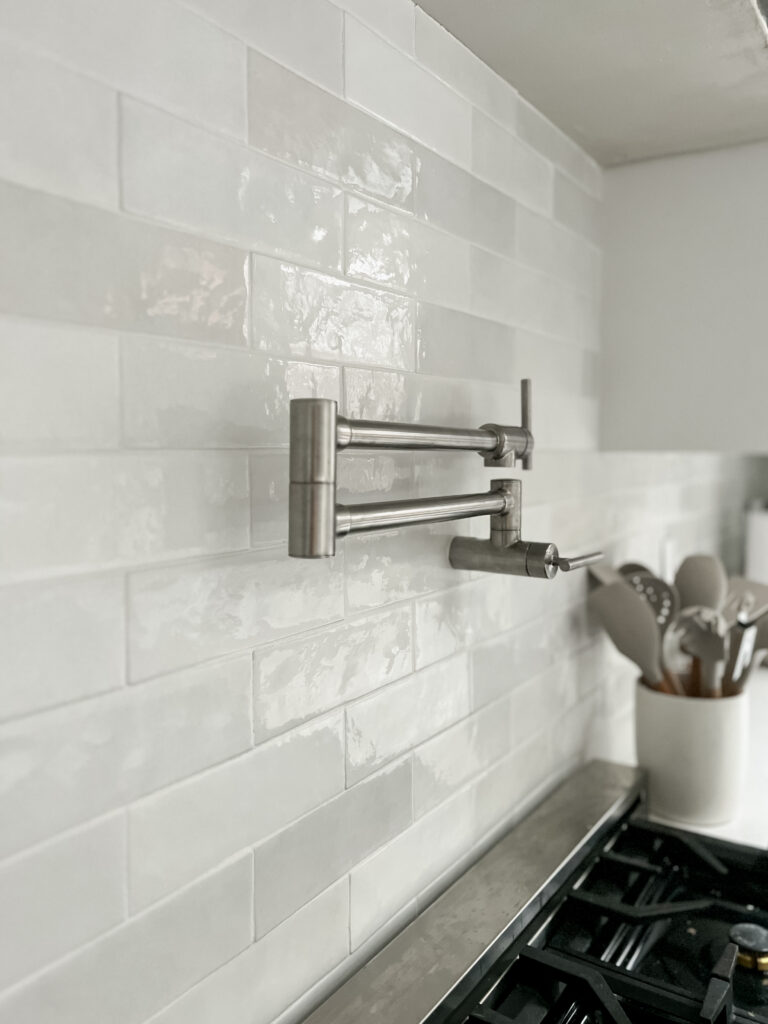
I’m so excited with the full kitchen transformation this project gave! It truly brought all the hard work together, and I am so happy I was able to get the original tile I wanted for this space!
Total Cost $1,234
Stay tuned for my crown moulding transformation!