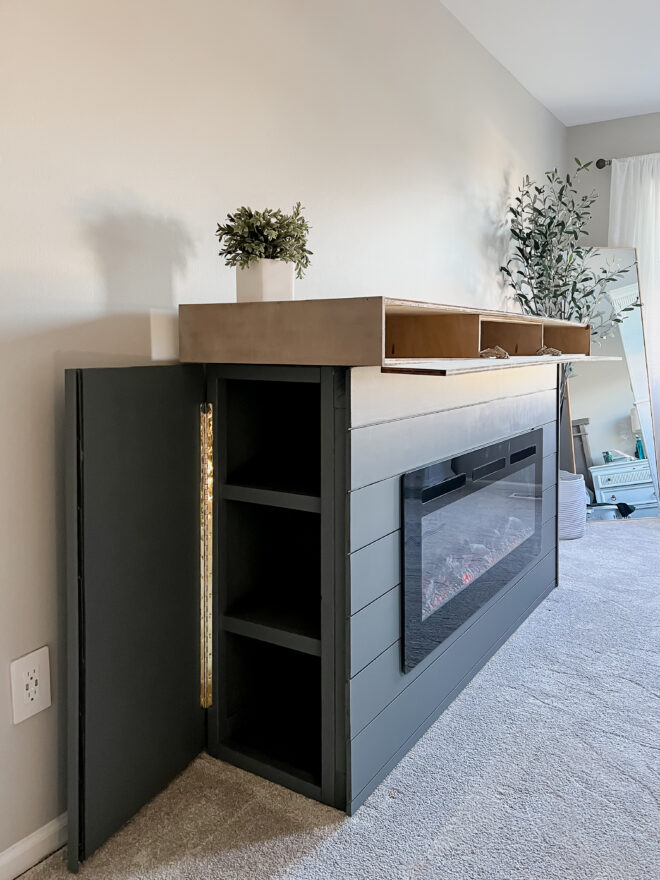


I’m working on a full office remodel and the largest part of the project is a full wall of custom built-in cabinets with a desk! I decided to go with drawers for the base of the cabinets and they proved to be a learning curve, but I did it! I’m doing shaker style drawer fronts and I’m so excited to share how easy they are!
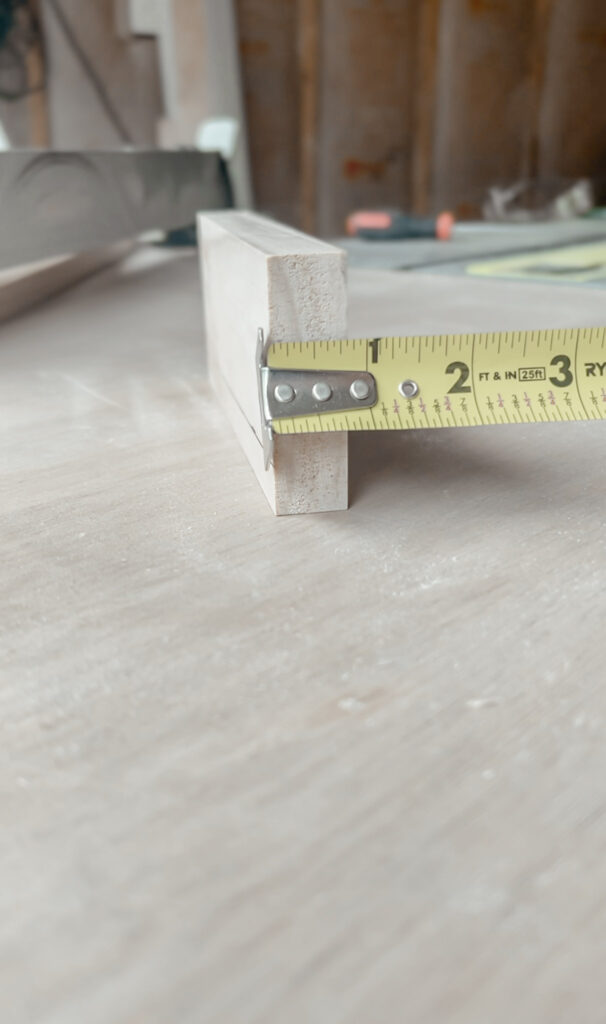
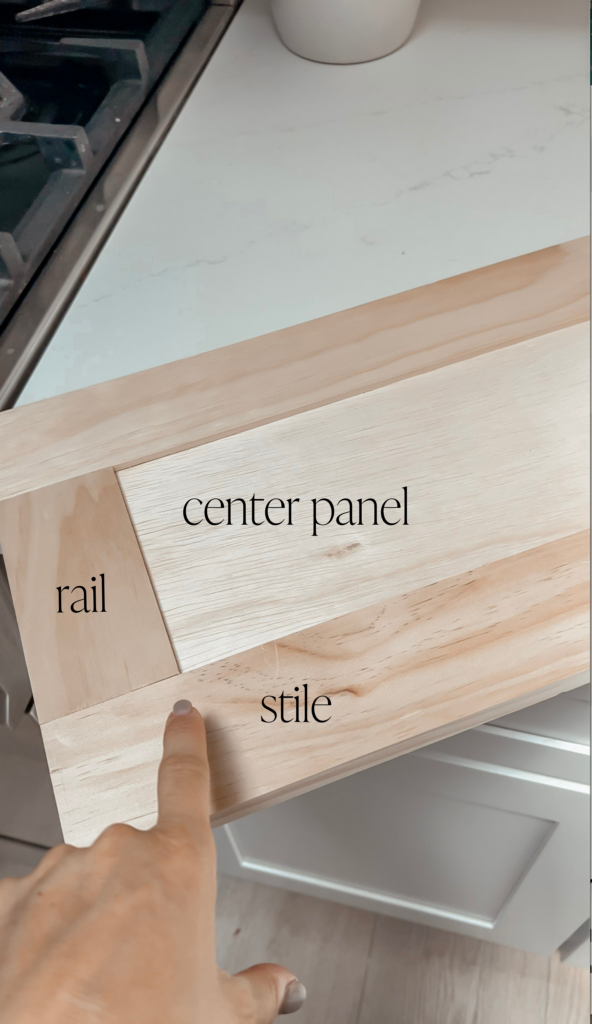
I knew I wanted a 1/2″ overhang on all sides, so I measure the front of my drawer boxes and added 1″ total to the measurement to know the length of my rails and stiles. Once I had all my measurements I was able to start cutting to size!
Pro tip: If you have several cuts of the same length, cut your first board and make sure it’s perfect, then use that same board to mark for every cut after it so they are all identical.
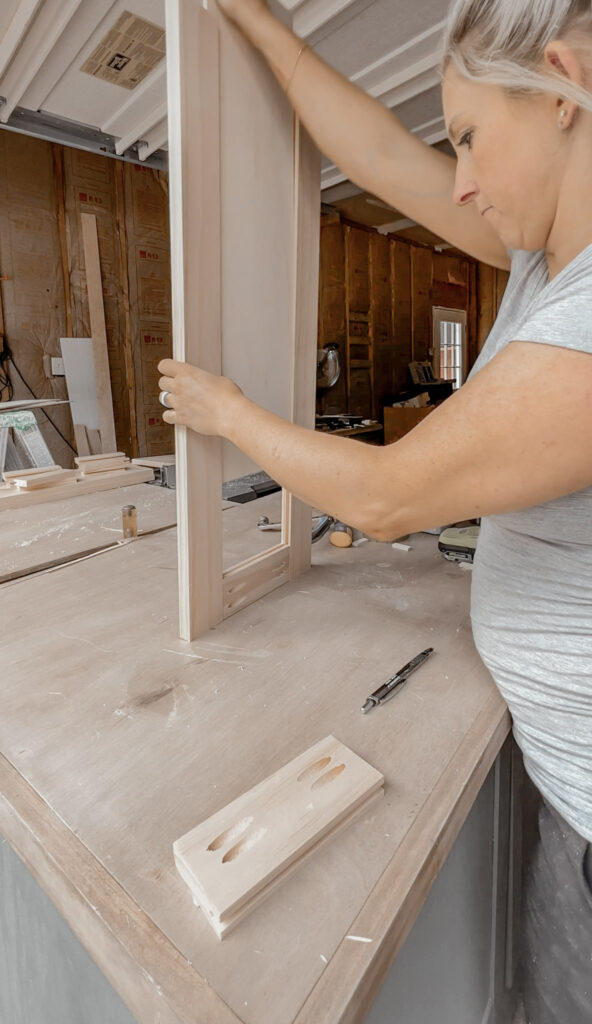
You want to create groove in the boards so that you can slide your plywood down into them, this is what creates the “shaker style” look. You can easily do this on your table saw!
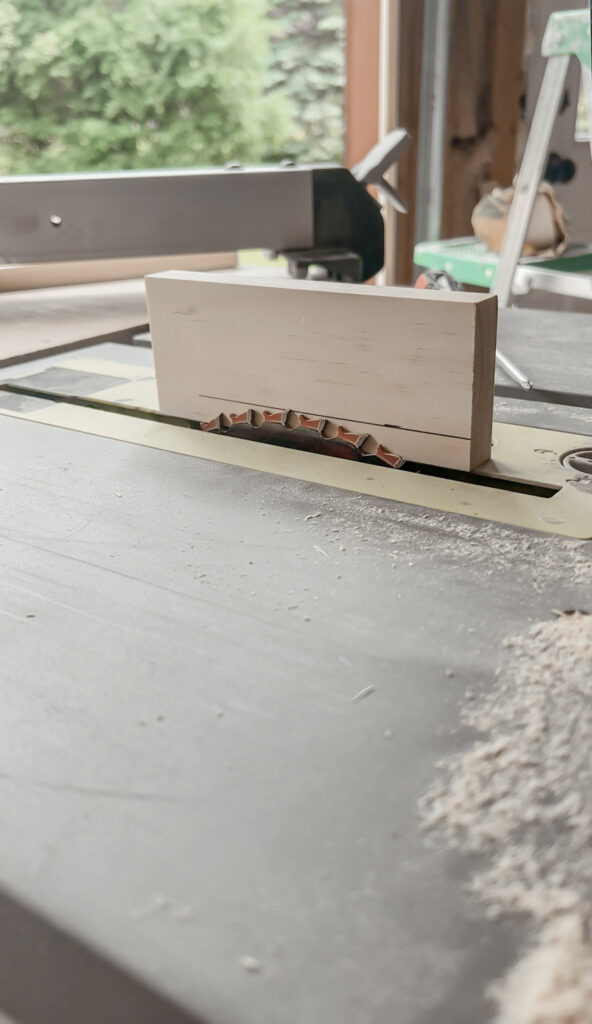
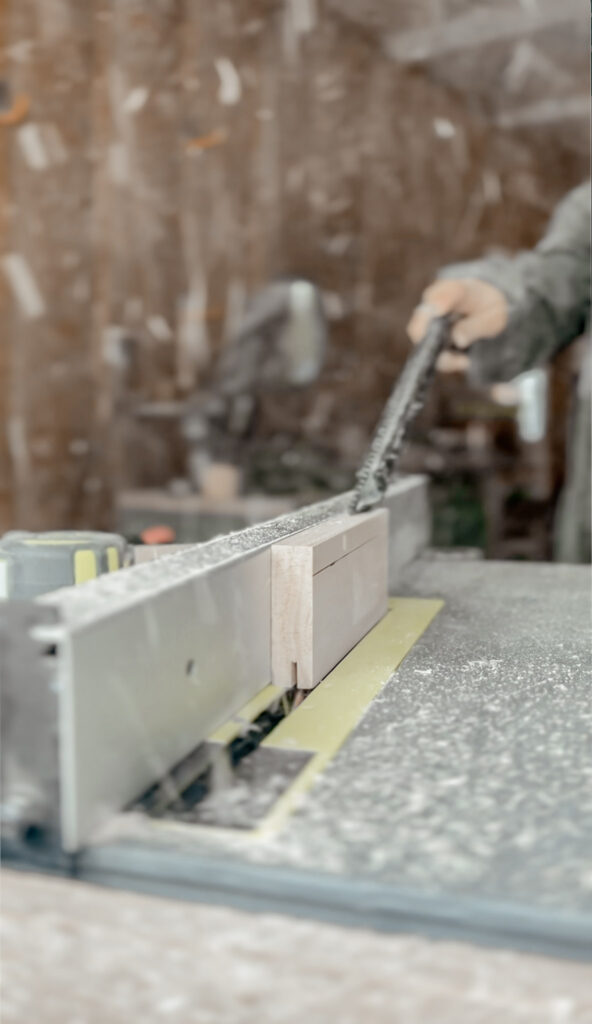
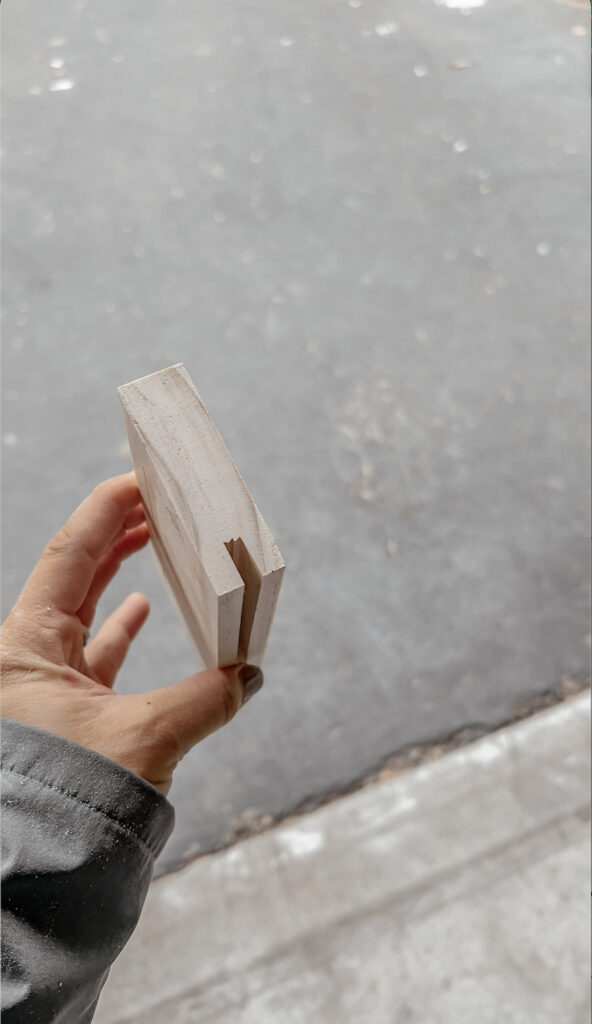
Lower down your table saw blade, and run your rails and stiles through using a push stick. You can purchase a special blade that the same thickness of your plywood, or you can use your standard blade and run the boards through twice. I set the guide on the table saw so I can run the board through once, flip it, and run through again to get a perfectly centered 1/4″ groove.
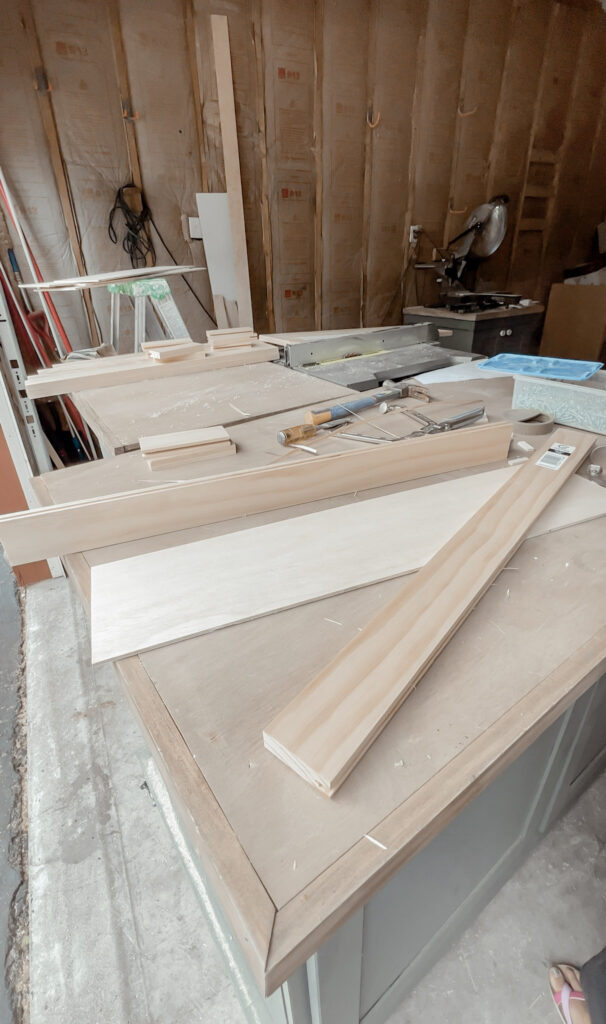
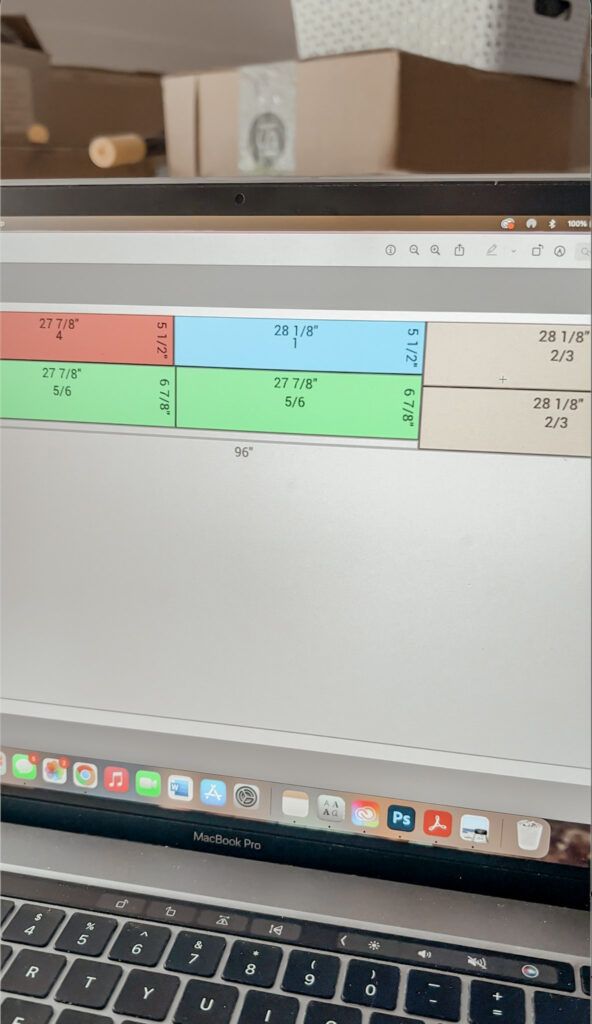
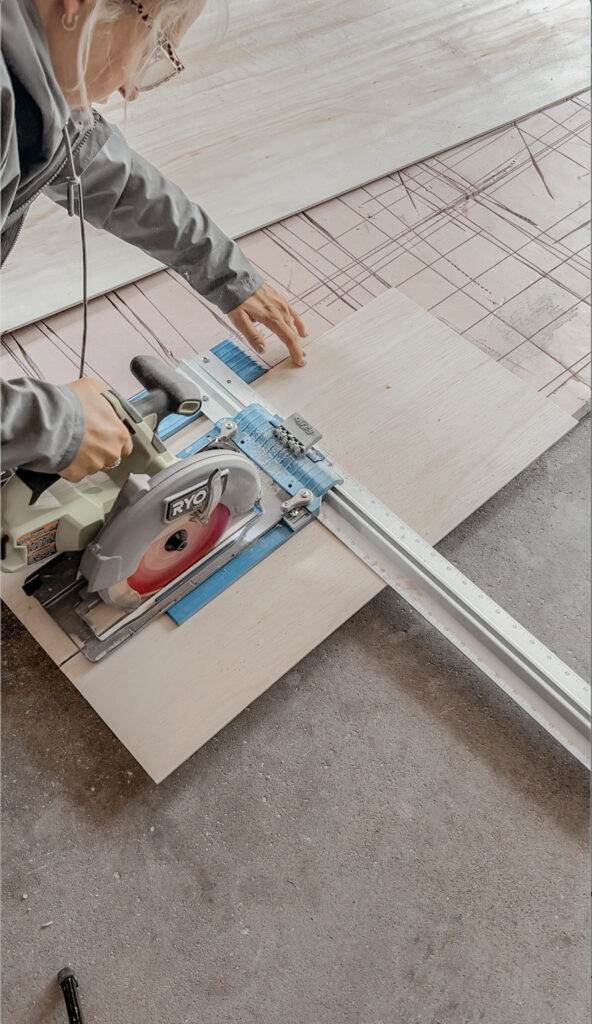
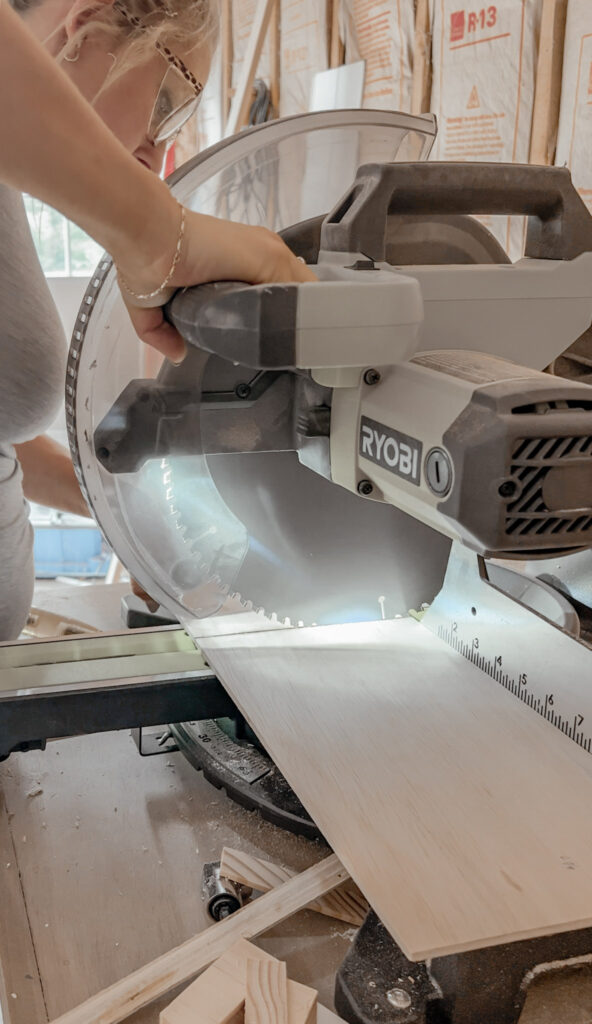
For the drawer fronts I laid out all my measurements using this site and then I used my circular saw + guide for the rip cuts (longer cuts) and I’m using my miter saw for the cross cuts (shorter cuts). You could use the circular saw for both if that’s all you have but for me this was faster.
I’m using pocket holes to assemble everything together! I am using my Kreg Jig to drill pocket holes in all of my rails. I have an in depth tutorial on pocket holes here, but I’ll give a quick overview!
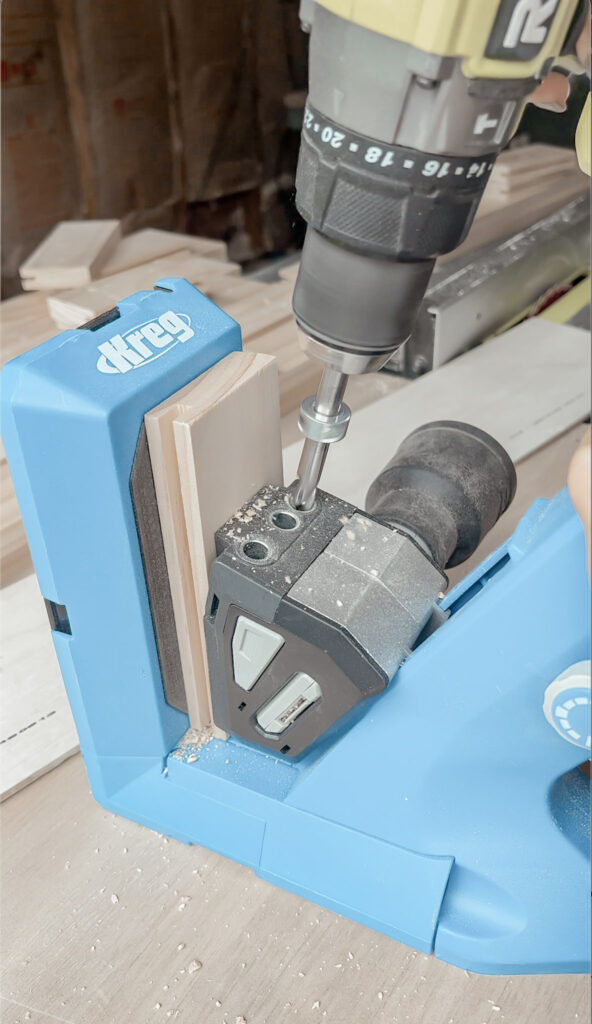
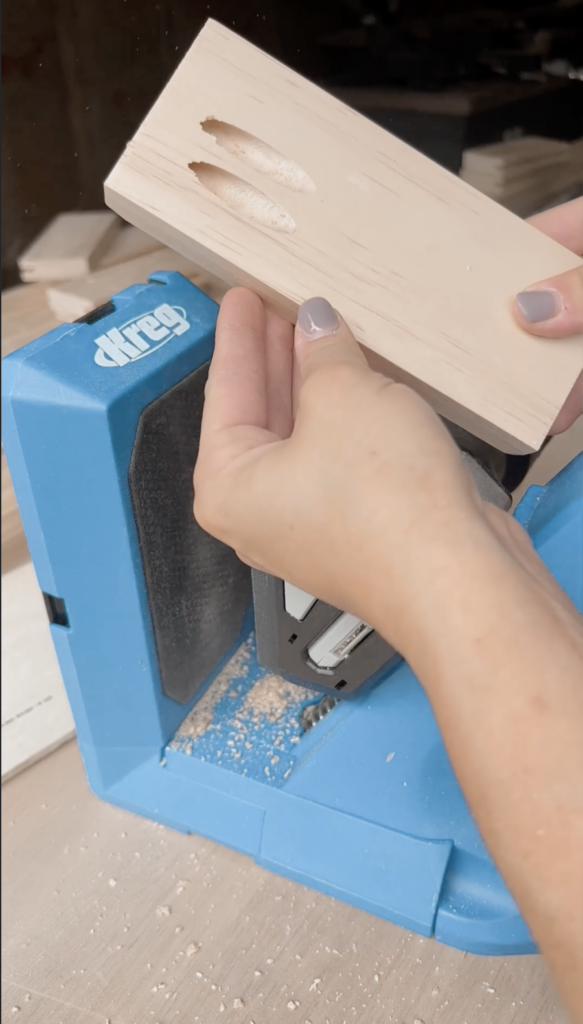
I chose to do pocket holes in my rails so they’re hidden! I use the this kreg pocket hole jig which makes it so simple and does all the measuring for you. Simply clamp the rail in and drill for your holes!
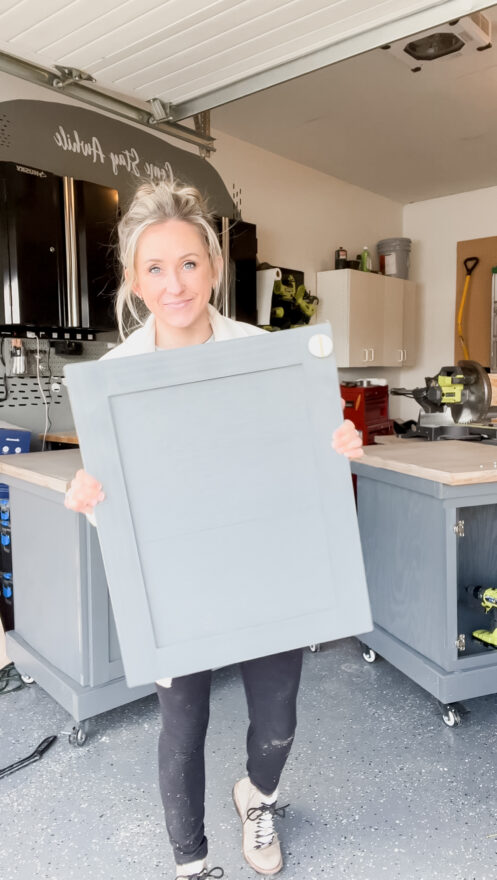
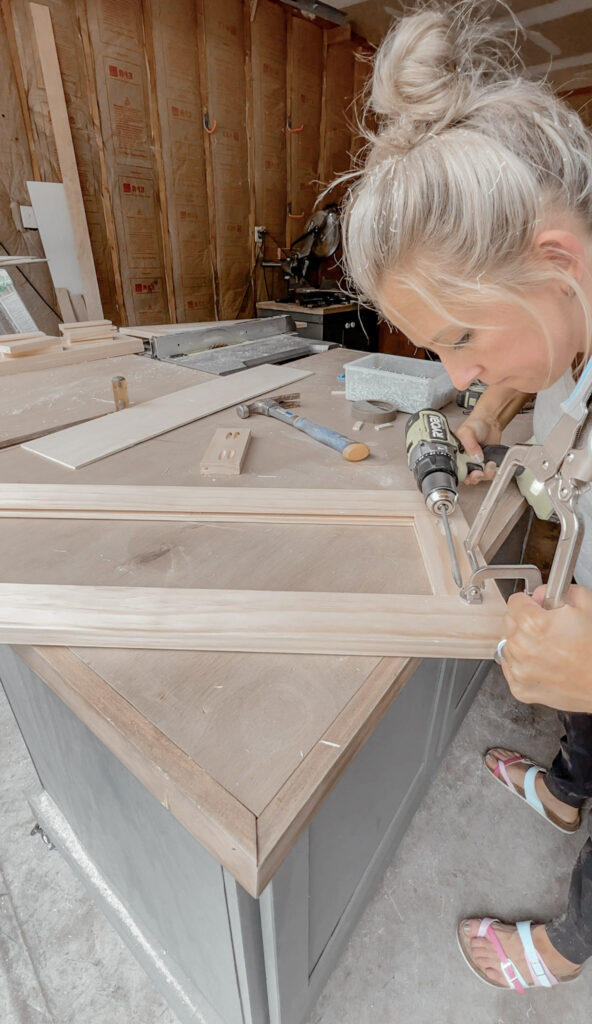
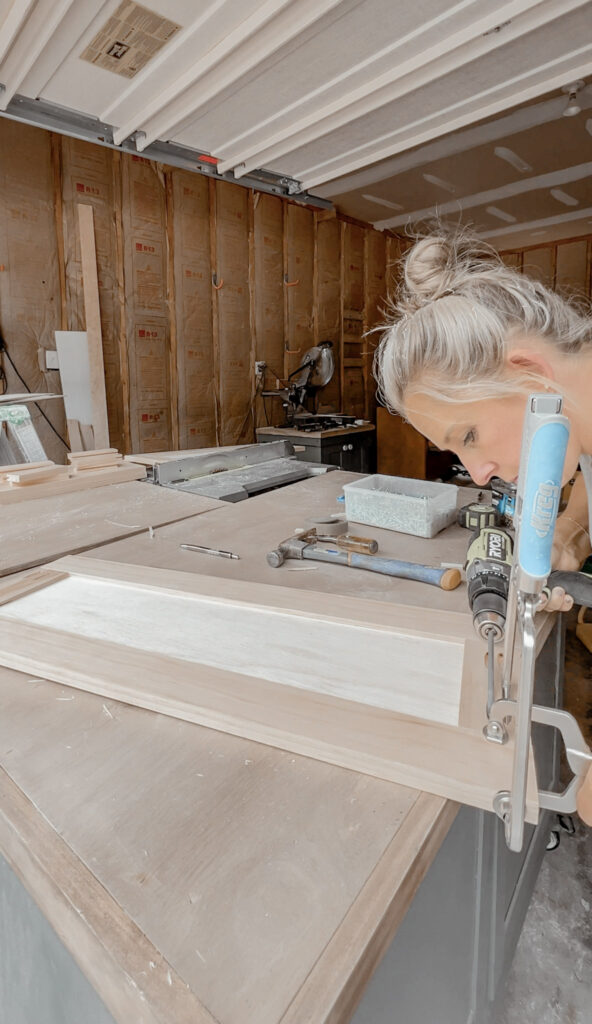
After your pocket holes are ready to go, assemble one rail and both stiles to make a u-shape for your drawer front to slide into. You will slide in the plywood drawer front, and then attach the final rail piece to make a complete drawer front! I use these clamps to hold everything in place during assembly, and you can check if things are square using these.

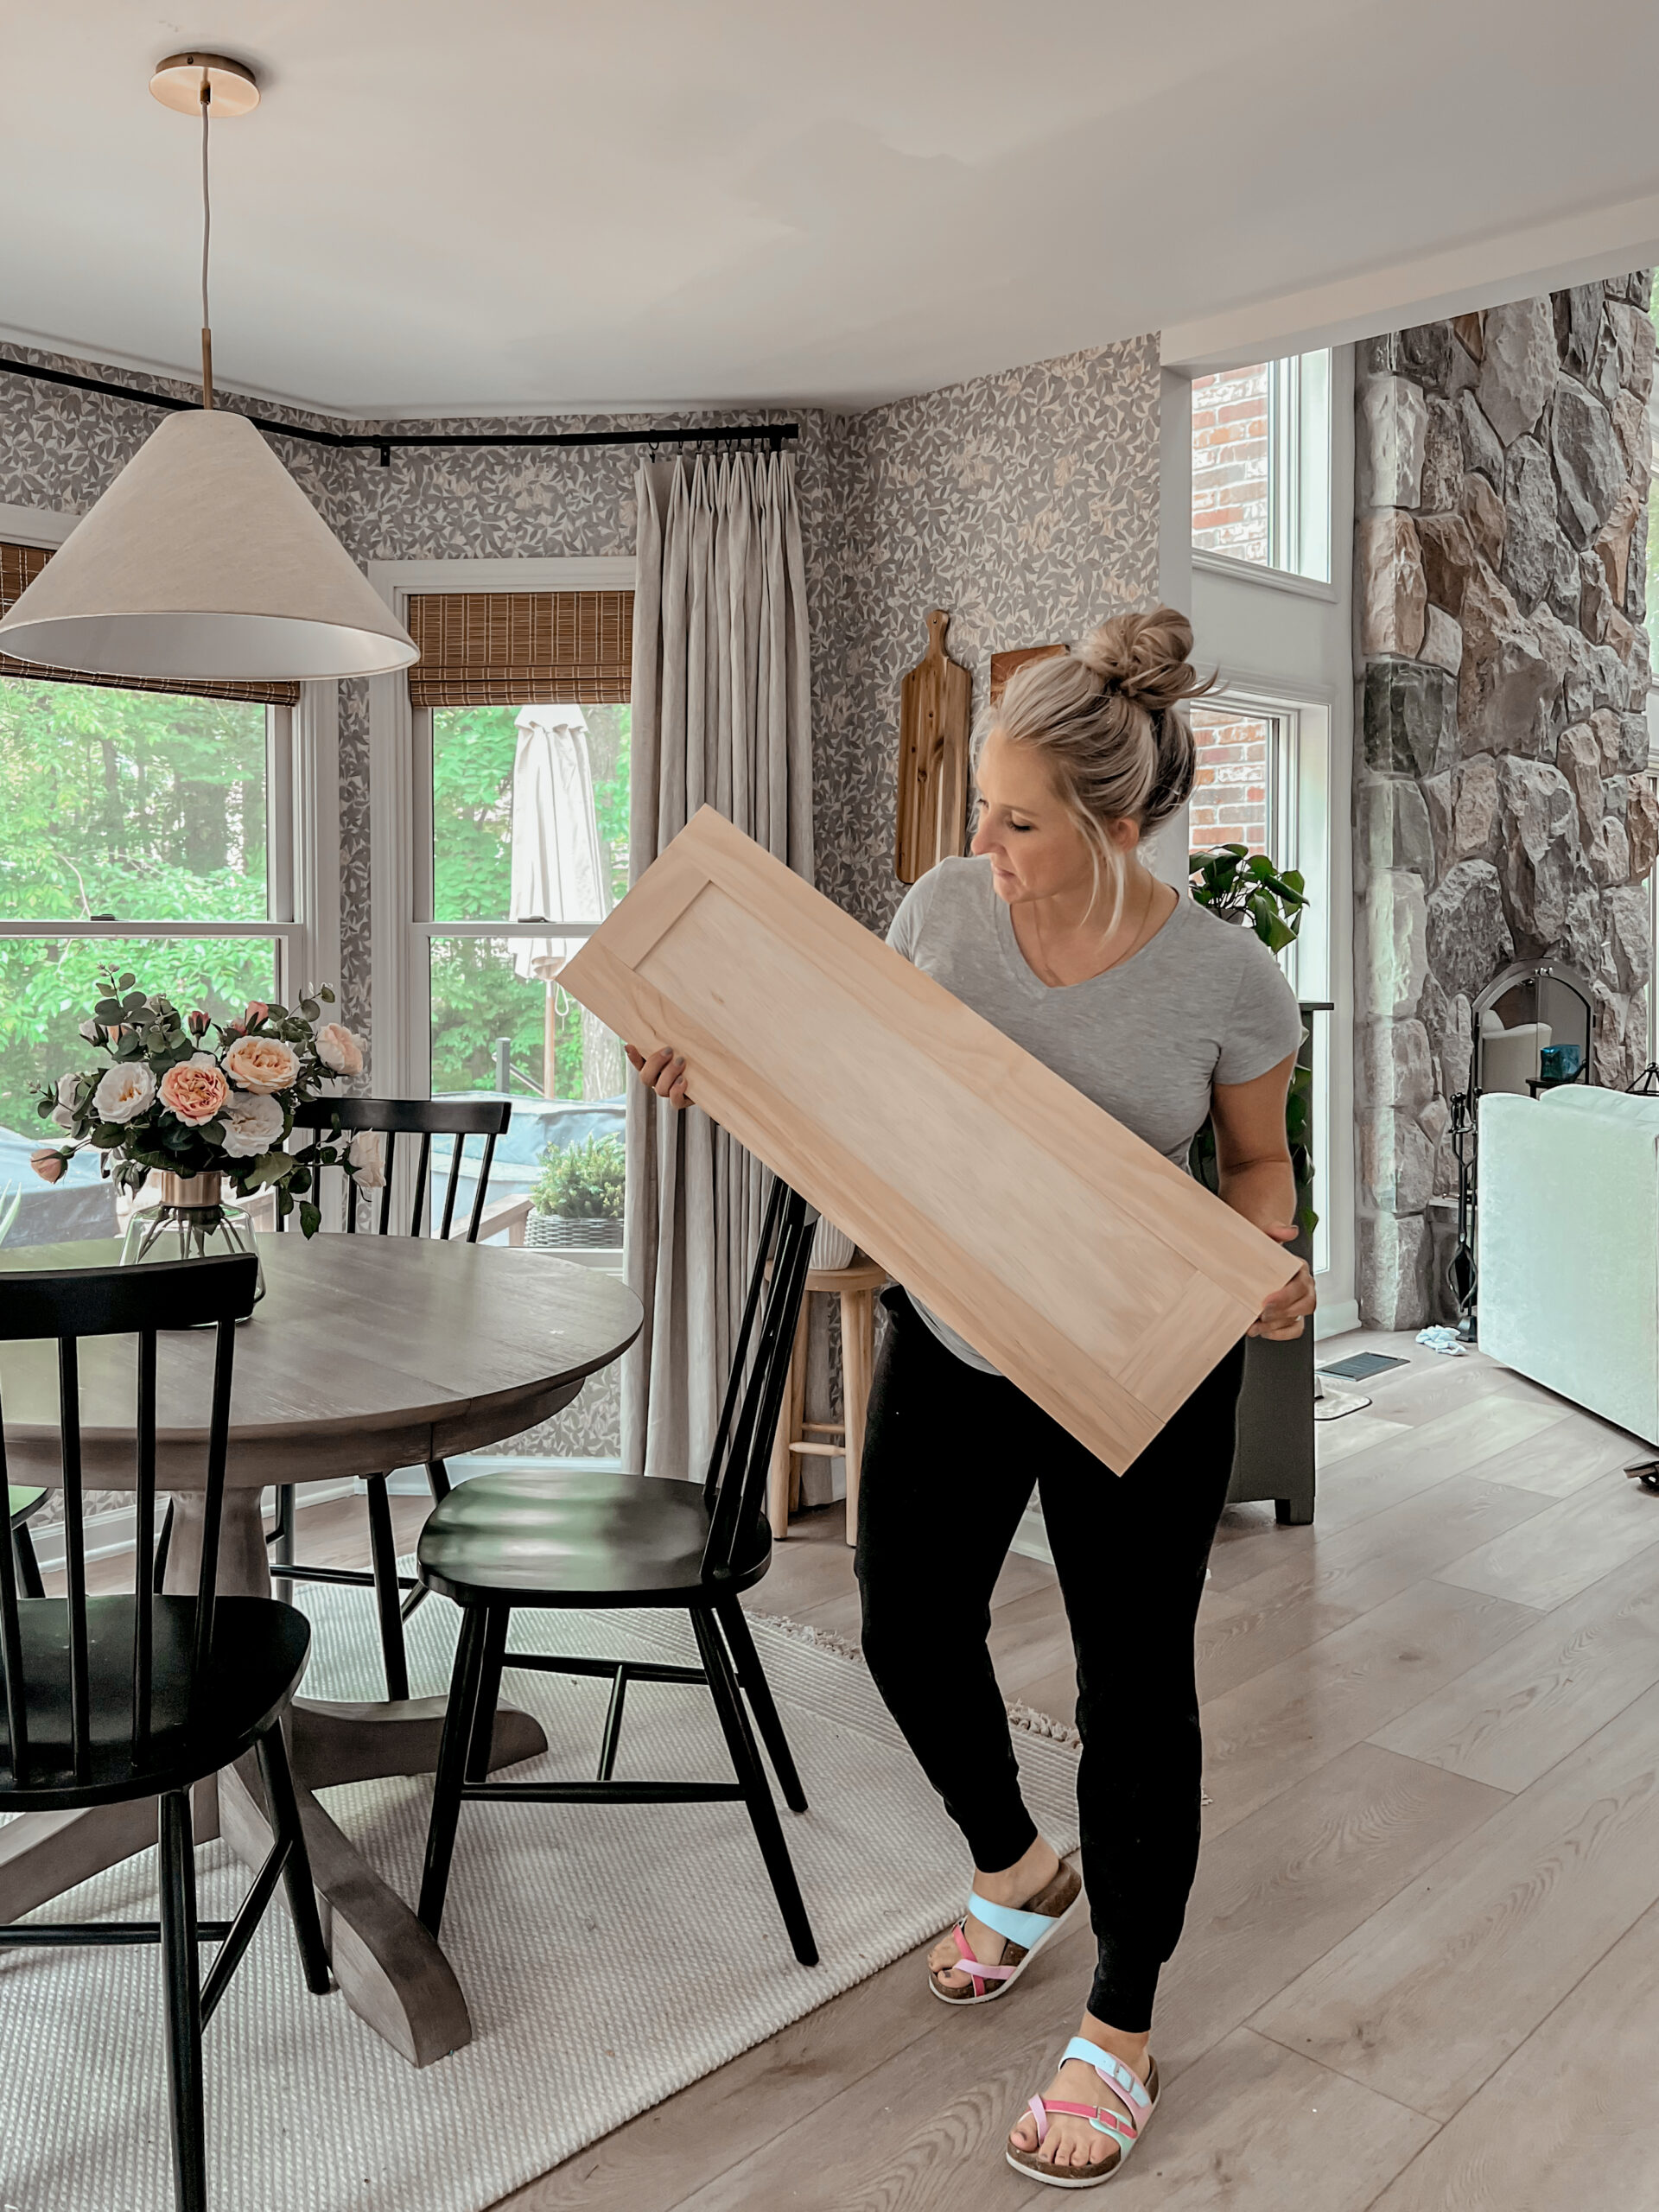
If you’re making DIY shaker style doors, I used this same shaker technique on the doors for my mobile workbench!
You can find the shaker style door tutorial here.