


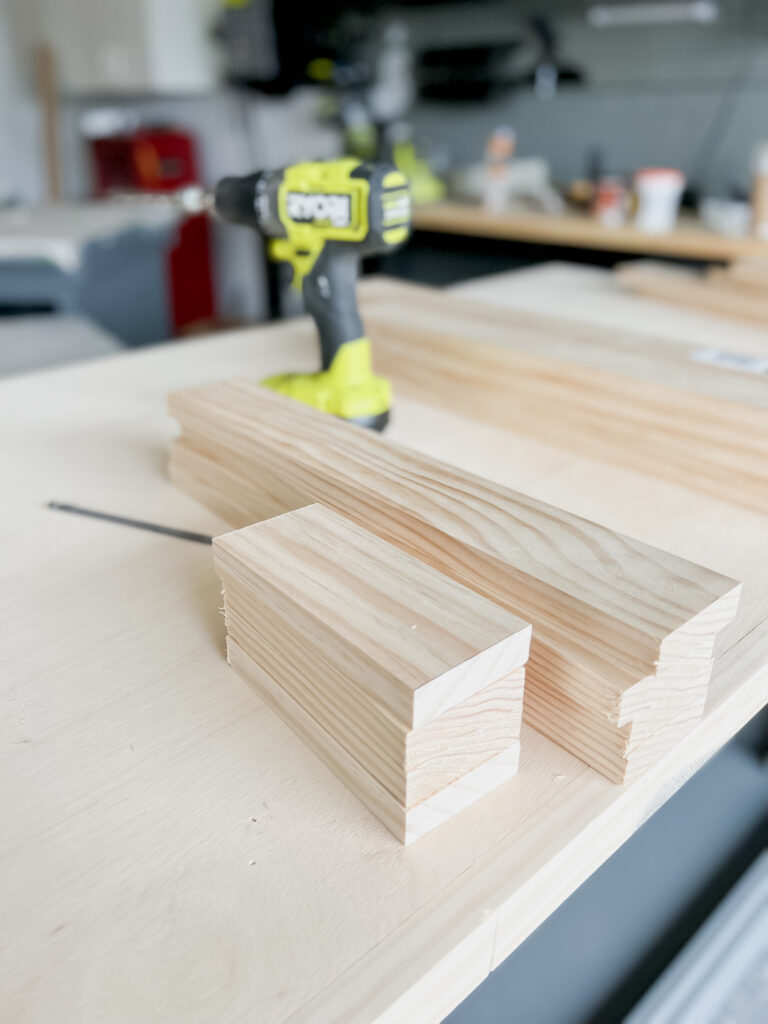
The first step is cutting all of your boards to make your rails and stiles. Remember that your stiles are your vertical boards and your rails are the horizontal boards. Cut your stiles first, these are going to be the height that you want your cabinet door to be. Next cut your rails, these will determine the full width of your doors. Make sure that you predetermine what type of hinges you are using to account for any extra spacing you may need. For example, if you are using 1/2in overlay hinges you will need to add 1/2in to your doors to account for the hinge.
Example: if the finished door is 15″ wide, and your two stiles are 3″ wide each, you would cut your rail boards 9″ to account for the width of your stiles to total 15″ wide.

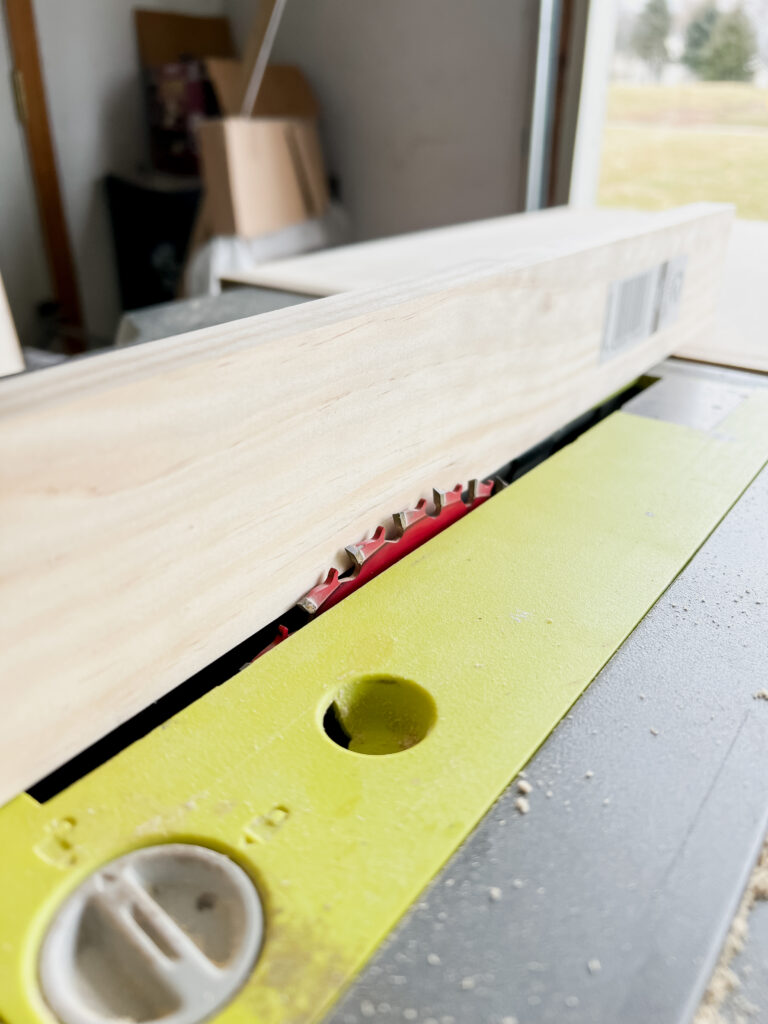
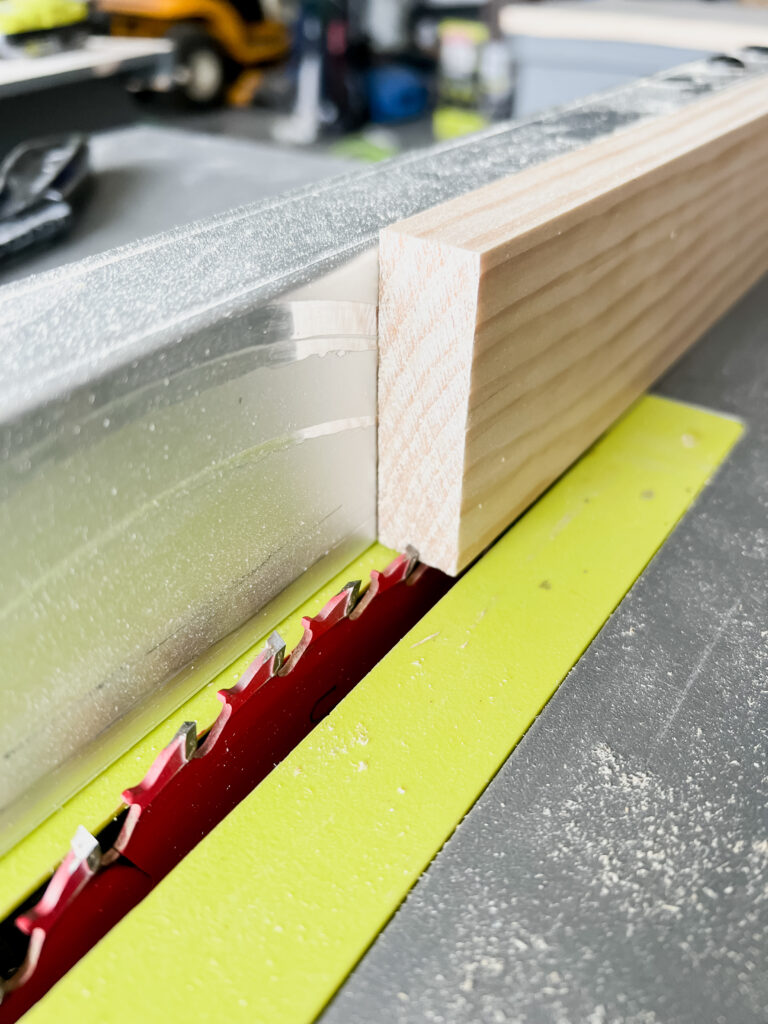
We want to create groove in the boards so that we can slide our plywood down into them, this is what creates the “shaker style” look. You can easily do this on your table saw. Lower down your table saw blade, and run your rails and stiles through to create grooves that will hold the 1/4″ plywood. This is called a dado cut & will make everything fit together like a puzzle piece. You can purchase a special blade that the same thickness of your plywood or you can just run your board through a few times until you get it the size that you need. Try to keep your groove in the center of your board so that it’s even on both sides. Depth is personal preference but I wouldn’t do more than 1/2 the depth of your board.
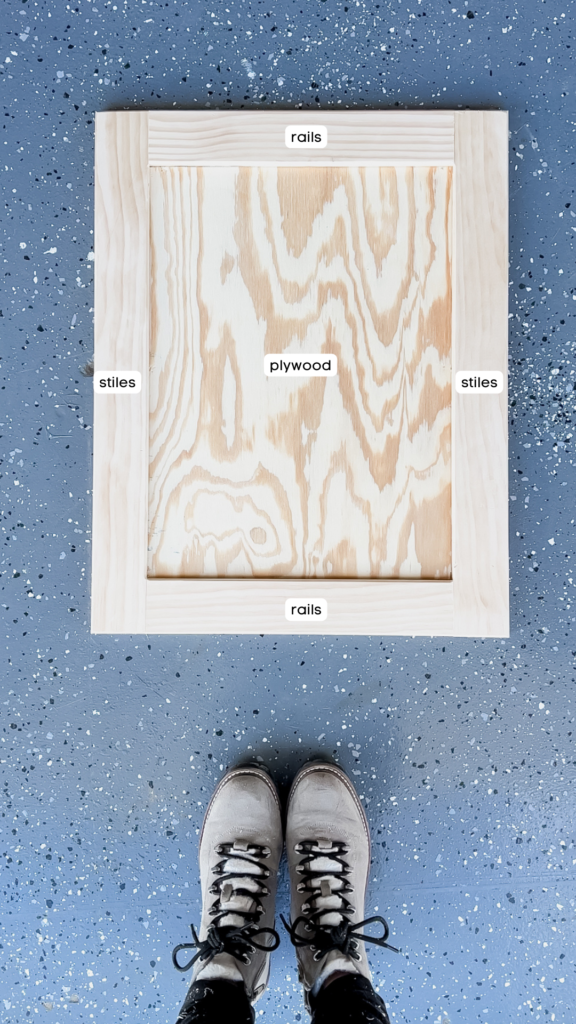
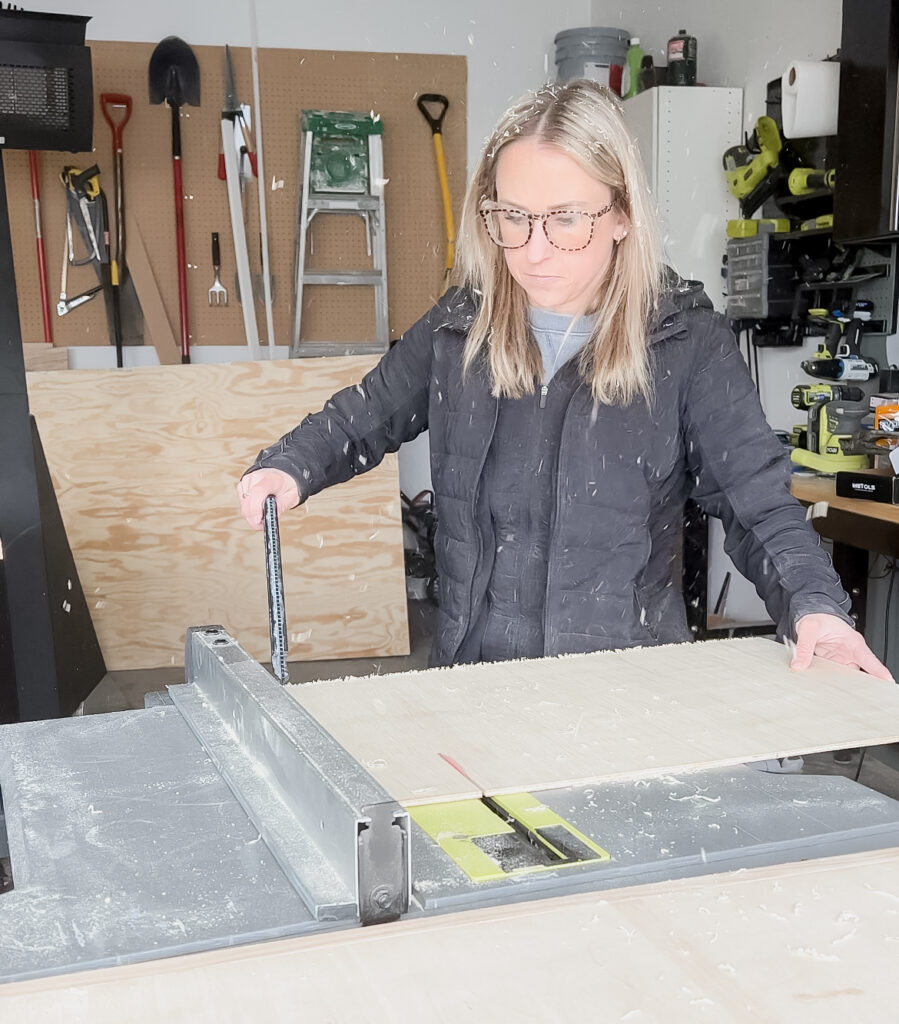
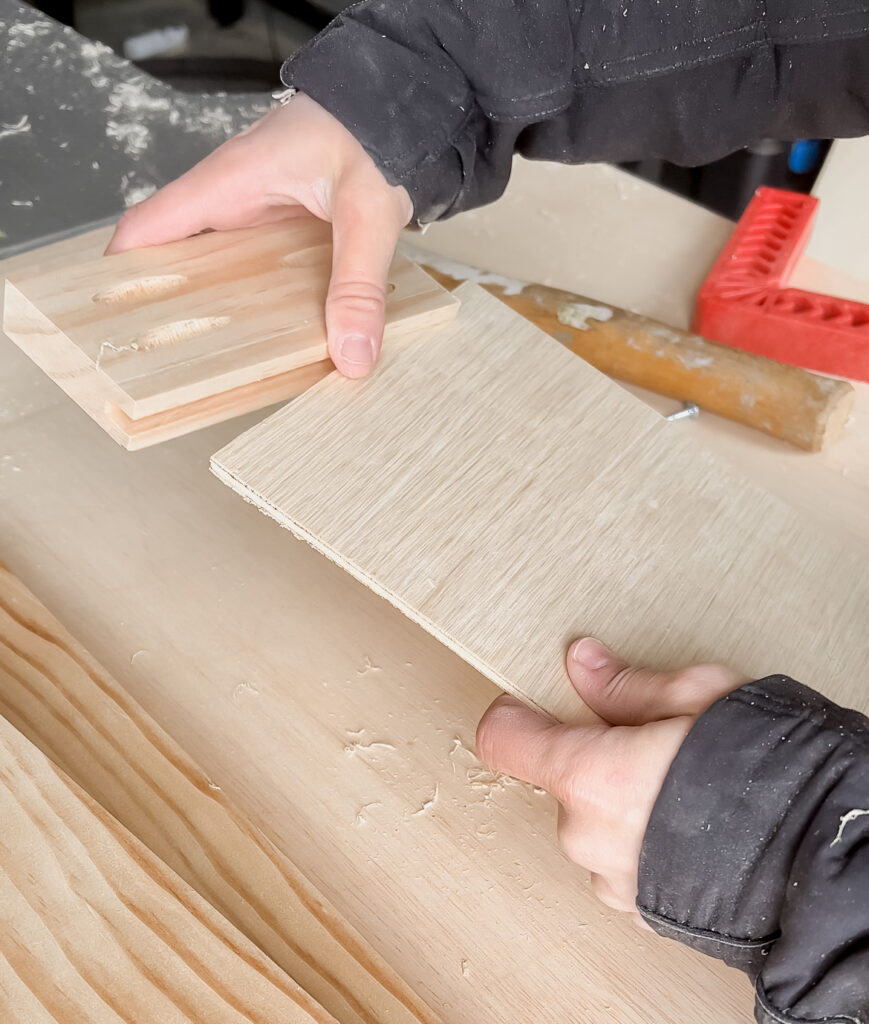
Next you will want to measure for the cabinet door face. You will be cutting this out of your 1/4in plywood. Lay out your rails and stiles and measure from the inside of one groove to the other. You want to make sure that you account for the extra width/height you will need for the plywood to fit inside the grooves.
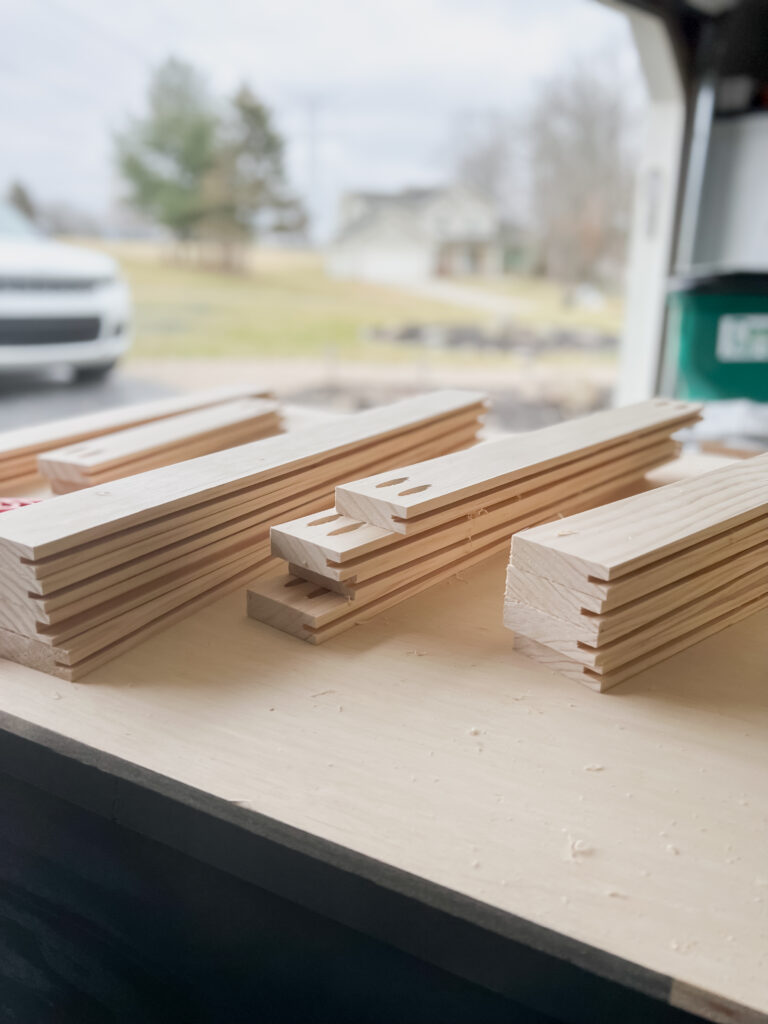
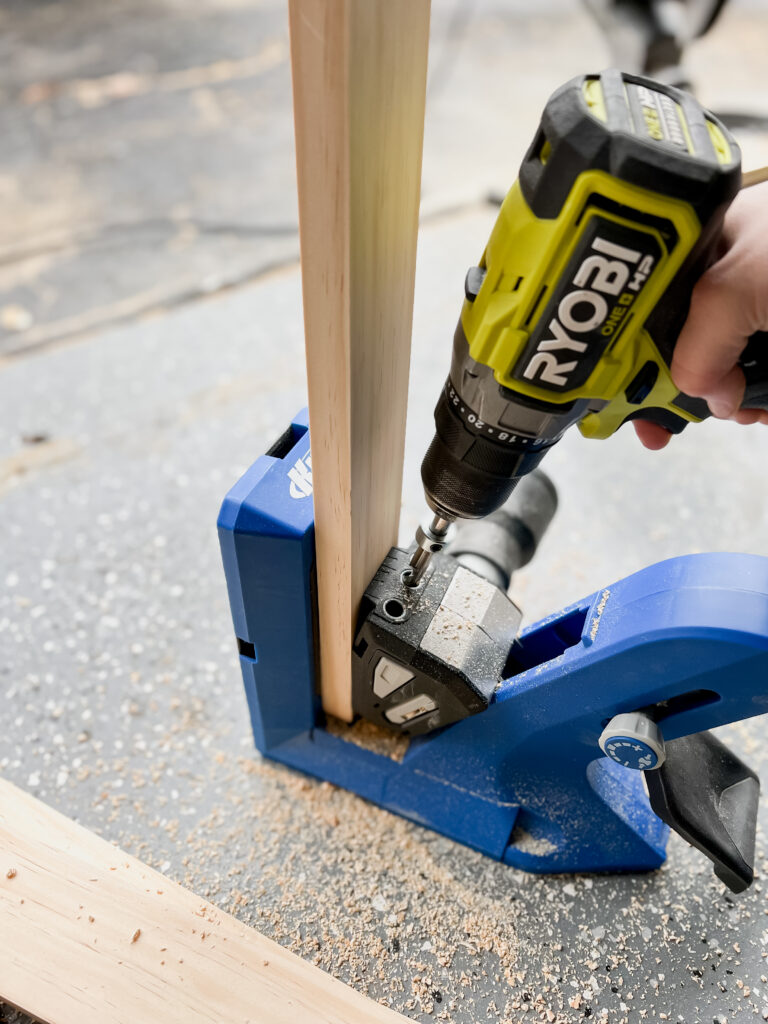
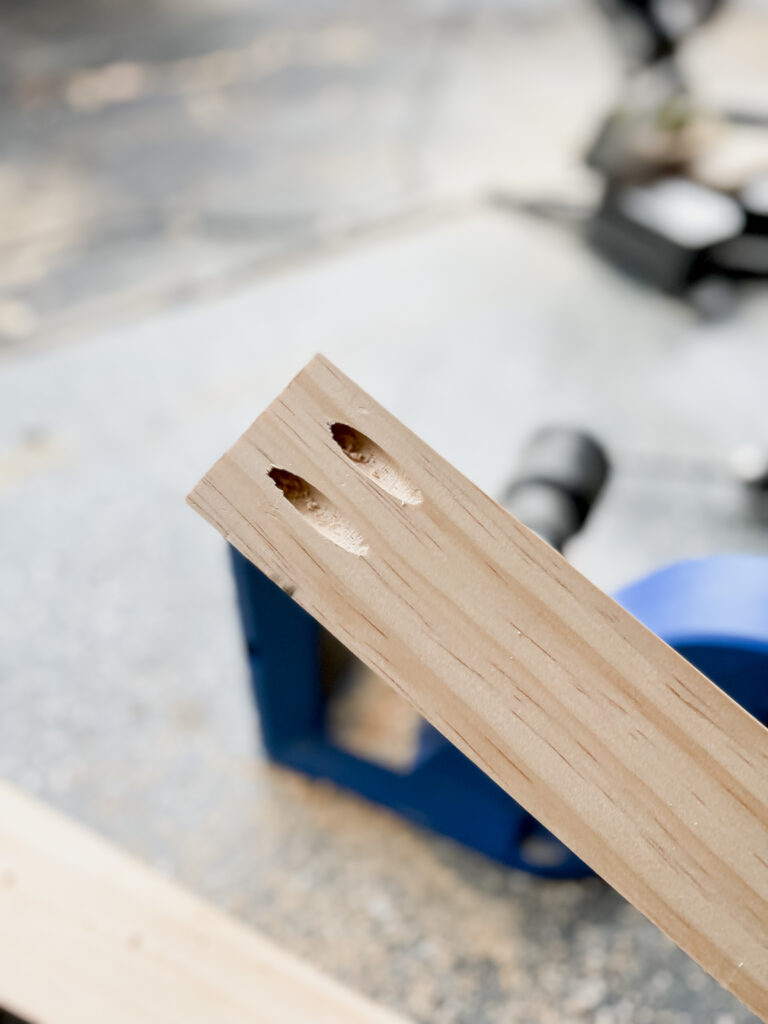
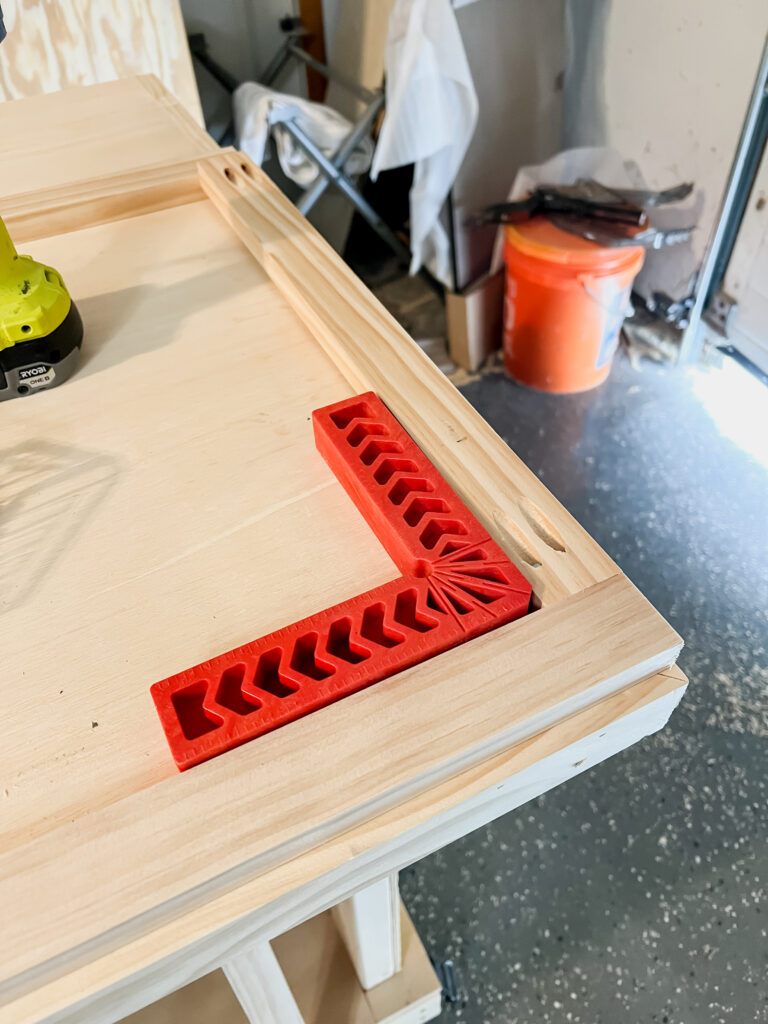
I’m using pocket holes to assemble everything together! I am using my Kreg Jig to drill pocket holes in all of my rails. We will use these holes to assemble our cabinet doors together. Apply a thin bead of wood glue inside the grooves and slide your rails and stiles onto the plywood so that everything sits within the grooves you created. Apply some wood glue to each end of the rails and attach together with pocket hole screws. I recommend using a clamp to keep everything flush and square. You can check if things are square using these.
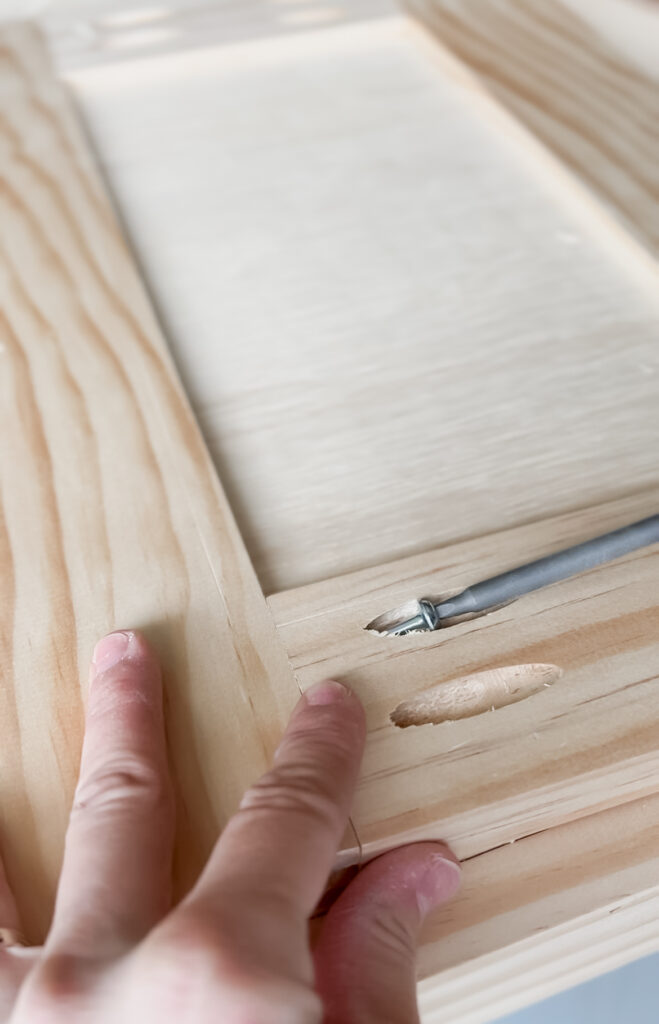
Once the glue dries, fill the small holes at the hop and bottom of the doors left behind from the grooves with wood filler. Once dry, sand everything down using 120 grit sandpaper and you are ready for paint or stain!
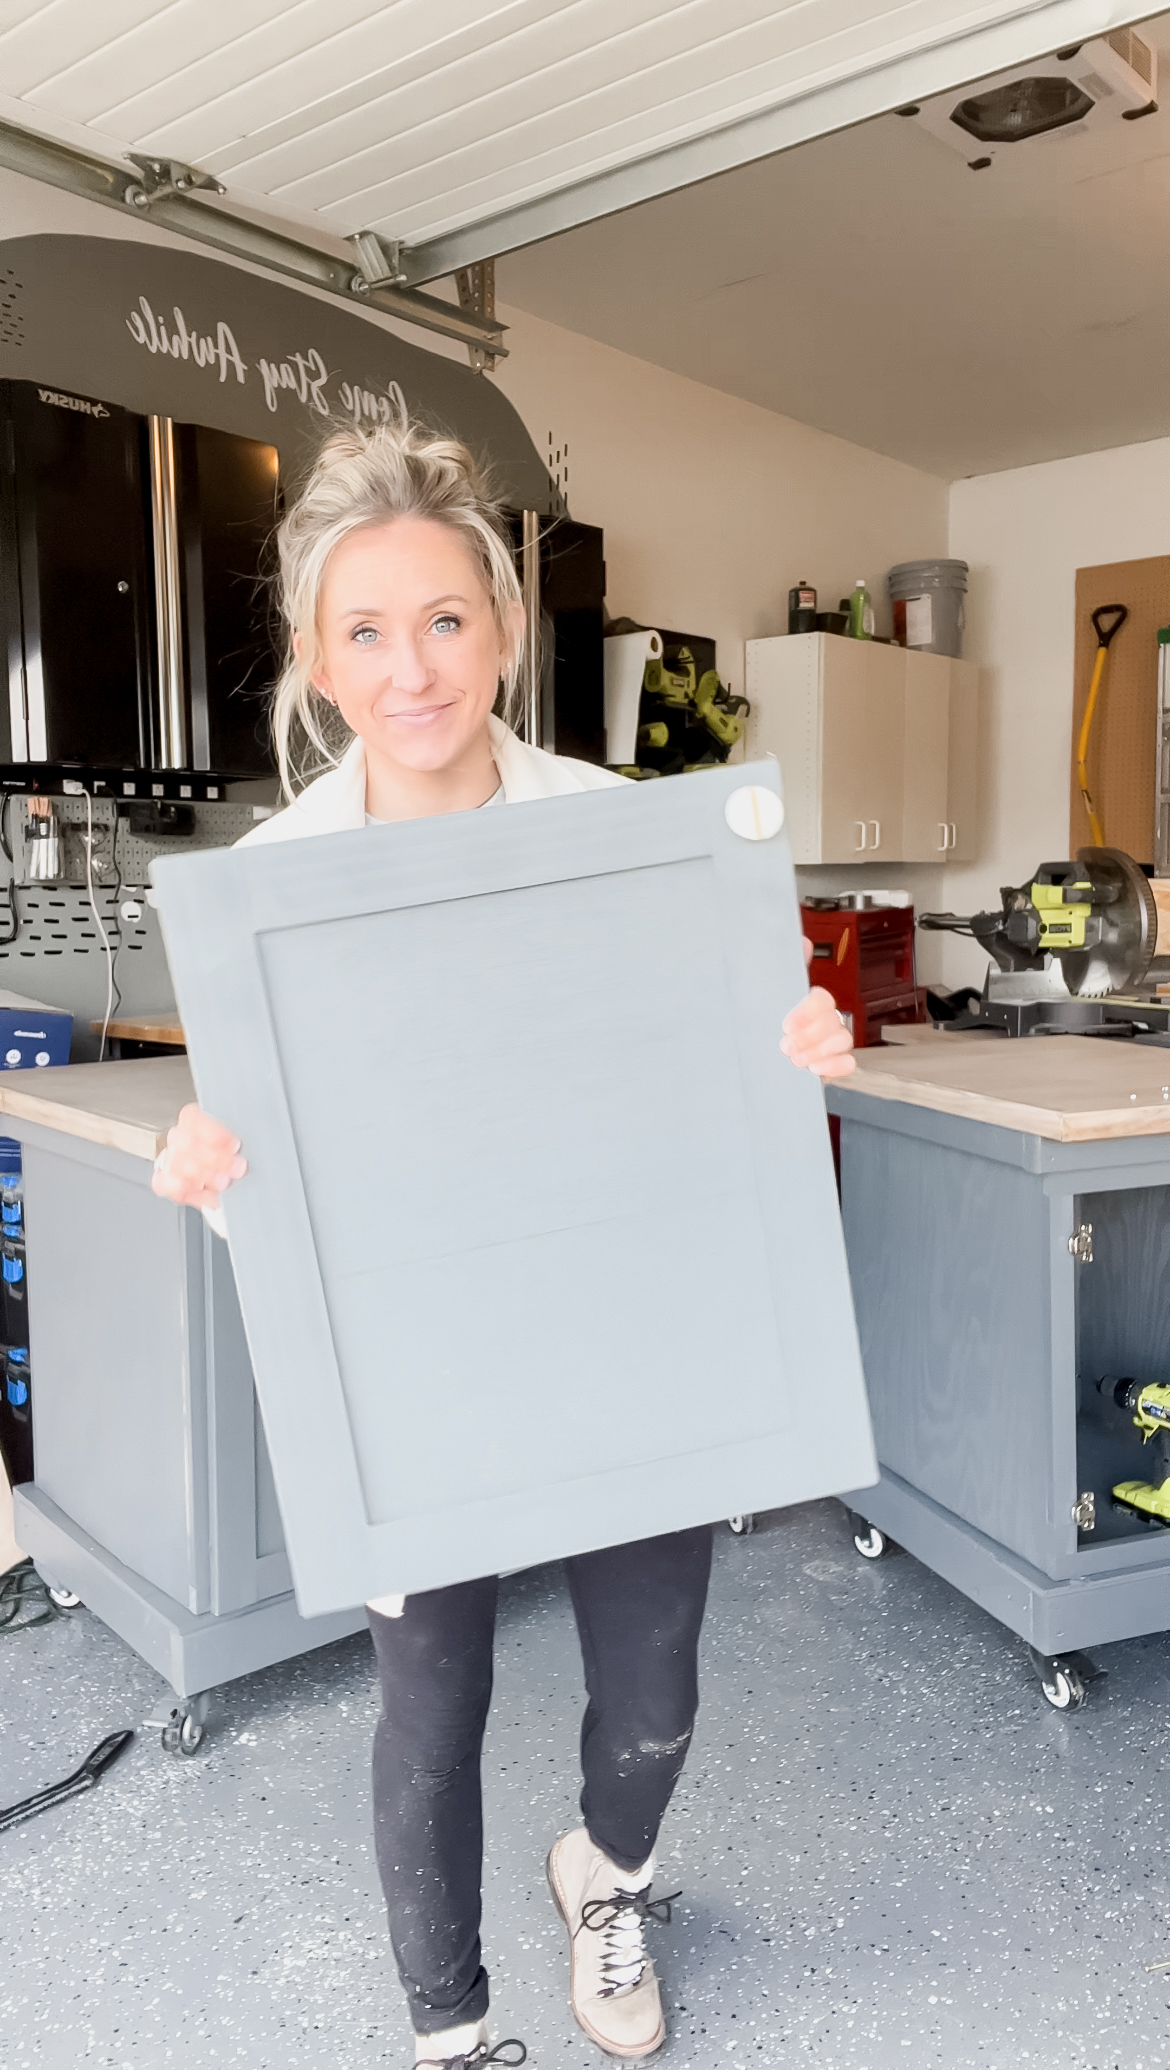
Shaker style cabinet doors that look just as good on the inside as they do on the outside!