


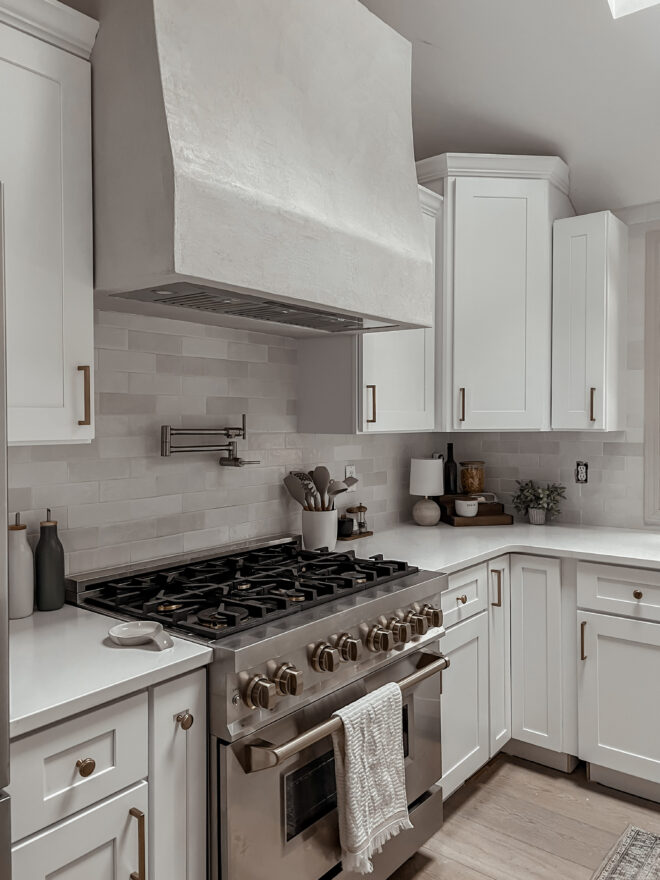


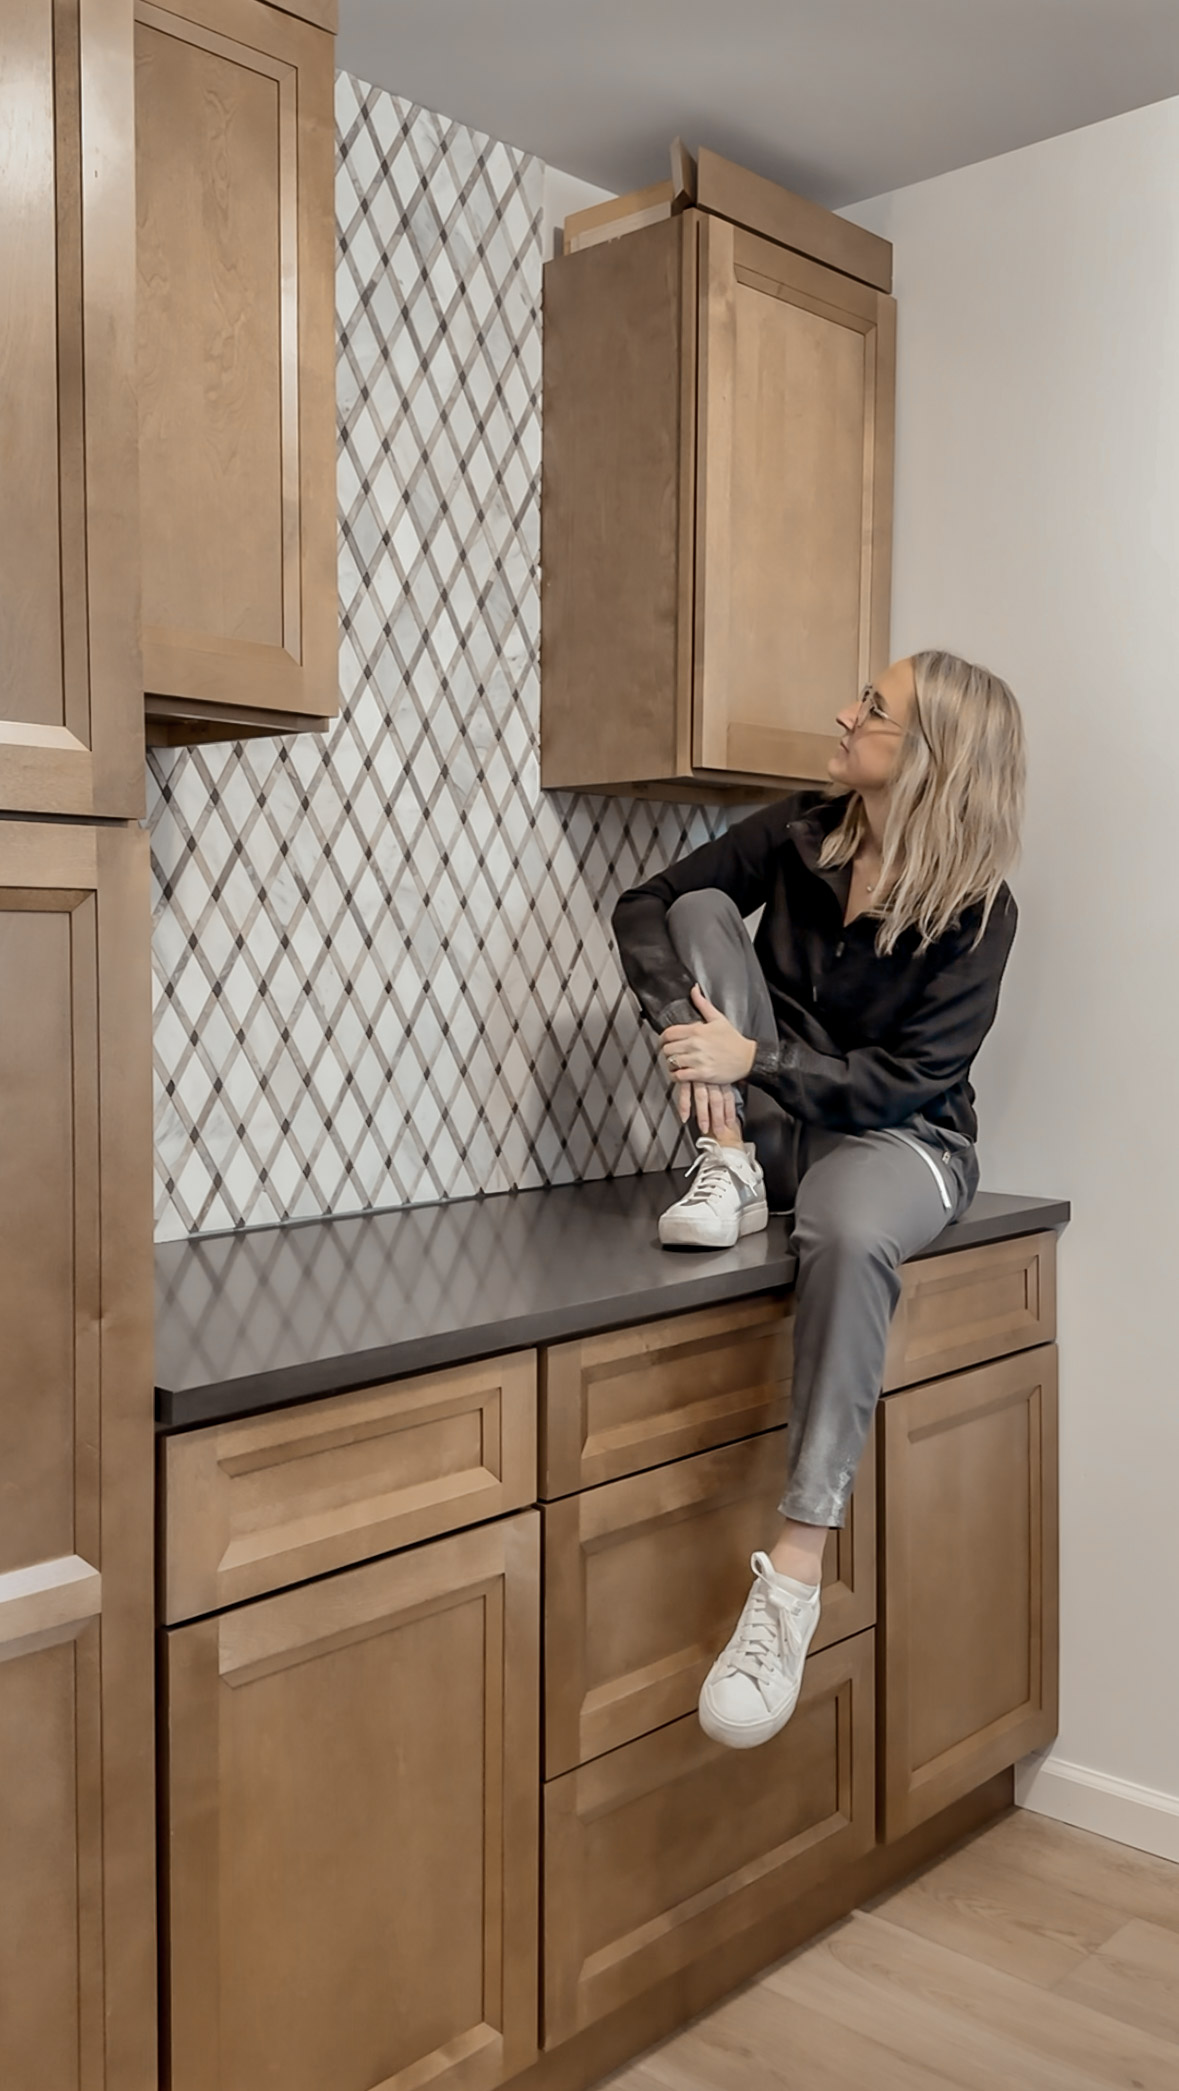


I’m currently renovating my laundry room and wanted to add this gorgeous diamond patterned tile backsplash. If you’ve been following along for a while, you’ll remember when I DIY’d my kitchen backsplash a couple years ago, tap here to catch up if you missed it!


If you’ve never installed tile before, you’re in the right place! I think tiling sounds like one of the more intimidating projects but it is actually super beginner friendly and I’m here to tell you why. If you’re looking for an even quicker way to update your backsplash, this was one of my very first projects!


The first step is to prep your walls. Remove outlet covers and patch any drywall flaws so you have a smooth, even surface. *NOTE: It is important that the wall is flat and even so that the adhesive mat can properly adhere to the wall and tile!* Then you’re ready to put the Musselbound adhesive mat on the wall. To ensure this goes smoothly, make sure the roll of Musselbound is at room temperature. This is important because you want the adhesive to be extra sticky and the roll is easier to work with when it’s not cold and rigid. Work from top to bottom, using a utility knife to cut off the excess and trim out around the outlets. Once you’re happy with the placement, use your grout float to press firmly on the mat to make sure it’s completely stuck to the wall.
Mussel Bound is a double sided tiling adhesive mat. You apply it to the wall in place of thin-set or mortar and the tile sticks directly to it. This eliminates so much mess, and you don’t have to wait for dry time. You could put the tiles on and grout in the same day!
Before you start tiling, make sure your countertops are installed, then working in small sections, remove the top layer of the Musselbound to expose the sticky backing. Starting at the bottom center of the wall, start placing your tile. You want to start in the middle so that your cuts are even on either side. You wouldn’t want to have a full tile against the wall on one side and then only have a sliver of the tile against the other wall, starting in the center makes it so the cuts are even on either side.
I use my laser level to make sure that my tile placement is straight and the pattern is lining up perfectly. It is very important that your first row is straight and level because every row after that will be based on what you did to start. The Mussel Bound is VERY sticky, so when you are installing your tiles you want to ensure they are placed correctly before officially pushing them onto the wall. They will be VERY hard to move after if you make a mistake. Don’t let that deter you, as long as you’re aware ahead of time you will see how simple it is!

There are two ways to cut tile, with a manual score and snap tile cutter, or with a wet saw. Which method you prefer will depend on the pattern of your tile. For my kitchen backsplash I preferred to use a manual tile cutter to make most of my cuts. You simply measure, score, and snap the tile. It creates much less mess than the wet saw. However for this tile I used the wet saw and tile snippers a lot more to do the intricate cuts because of the diamond pattern. For the wet saw, you mark your tile before hand and then line it up the same you way any other saw. I know even the word saw is intimidating to new DIY’ers, but I promise a wet saw is the least dangerous and easiest to use! The grinder wheel acts as your blade, so it’s not sharp and won’t cut you.
For the wet saw, you mark your tile before hand and then line it up the same you way any other saw. I know even the word saw is intimidating to new DIY’ers, but I promise a wet saw is the least dangerous and easiest to use! The blade cuts using water and grinds the tile, so the blade isn’t even really sharp.
Now that the tile is installed, I’m using a pre-mixed grout to grout the tiles. It comes already mixed so you don’t have to worry about getting the right consistency and it’s easier to work with. You’re going to need a grout float, a grout sponge, a bucket of water, and some towels. THIS IS MESSY so make sure you cover your worktop, tape the edges, cover your walls with plastic sheeting, and wear something that you don’t care about getting dirty. I like to also use a scrap piece of cardboard to catch any grout that falls off of the wall while I’m pressing it into the tiles.
Scoop a little bit of grout out of the bucket using your grout float, trying to keep the grout on the edge of the float. Then push the grout into the crevices at different angles to make sure it fills all the cracks and there’s no gaps. Work in small sections (like 5 minutes at a time) you don’t want the grout to dry before you wipe it off. Dip your grout sponge into the bucket of water, and wipe off any excess grout. Try your best to rinse the sponge as much as possible, so you’re not spreading grout all over the place. Then get one of your towels wet and drag it across the surface of the tile to get any leftover haze-y water off. *Pro-tip: touch the tile, if it feels gritty, you need to keep wiping* Once the tiles feel clean, use a dry microfiber towel to wipe off any excess water. Then move to the next section. When you’re done grouting, remove the tape while the it is still wet to prevent any crumbling. If the tiles look haze-y after you’re done, you can use rubbing alcohol to get off any leftover grout.
After you finish a small section, you will get your damp sponge and slowly wipe the same direction as the tile so as to remove a lot of the excess grout. Once you have most of the extra grout wiped clean you will take your dry sponge and wipe all of the remaining water, etc off of the tile in a circular motion. Make sure to fully rinse off the sponge after every wipe so you’re not spreading the grout around, doing this will help prevent getting a grout haze on your tiles. This process is easier with glossy finish tile like I’m using, if you’re using a stone finish tile this step will take a little more time. *Pro Tip: Use rubbing alcohol to clean off any dried-on grout haze*
@comestayawhile Grouting your tile is easier than you think! Here’s how!
♬ original sound – Come Stay Awhile | Amanda
I’m so happy with how this tile looks! I decided to go outside my comfort zone in the laundry room with bolder, moody design choices and I am LOVING it!! The tile really tied the space together and it was so easy to work with! Make sure you’re following along @comestayawhile for the final reveal! Meet me in stories where I share all of my mistakes so you don’t have to learn things the hard way!