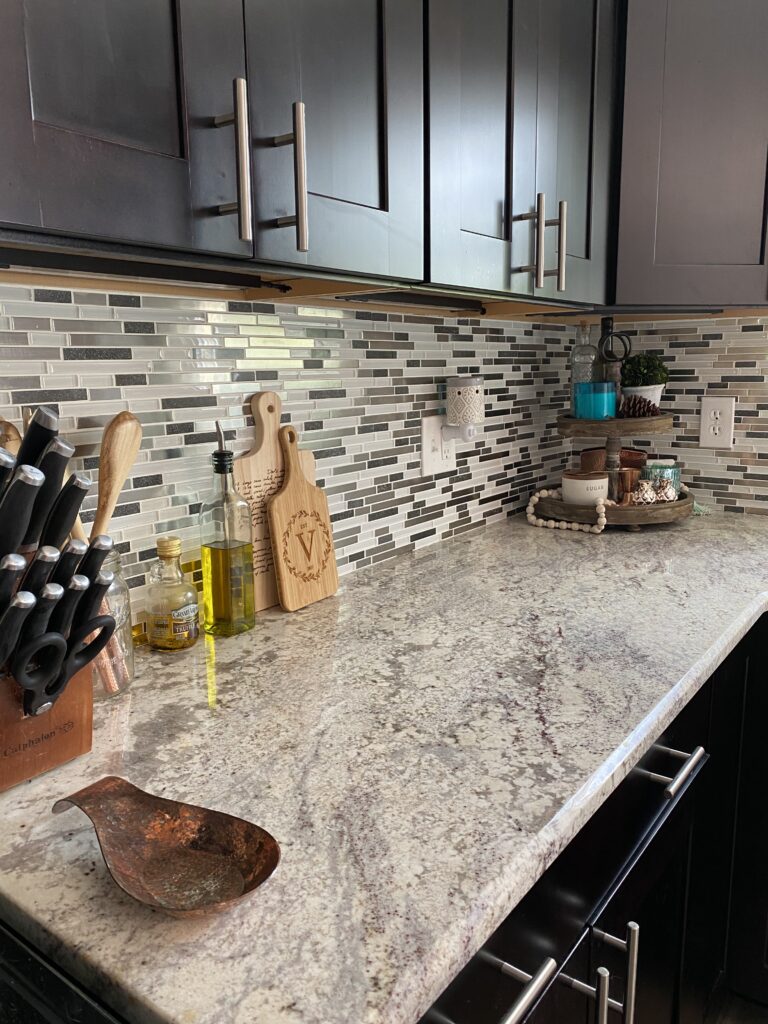


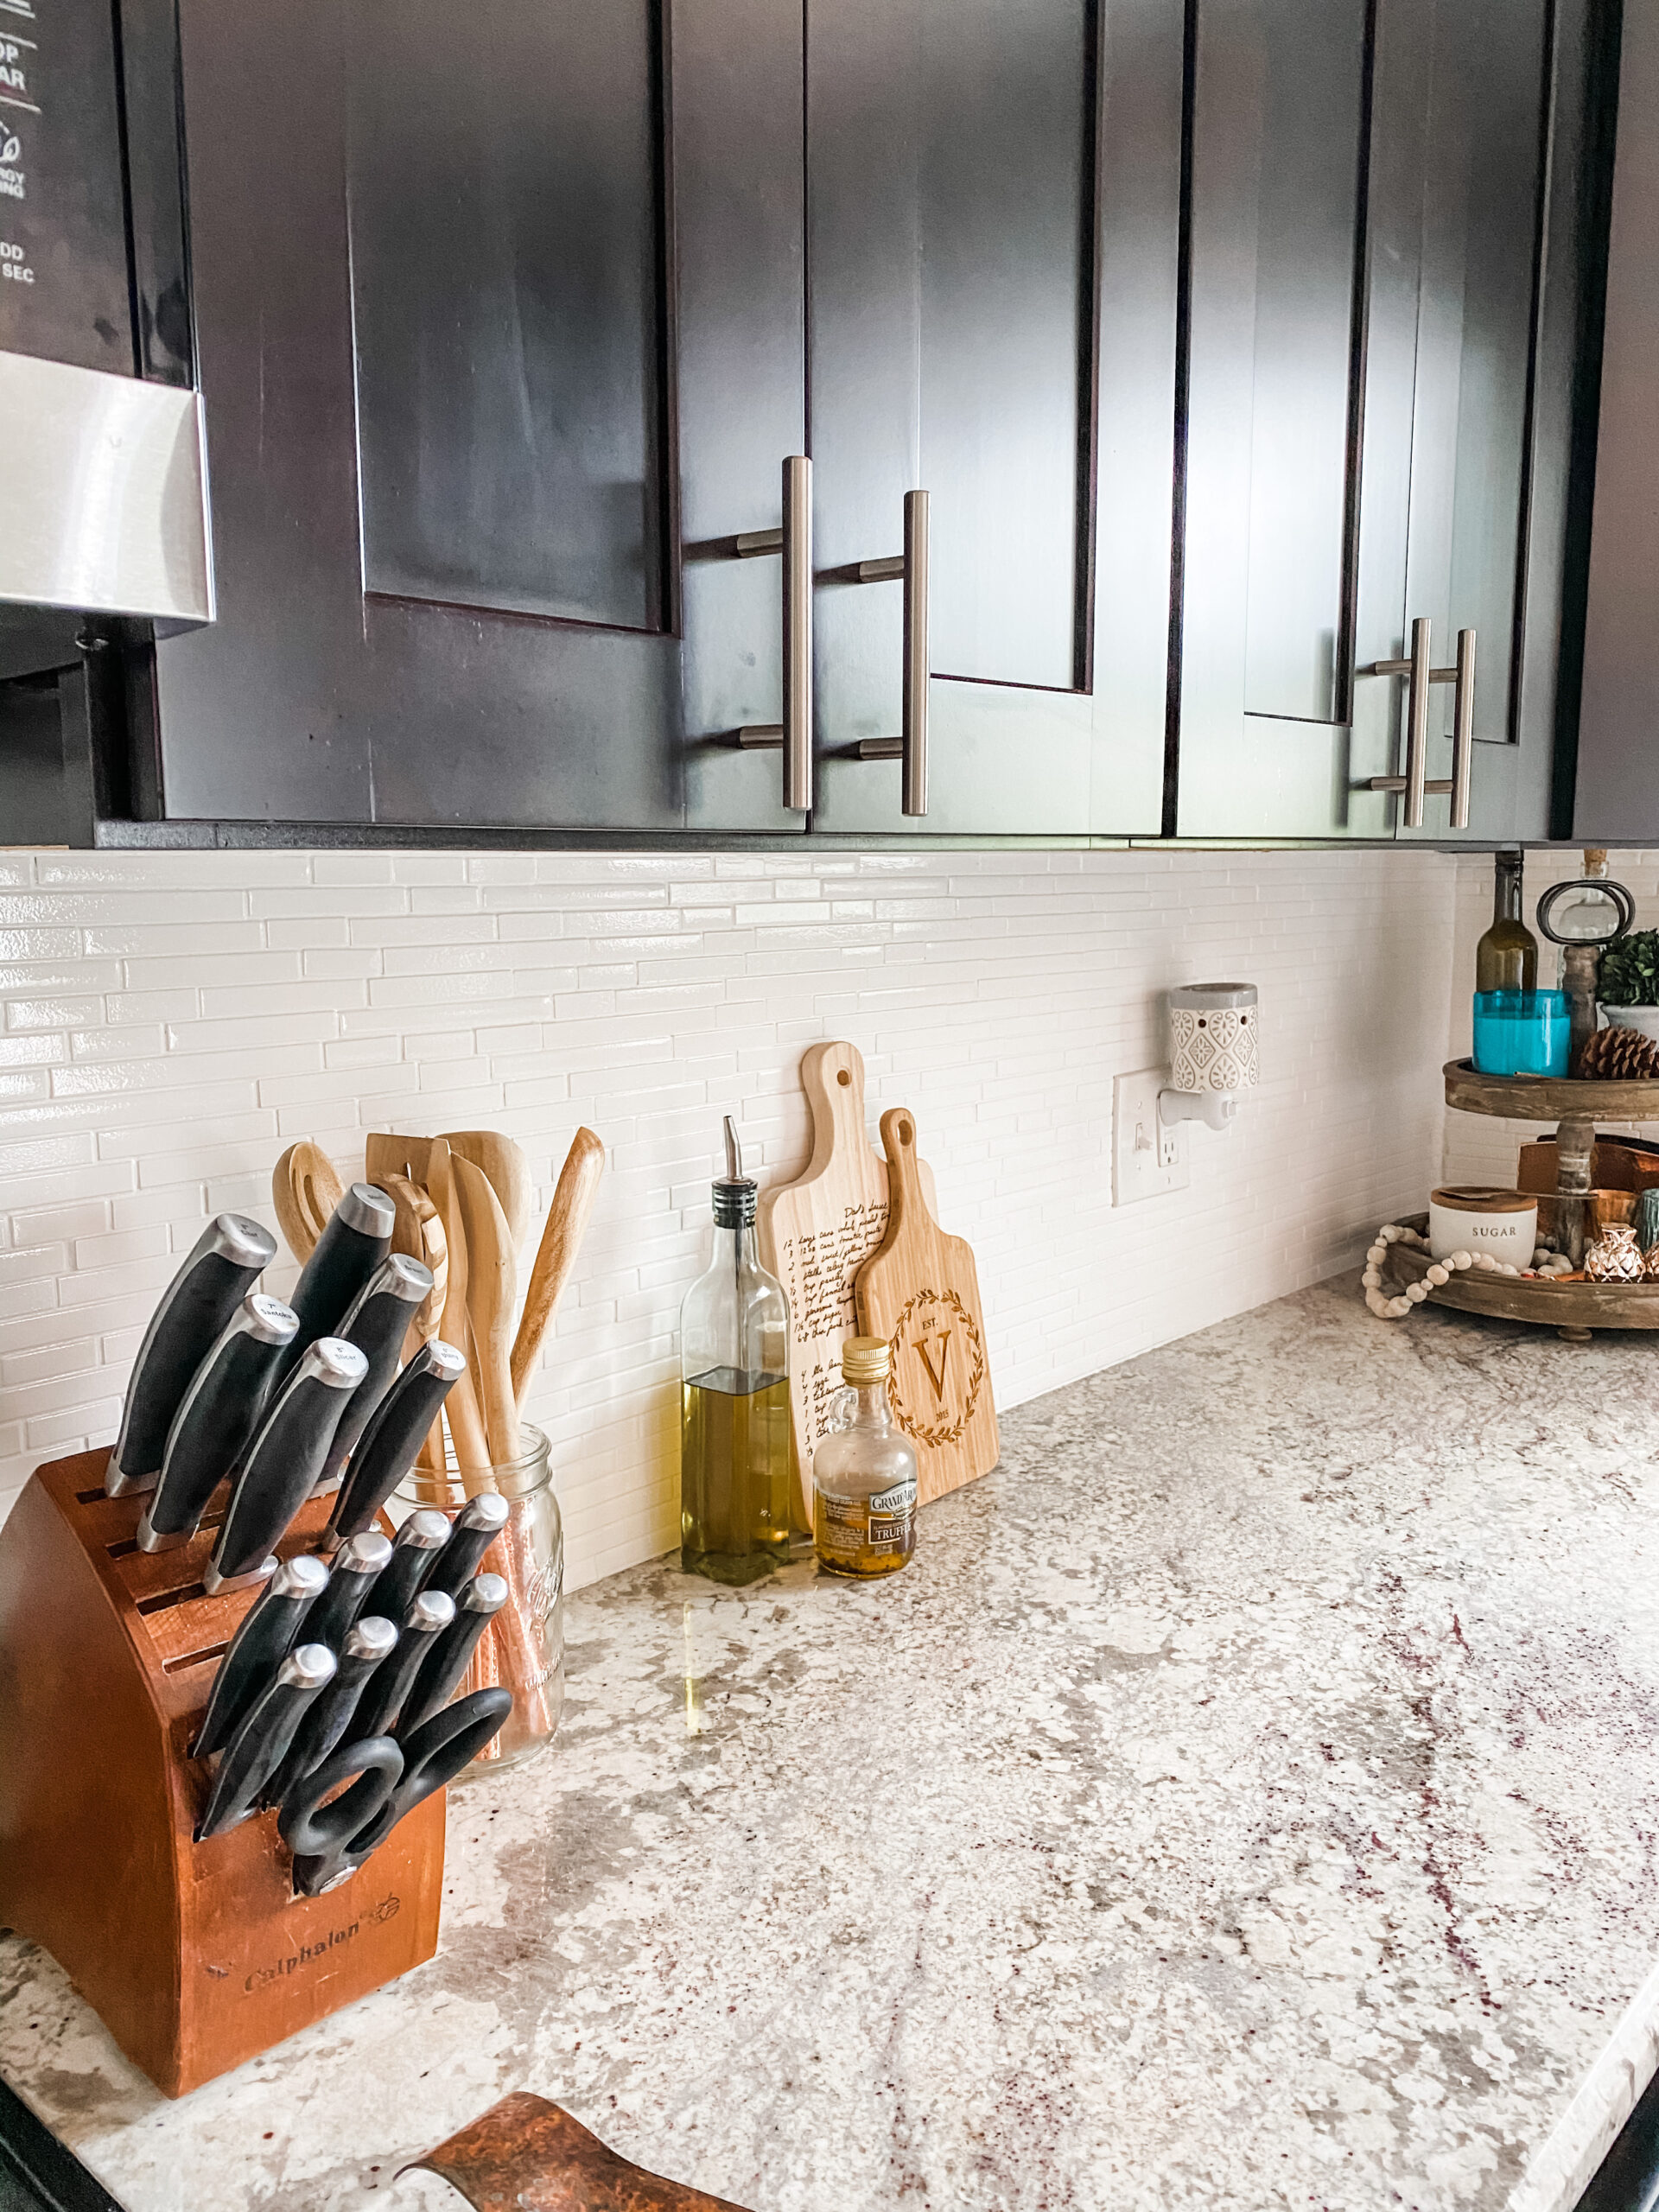
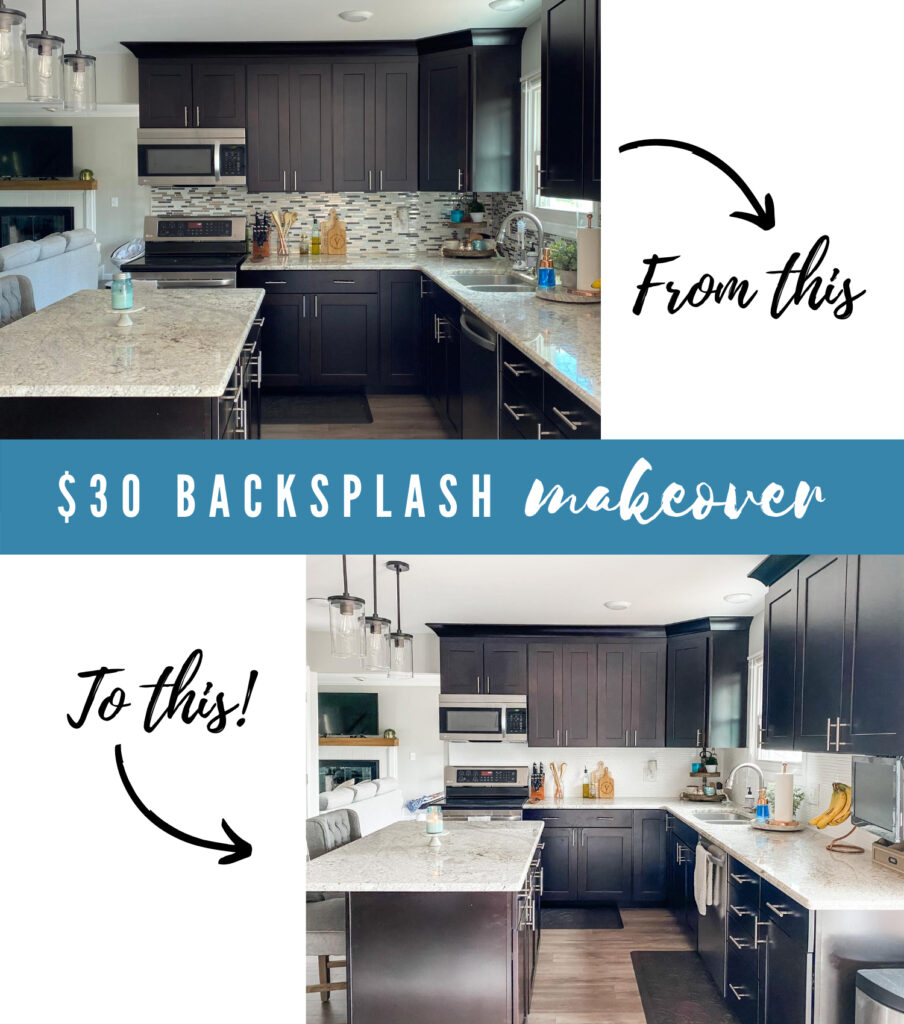
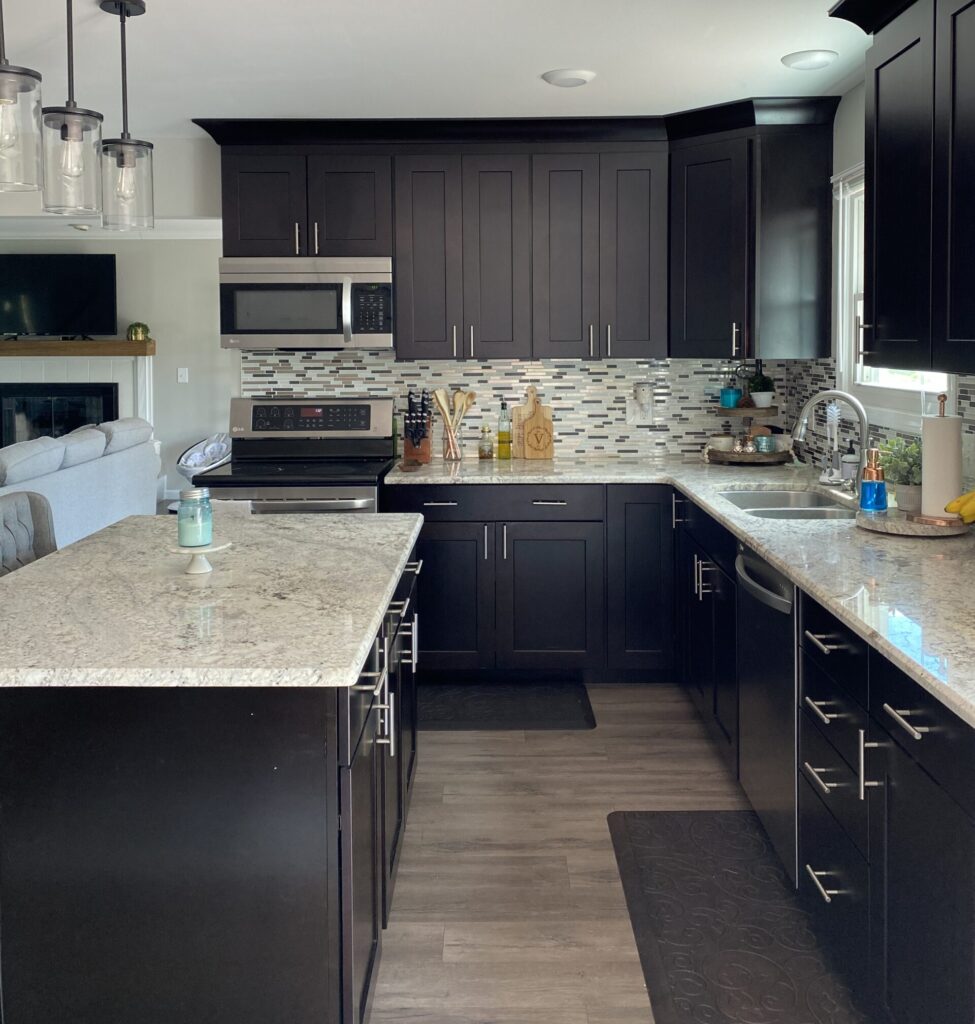
When we first moved into this house I knew eventually I wanted to update the backsplash and paint the cabinets white but we just don’t have it in the budget right now. I decided that I wanted to find a budget friendly DIY way to update them in the interim. I had recently painted our fireplace and it gave me the idea to paint our backsplash tiles. I tested it on a small spot behind the stove but it just wasn’t glossy enough. I did some research and decided that the Rustoleum Tub & Tile paint was what I needed. It has a porcelain finish which is super shiny!
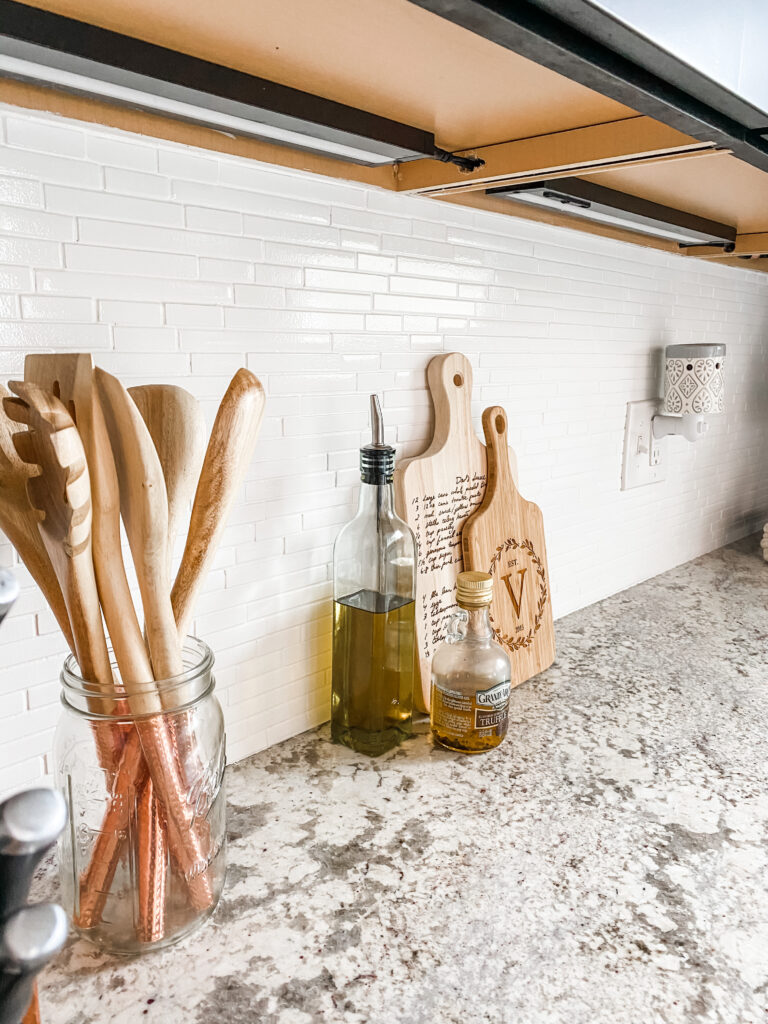
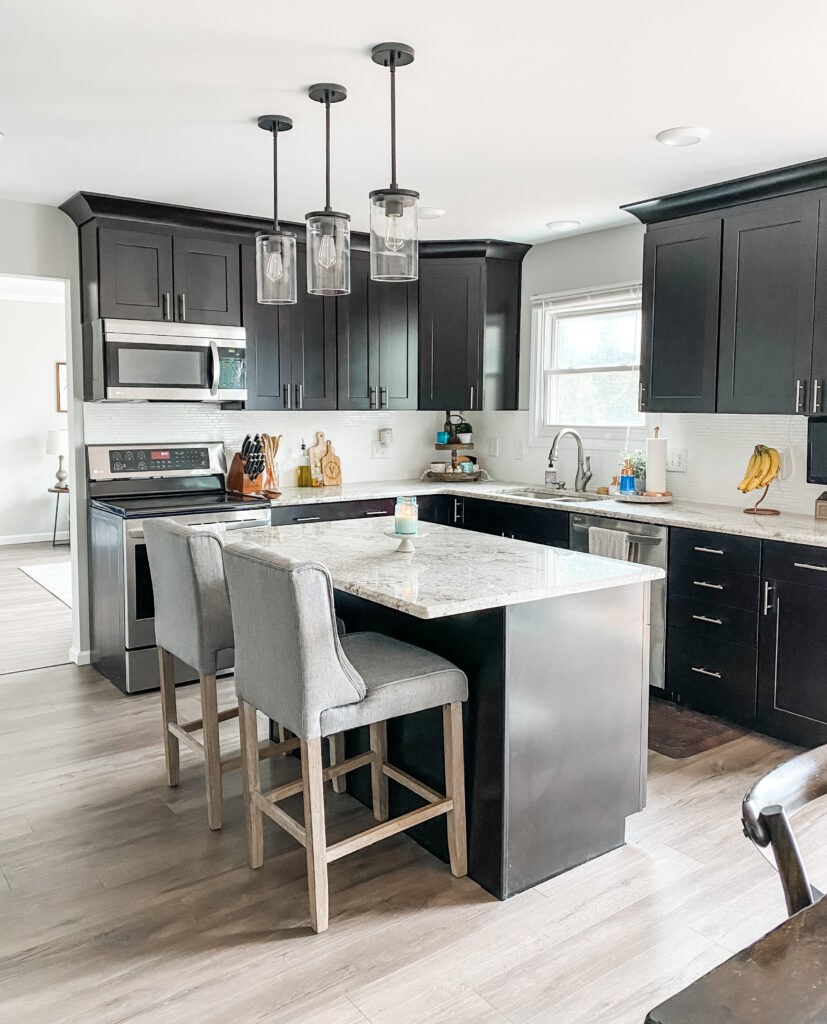
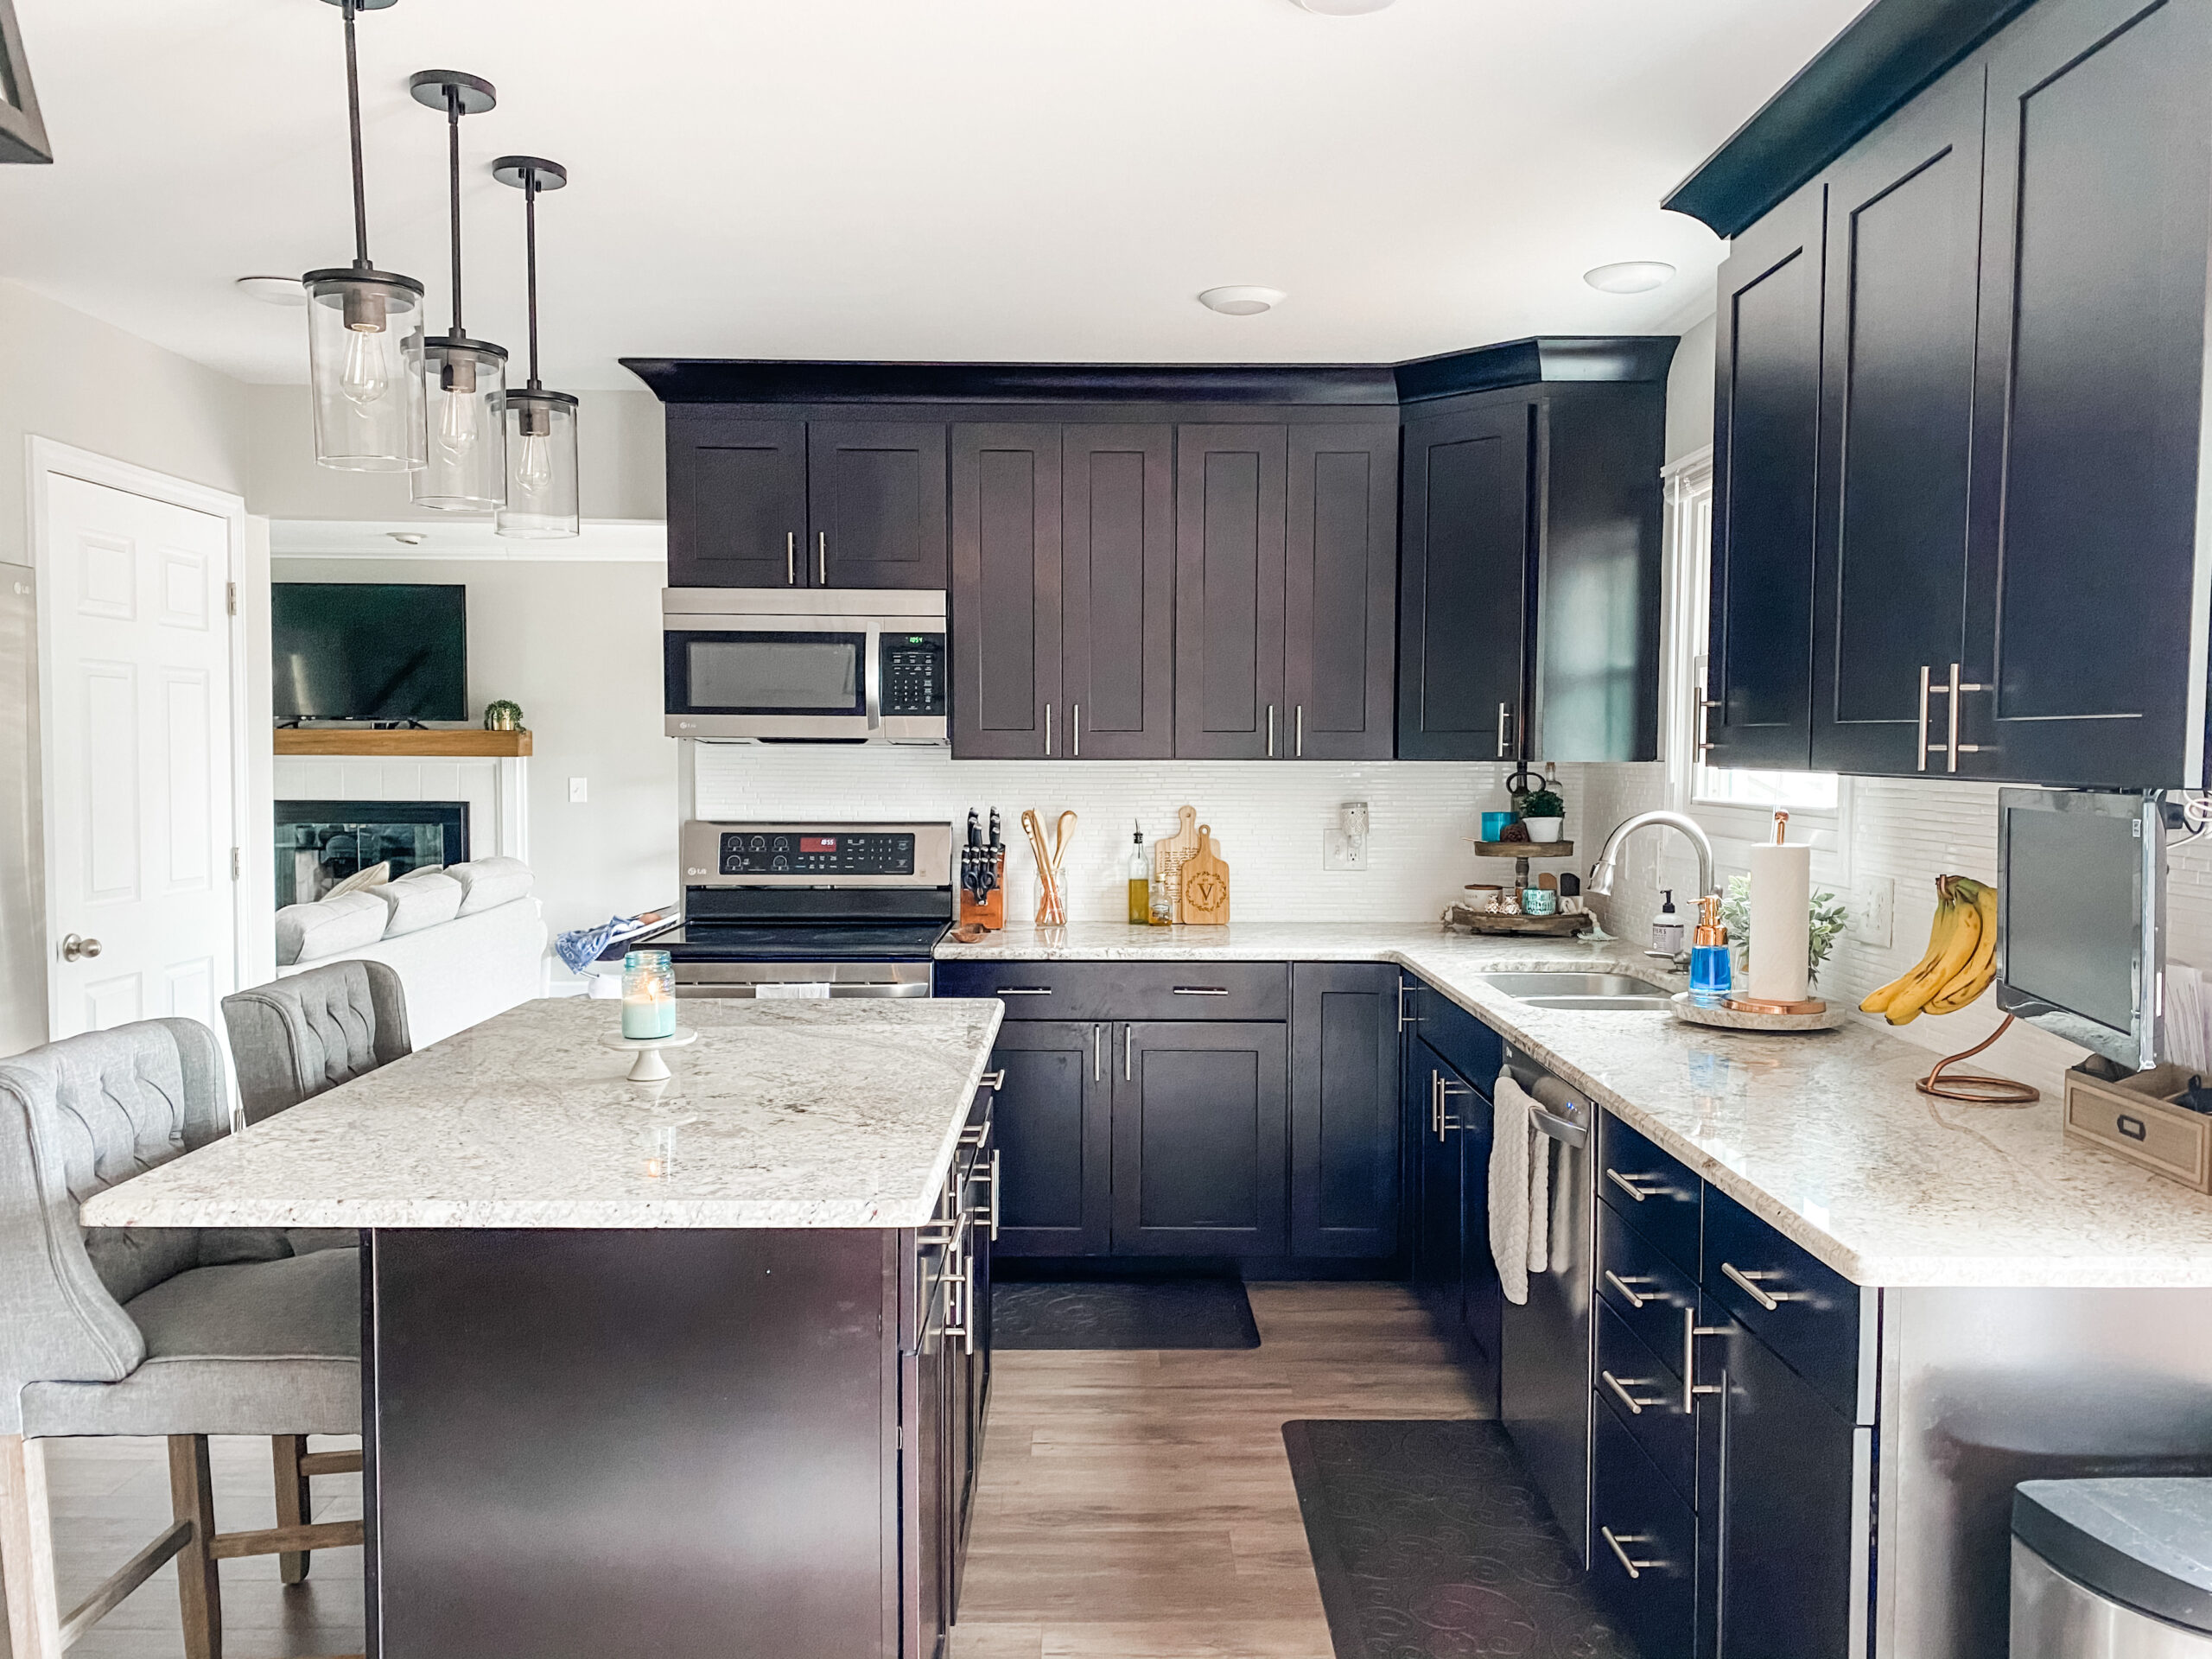
I am pretty brave when it comes to DIY but I’ll be honest… this project terrified me. I was so afraid to hate it and not have the budget to fix it. But you guys! It turned out awesome!! It only took a few hours and I am so happy with the result. It brightened up the kitchen so much.
Make sure you clean the area really well with cleaner and an abrasive cloth, bristle brush or brillo pad to get rid of any dirt or debris. I just used a multi-purpose cleaner.
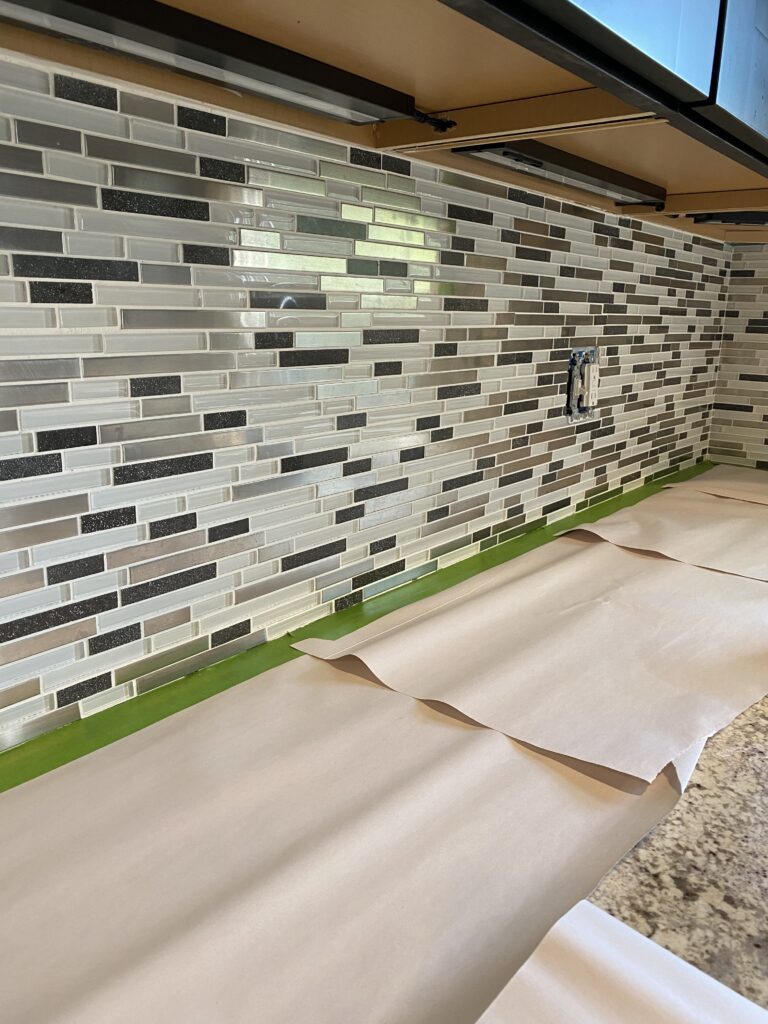
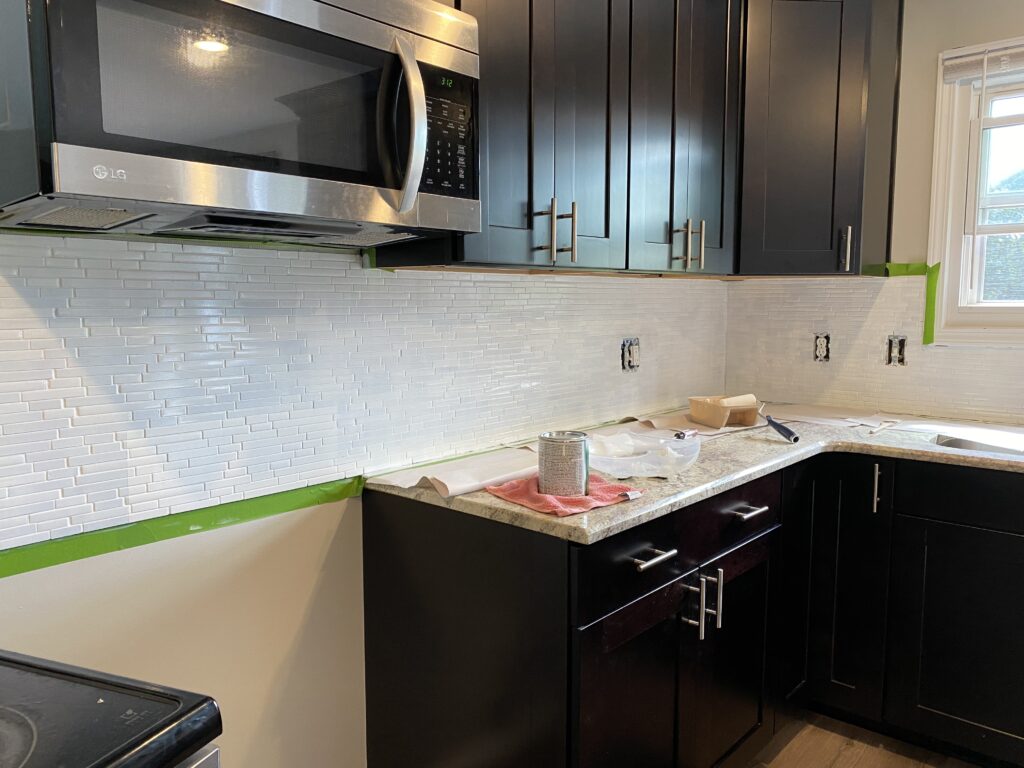
This part is important! Make sure you use painters tape to tape off your counters. I also used some paper to cover the granite and I am glad that I did. No matter how careful you are, some splatters/spills will happen.
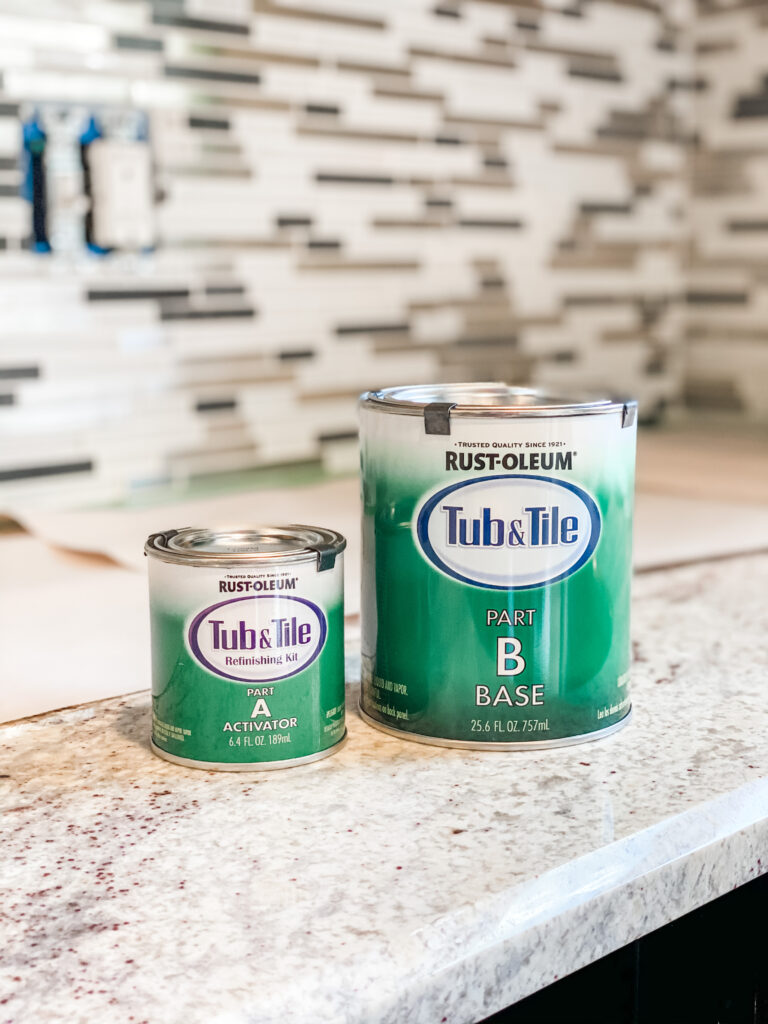
Make sure your area is well ventilated and that you have a mask. This mixture smells pretty bad. You are going to mix both cans well separately and then pour Part A (activator) into Part B (base). Make sure you mix for 2 minutes. I didn’t do this at first and the paint was super watery. Mix for the full 2 minutes to allow it to activate into a thicker paint.
Pour the mixture into your paint try and start by doing all of the edges with your paint brush. After you have edged everything once, take your roller brush and start rolling getting a nice even coat on the entire backsplash. If you get paint anywhere you don’t want it, just quickly wipe with a paper towel and it will come right off.
A tip I always like to use is to put your paint brush/paint tray in a zip lock bag and store it in the refrigerator while you are waiting for the first coat to try. This will prevent your brushes from drying out.
I ended up doing 3 coats just to be safe but you can probably get away with 2. You will be able to see the spots that need a little bit more paint.
You’ll most likely want to caulk the edges where the backsplash meets the countertop. This is the best way get a professional look. If you have never caulked before, don’t worry! It’s easy. Click here to learn how.