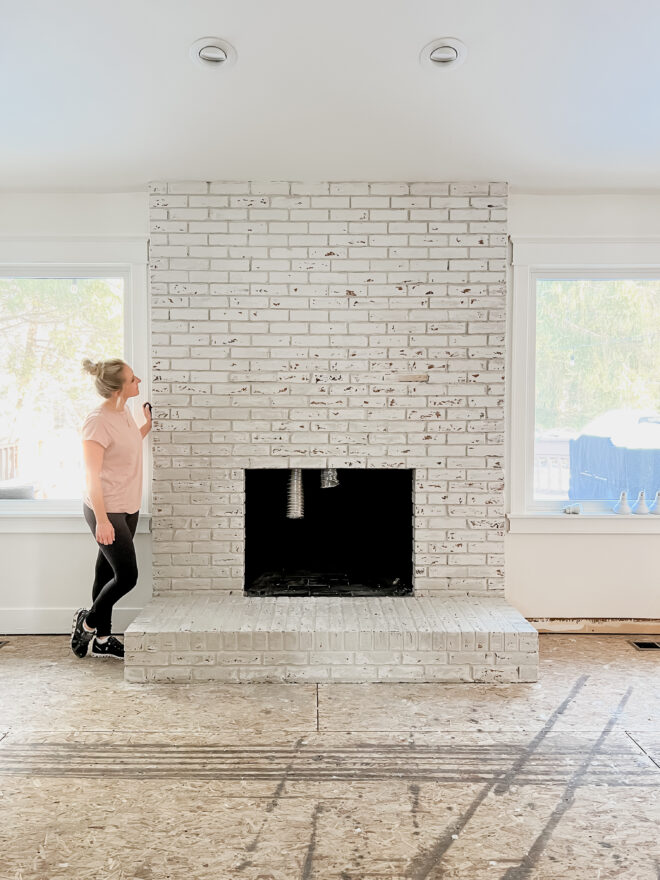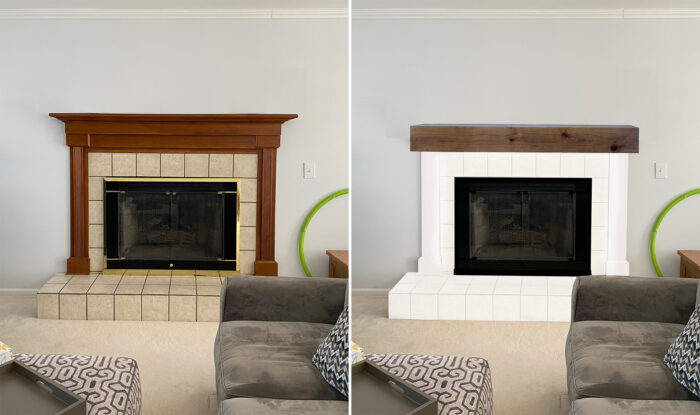


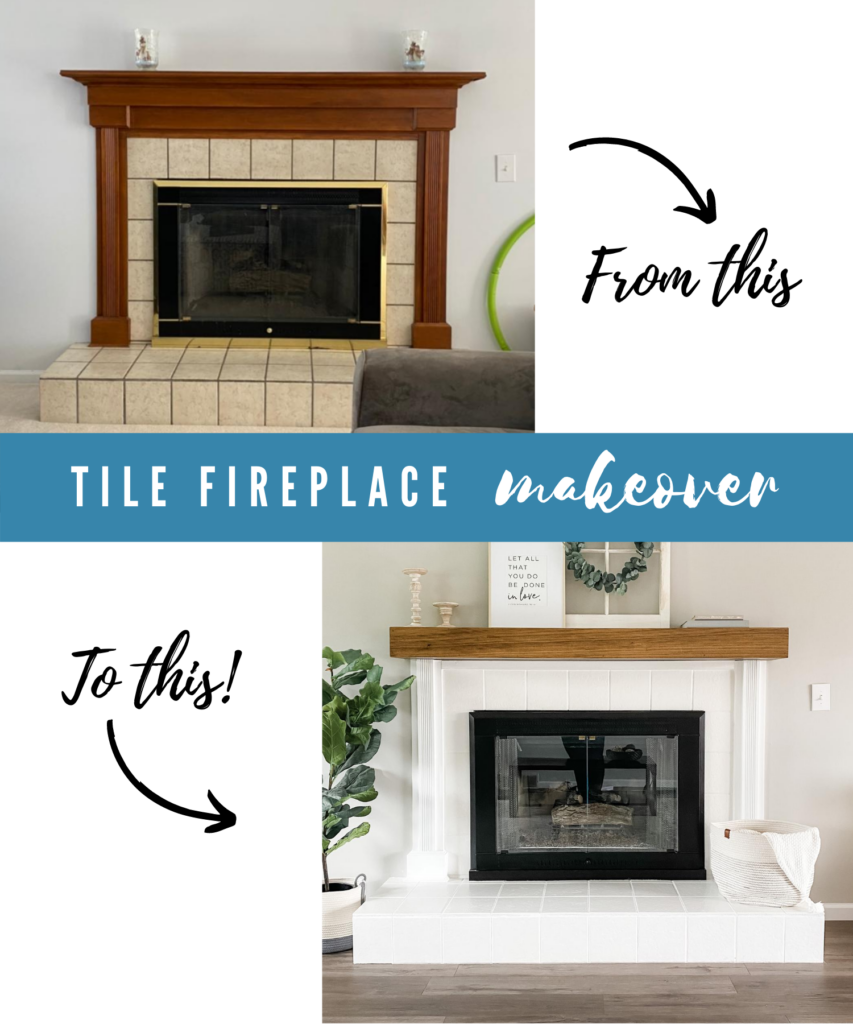
 When we first moved into this house I knew that we wanted to change the outdated fireplace. We considered many different options but they were all so expensive. I knew there had to be a cheaper and easier way to freshen it up. This DIY ended up being super easy and made such a difference! It looks like a whole new fireplace! Click here to view my original plans for the fireplace.
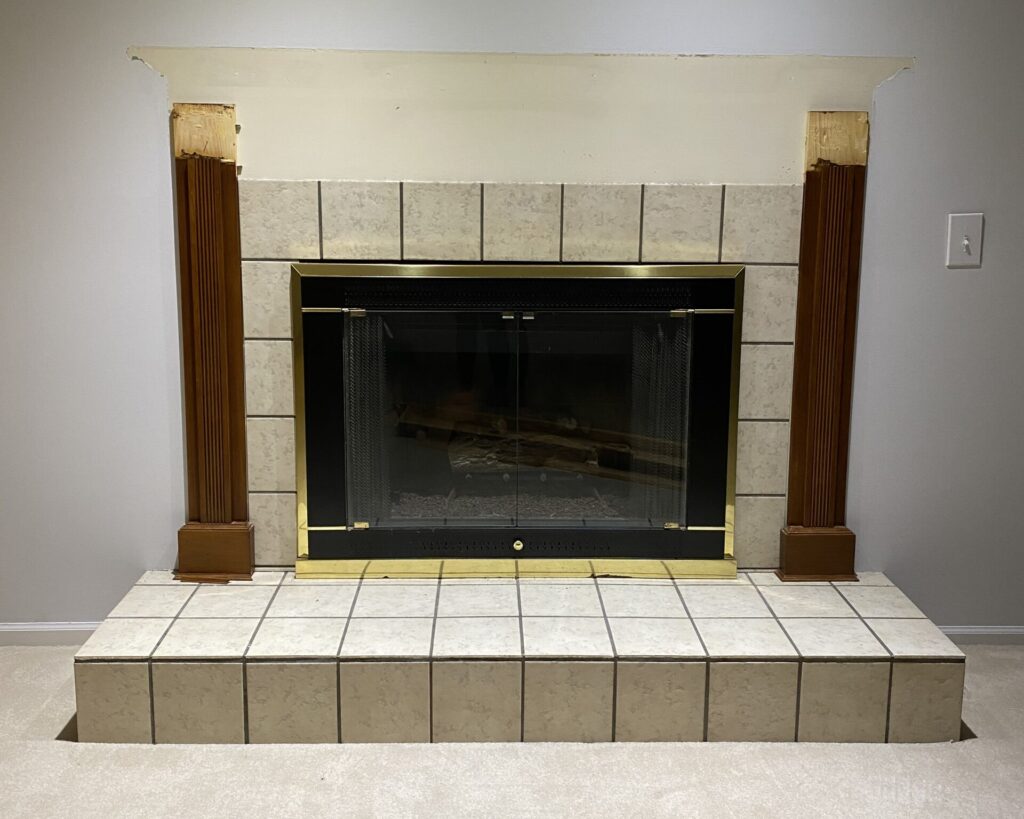
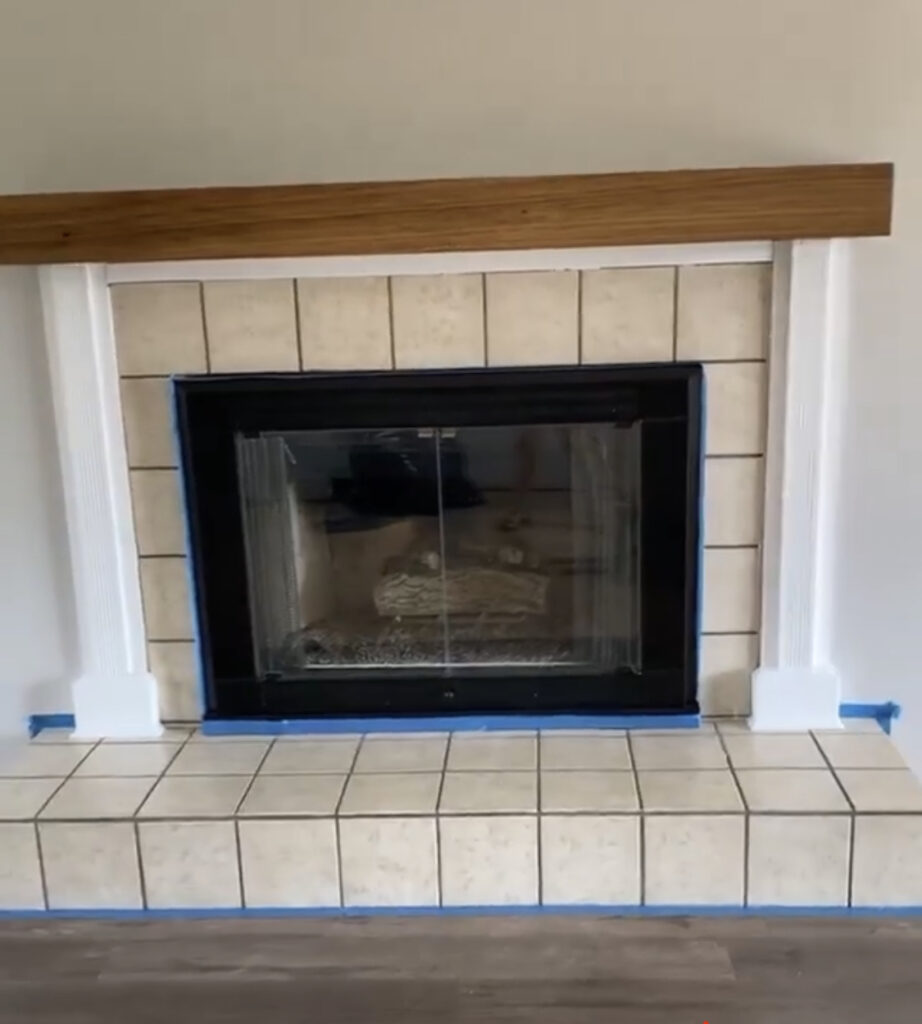
Dont freak out at this point! I promise we can fix it. We have to cut the header board down a little bit so thats why it is missing in this photo. We are planning to put the new mantel right at the top of those two posts. A chisel and a hammer work great to remove unwanted wood pieces.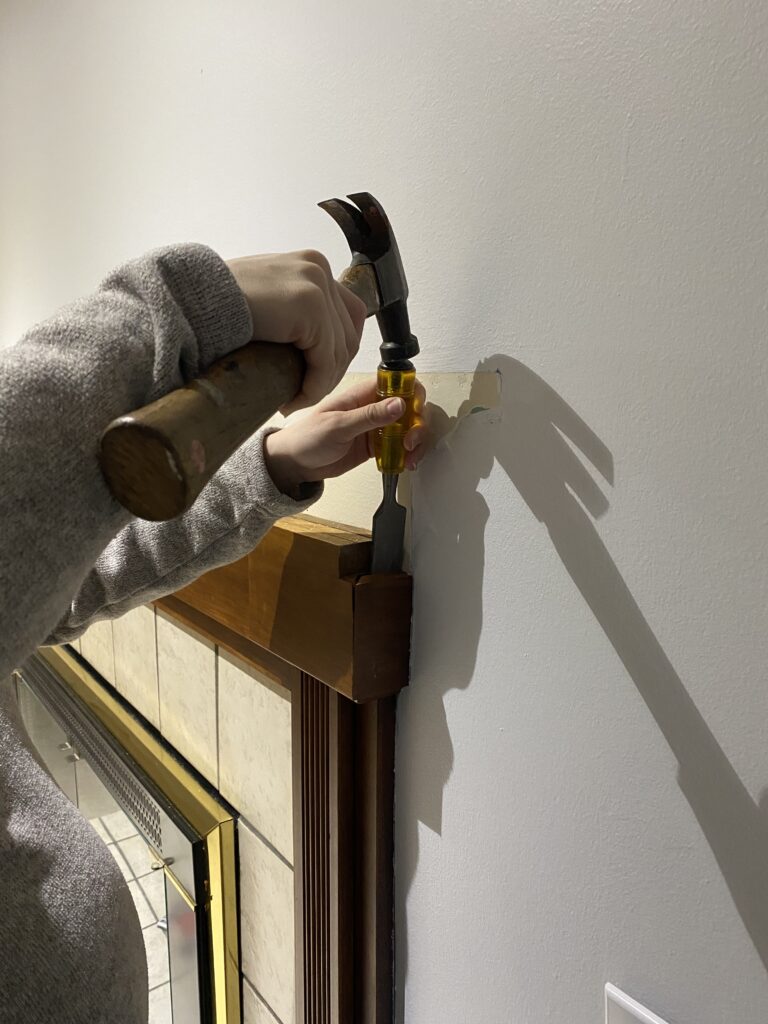
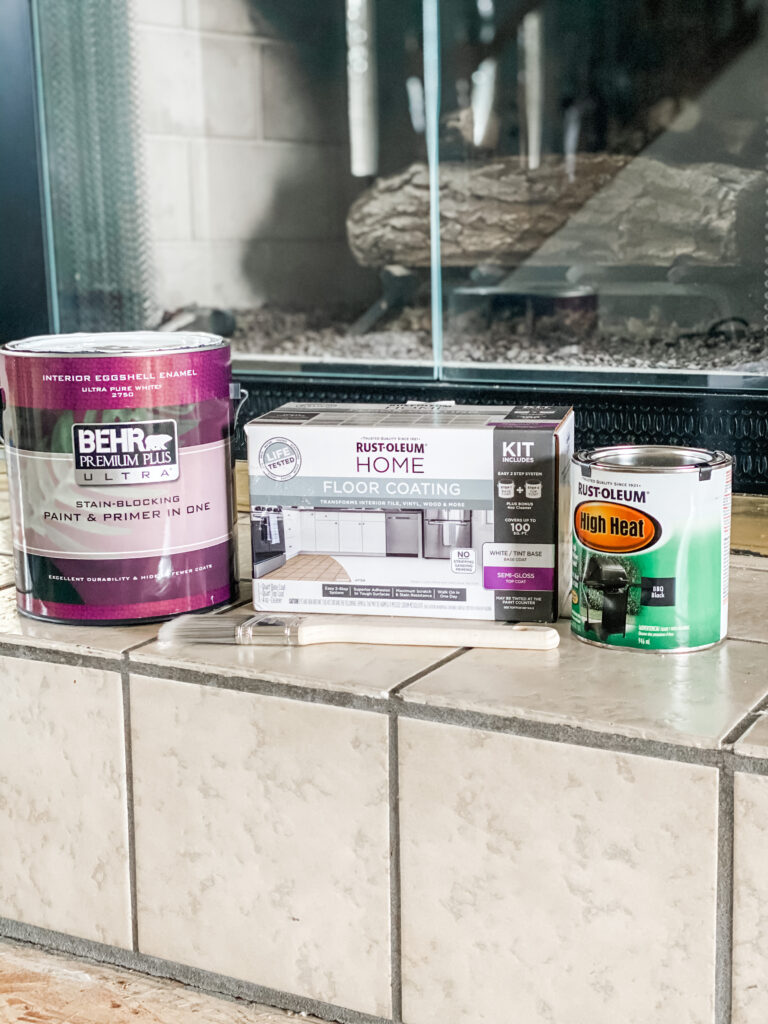
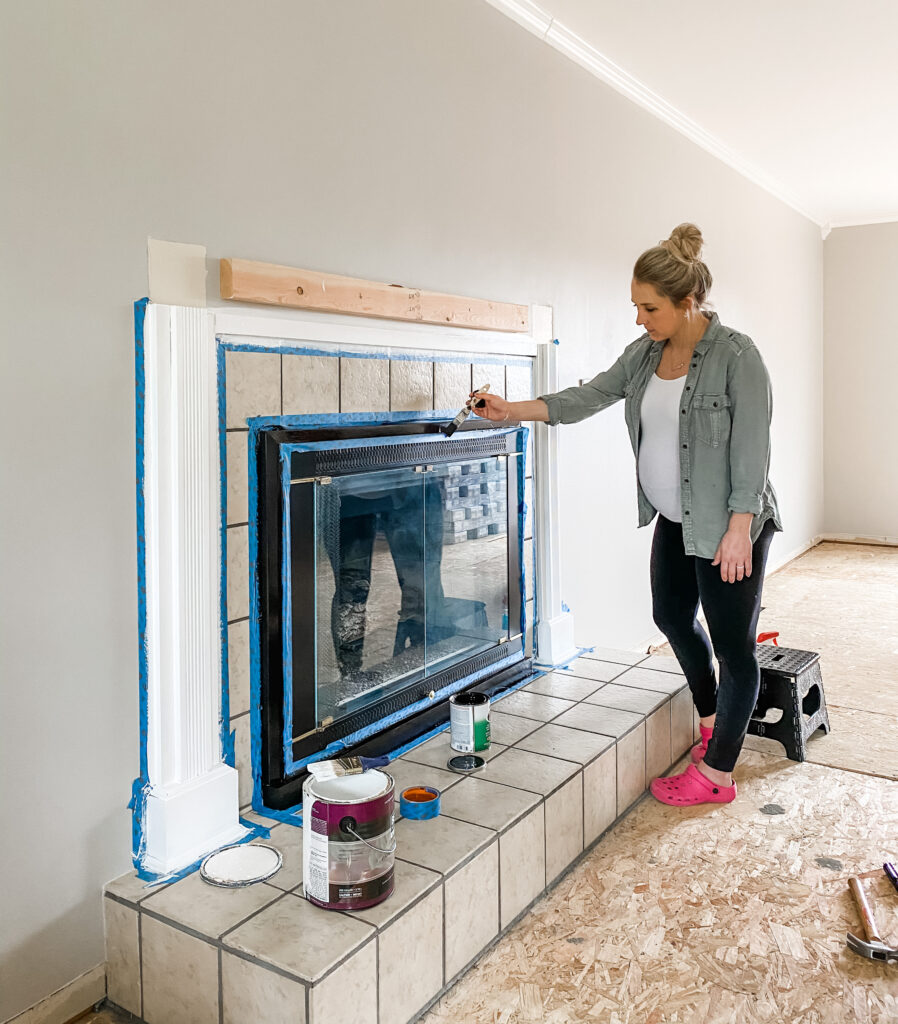
You want to make sure you start with a clean dry surface. After the area is clean, use your painters tape to mask off the trim that you will be painting white as well as the black firebox.
Use the white paint to paint all of the trim pieces that surround the tile on your fireplace. While your first coat dries, paint the gold pieces of your firebox with the black high heat enamel paint. Repeat 2-3 coats for nice, even coverage.
Get your mantel up and in place so that all you have left is painting the tile.
Follow the directions on the can of the tile paint to paint the tiles of your fireplace with a smooth foam roller. You can paint directly over the grout. Make sure you apply thin even coats. Allow to dry between coats.
You will want to caulk the seams to give it that professional finished look. Check out my tutorial here for caulking the fireplace.
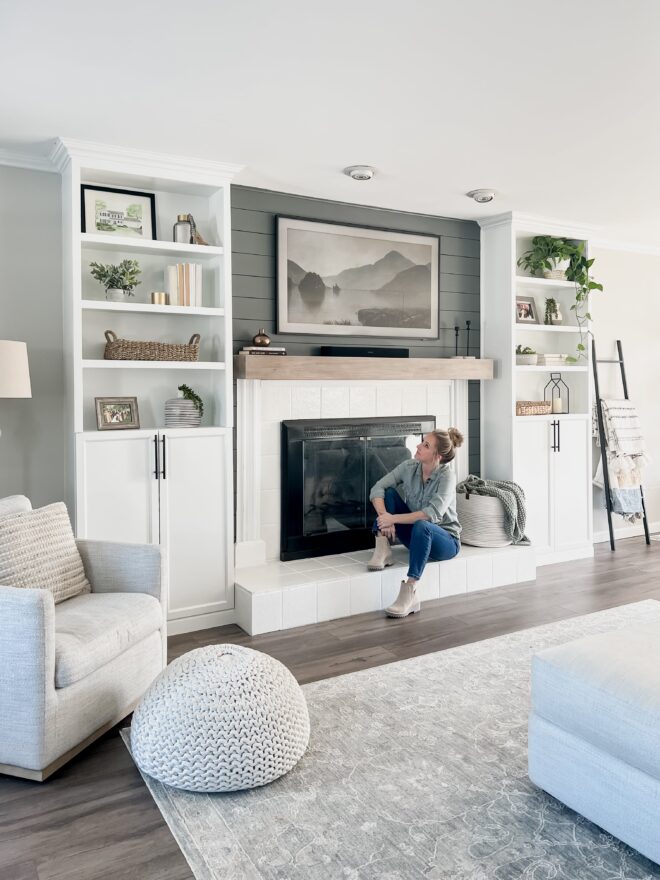
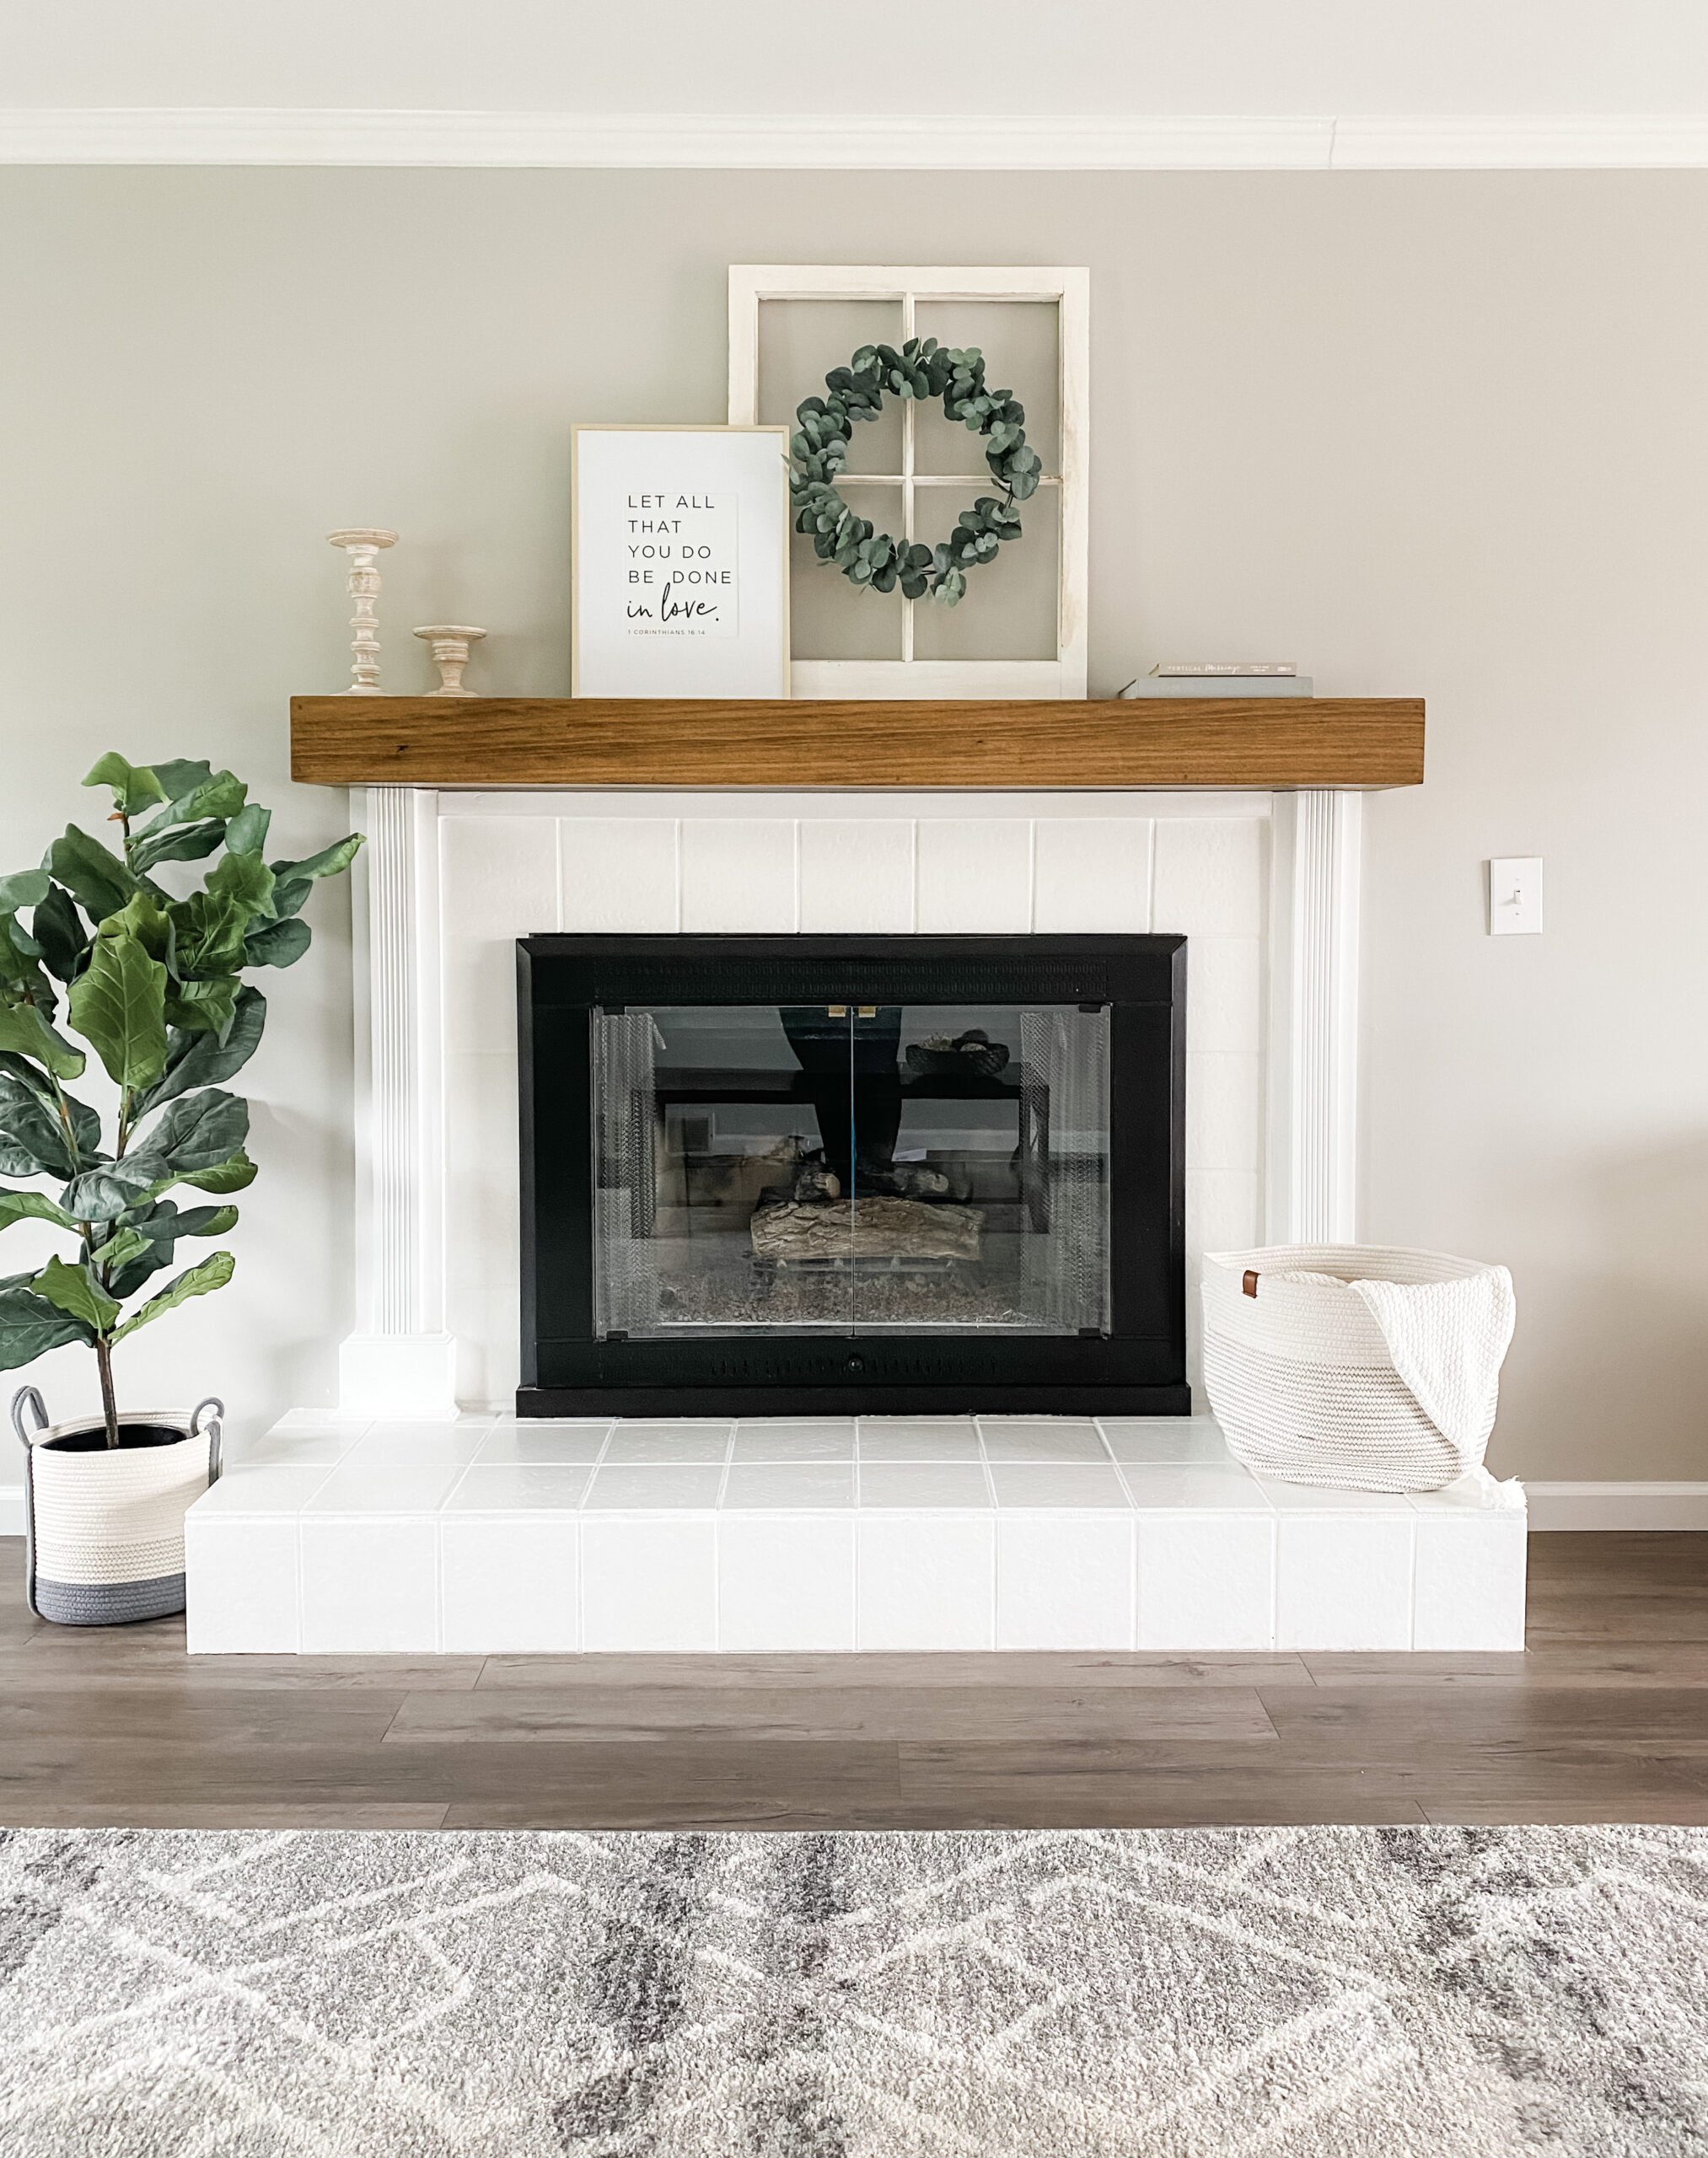
This might be my favorite DIY project we have done so far! It went from an eye sore to a focal point!