


Total Cost: $582.91
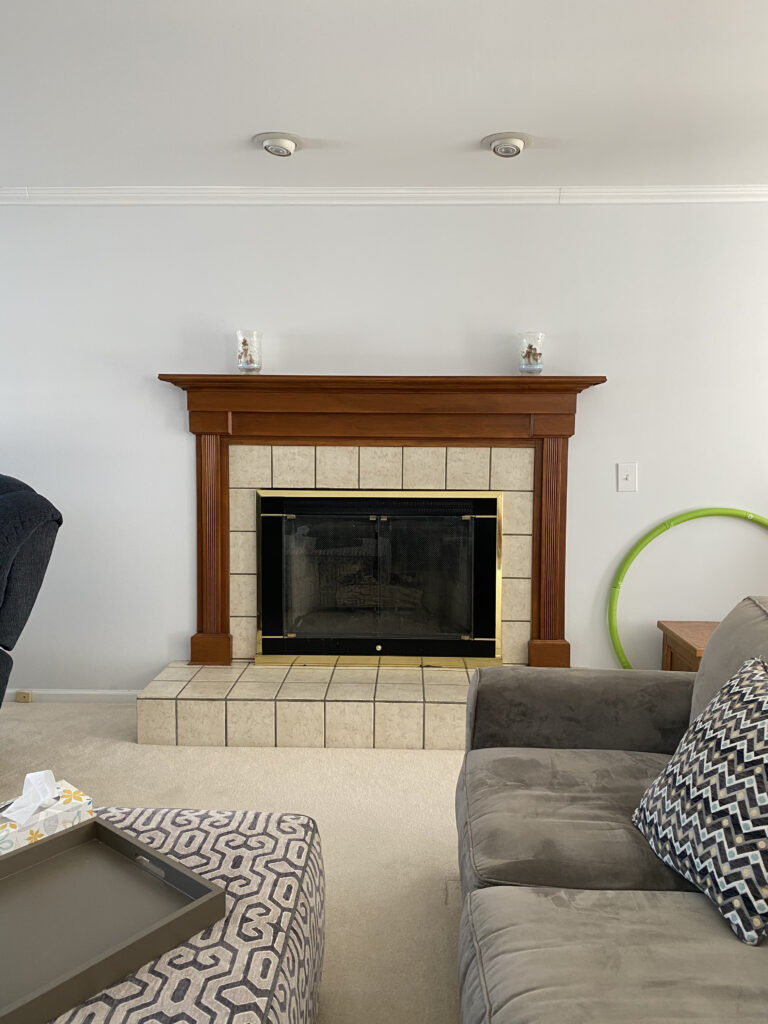
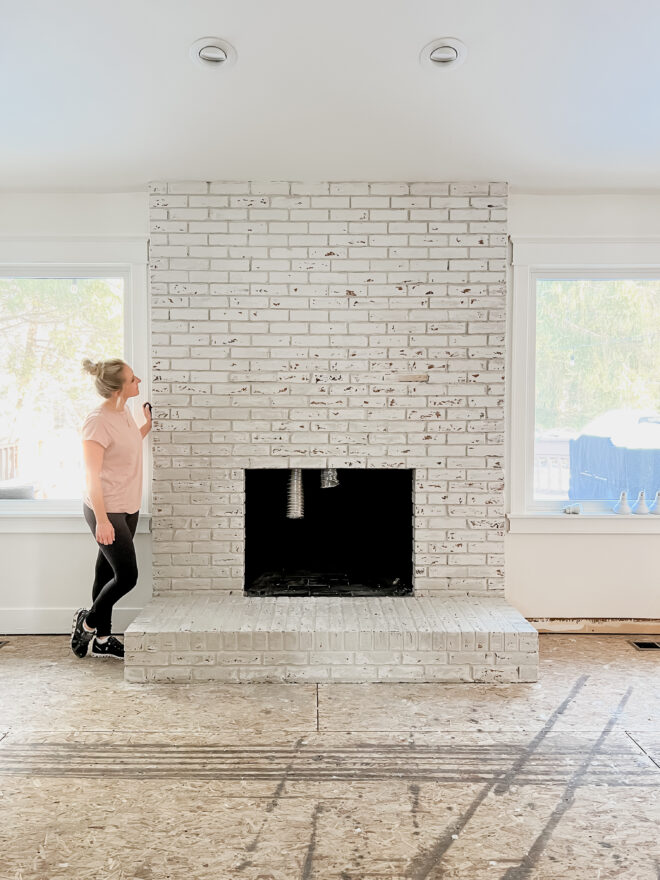
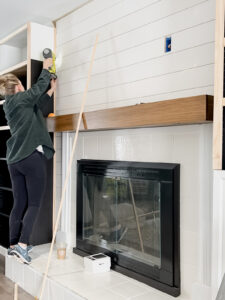
Planning and prep are everything when it comes to projects. It’s best to strip everything down to its base and give everything a good cleaning so that you can start fresh. Because I am planning to add shiplap all the way to the ceiling, I decided to remove the crown moulding the length of my fireplace hearth. This will allow the shiplap to continue all the way to the ceiling and make the room appear taller.
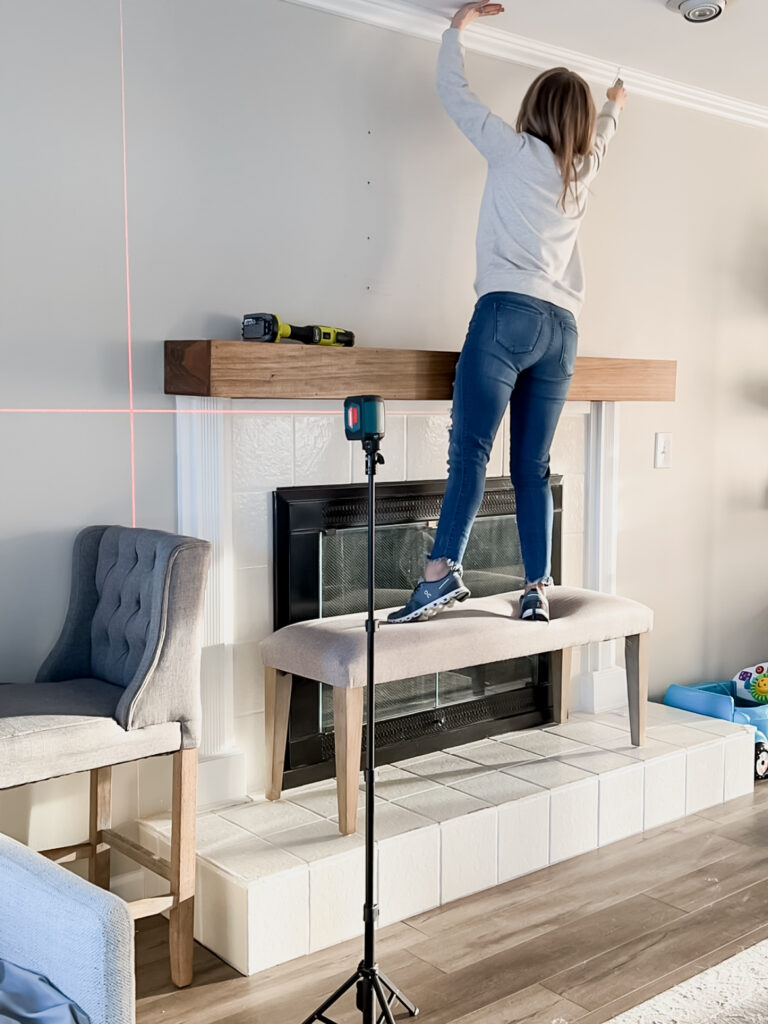
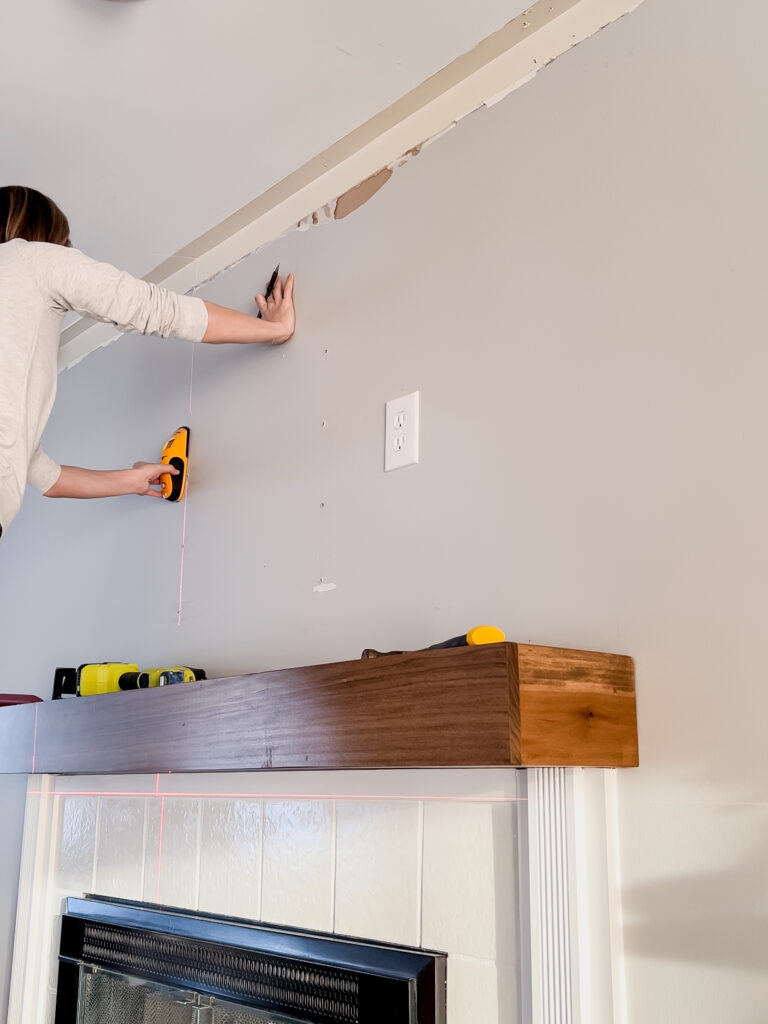
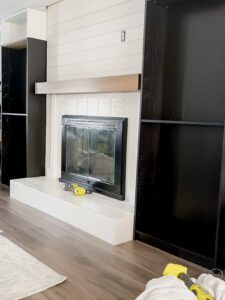
I am marking the studs by placing marks on my celling so that after my shiplap boards are installed, I still know where the studs are in order to mount the tv. Don’t forget this step or you will regret it when it comes time to hanging anything on the wall. Most stud finders won’t be able to detect studs through the shiplap boards once installed. Working from top to bottom, install your shiplap boards. I decided to cut them the same length as the hearth so that when the bookcases are put next to the fireplace, the shiplap will extend the full width.
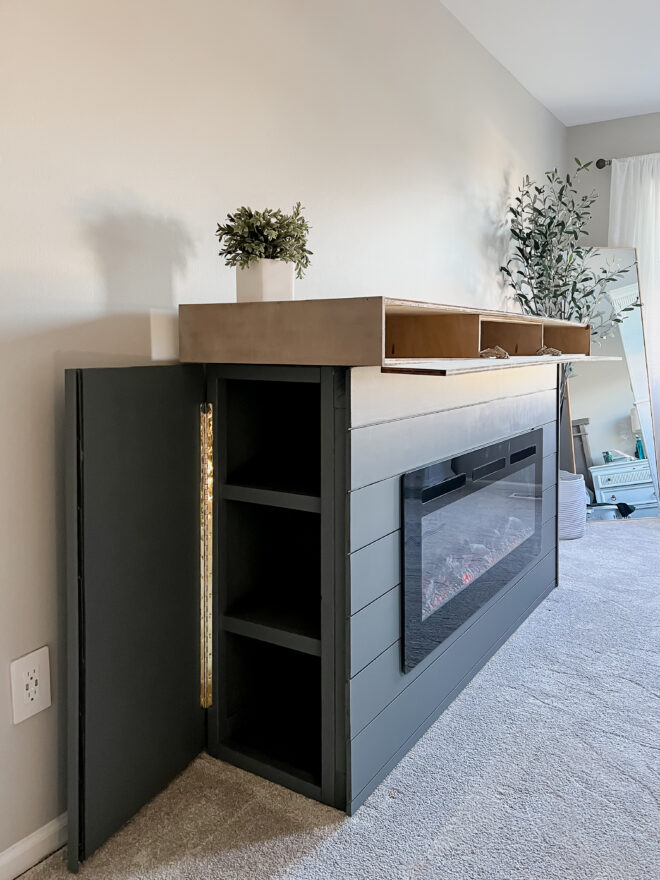
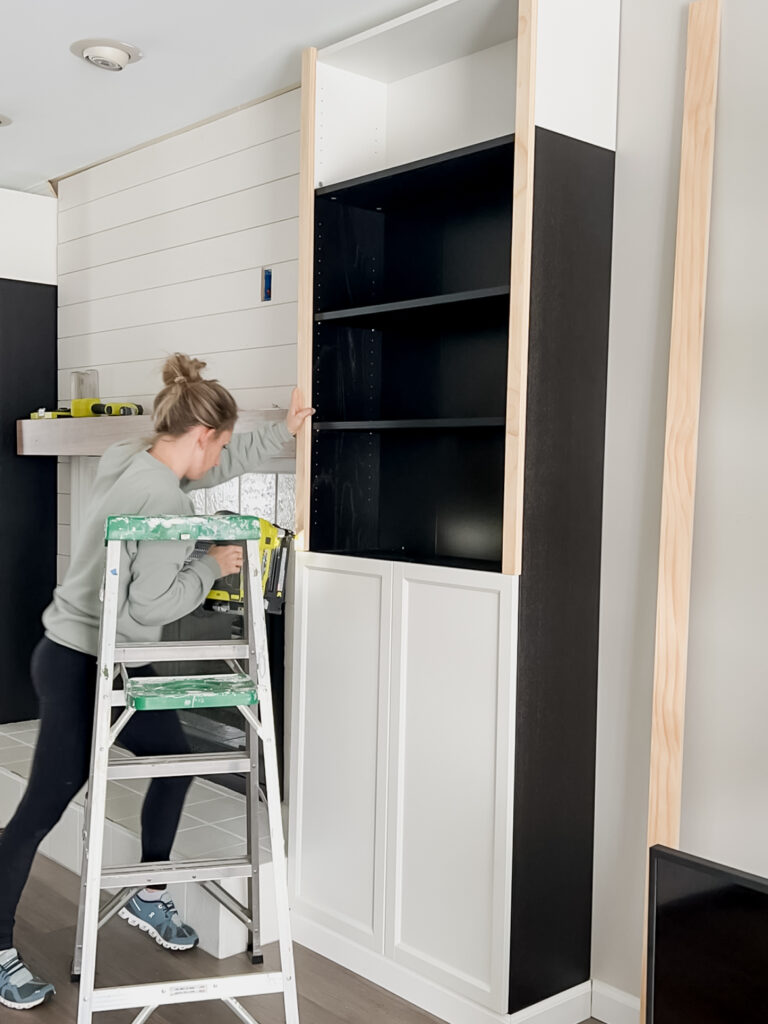
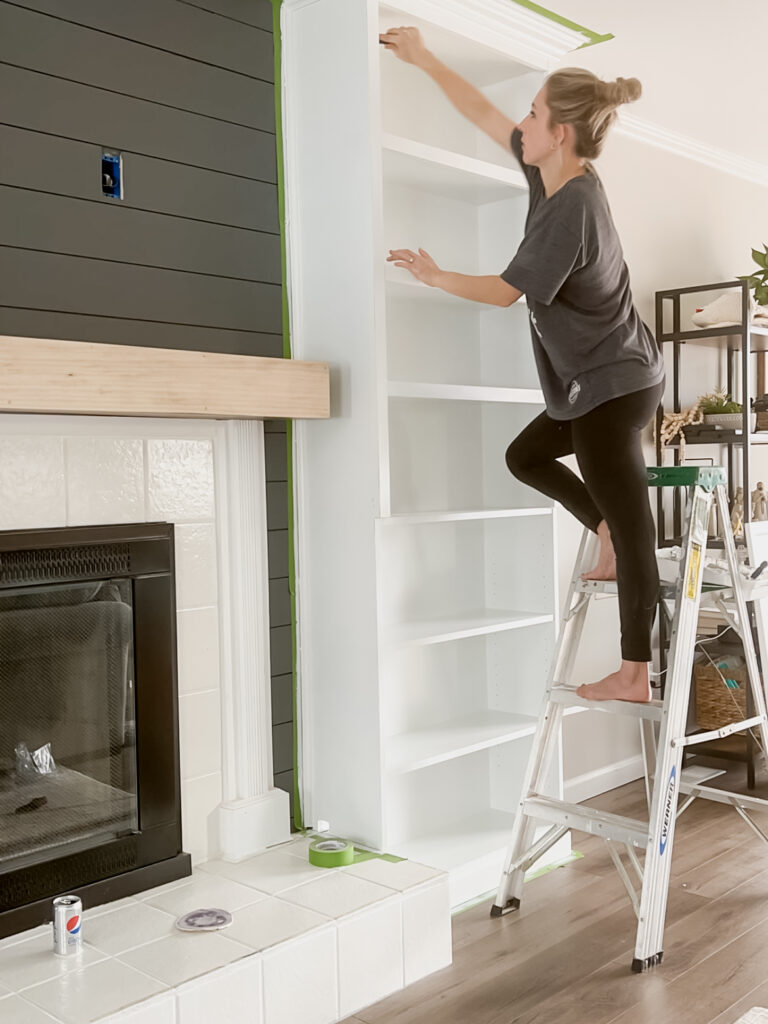
Ideally, I would have loved to buy the white IKEA billy bookcases but they were out of stock so I had to buy the darker color and paint them. I was able to buy the Billy/Oxberg door attachments in white as well as the extender. Depending on your ceiling height, you can add as many extenders are you need. Our ceilings are 8ft so I only needed one. Once they are put together, secure them to the studs in the wall so that they don’t tip over.
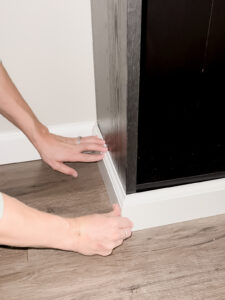
In order to achieve that truly “built-in” custom look, you will want to extend your baseboard around the bookcases. I took off the trim attached to my wall and cut my 45 degree mitered edge and then worked my way around the bookshelf.
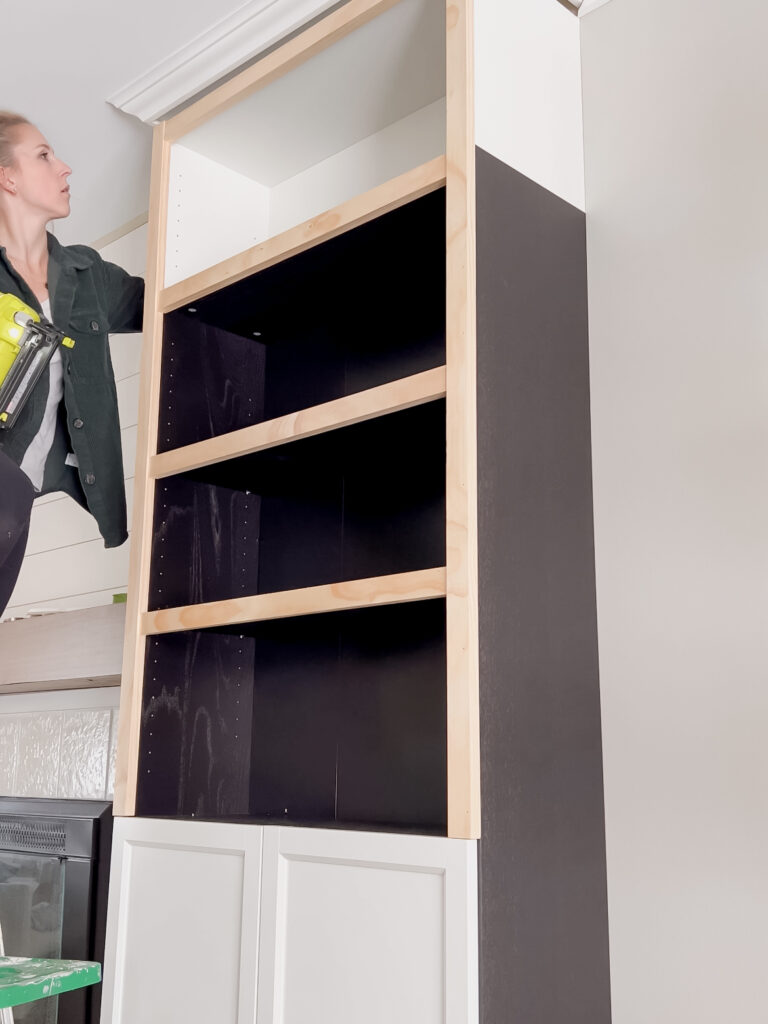
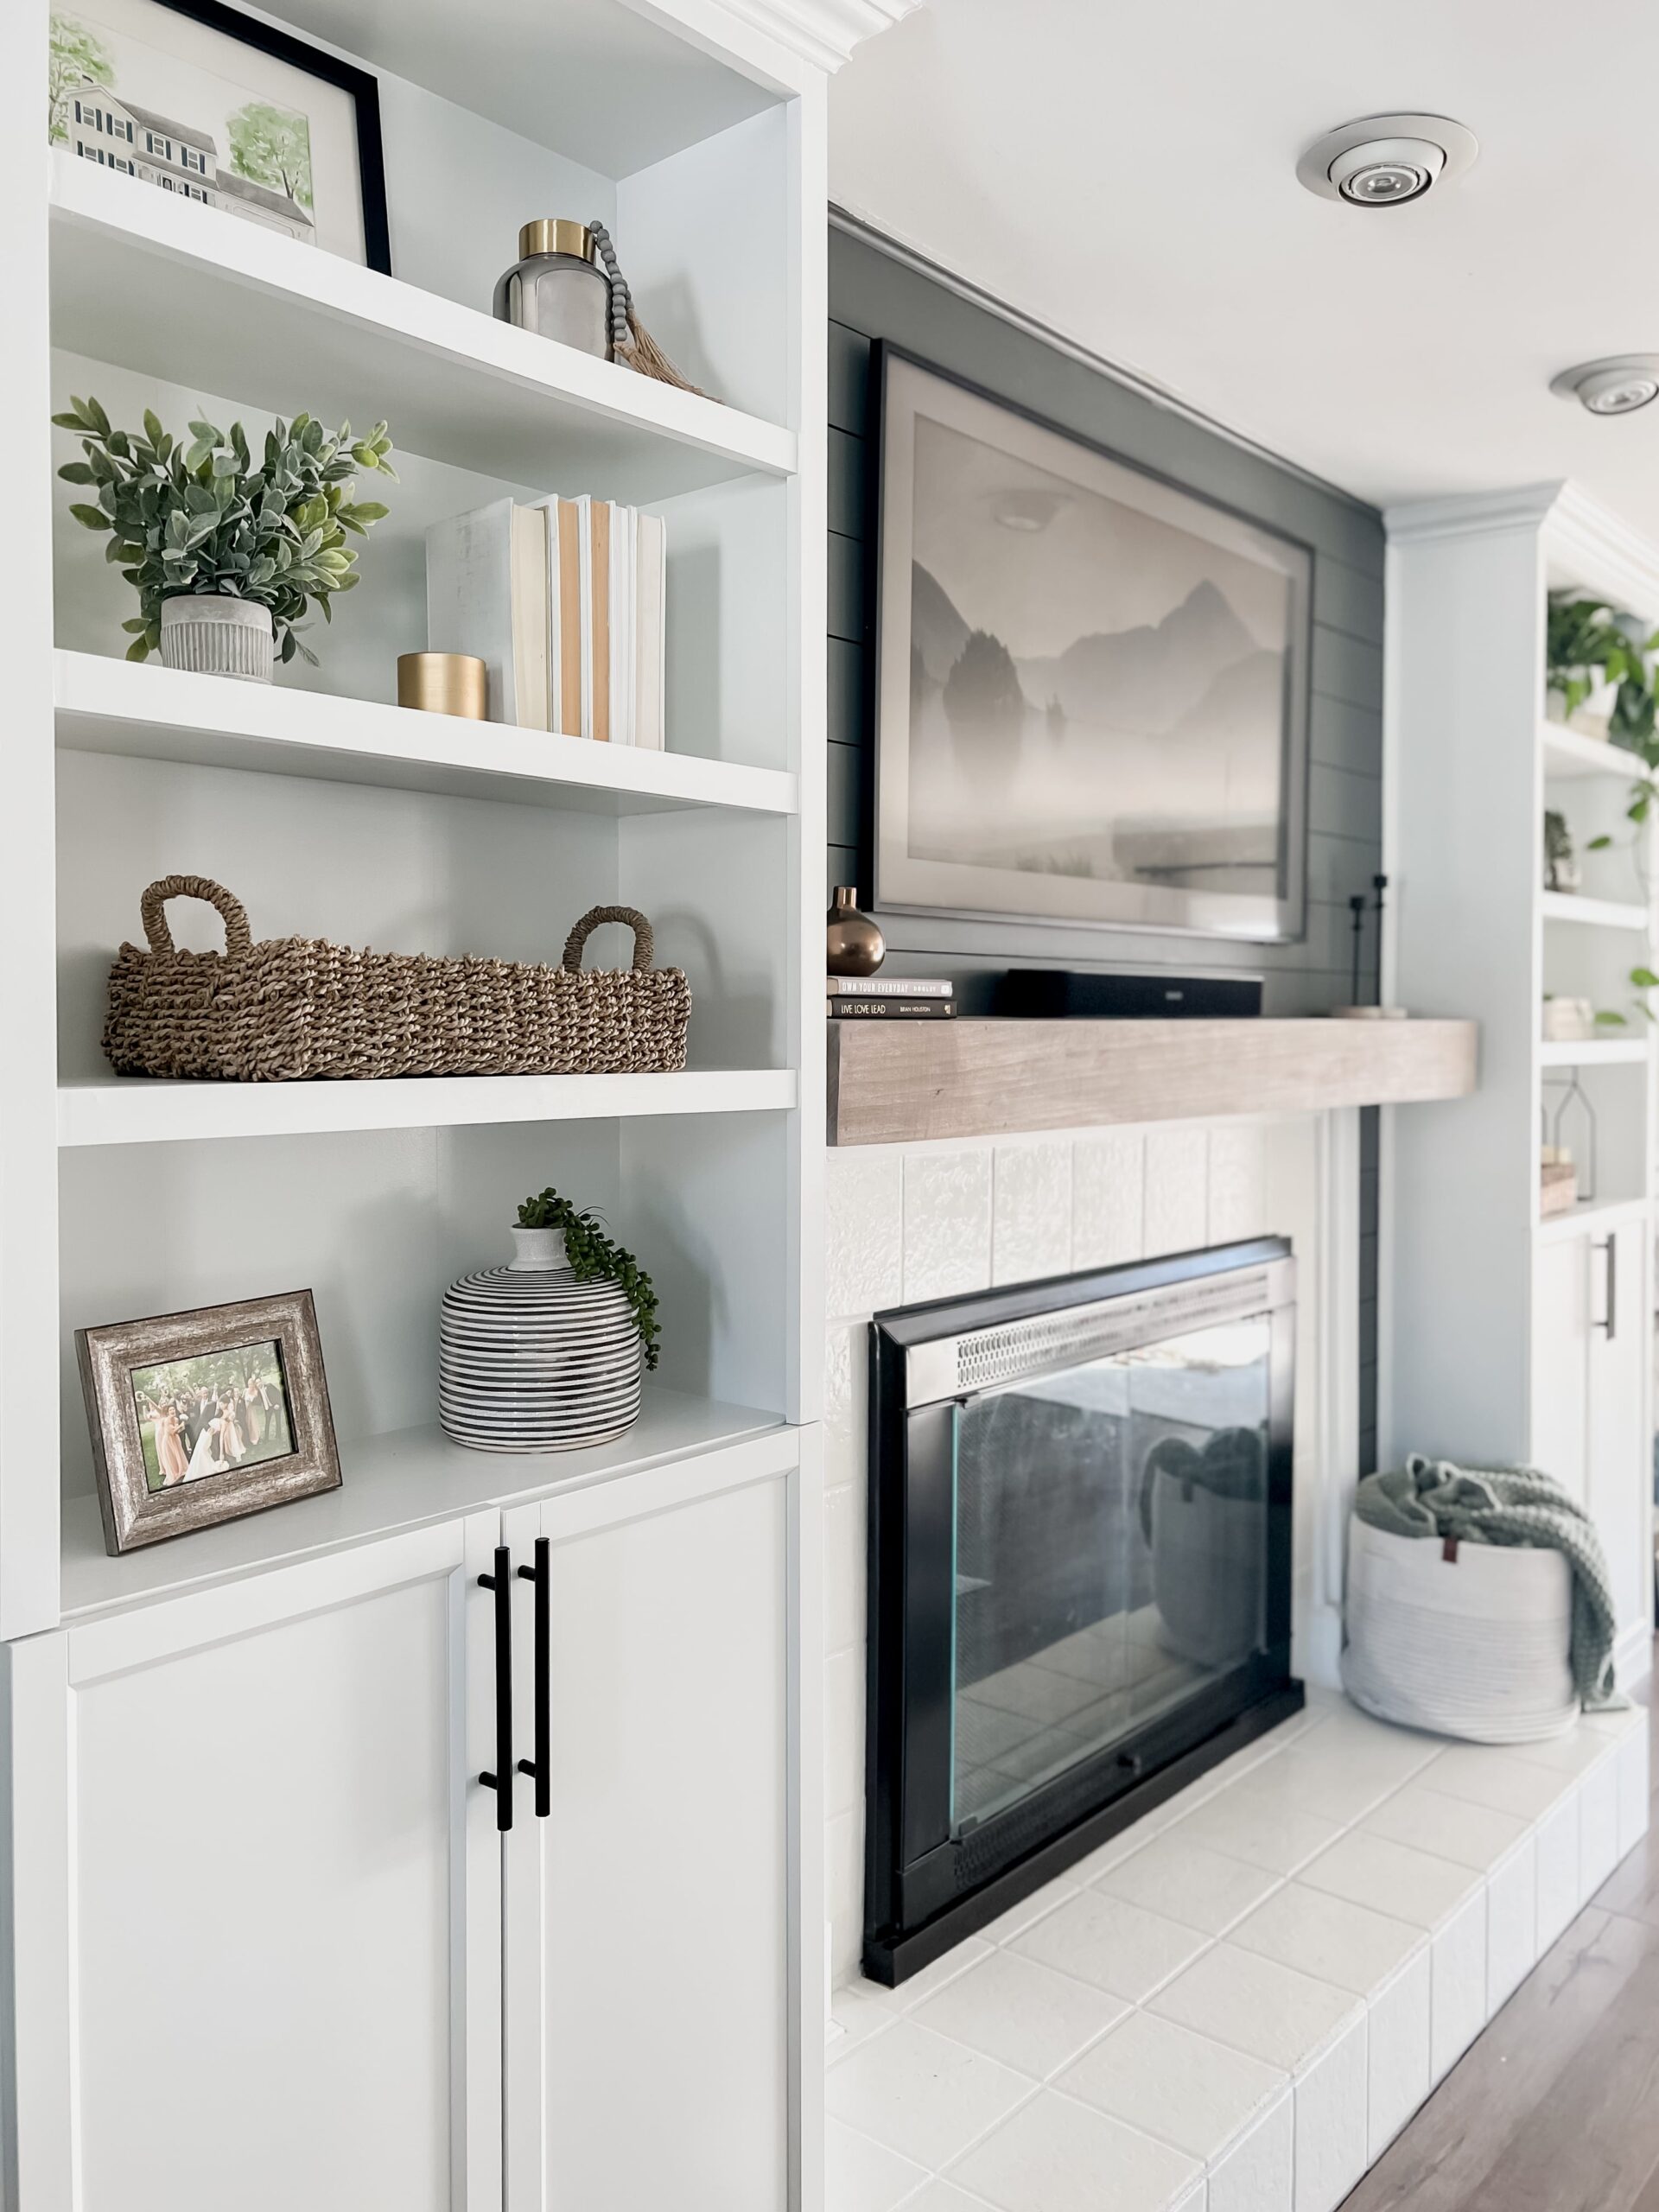
This step is where the magic happens. I am using 1×2 pine boards and attaching them to the face of the cabinet. This helps bulk up the look of. the shelving and makes it look more custom. For the shelves themselves, I made sure to keep the shelf/pine board flush and let the extra length of the wood hang down lower than the shelf itself.
Because our living room already has crown moulding I decided to continue it around the bookshelf just like I did for the baseboards. You could do this with crown or create your own moulding using pine boards so that the height is flush with your ceiling.
I used cove moulding to add some detail and cover any imperfections where the bookcase meets the shiplap. This helps give it a really finished look but totally optional.
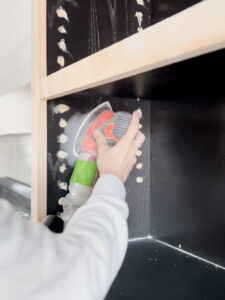
This step is tedious but in order for them to look luxury and custom we want to fill all of the adjustable shelving holes. Simply fill with wood filler and let dry. Once everything is dry and you have filled all of your nail holes, you will want to sand the entire surface smooth.
I made sure to caulk all of the edges/seams so that everything was perfect. I caulked the corners of each shelf and along the trim pieces that I added. Make sure that you use paintable caulk.
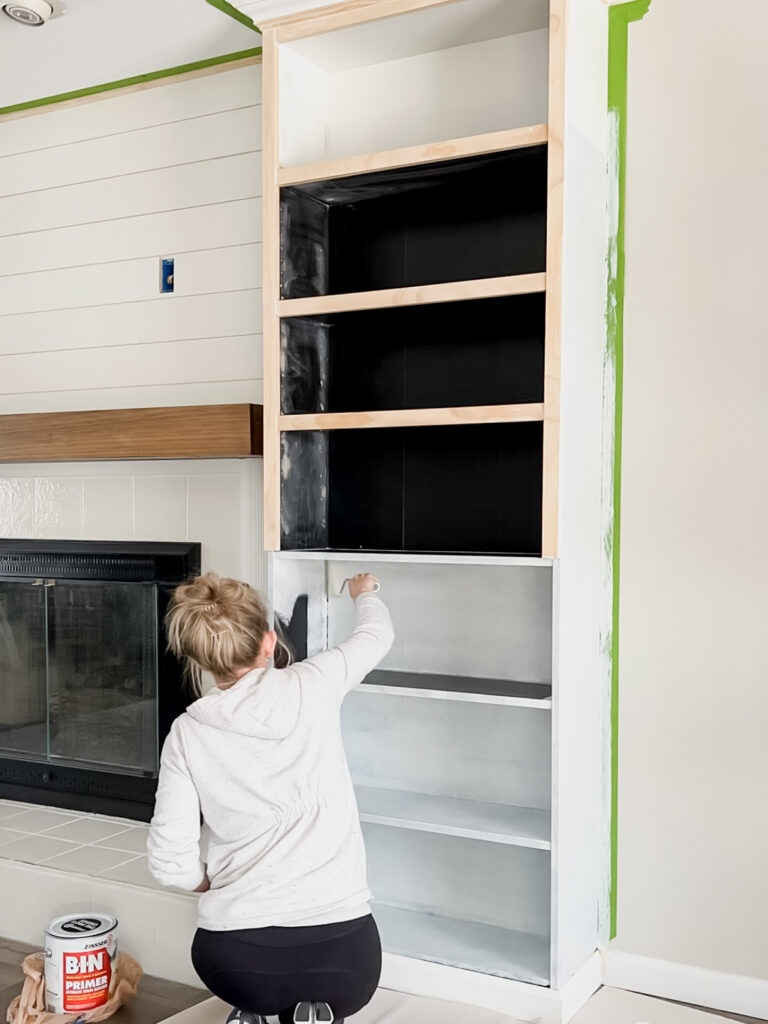
Painting IKEA furniture can be tough. Because of the material sometimes it is hard to get paint to adhere to it properly. I recommend using the Zinsser B-I-N primer. I did two coats. This stuff is awesome for IKEA furniture because it helps the paint adhere. I then used the Sherwin Williams Emerald Urethane Trim Enamel paint and painted 3 coats of the color Pure White. The shiplap is painted Grizzle Gray by Sherwin Williams.

The last step is to reattach the doors. I added some new hardware to give it a little more character but totally up to you!
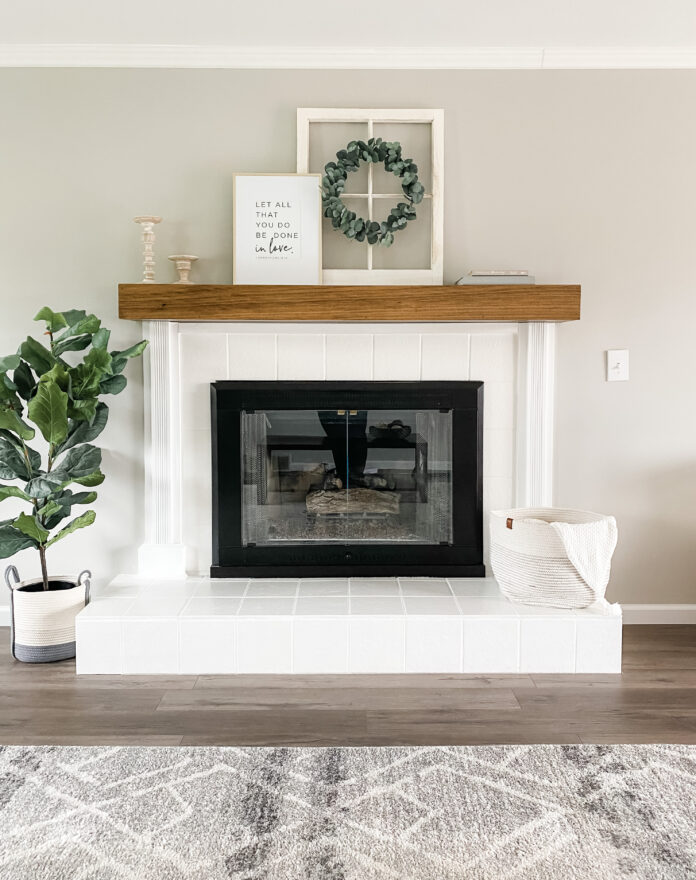
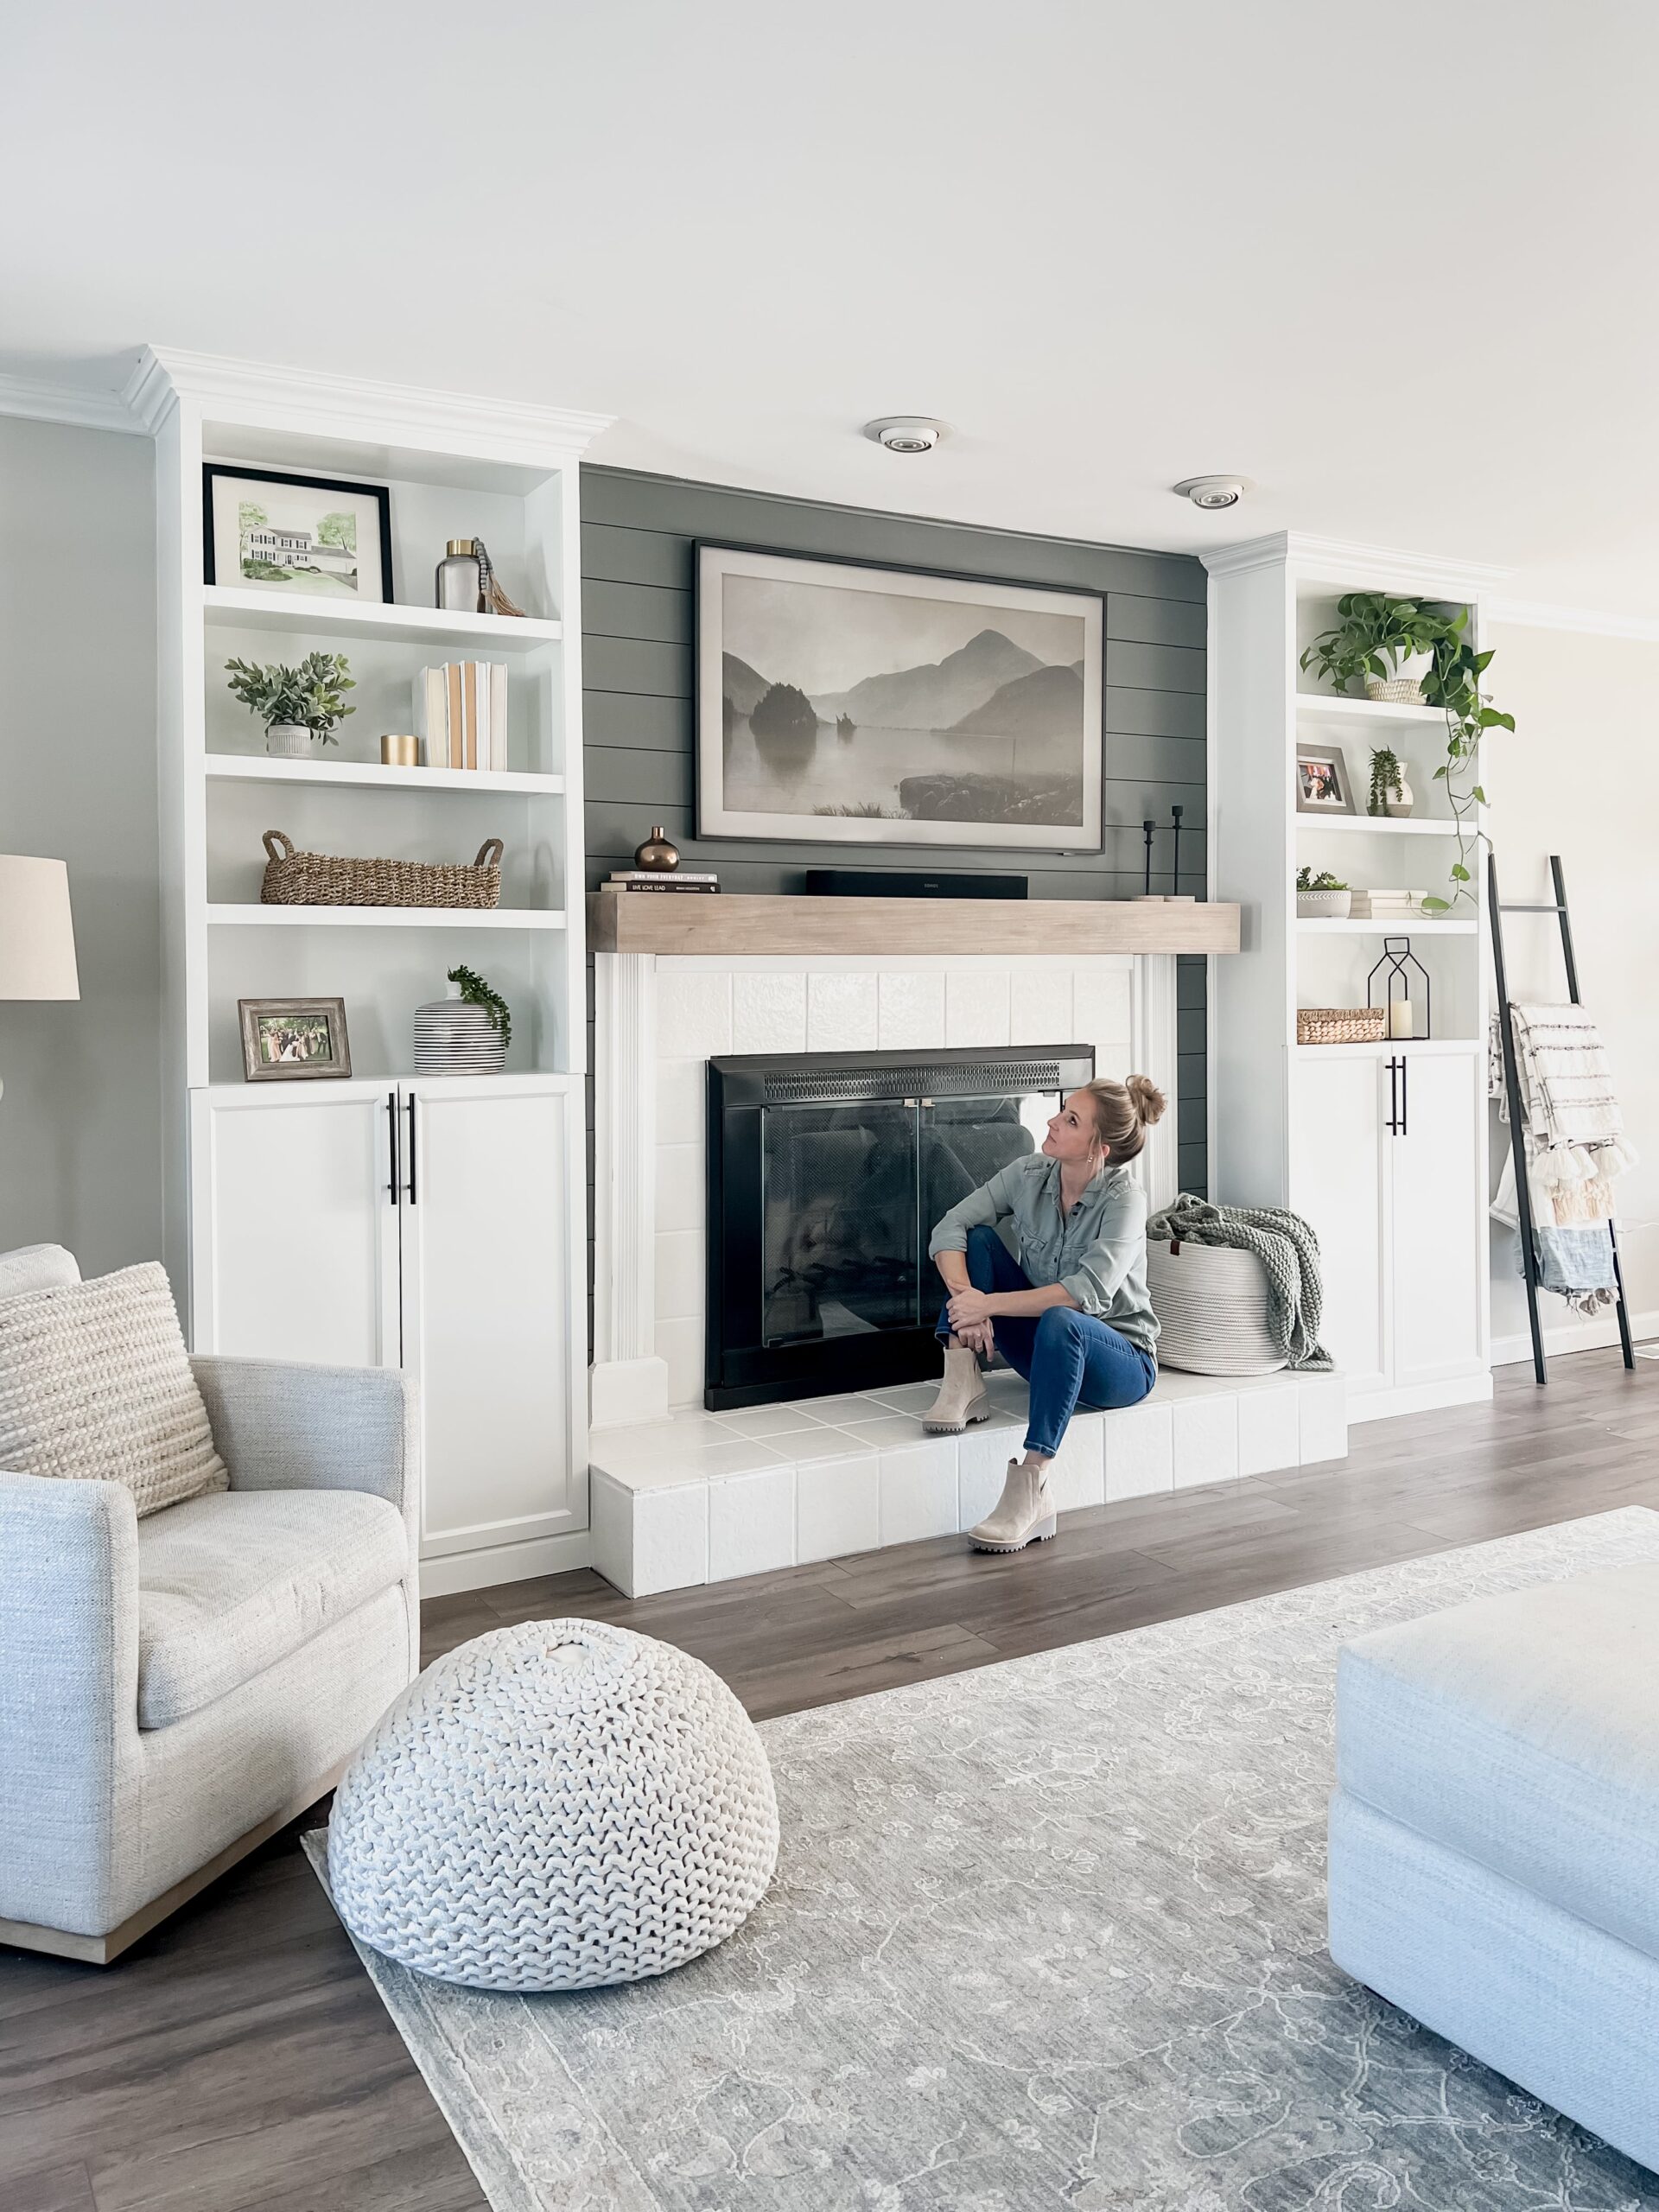
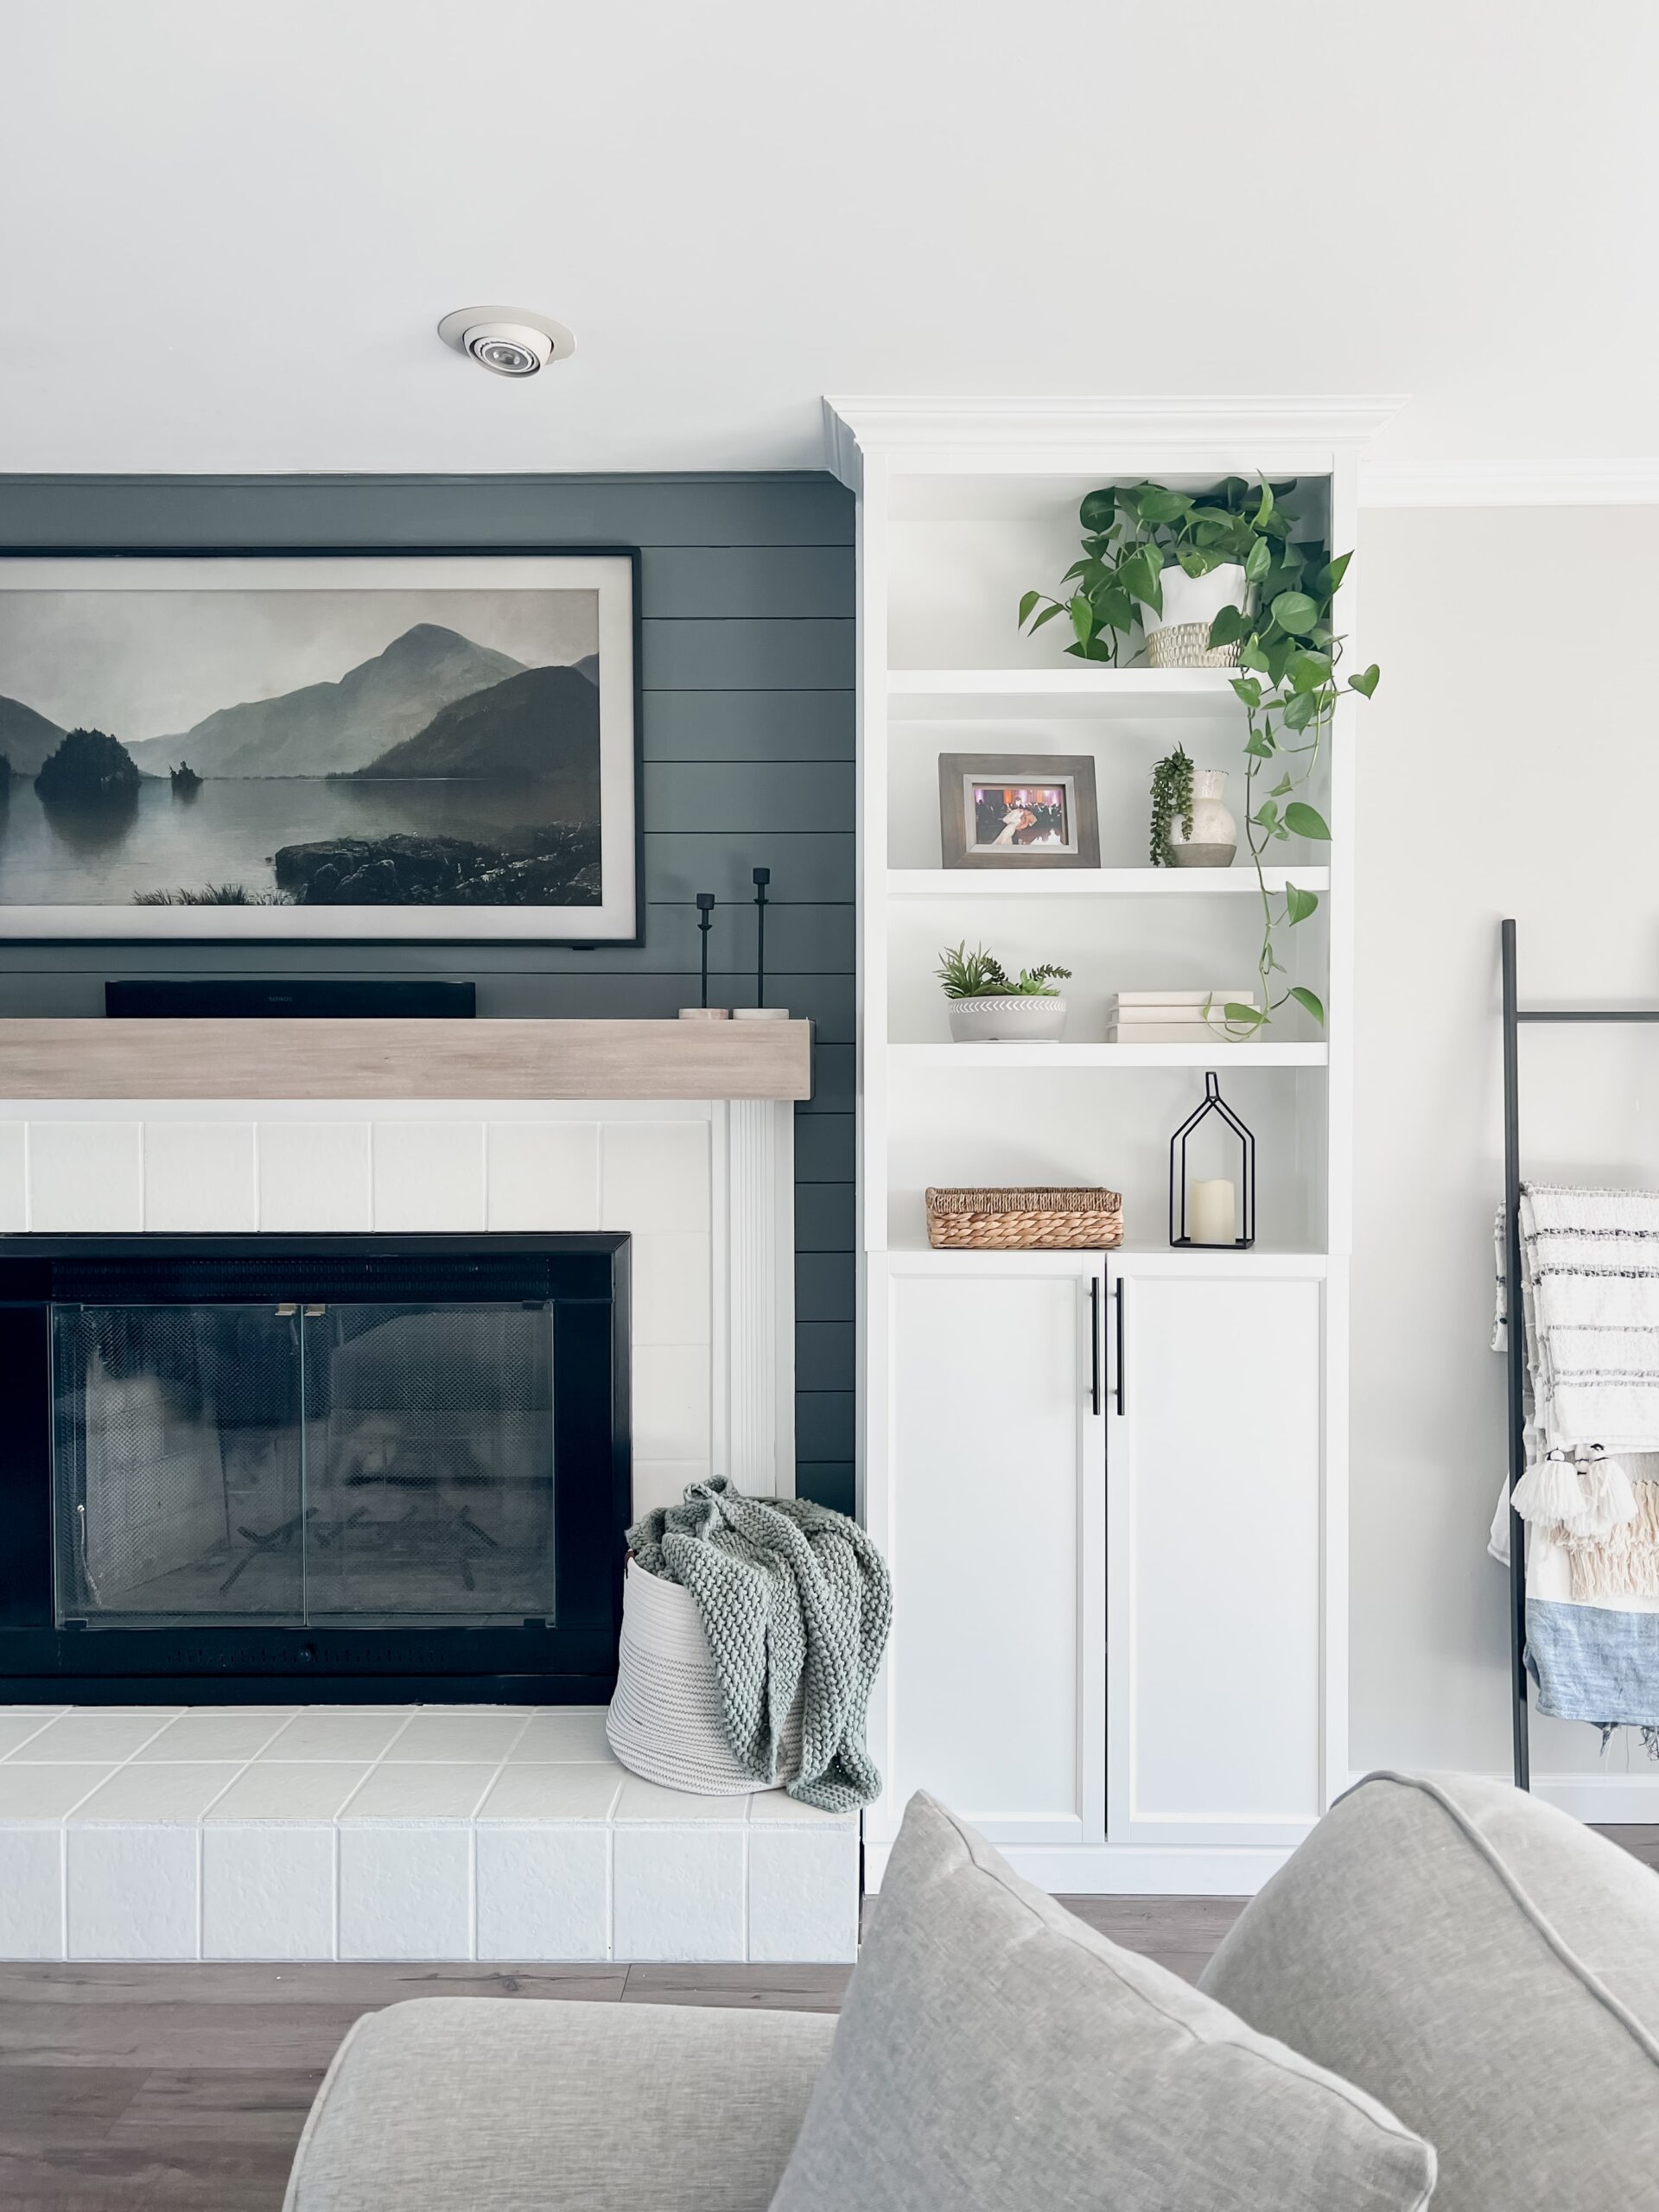
Totally custom bookshelves at a fraction of the cost! It totally transformed the space!