Search here...
TOP
DIY View All

Building a Picture Ledge for Under $20!

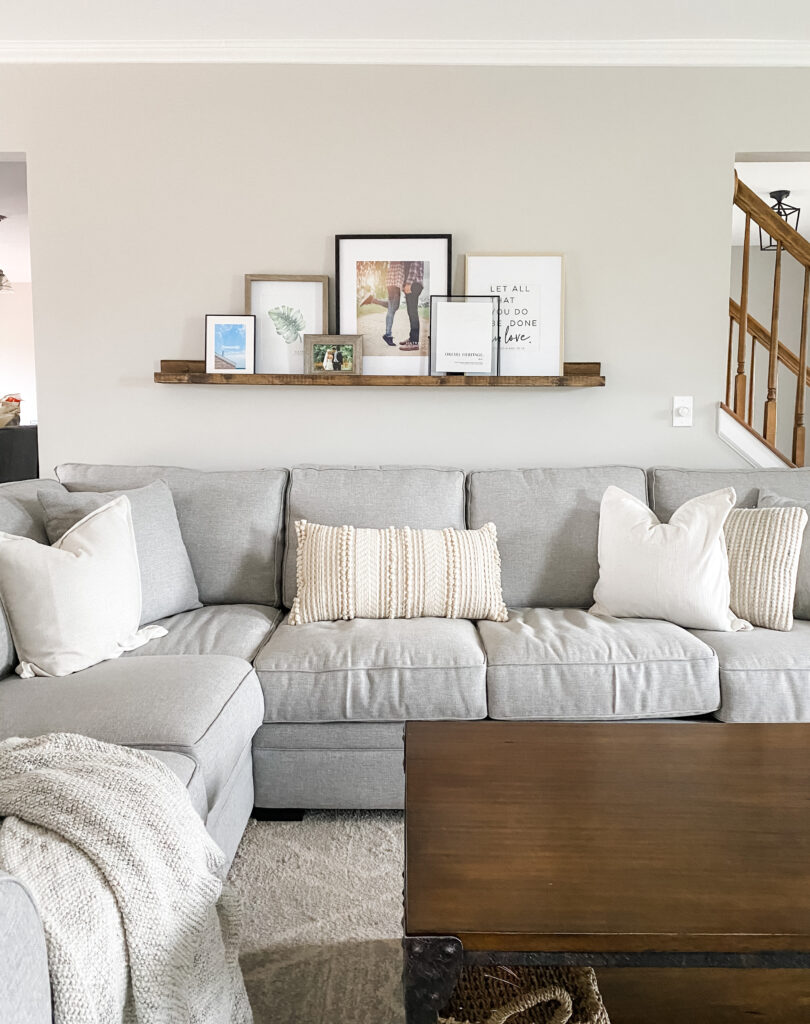
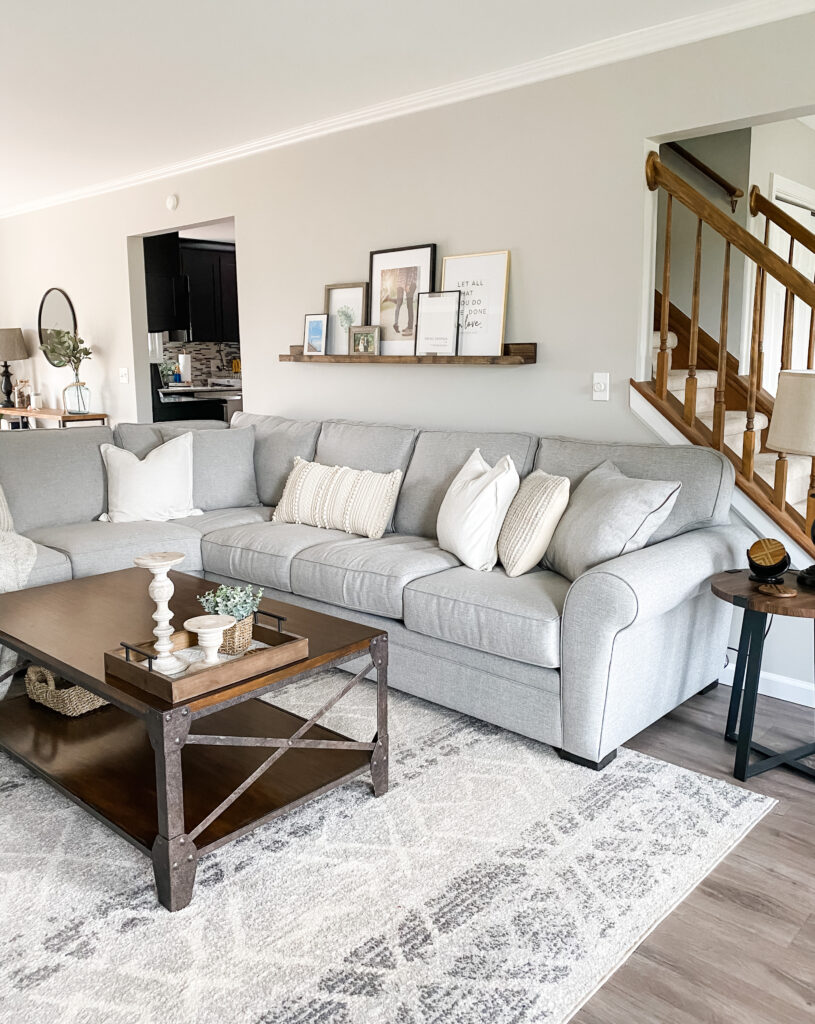
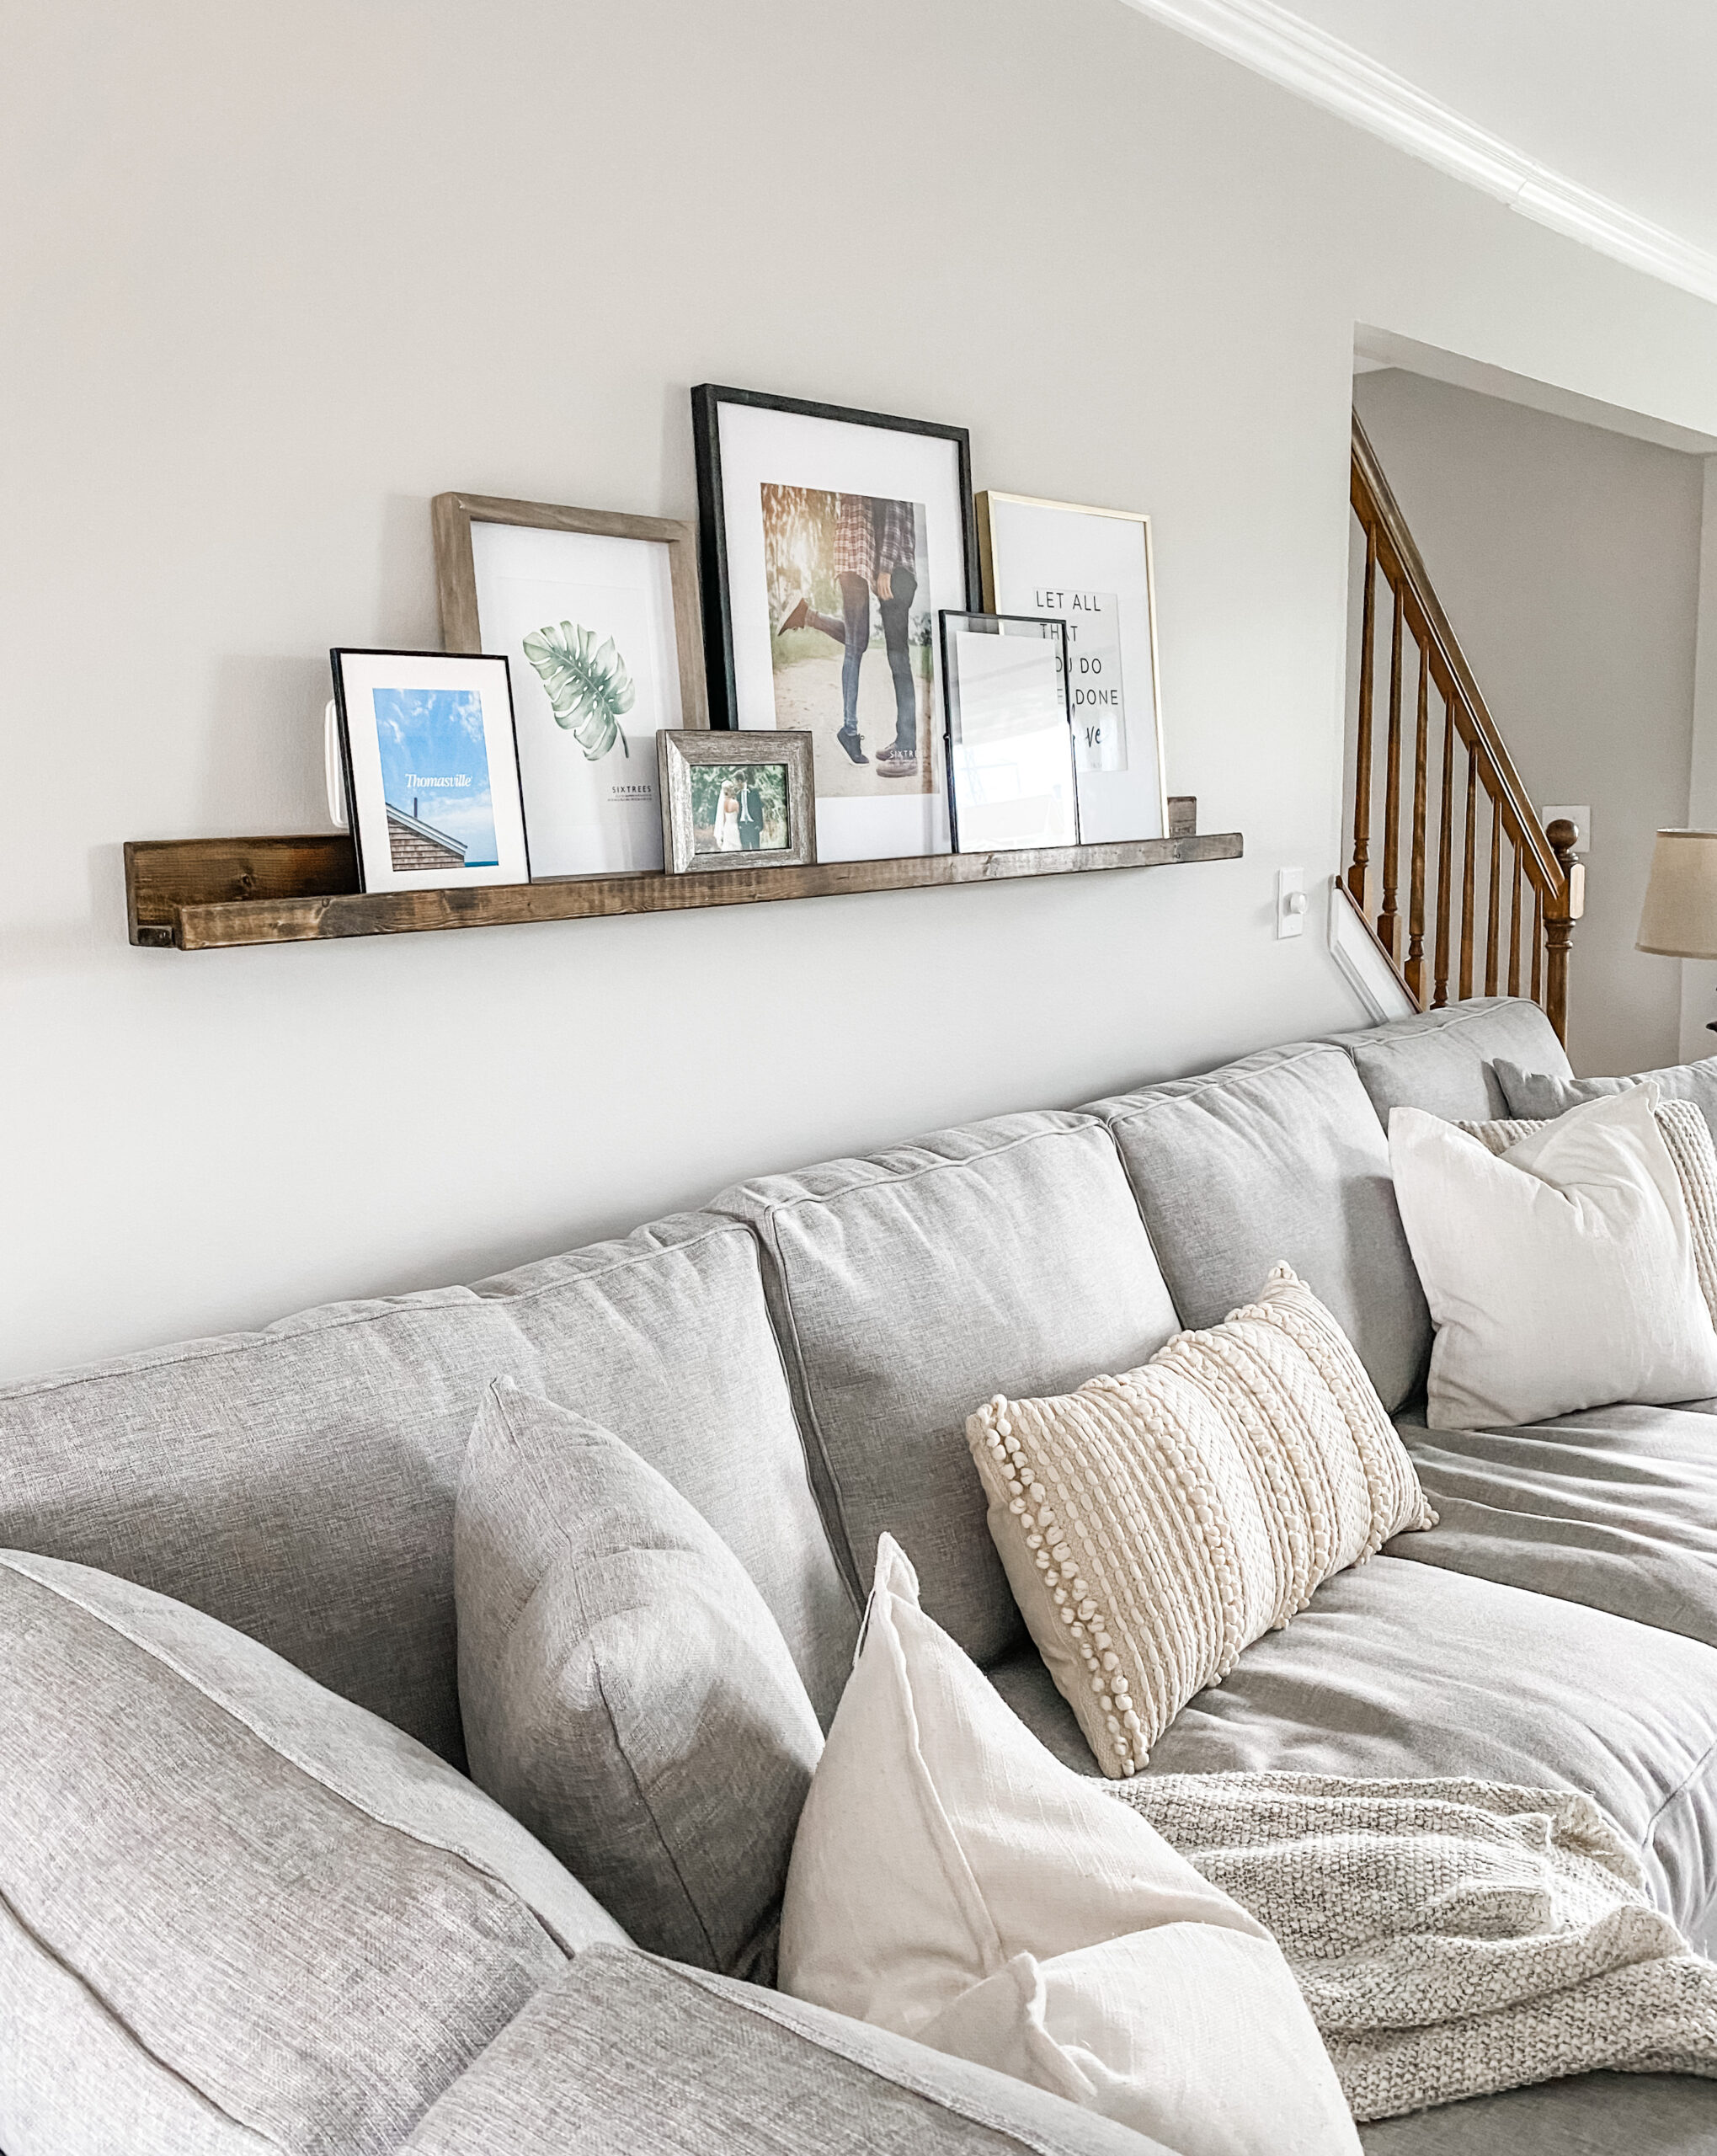
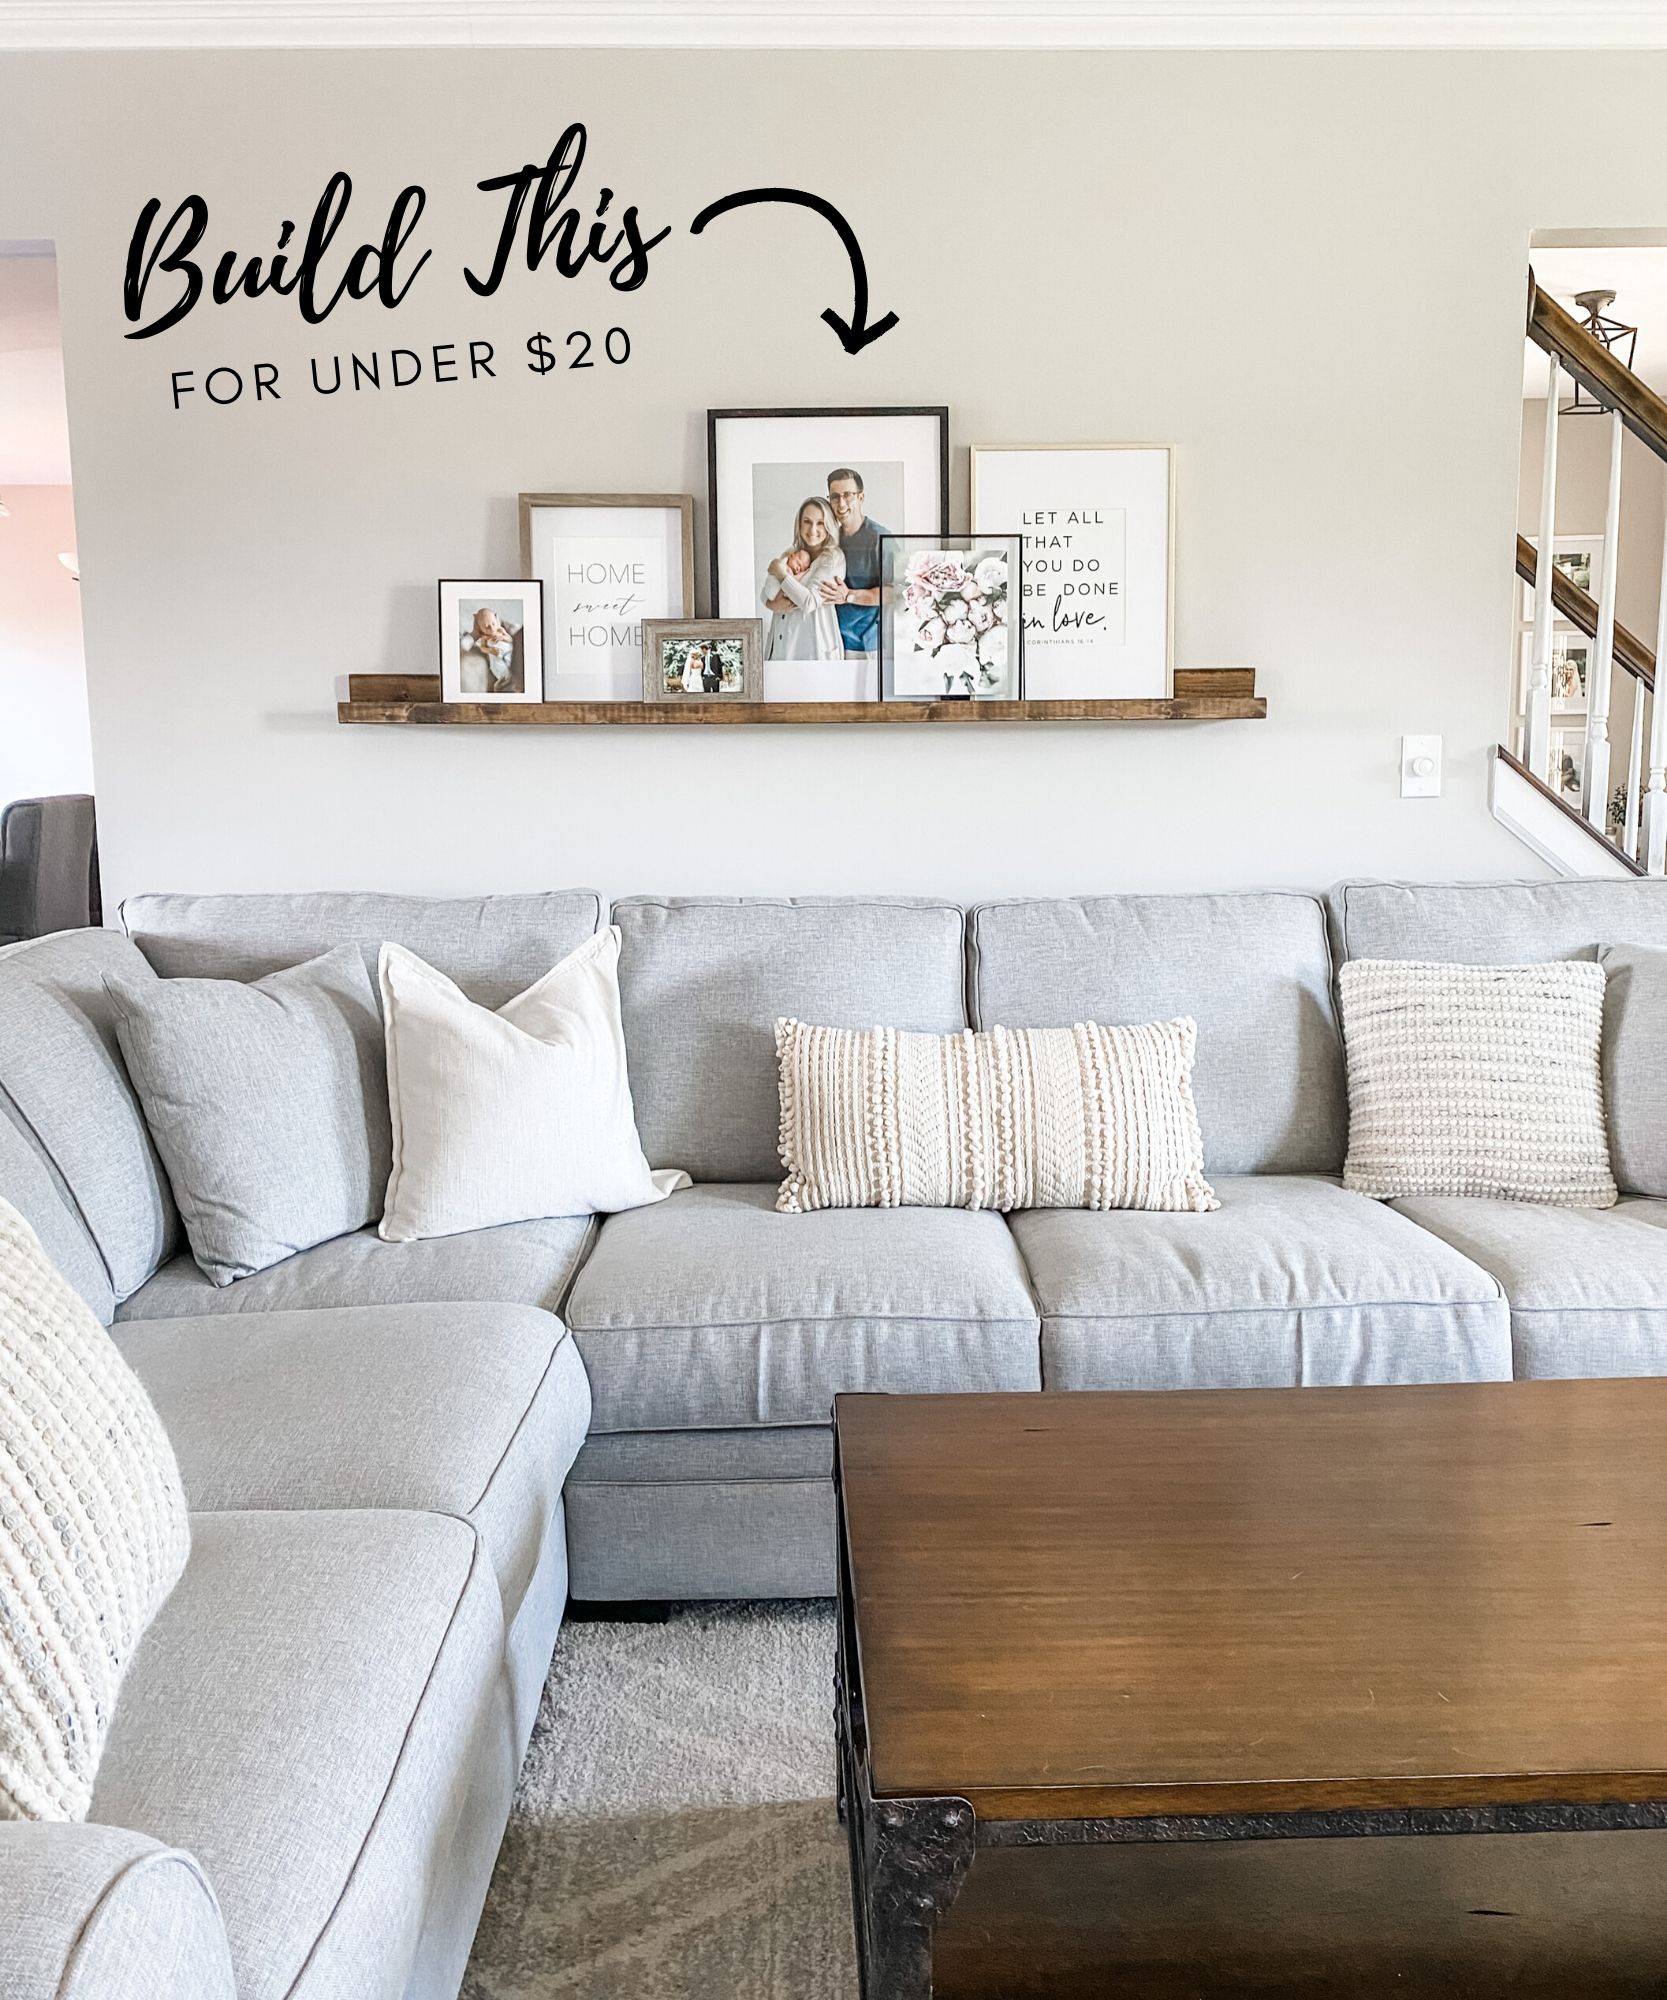
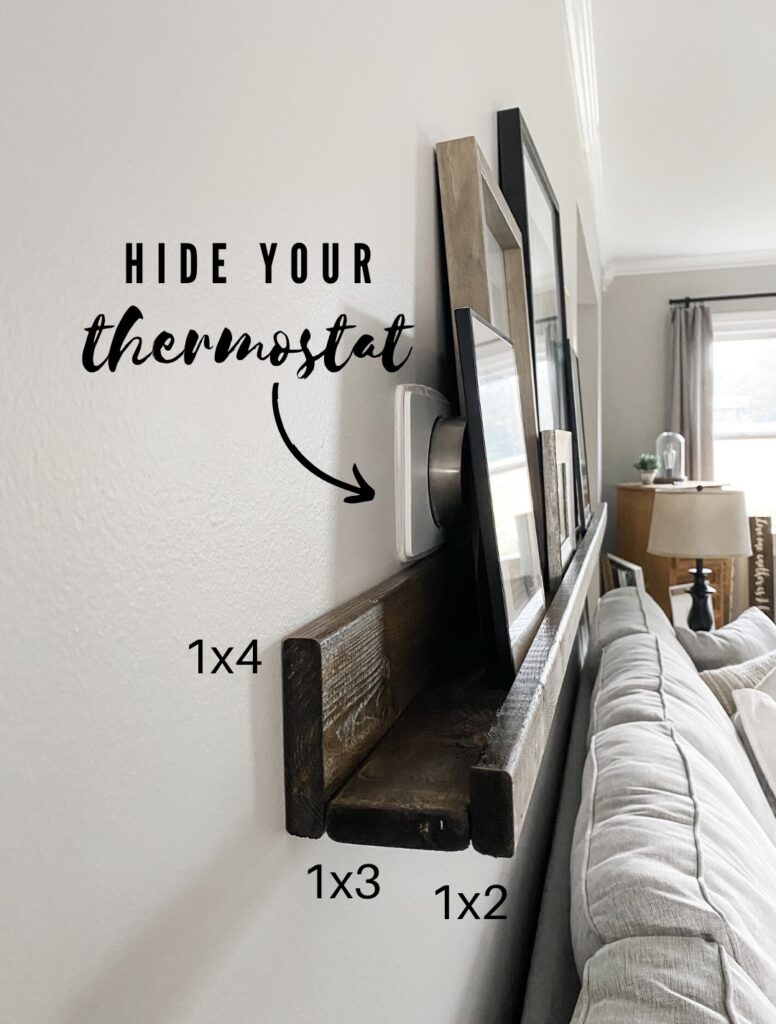
I had been trying to come up with something for the wall behind our couch but working around our thermostat was tough! I had an idea to build a picture ledge and I couldn’t be happier with the way it turned out. It was SO easy to build.

Materials Needed:

Step 1: Cut down the boards

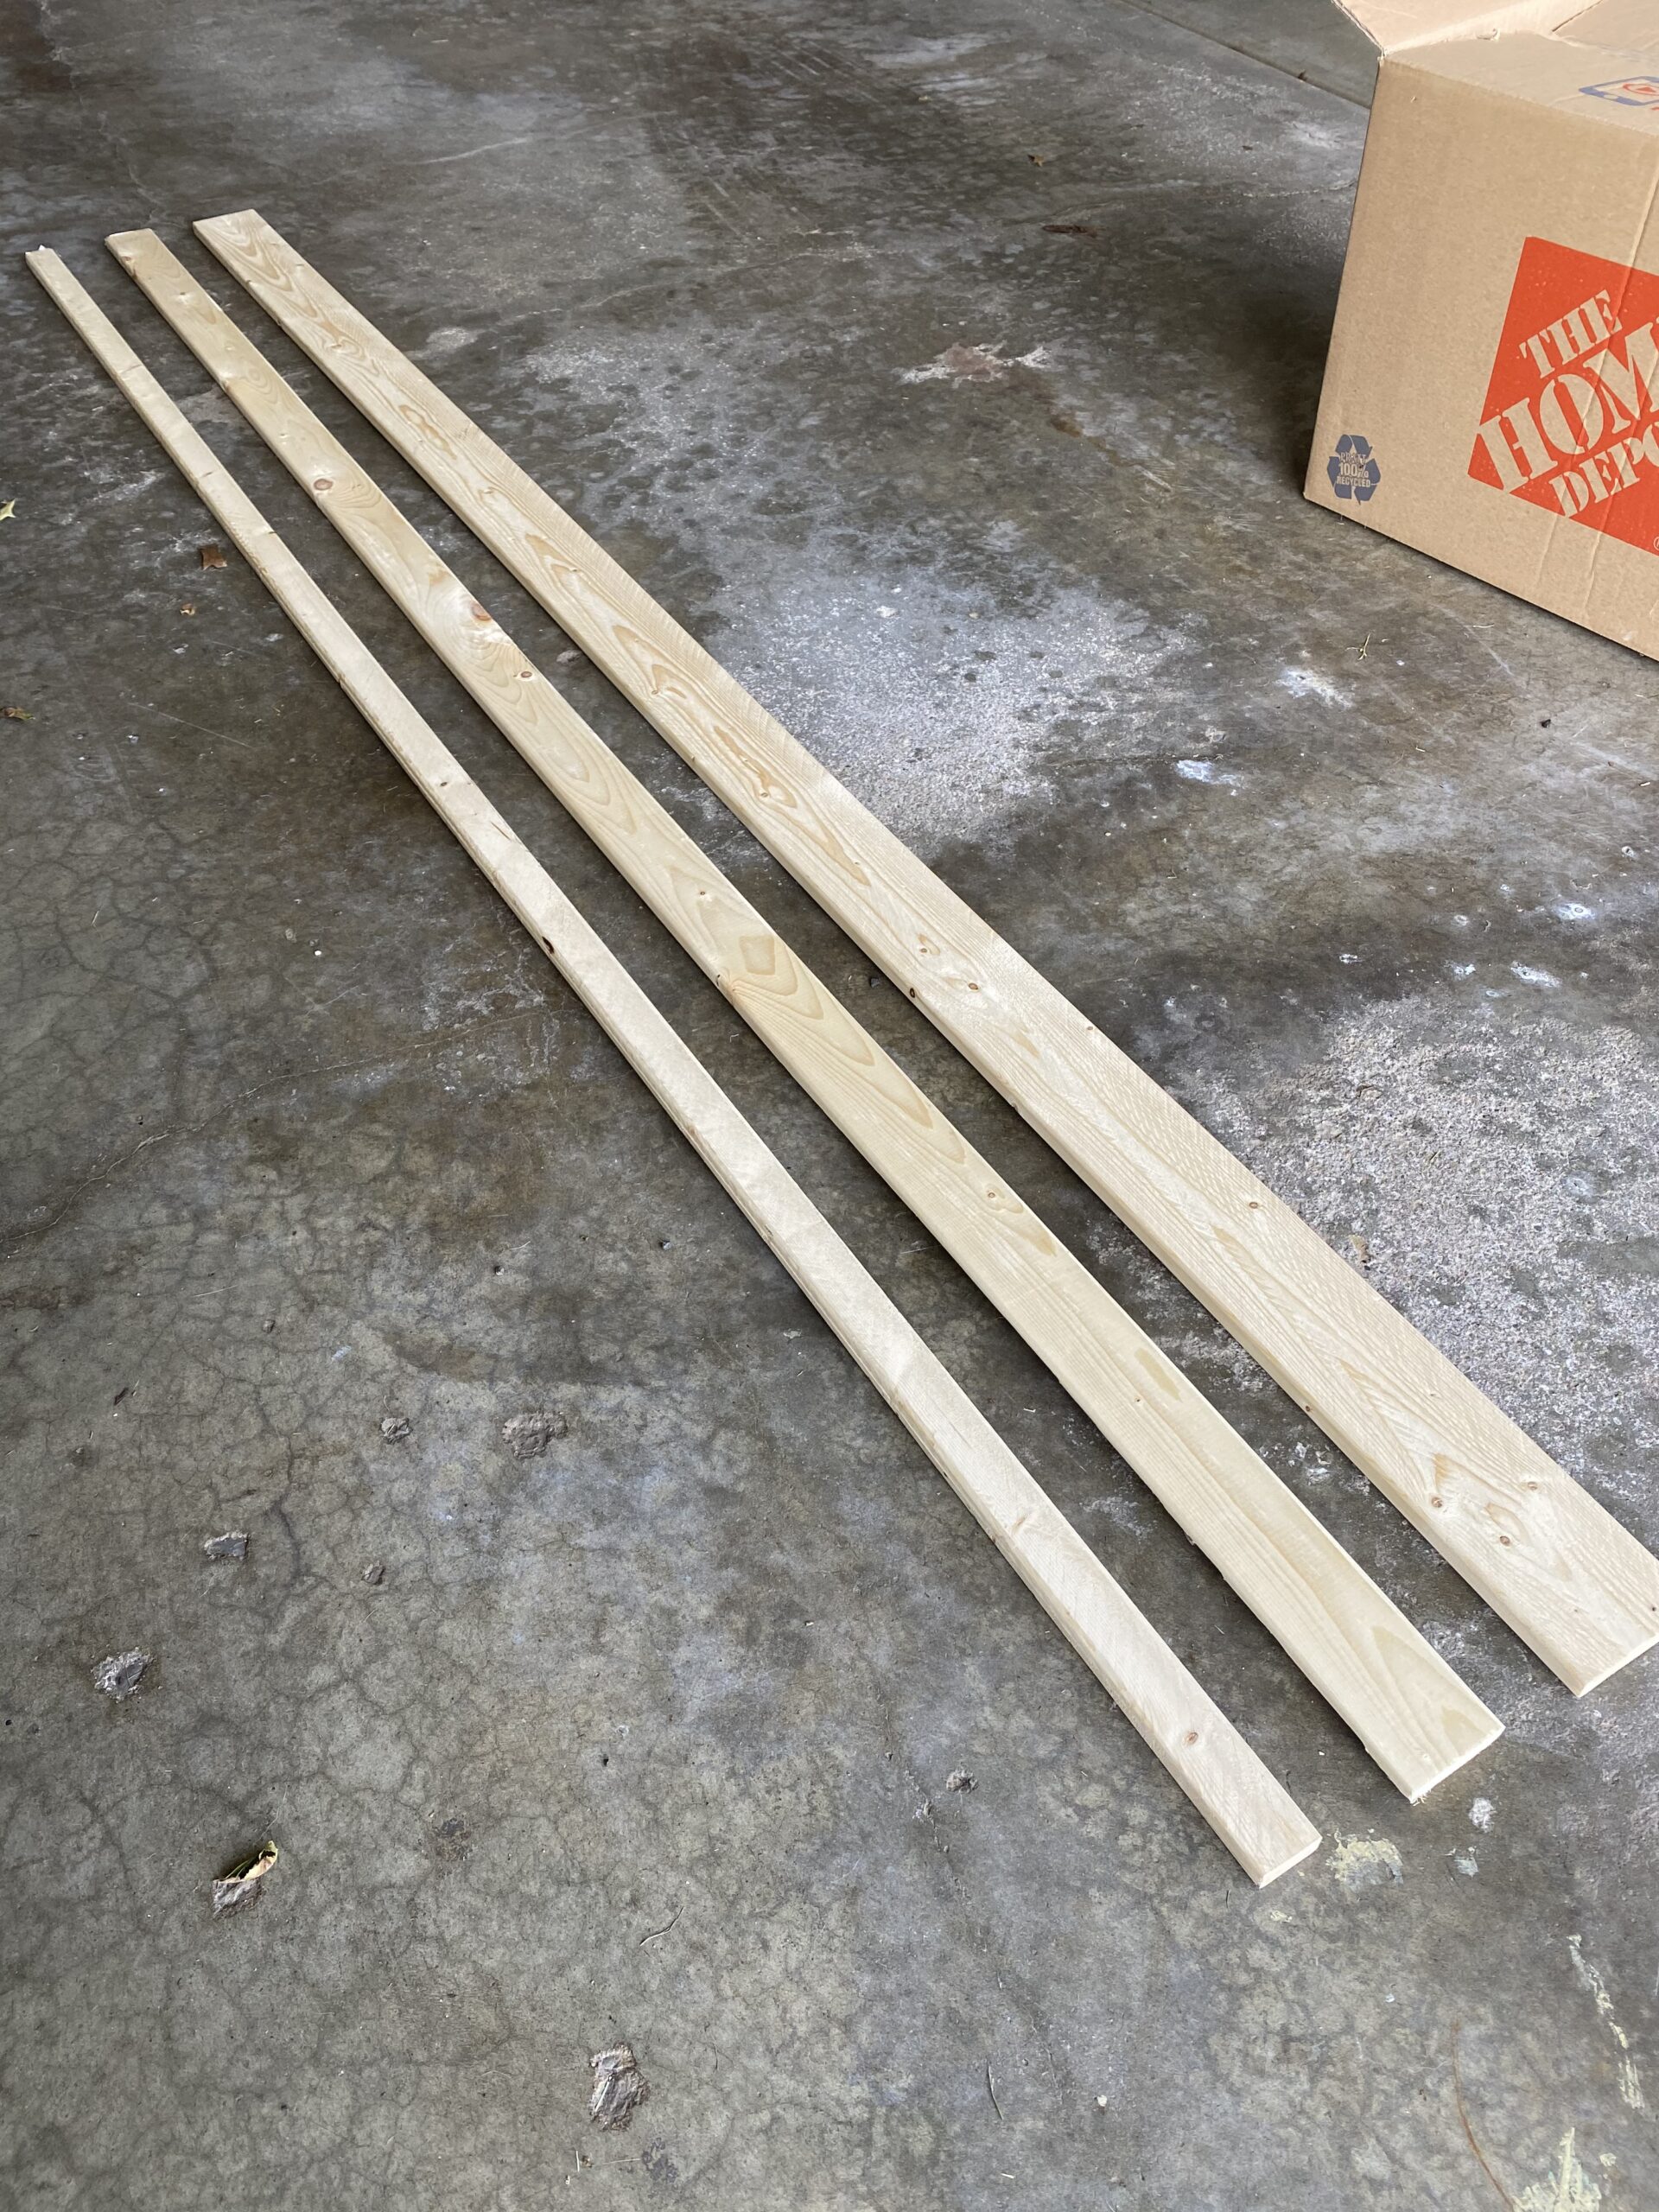
The wood will come like this when you buy it from home depot. You can then cut it down to any length you want for your shelf. Ours is 65 inches for reference. Make sure you examine the boards when you pick them out at the store to make sure they don’t have knicks, bowing or notches taken out of them. You’d be surprised how many bad boards there are.

Step 2: Stain the boards before assembling the ledge

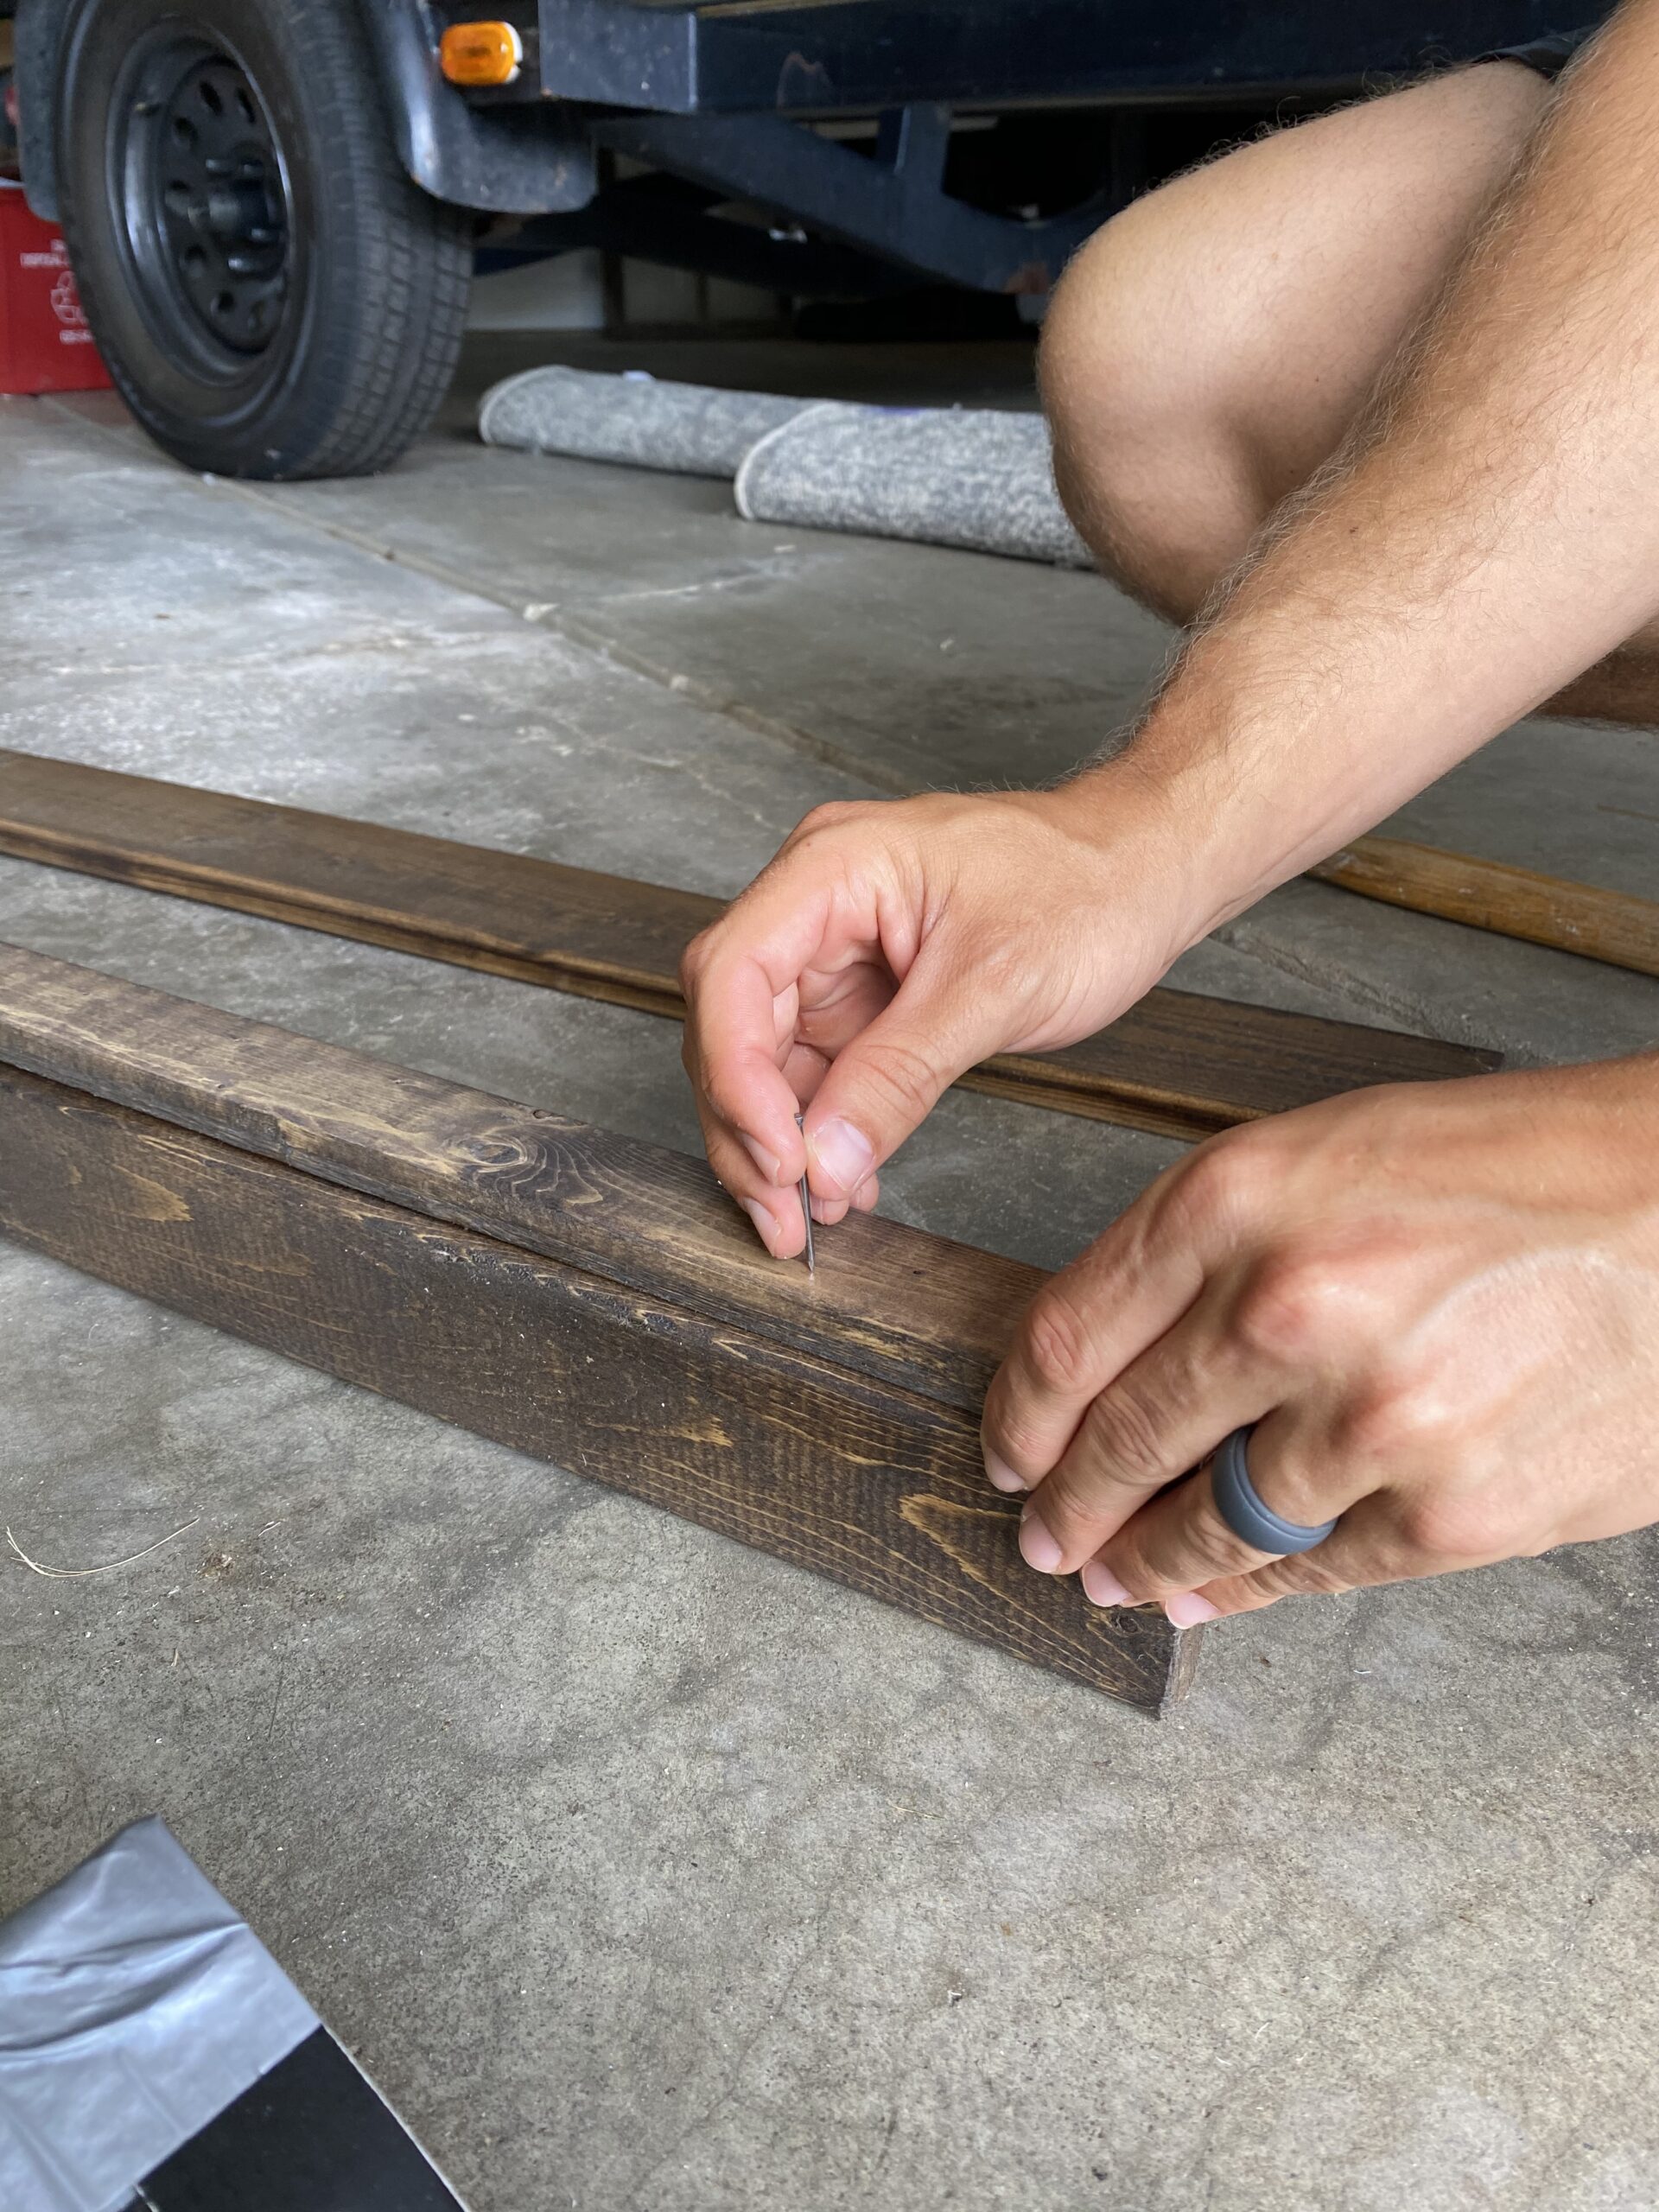
You can stain it after you assemble if you’d like but it will be harder to get in the cracks. I recommend painting or staining the boards completely before.

Step 3: Attach the 1×2 to the 1×3 using the nails

Lay your 1×3 on the ground (this is the bottom of your picture ledge where your pictures will sit. Attach the 1×2 to the board using the nails. Be sure to check that the bottom of the boards line up so its level.

Step 4: Attach the 1×4

Once you have attached the 1×2 (the front ledge) you can flip it over and use wood screws to attach the 1×4. I recommend drilling small pilot holes so that you don’t risk splitting the wood.

Step 5: Hang on the wall

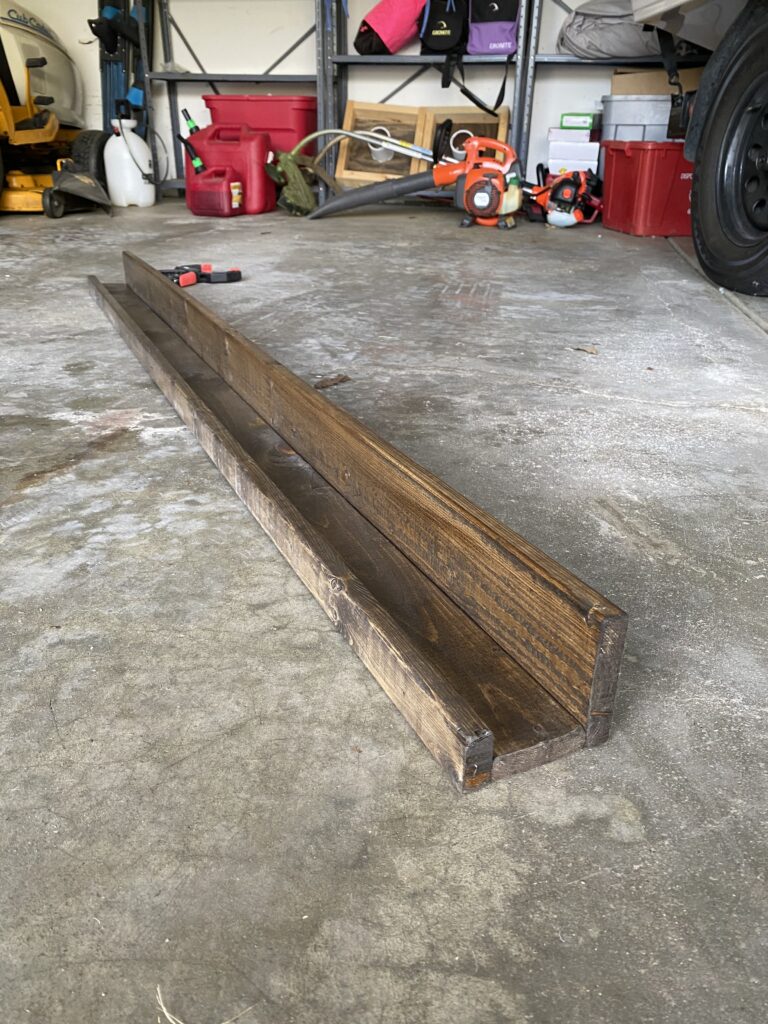
Locate the studs on the wall and screw directly through the 1×4 to attach your ledge!

Unsure about what sizes to use for the frames? See the example below!

Tips for choosing frames:

  • Pick 2-3 “themes” for the frames. Example: I chose metal, wood and gold.
  • Start with a large frame and work off of that. Try not to let any frames be the same size unless they are opposites of each other. You’ll notice that my frame to the left and right of the middle frame are different heights (this helps with the “random” look you are going for)
  • Check out marshalls, home goods and thrift stores for frames! No sense in spending the big bucks if you don’t have to.

Shop Everything You Need

Come Stay Awhile by Amanda Vernaci | Modern Farmhouse DIY + Home Renovation

«

»

16 COMMENTS

  • Alanna

    How do you get the wood to not split? I’m having that issue

    • Amanda
      AUTHOR

      Try smaller nails/screws!

    • Shelley

      Hi Amanda!
      Beautiful work! Love your picture ledge! Wondered what your wall paint colour is please! Love that as well.
      Shelley

      • Amanda
        AUTHOR

        Our entire house is repose gray sherwin williams!

  • Erin

    Love this idea. While looking I loved your couch in the picture. Can you tell me where it’s from? Thanks!

  • Zoe Walker

    Could you go into depth more about how you mounted it I’m having trouble figuring that out. Also how did you connect them could you add pictures of where you placed nails/screws. Hopefully all goes well I’m picking up the word from Home Depot tomorrow!

    • Amanda
      AUTHOR

      Hi there! All we did was take some long screws and screw right through the picture ledge (the back piece) into the studs! The placement will be different depending on where your studs are but we did one screw per stud!

  • Barb

    Oh my goodness, I finally found a living room in the same color palette of neutral grays, light/white, and natural woods – it’s yours! THIS is what I’ve been looking for above our sofa, and didn’t even know until now. Thank you for the instructions – sending to my husband now (he needs a new project! LOL)

    • Amanda
      AUTHOR

      Haha!! Yay!

  • Cassidy

    Loving this I can’t wait to try! Where is your rug from???

    • Amanda
      AUTHOR

      Here is a link!Rug link!

  • Valerie Romero

    Hello I was wondering how long is this piece?

    • Amanda
      AUTHOR

      65 inches!

  • Christie

    Hi, I was curious if you have issues with your thermostat and accurate temps with covering it up?

    • Amanda
      AUTHOR

      We haven’t had any issues with ours 🙂