


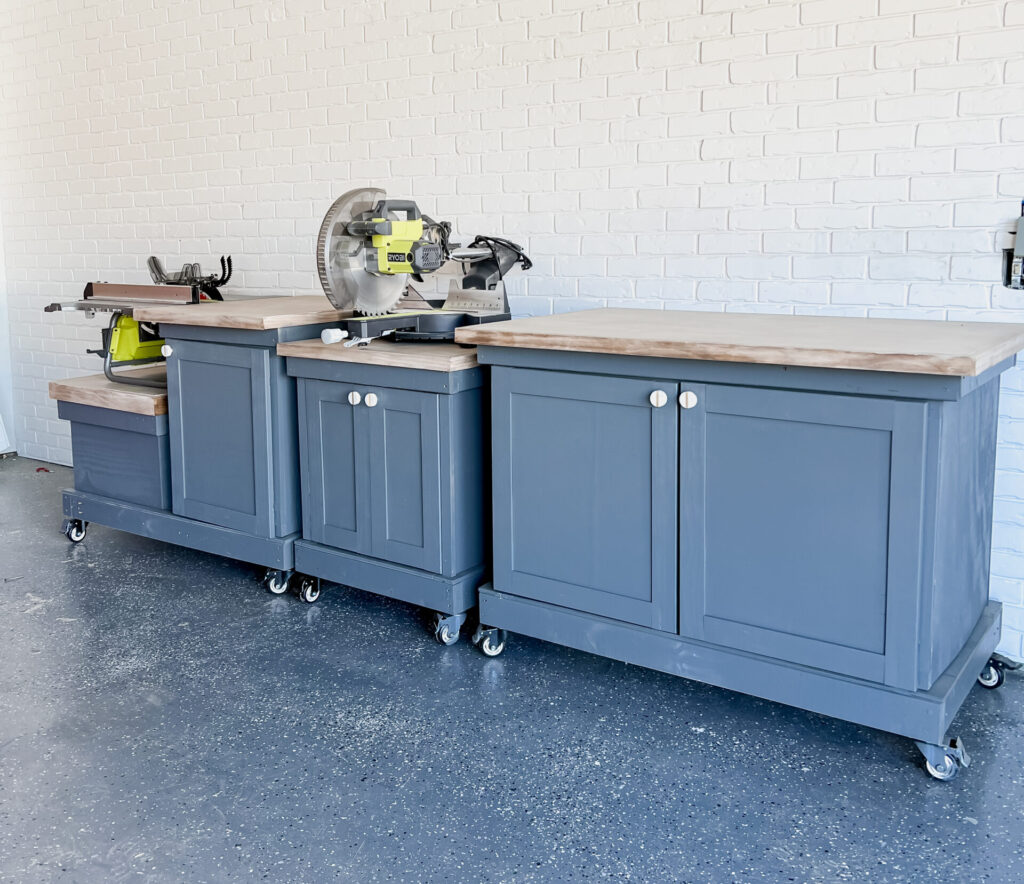
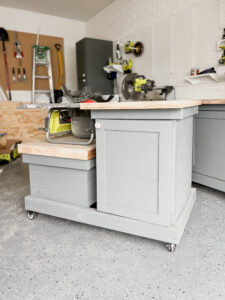
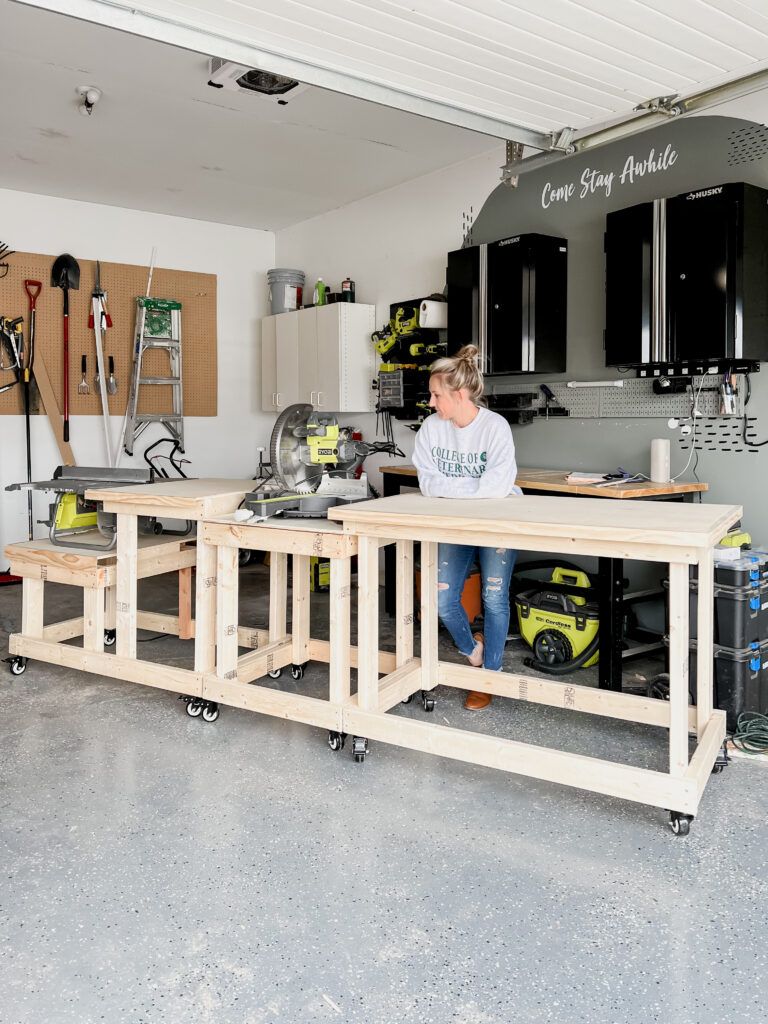
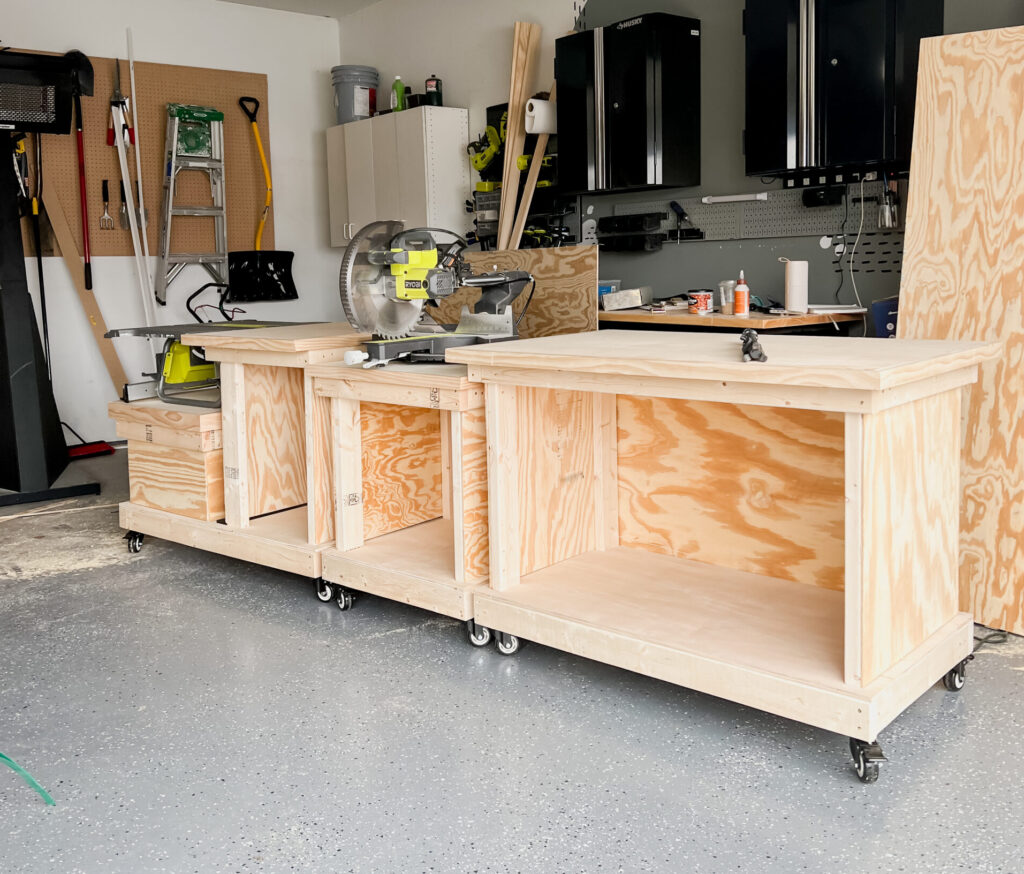
I wanted to build a modular workbench for my workshop that includes a miter saw stand, table saw stand and a workbench that can all be rearranged and used for multipurpose use. The miter saw and table saw stands will sit a tad lower so that it’s flush with the worktop. This will ensure that I can cut boards more safely when doing it myself.
My Total Base Cost: $570 (with enclosure and cabinet doors)
Simplified Option: $300 (Simplified 2×4 base with no enclosure, decorative edge or cabinet doors)
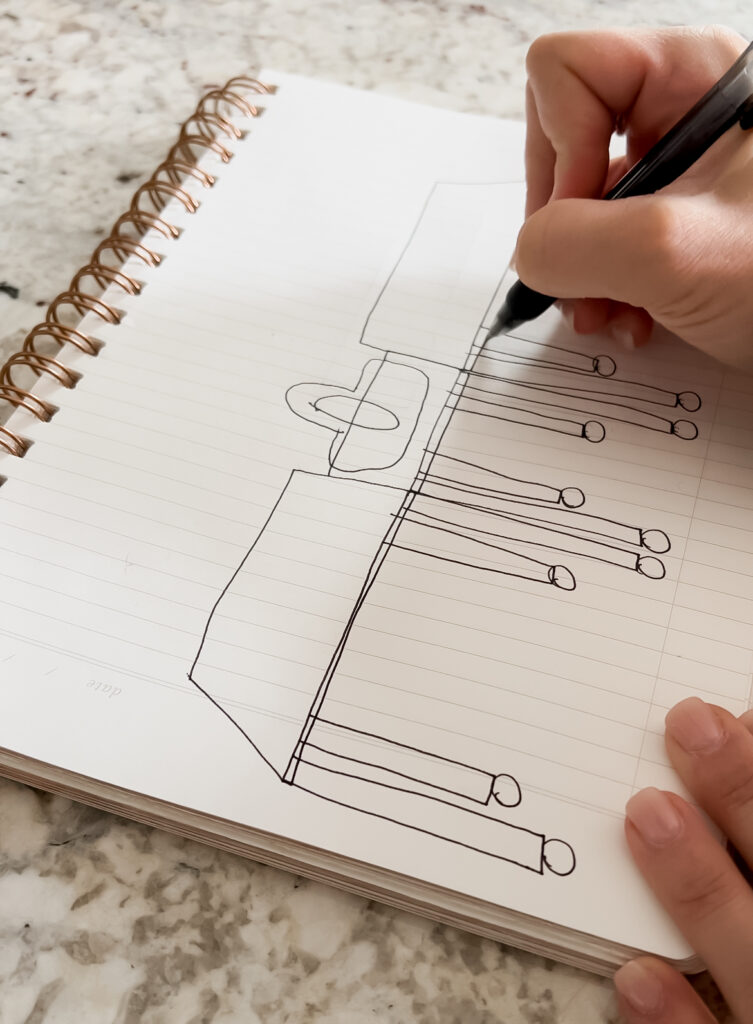
I knew the vision I had for this workbench, and seeing it on paper helped it come to life. It also helped me tweak some things that I hadn’t considered when I was planning it out in my head. Drawings don’t have to be perfect, or even to scale, but it’s helpful to get the whole idea down on paper before you start working on a project this large. I like to start with a sketch so that I can start to think through all of my measurements. My plan is to create 3 separate work benches:
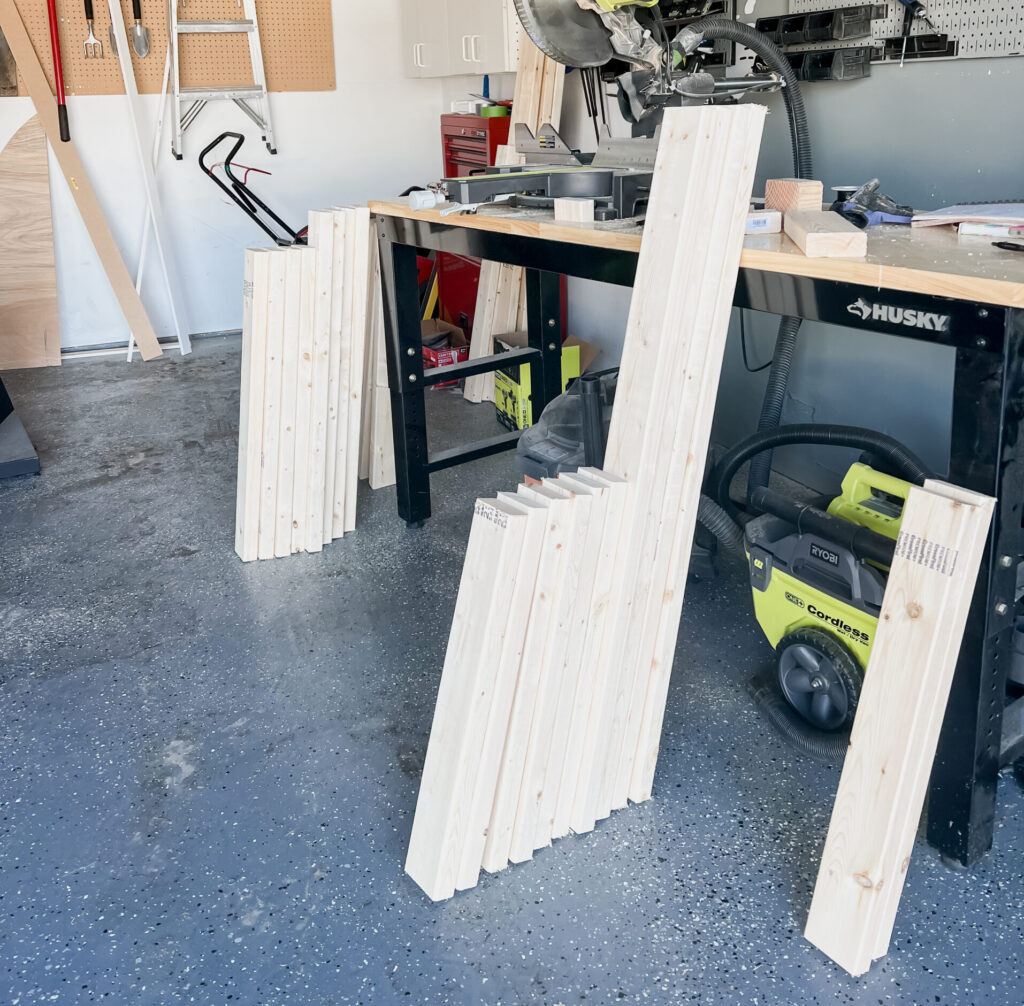
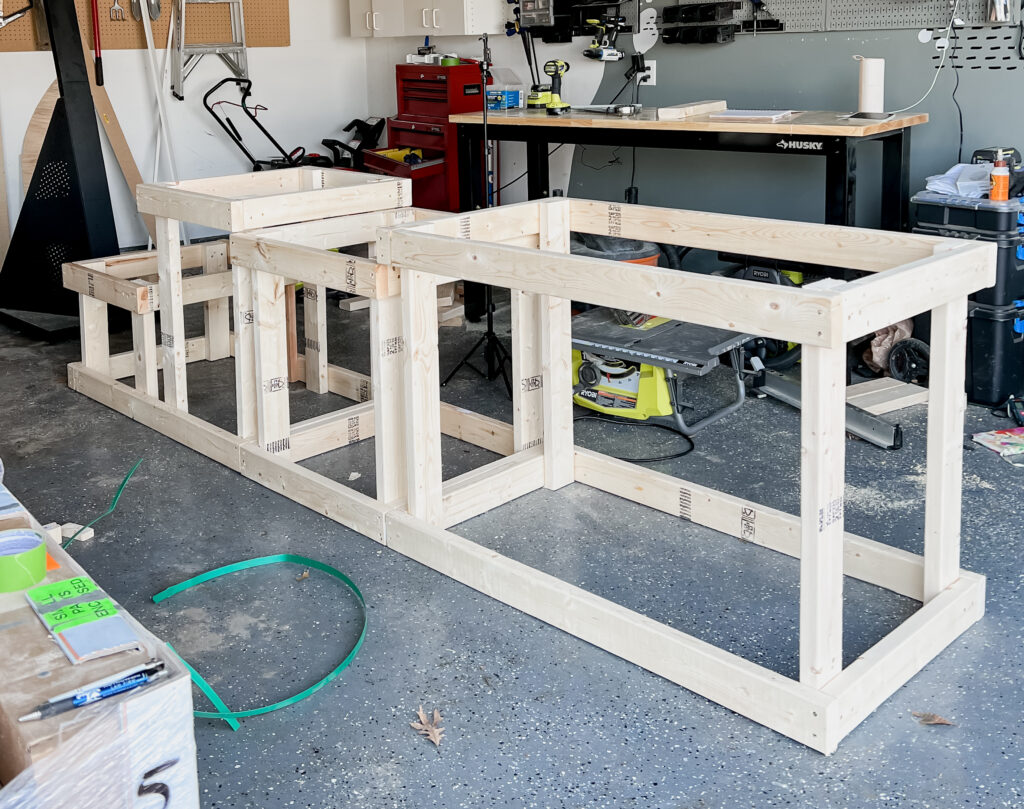
I recommend cutting all of your 2x4s first for the 3 separate bases. This makes the process go much smoother when you start assembling. The table saw stand and the worktable will be the same dimensions (table saw stand has slight modifications) and the miter saw stand will be smaller.
Worktable: Overall Dimensions (49.5inL x 32inW x 36.5inH)
Table Saw Stand:
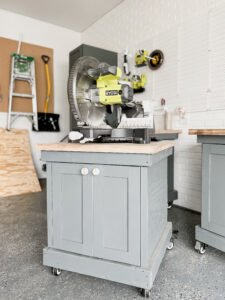
Miter Saw Stand: Overall Dimensions (28inL x 28inW x 33inH)
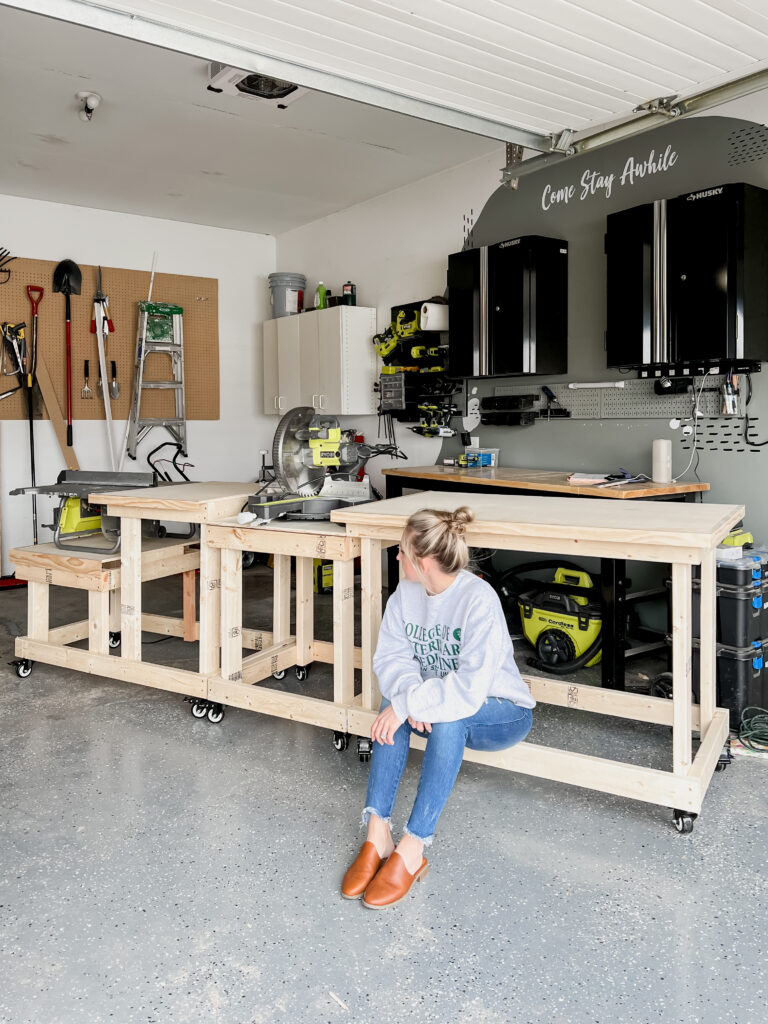
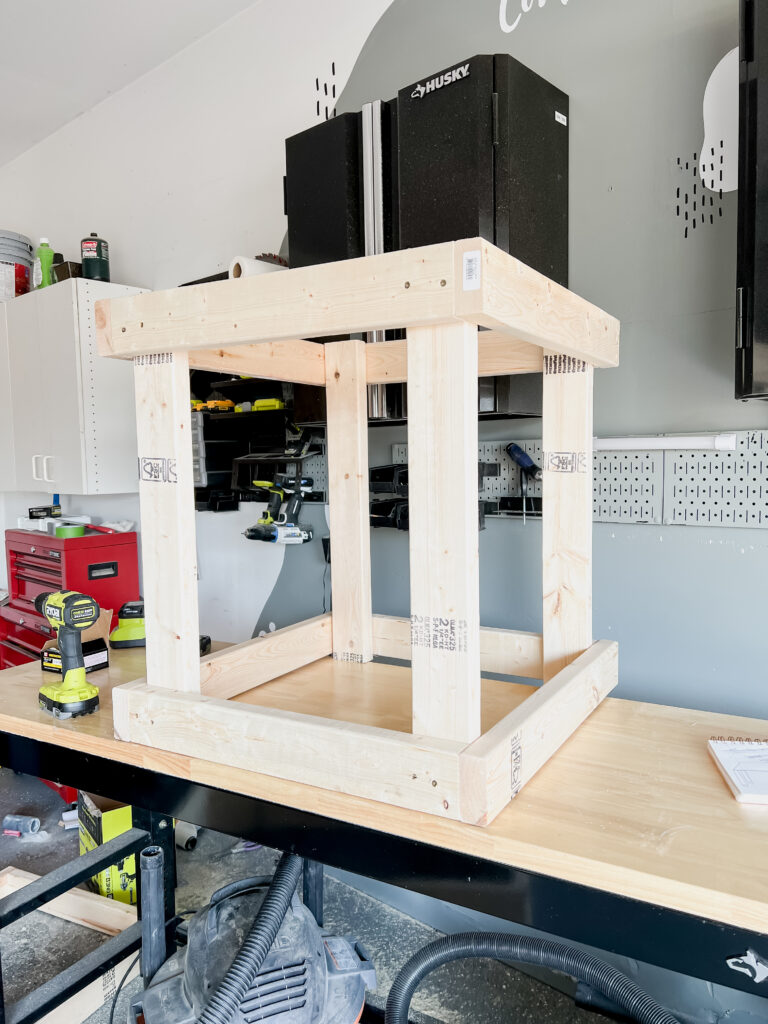
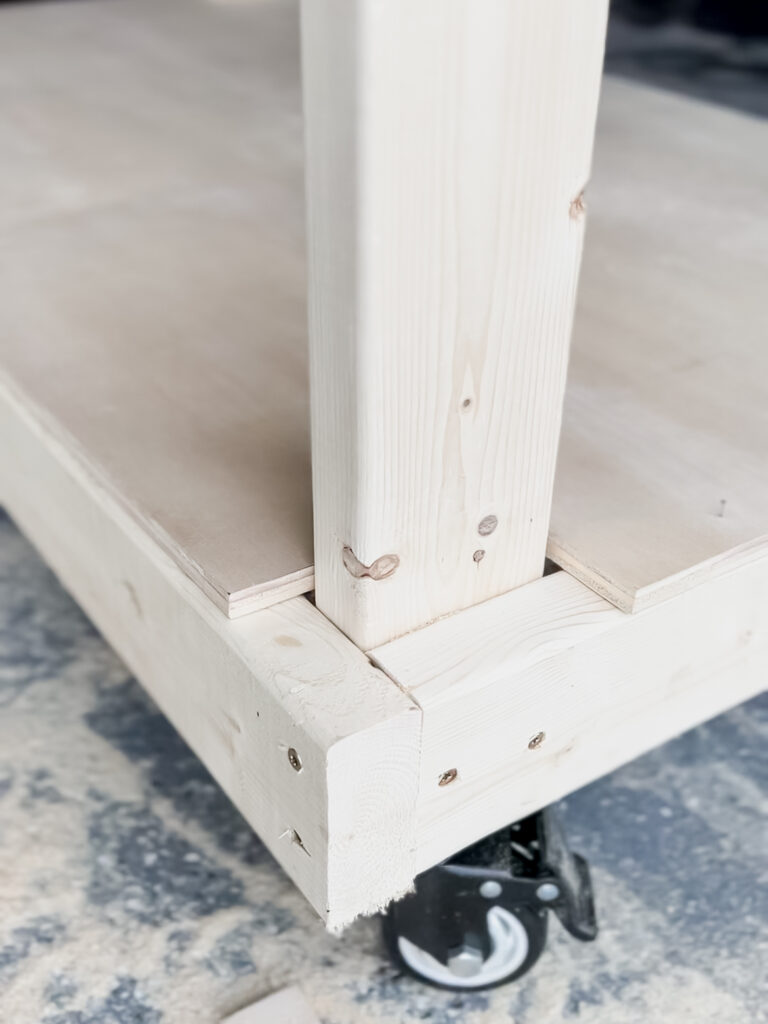
I assembled the rectangles first then added the legs. You will build them upside down to make things easier when working alone. You want to make sure everything is square as you build so I recommend using the most level surface you can find in your garage (or wherever you are building) and check your square using these. I installed my legs inside the 2×4 rectangles but you could also install them on the outside to make step 6 easier.
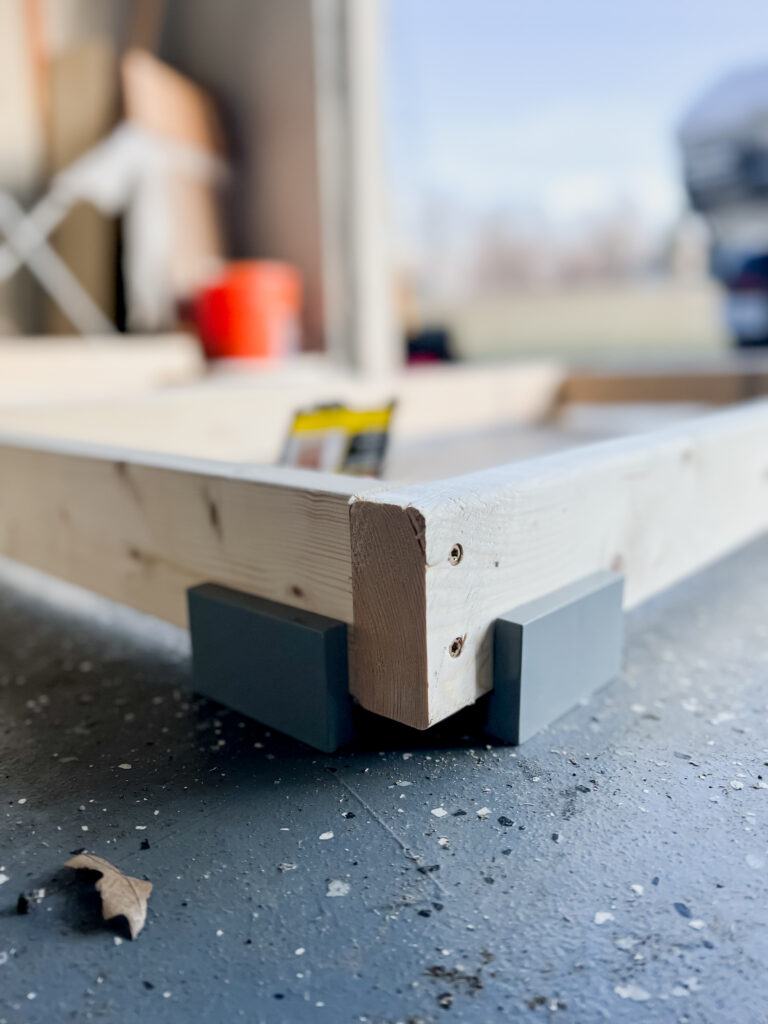
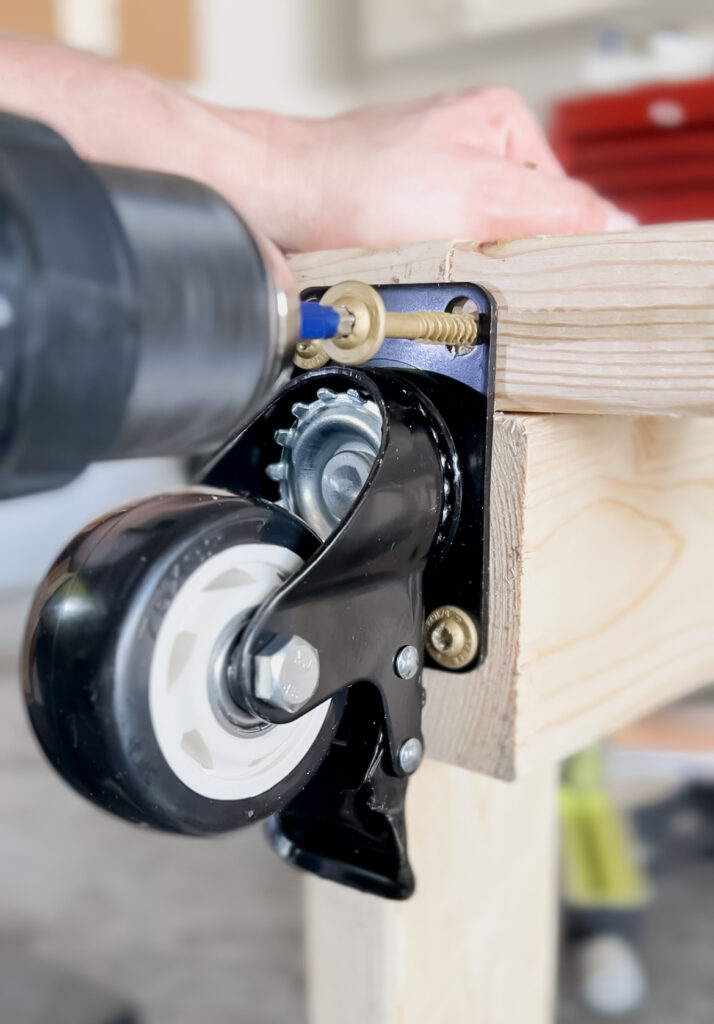
Decide which side you want to be the top and which you want to be the bottom (they should be the exact same so it doesn’t really matter – I just decided which 2x4s were the cleanest looking and had those be the front). Install your caster wheels in each corner and secure with lag bolts or screws. I ended up buying star tip lag bolts that had a thicker screw head because the nut and bolt that came with the caster wheels I purchased wouldn’t work with the 2x4s. Flip the bases right side up and voila! Rolling bases!
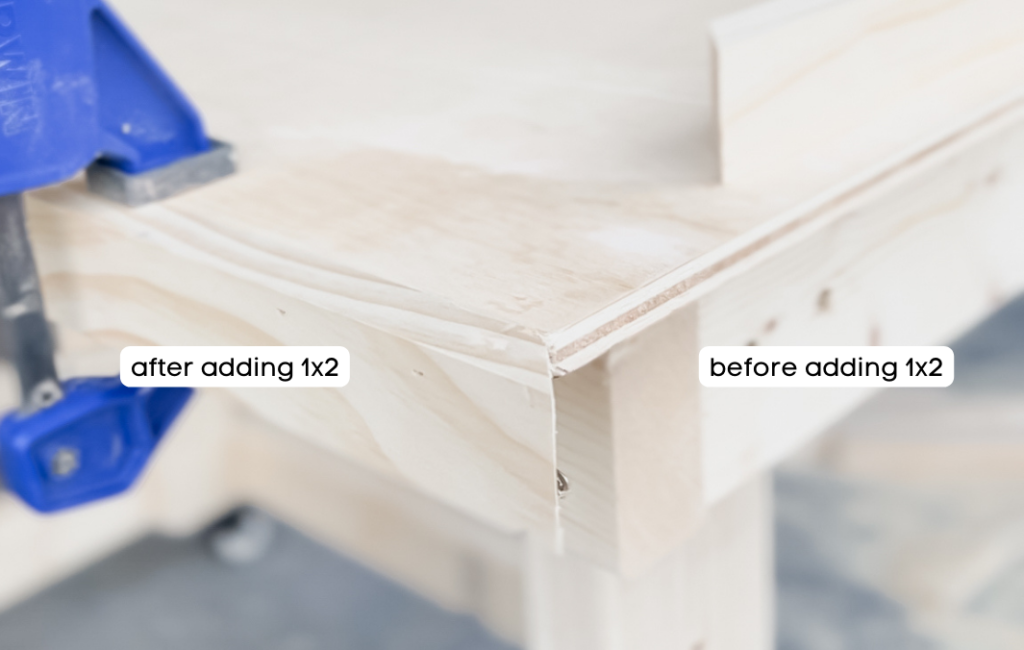
Next I cut my plywood so that it would over hang by 2 inches on all sides of my table saw table and worktop table. This is important so that you have something you can clamp onto when working on projects in the future. I added wood glue to the top of the base and secured the plywood down using my brad nailer, shooting straight into the 2×4 base in several spots. Once the glue dried, I added 1×2 pine with mitered corners to all of the edges for a more finished look. This step is optional but I think gives a much more professional look than the raw plywood edge and doesn’t take a ton of extra work. I secured these with wood glue and my brad nailer. I didn’t leave an overhang on the miter saw stand since I would never use it as a work top and don’t need the option to clamp something down. This is totally your call!
You could totally stop here and have a functioning workbench if you wanted less work and for it to be cheaper.
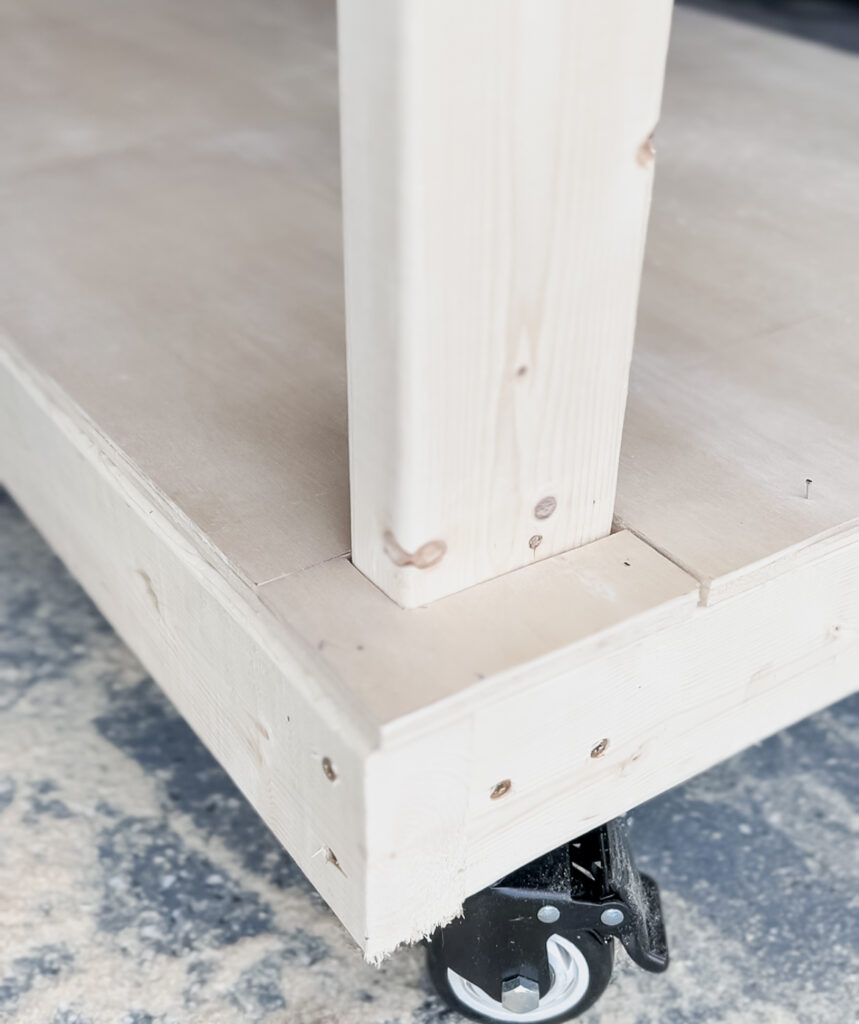
I’m using plywood to create the bottom shelf of each cabinet and enclose the sides of the work bench. Cut your plywood rectangle and then use your jigsaw to make the intricate cuts you need to work around the 2x4s. If you would have installed your 2x4s on the outside of the rectangle boxes, then you wouldn’t need to cut around the 2x4s… just something to consider. After your bottom piece is attached, cut your plywood pieces for each side of the cabinet, leaving the front open for the doors you will build.
You are more than welcome to stop here and still have an amazing workbench!
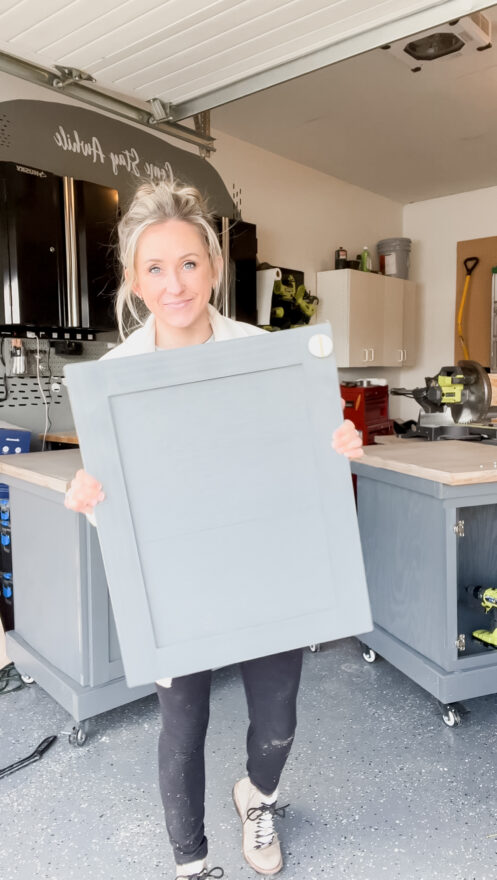
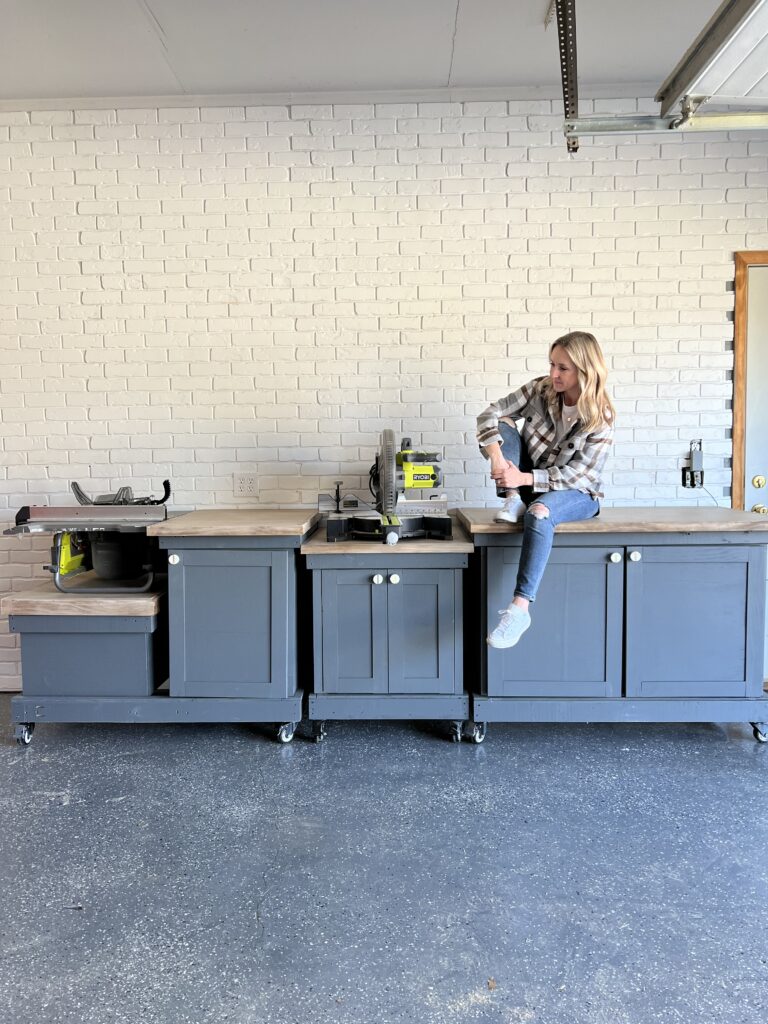
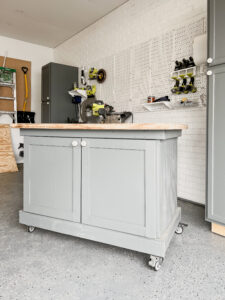
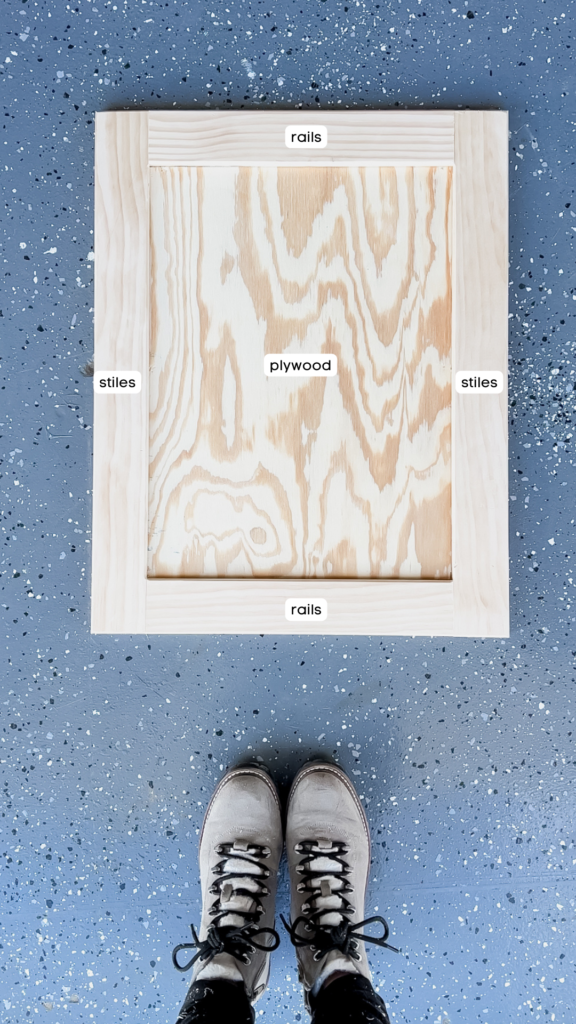
This step is optional but if you want to finish the cabinets, you can build shaker style doors by following this simple shaker door tutorial. I promise, it’s easier than you think! I added a 1×2 frame to the face of each cabinet so that I could easily attach my overlay hinges but some of the 2x4s ended up being in the way and made it difficult. If I were to do this again, I would skip the 1×2 face frame and install my hinges directly on my 2x4s.

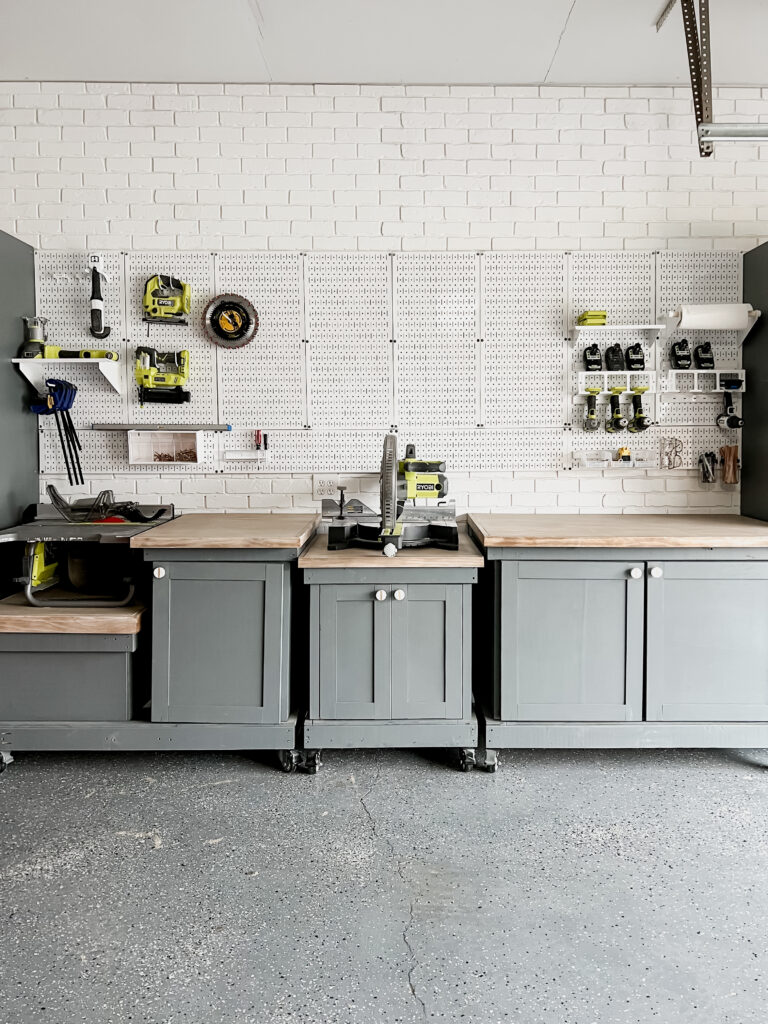
You’ll want to caulk all the seams (I skipped this step because #lazy) & fill in any nail holes with wood filler. I decided since this was a project for the garage not every single hole had to be filled, but that’s personal preference. Last but not least, choose your favorite color and paint! I used my paint sprayer for the base and rolled the doors with a smooth roller. I painted my cabinets Grizzle Gray by Sherwin Williams and stained the top one coat provincial and one coat antique white!
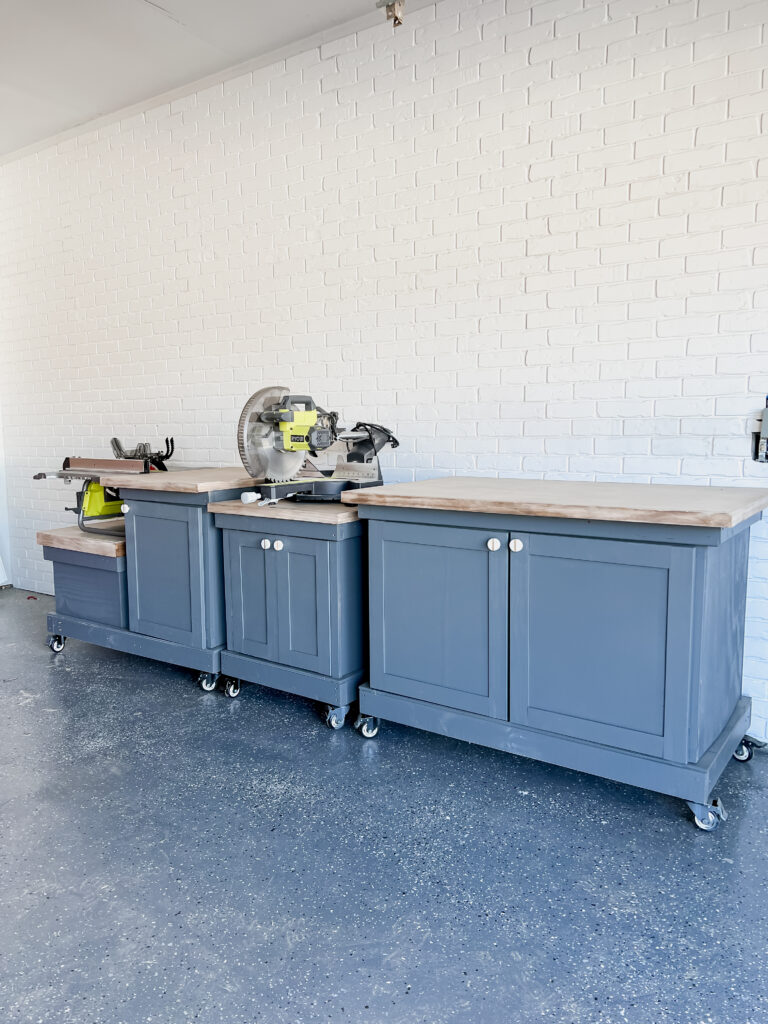
The perfect custom workbench for my space! If you build your own, tag me… I want to see!