Dining Room, DIY + Projects, Entryway, Home, Home Decor, Kitchen, Living Room, Projects on A Budget, View All, Weekend Projects


This is the most advanced floating shelves I have built, but they were still beginner friendly! My first shelf I built was this easy photo frame shelf, then I made simple wall book shelves for AJ and now I’m so excited to tackle these in our bar space!
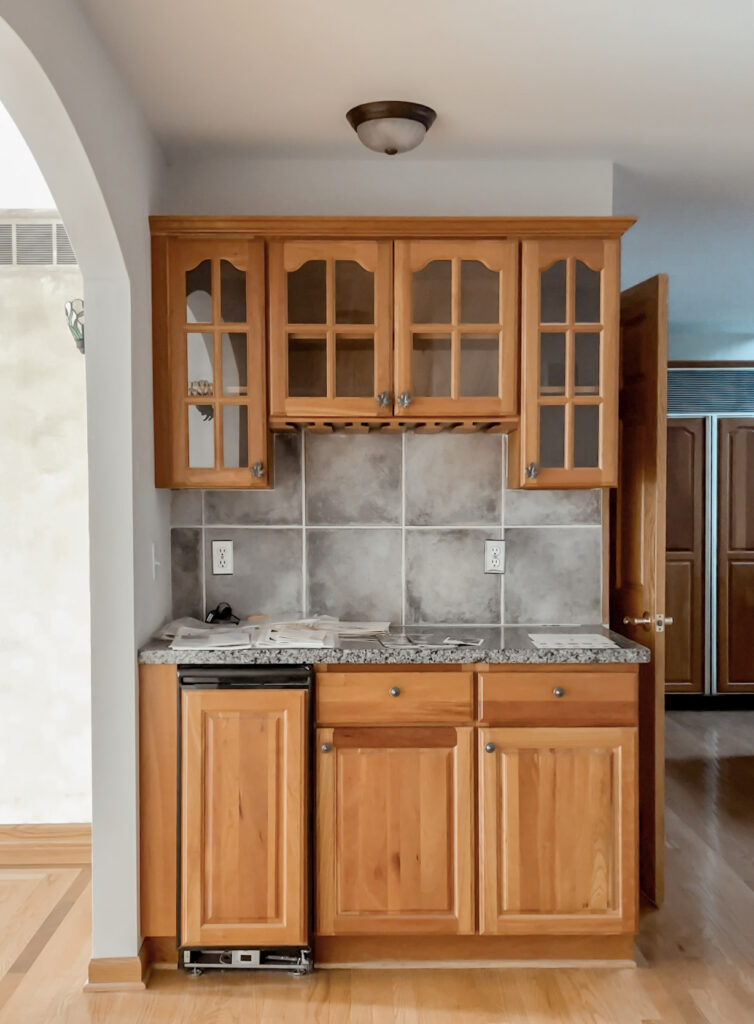
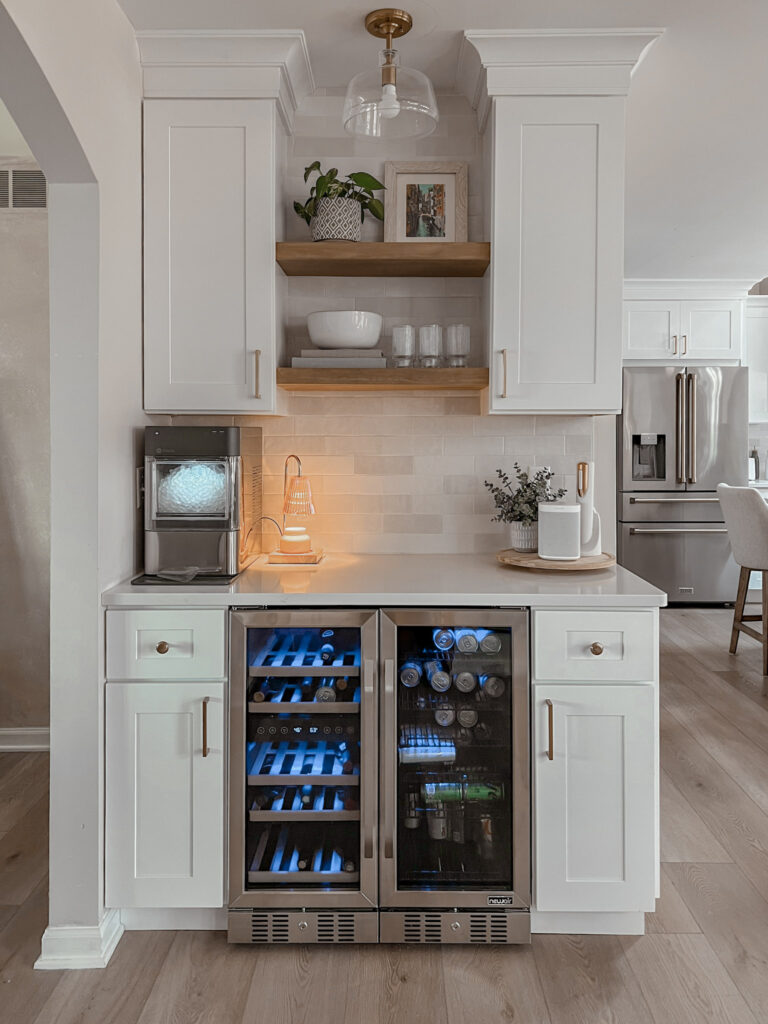
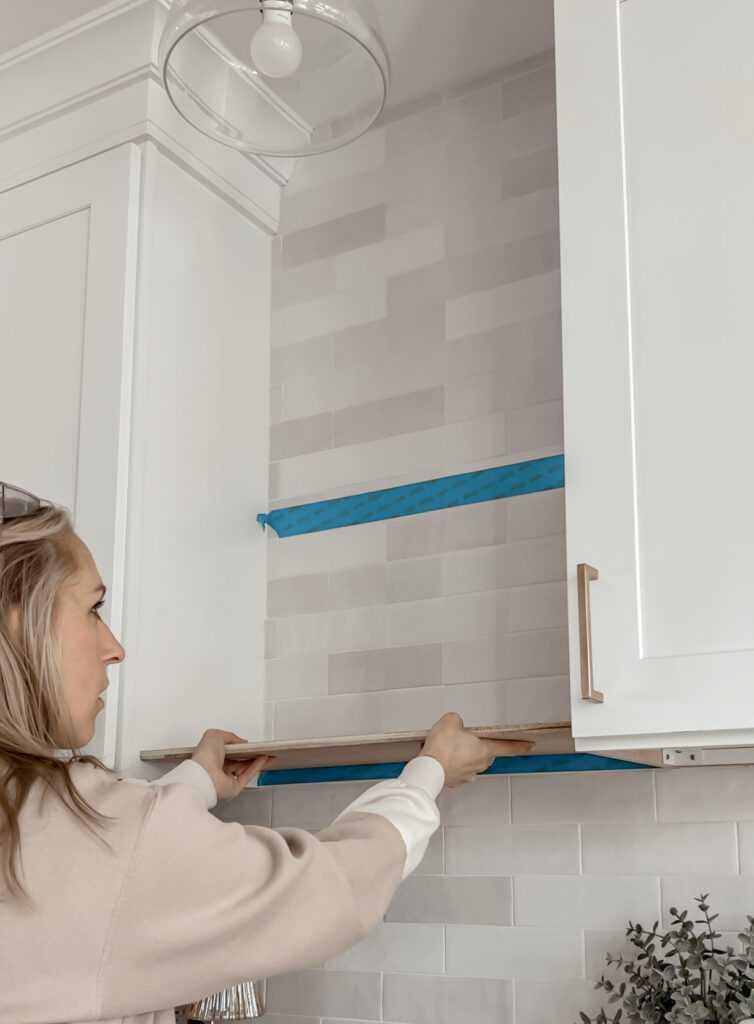
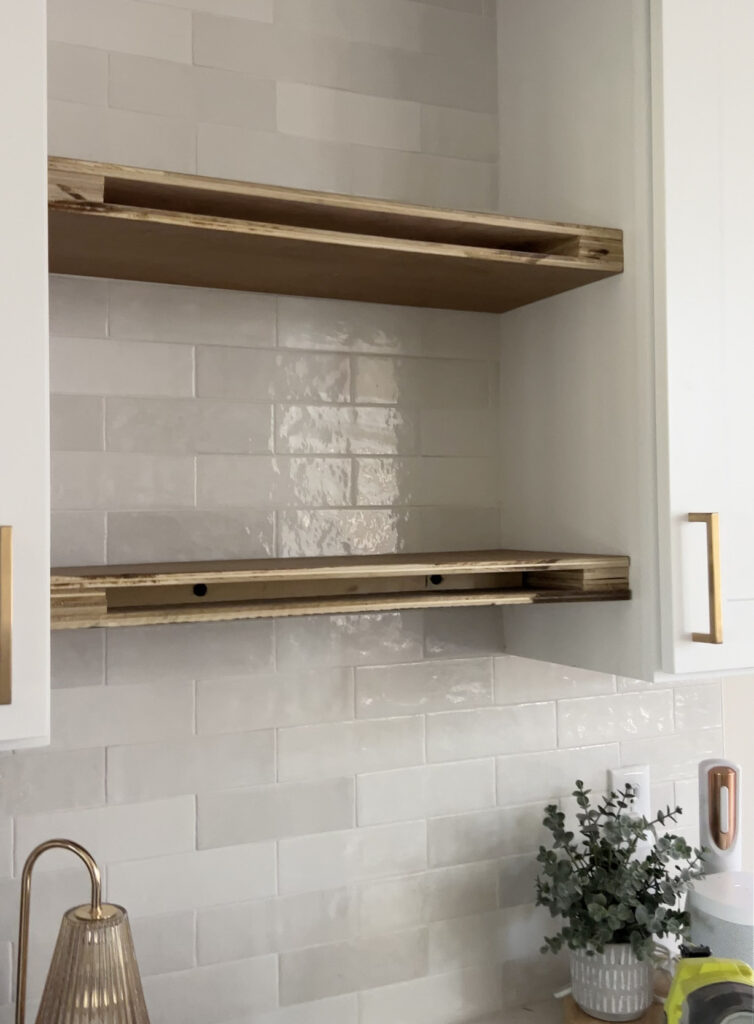
These floating shelves can be customized to fit your space. I installed these in between two cabinets, but you could also have them standing alone! First you want to decide on placement. I was deciding between 2 or 3 shelves but ultimately landed on two and it is perfect. After you decide where and how many, measure so you can get the correct amount of plywood and trim boards.
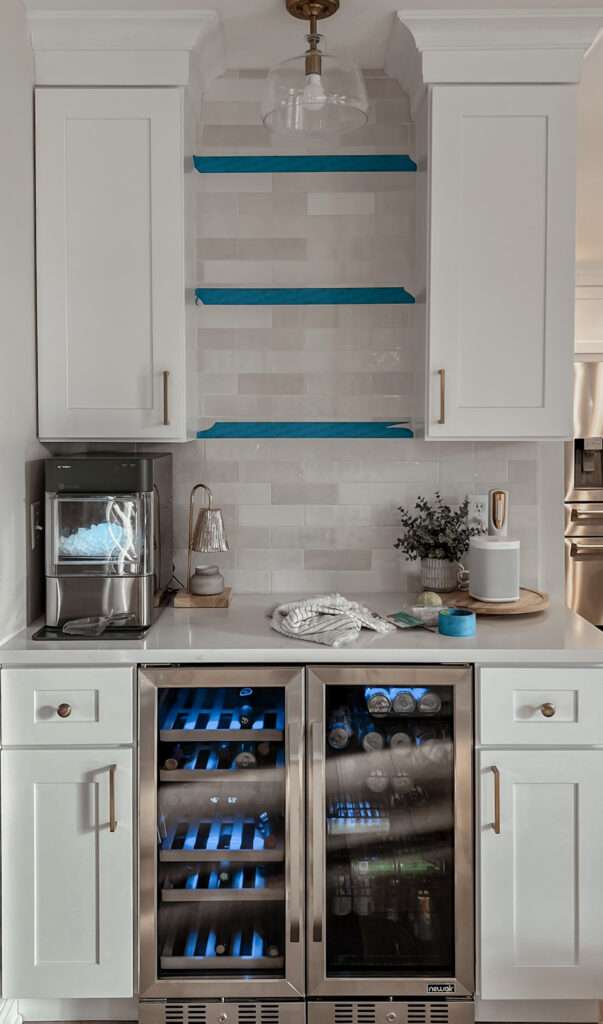
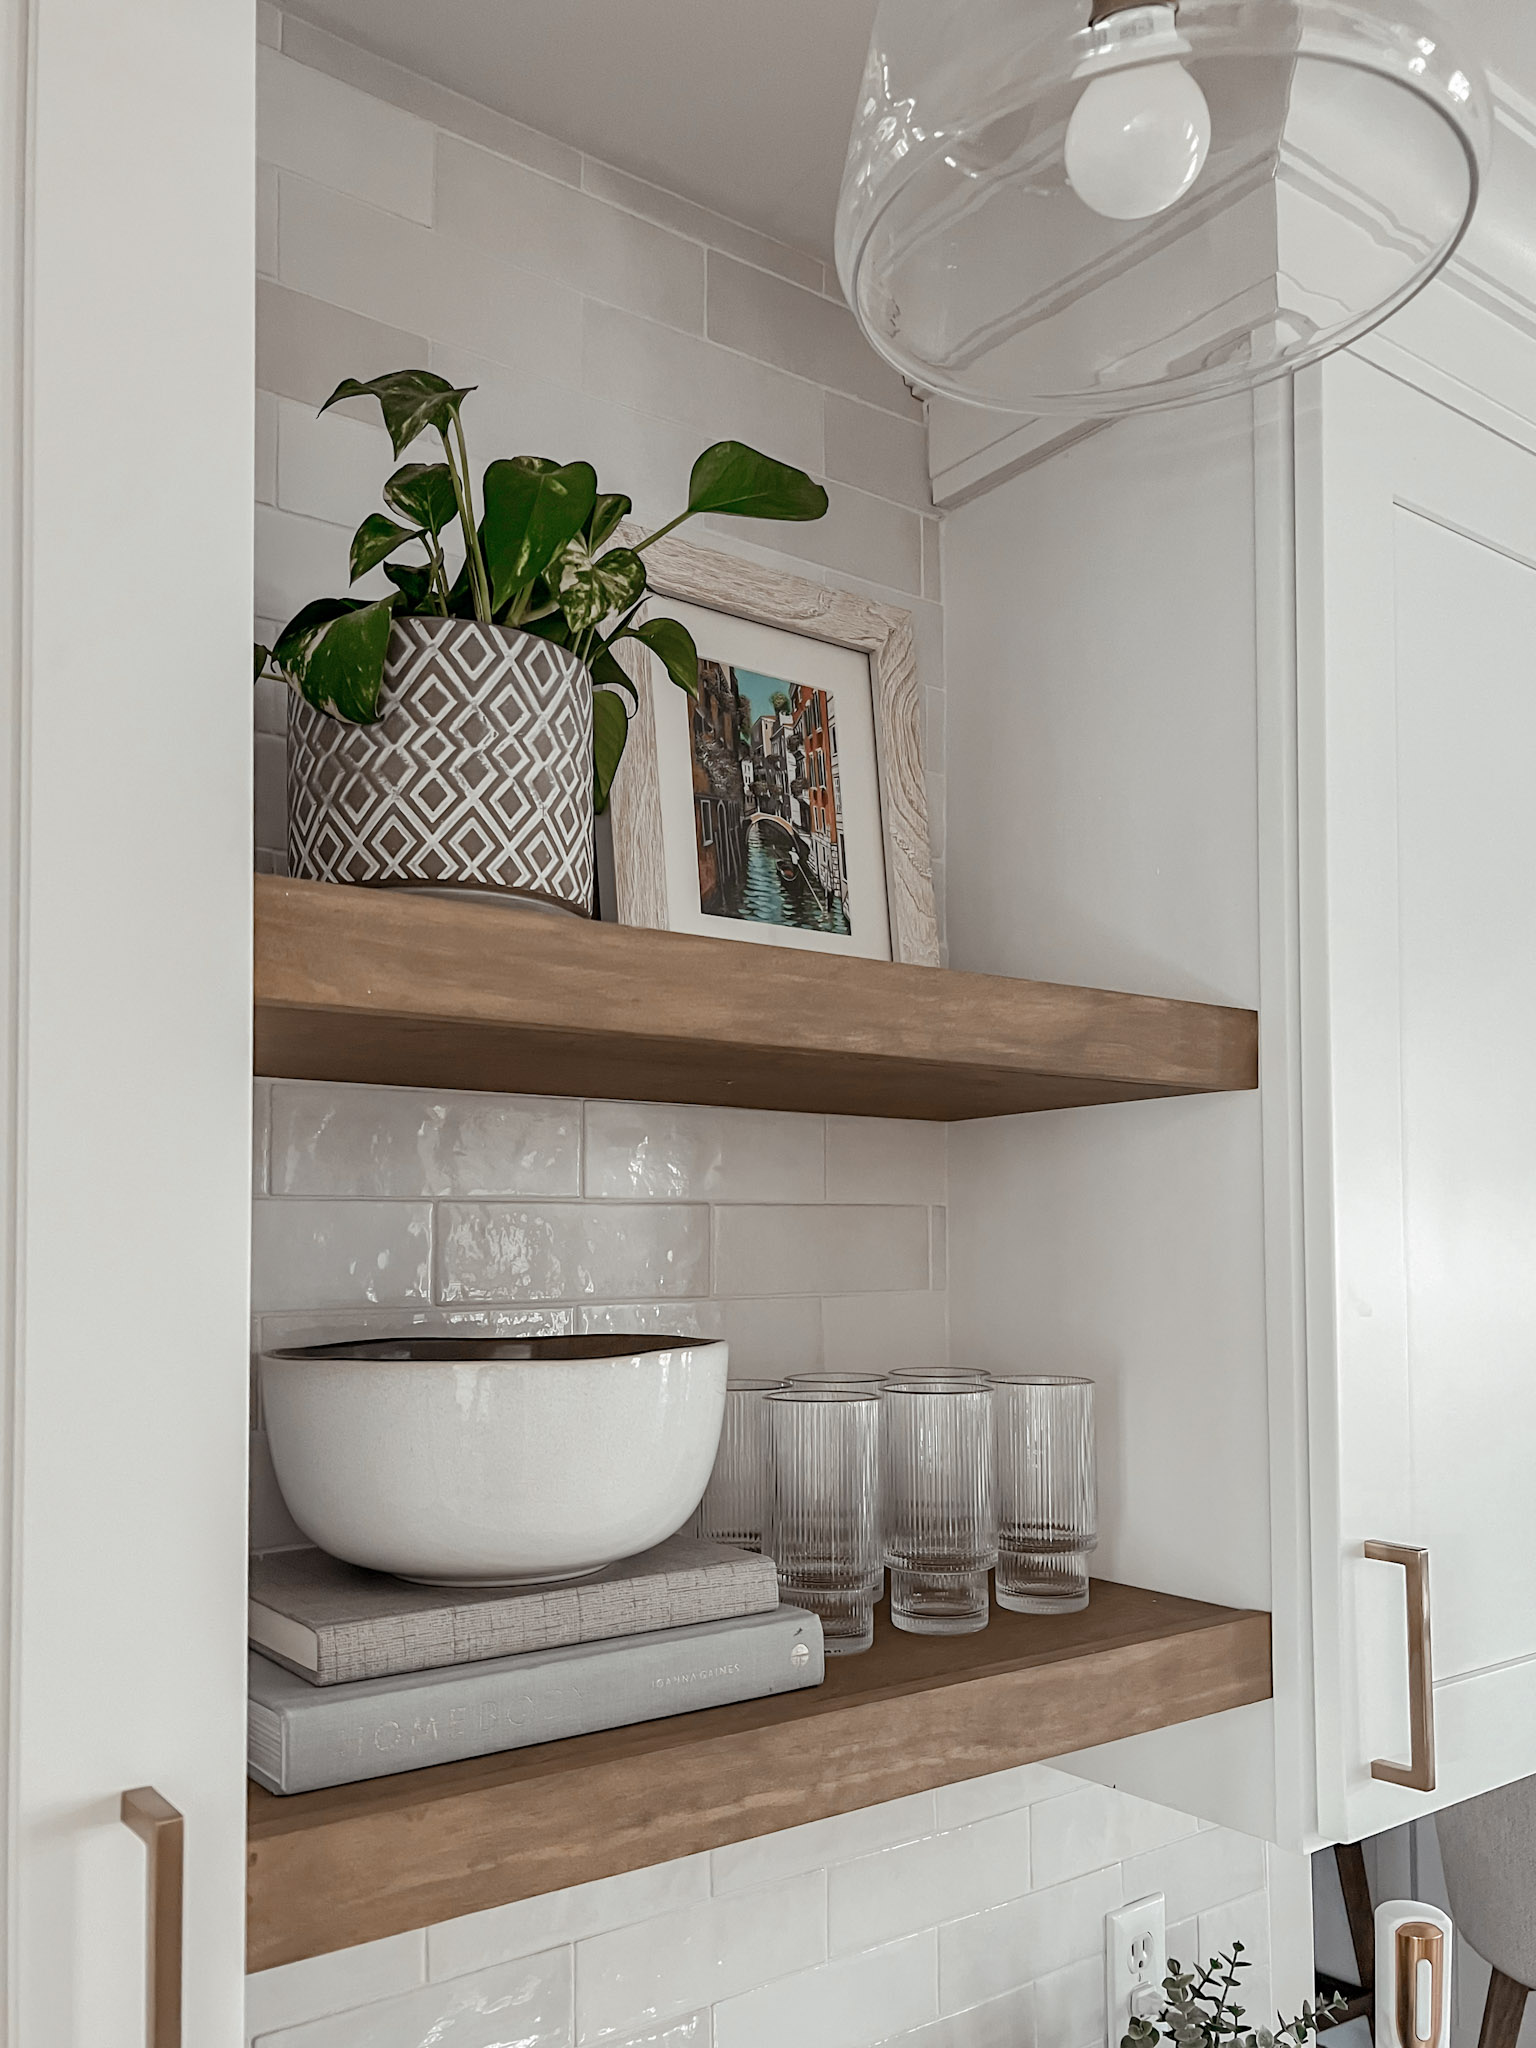
For reference, my shelves are 24” x 11” x 2”.
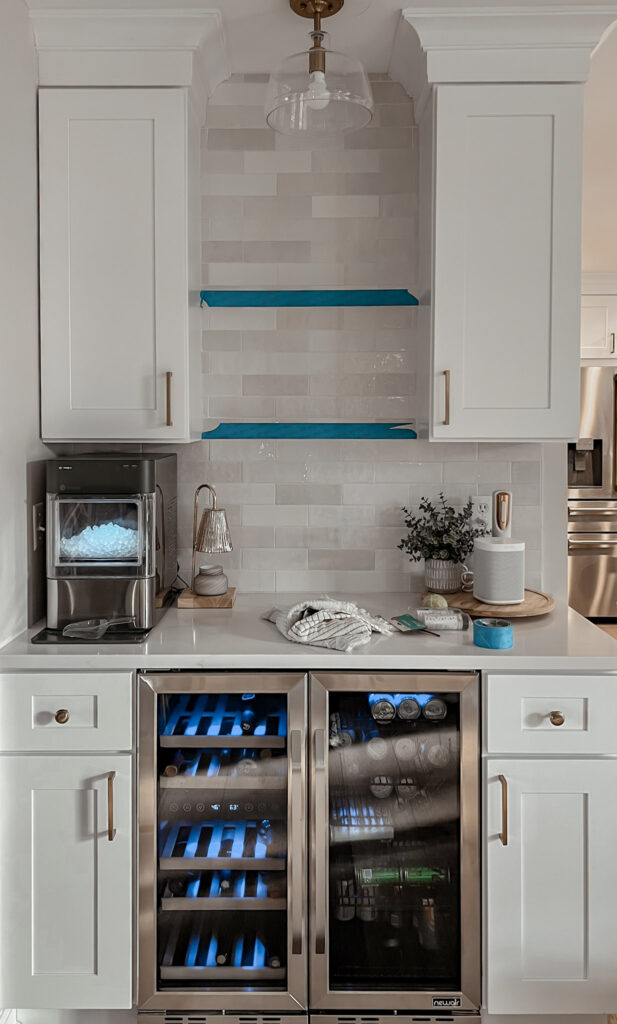
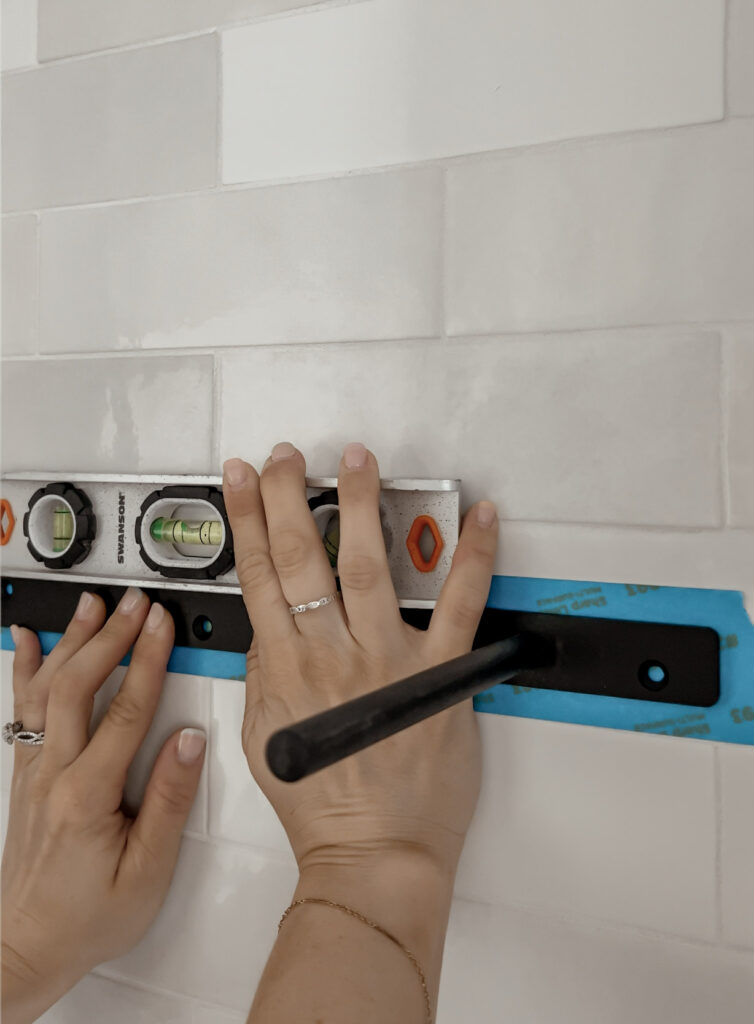
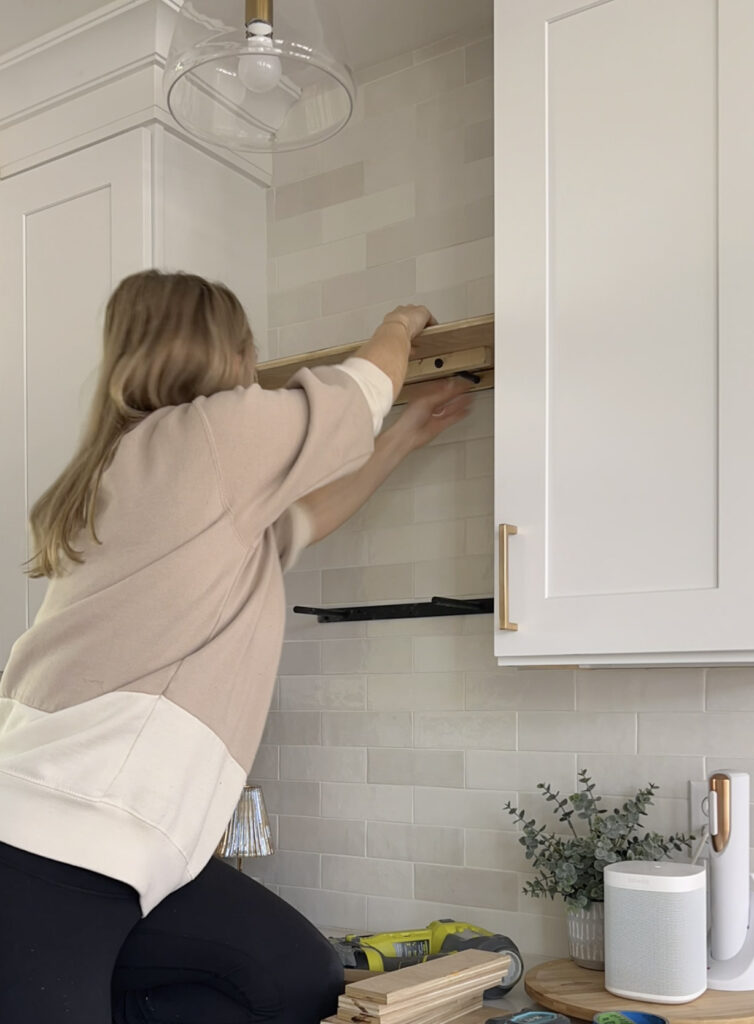
Once you know where you are going to float your shelves, you want to install the brackets. I measured the exact middle center, placed the bracket, and marked for holes. I was drilling through tile I installed, so to say I was nervous is an understatement.

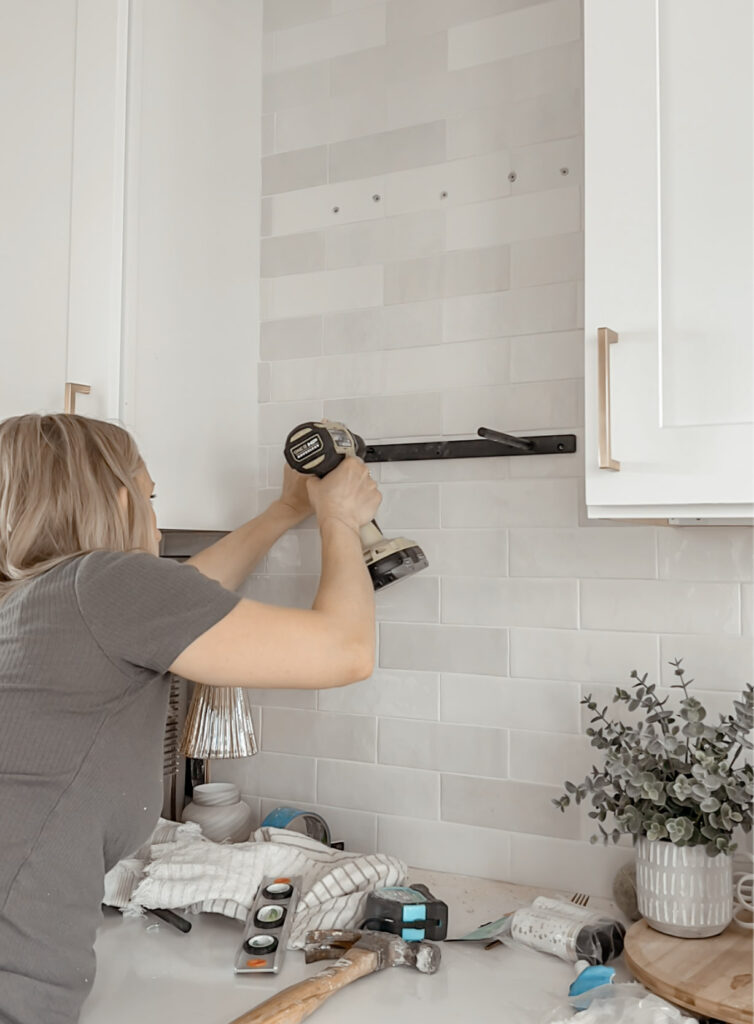
There are a couple different ways to use these brackets, but I decided to do a hollow shelf surrounding the bracket and close the front with 1×2 trim boards to give a seamless look. This is one of the easier installation methods and keeps it beginner friendly.
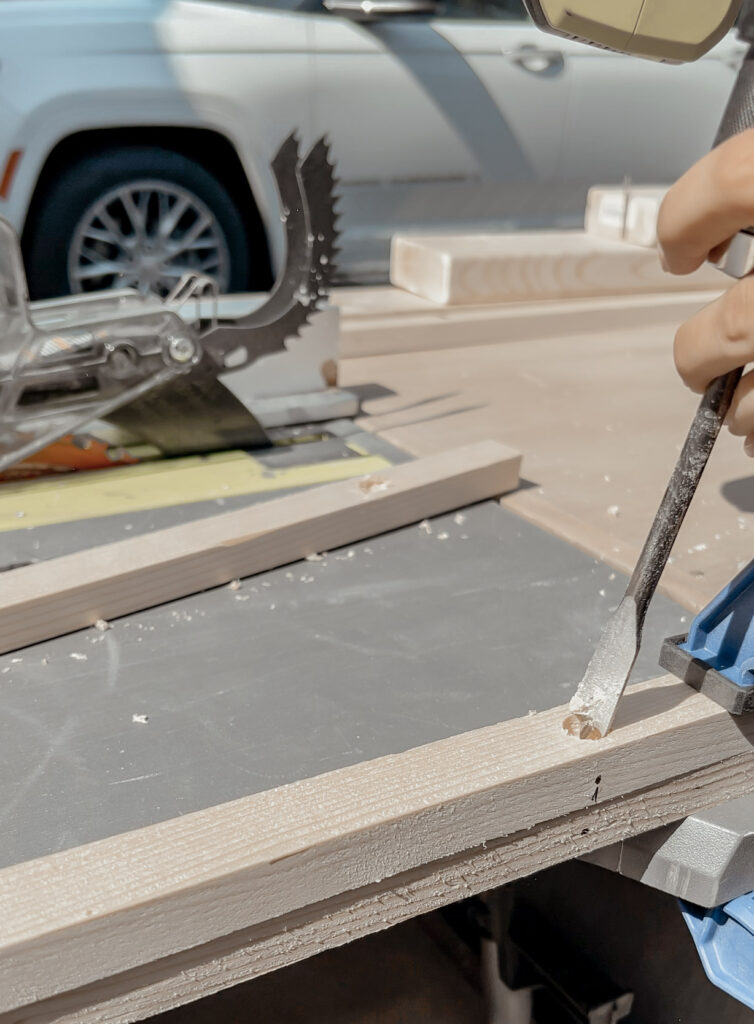
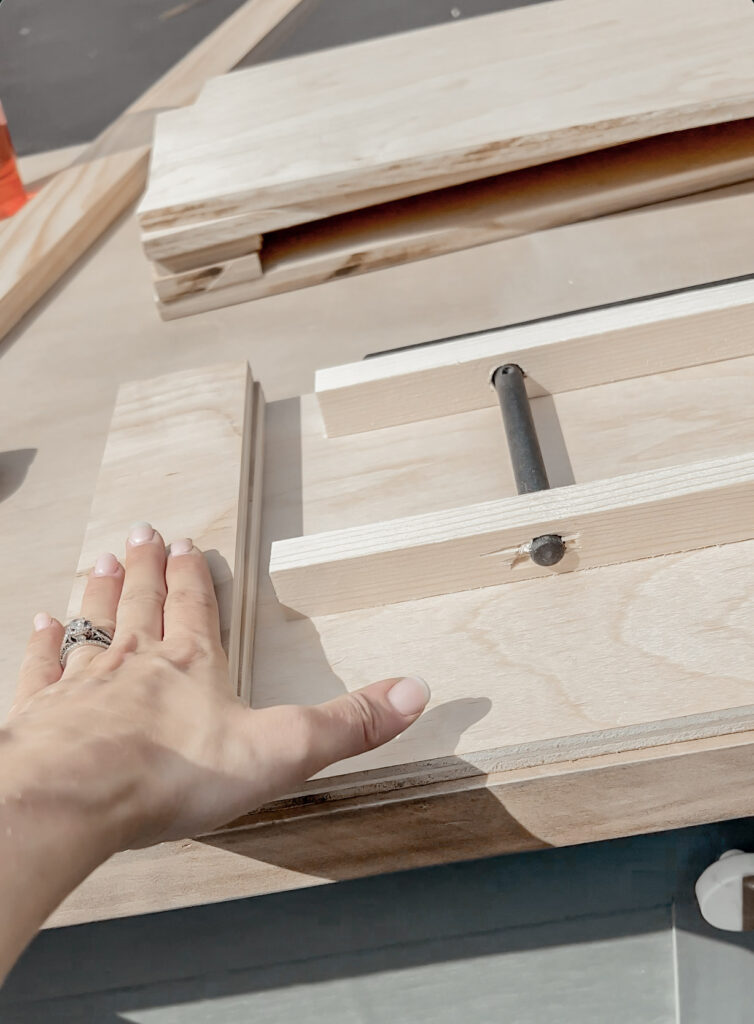
I used two pieces of 1” scrap wood as supports for the middle of the shelf, and to surround the brackets. These supports are what I drilled the holes through for the bracket to slide on.
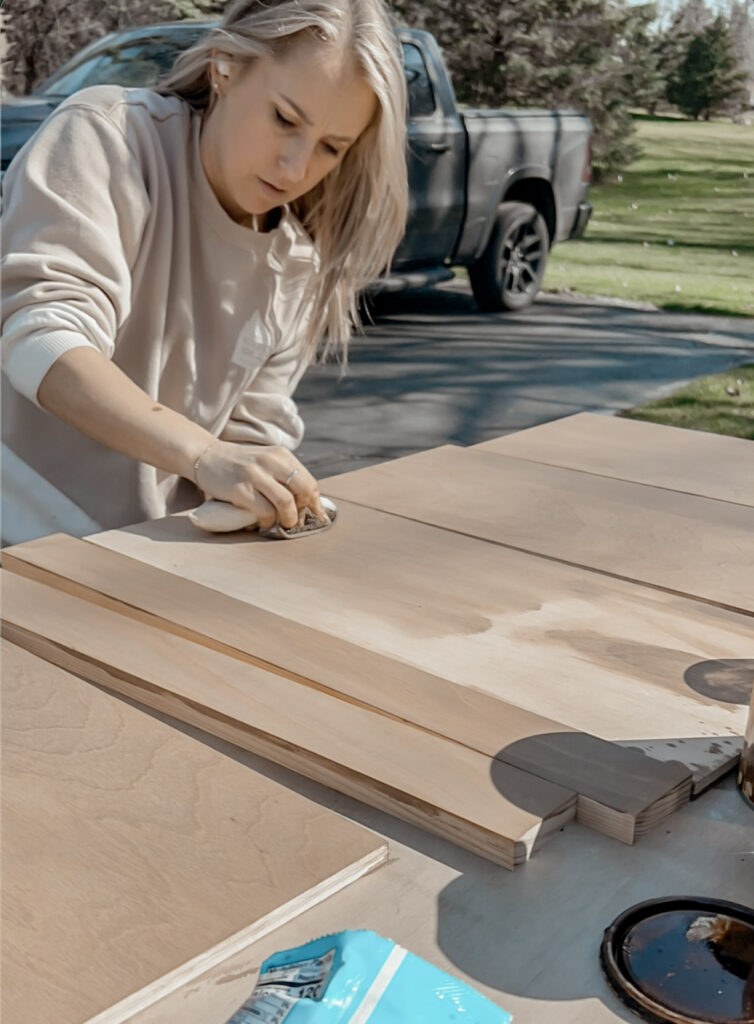
I decided to go with my classic combo of Varathane brand provincial topped with antique white. It’s never done me wrong, so I couldn’t stop now. This time I switched it up though and did a 2:1 ratio. The key to getting the perfect stain is using a pre-stain conditioner, this ensures an even coat of stain with no blotching. You can just mix the parts in a bowl.
After the brackets were placed I attached the bottom and top plywood boards using my 18g brad nailer and then inserted edge supports used from scrap plywood. You can see how it gives support throughout the entire shelf to prevent any sagging.
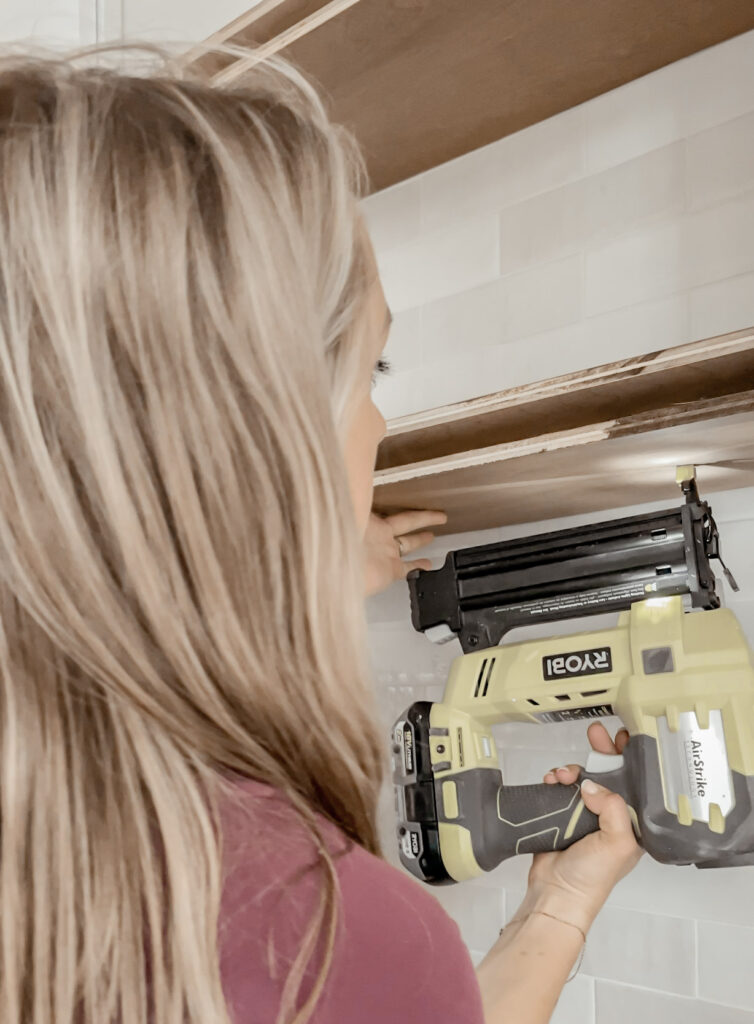
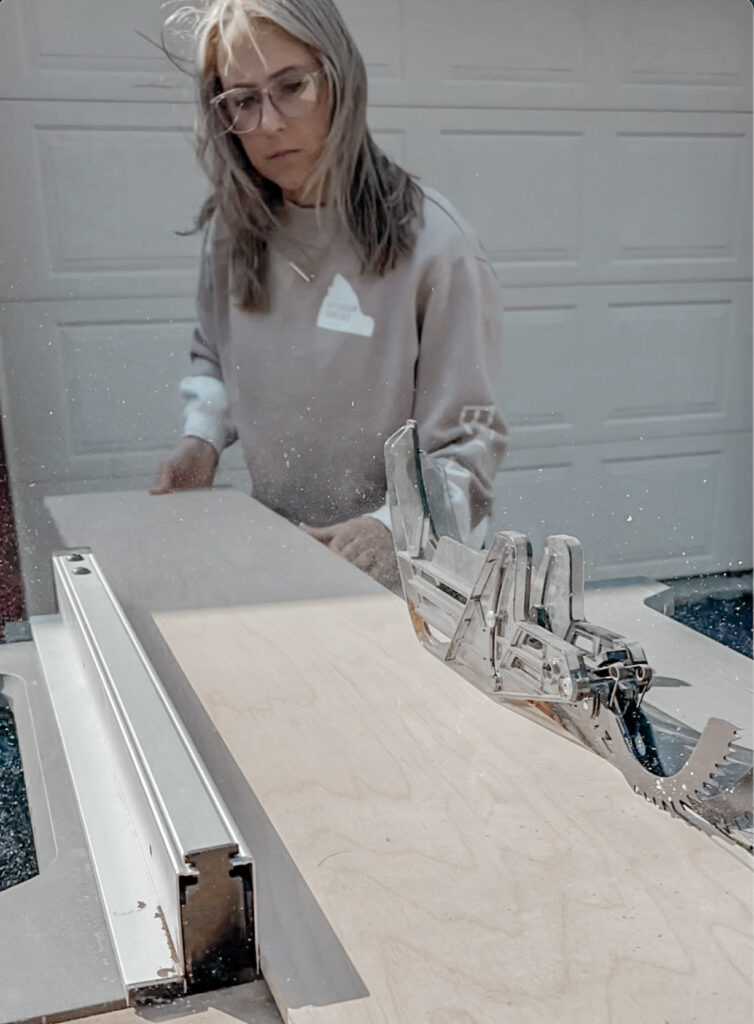
To create the 2” height of the shelf I used ½” plywood for the top and bottom boards and two pieces of ½” plywood for the inside edge supports.
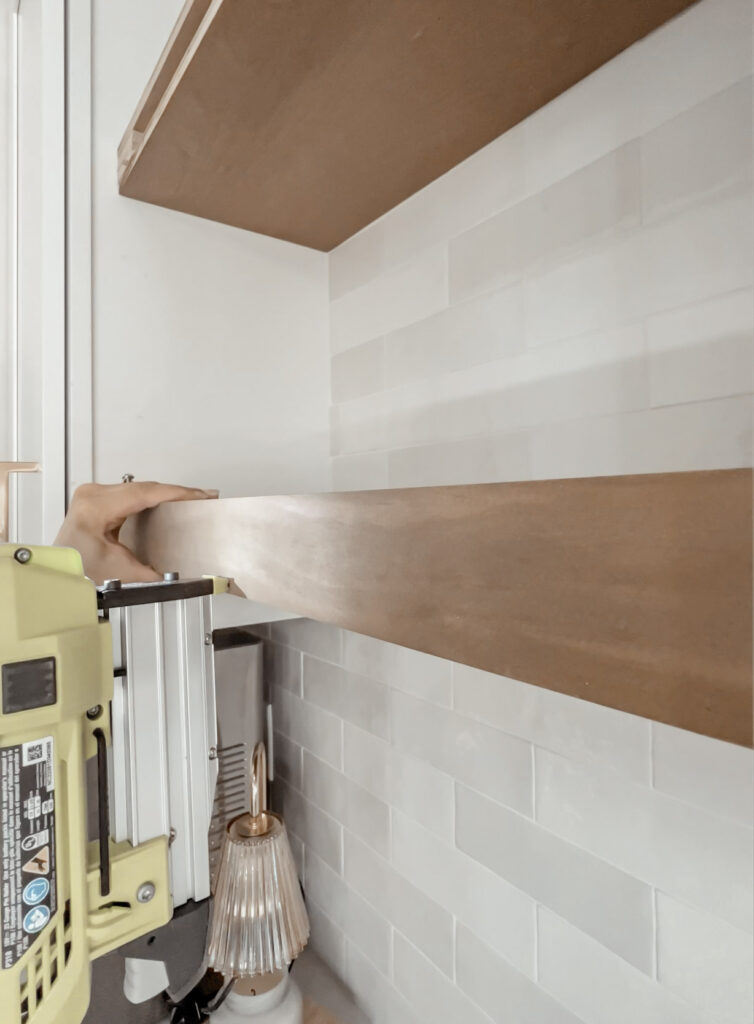
After the shelves are installed the front is closed using a select pine board or edge banding. I decided to use a 1×3 and ripped it down to 2in! I stained it at the same time I stained my shelf boards and attached it using the finish nailer. The holes are so tiny you can’t even see them!

These couldn’t have turned out more perfect, they are exactly what I envisioned for his space and completed it perfectly.
Total Cost $142