


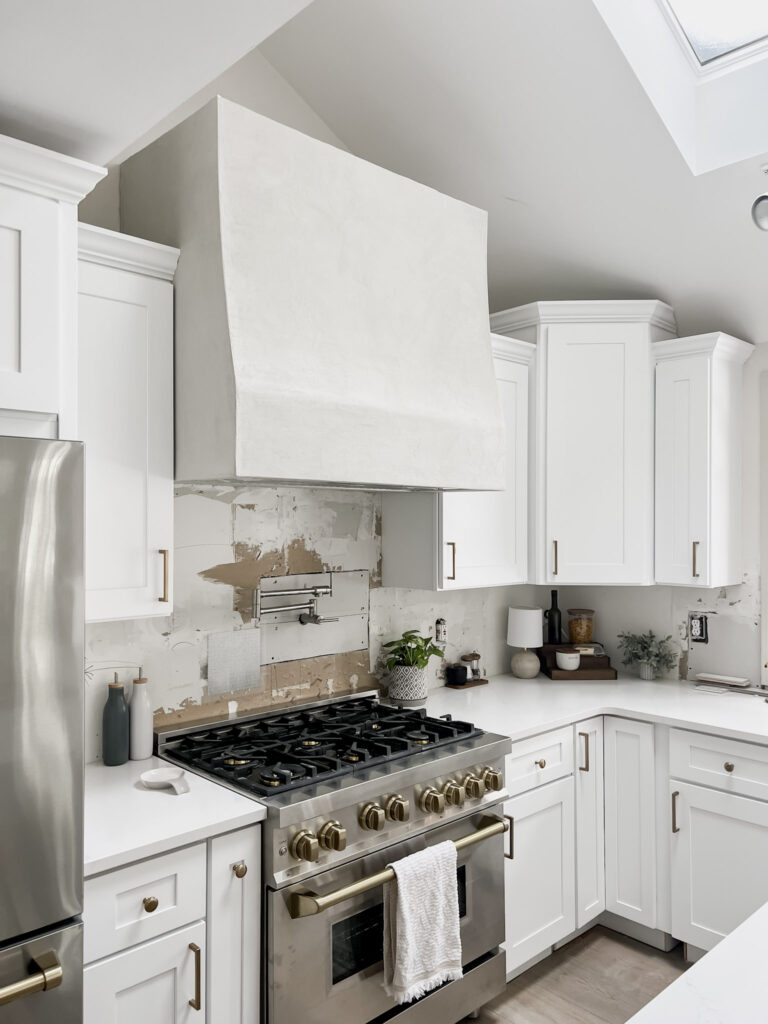
The cozy elegance an oven range hood brings to the kitchen is something that was on my wish list when we were house hunting. I’m so excited to share that it is a beginner friendly DIY project, and you are able to install in any kitchen even if you don’t have the ductwork for an outside vent hood!


I got the Arcadian Range Hood kit from Archways and Ceilings for this project. It came ready to assemble, just like furniture from IKEA. You follow the step-by-step instructions and put together the hood before attaching it to the wall. It was so much easier to assemble than I was anticipating! This kit can be used with a ducted or ductless vent, so you want to order accordingly. These hood kits are custom built to your measurements so you will want to know which vent you are using before you order the kit.

The hood kit fits together on the wall kind of like a puzzle. You want to attach the base first, then attach the main body of the hood, lastly fit in the center link that holds them both together in place. Once everything was in place I screwed it into the wall studs. The last piece of installation is the arches for the front of the hood to give it the Arcadian dimension and shape!
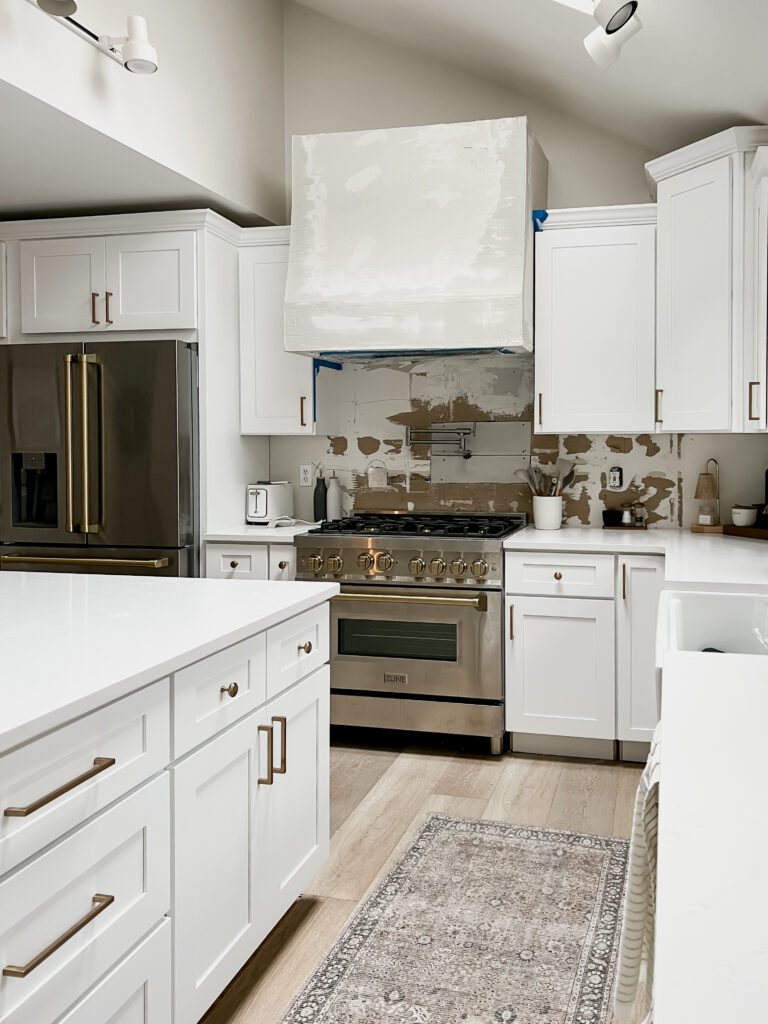
I made a huge, but not irreversible, mistake when I was measuring for the hood kit. I didn’t account for the depth of the stove, so it was too shallow to be efficient and useful. Luckily, because it is surrounded by cabinets, I can just build a 2×4 base to extend the hood out further so it sits out over the burners and it will solve the problem.
If you measured correctly (I’m talking to myself) installing the vent is super simple! You simply place it in the cutout at the bottom of the range hood and screw it into place!
Because the hood has a slight curve to it, I will need to figure out how to curve the drywall so it can follow the curve of the range hood. I also have a small space between the hood and cabinets that I need the drywall to fit. Because of this I am going to use 1/4″ drywall to hope that it curves easiest and fits between the range hood and cabinets!
Did you know you can easily score and snap drywall?! It’s the easiest way to cut to size. I measured the drywall for the sides of the range hood and scored it with an xacto knife, then snapped it along the line to break it to size. I attached a full rectangle to the side of the hood then used an xacto knife to follow the curve of the range hood and cut the drywall front angle.
For the front curved part of the hood I decided to try scoring the back of the drywall with the xacto knife to give it more play and hope that it curved, and it worked!! I was able to get the perfect curve to show off the shape of the range hood.
The first step to finishing drywall is adding corner beads. I used bendable ones specifically made for arches to account for the curve and added them along all the outside edges. This gives your drywall nice sharp corners and edges which gives it a professional, finished look.

For the front seam, I used drywall tape with a metal bar on the inside to keep the definition on the front of the hood. I added a light layer of drywall mud, then installed the drywall tape, and mudded over as I was finishing the entire hood. Before starting the drywall mud, make sure that you have taped off around any cabinets that are touching, and the vent installed in the hood. I did a rough coat of mud to start, sanded, then finished with a lighter second coat to make it as smooth and even as possible.
If you were around for my closet flip, you know that finishing drywall isn’t my favorite part of a project!
After the second coat I used a wet sanding sponge to help smooth and finish the drywall. Wet sanding is using a wet sponge to smooth and sand vs. using sandpaper. It makes for less cleanup and dust while achieving the same look!
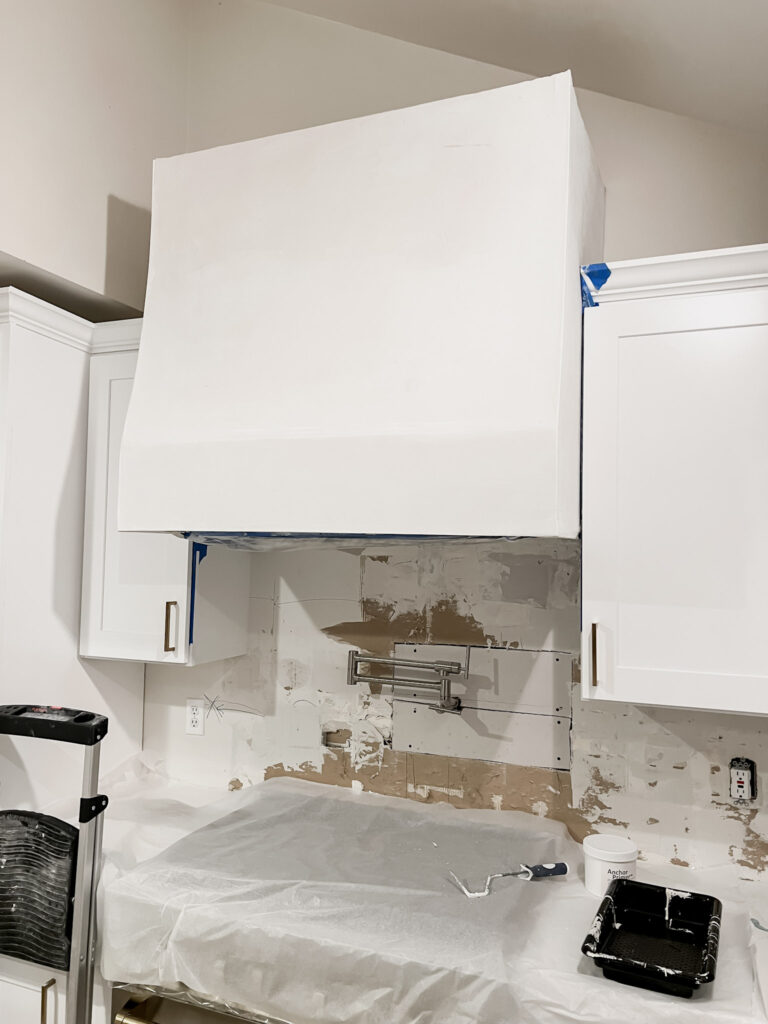
I’m using the kitchen range hood plaster kit from Firmolux Venetian Plaster. I decided to have them tint the plaster to the same color as my beige trim, and I’m nervous but really hoping it turns out as well as I’m envisioning.
I ordered a plaster hood kit that came with the primer, plaster, and a beeswax protective finish. The primer adds a gritty texture to help the plaster adhere. It was pretty thick and hard to roll on, but I used a foam roller and it worked well. It did splatter like crazy though! The end result of the primer was a finish almost like sandpaper.

I used a putty knife to apply the plaster, heads up it goes on MUCH darker than it will be dry, so don’t freak out and trust the process! It is pretty hard to spread evenly because of the grit in the primer, but I got the hand of it. Plaster is designed to have texture but I’m planning to sand it slightly at the end to give it an even texture.
I ended up applying a second coat, and then using a 220 grit sanding pad to smooth out the entire front of the hood. It still left a texture but that removed all the discoloration.
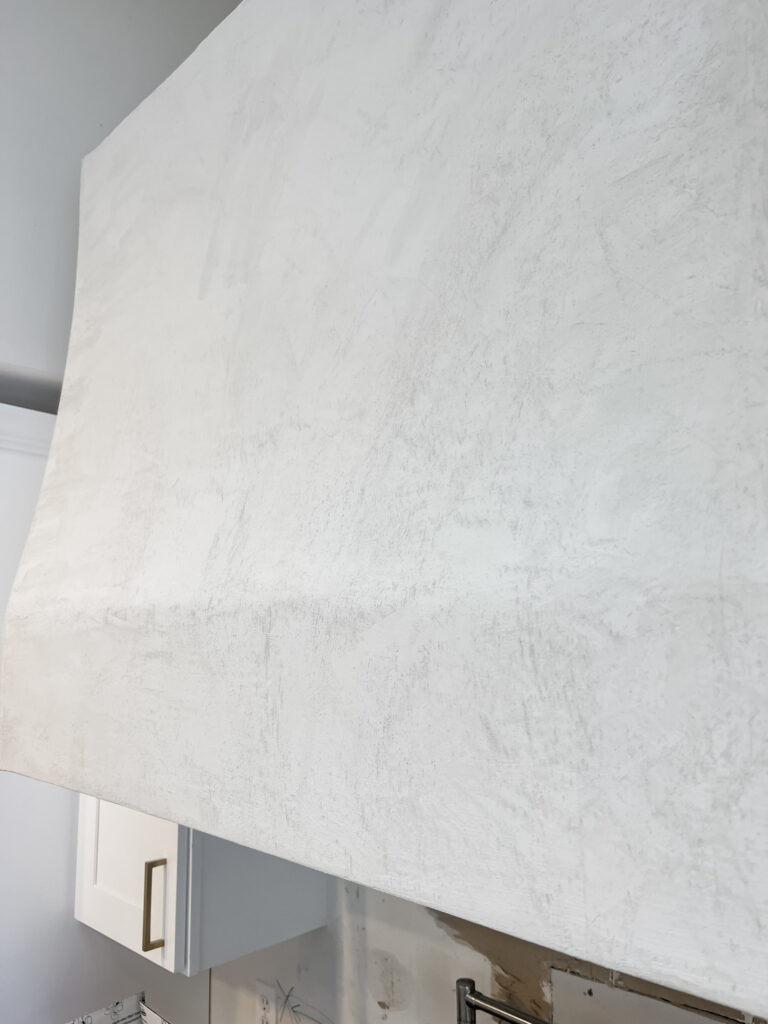

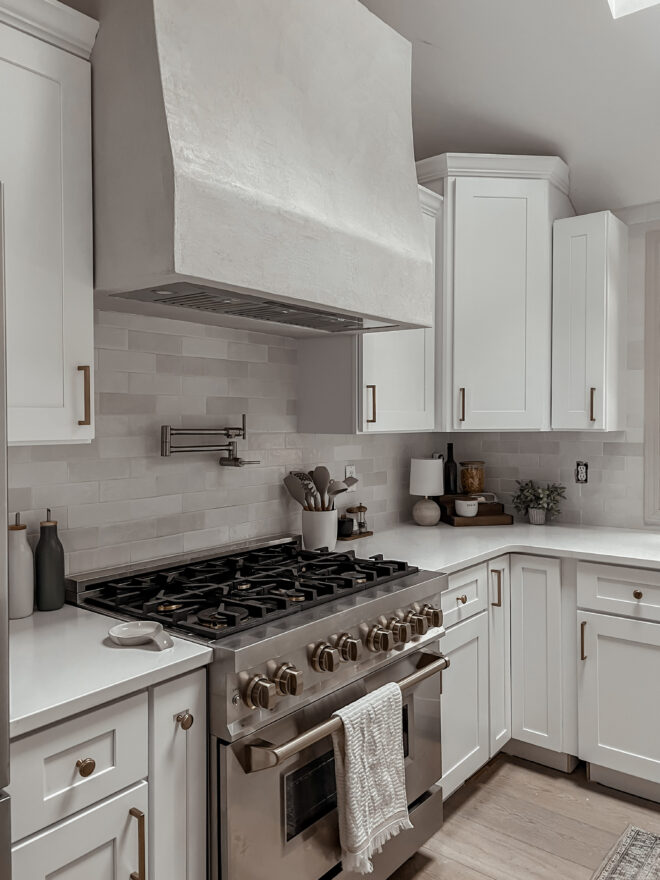
The third step is a beeswax sealer, which makes it waterproof! This will protect it when I’m cooking and make it wipeable for all the grease and moisture from the stovetop.
Guys, I did it! I can’t even believe that I made this but I did! DIY is empowering and I learn something new with every project! Did this inspire you to install a vent hood of your own!? What did you learn? Let me know in comments!

Total Cost $1,006