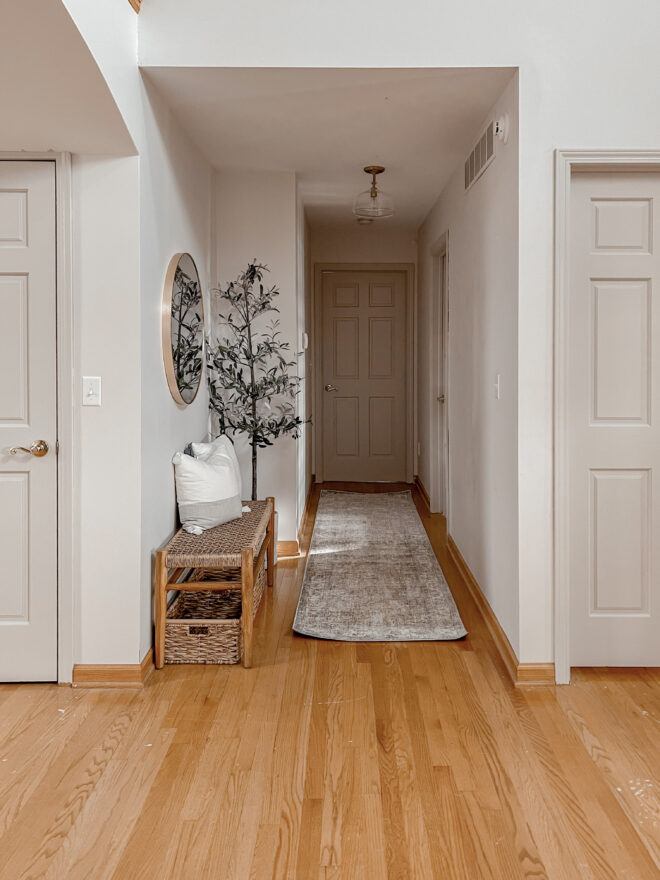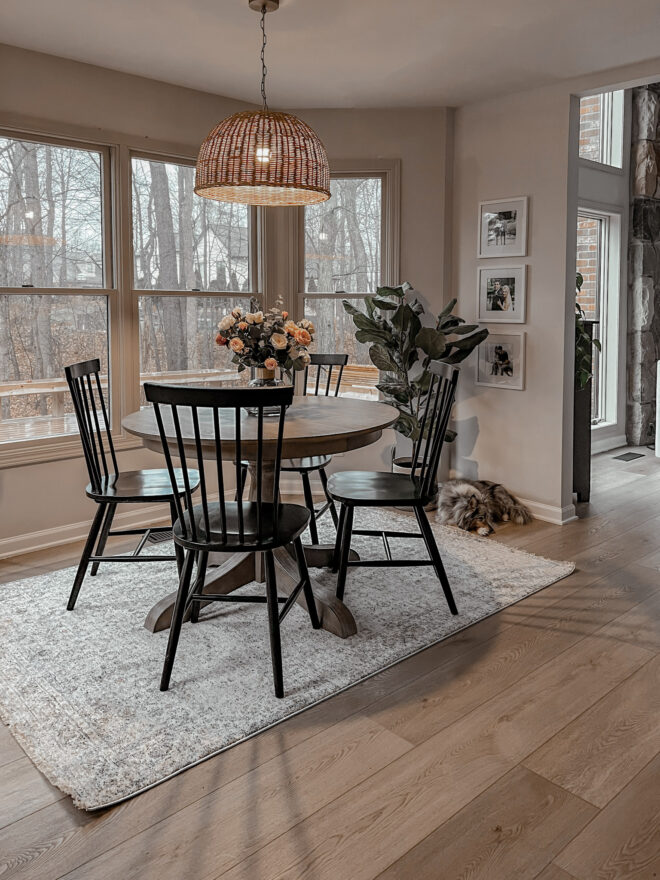


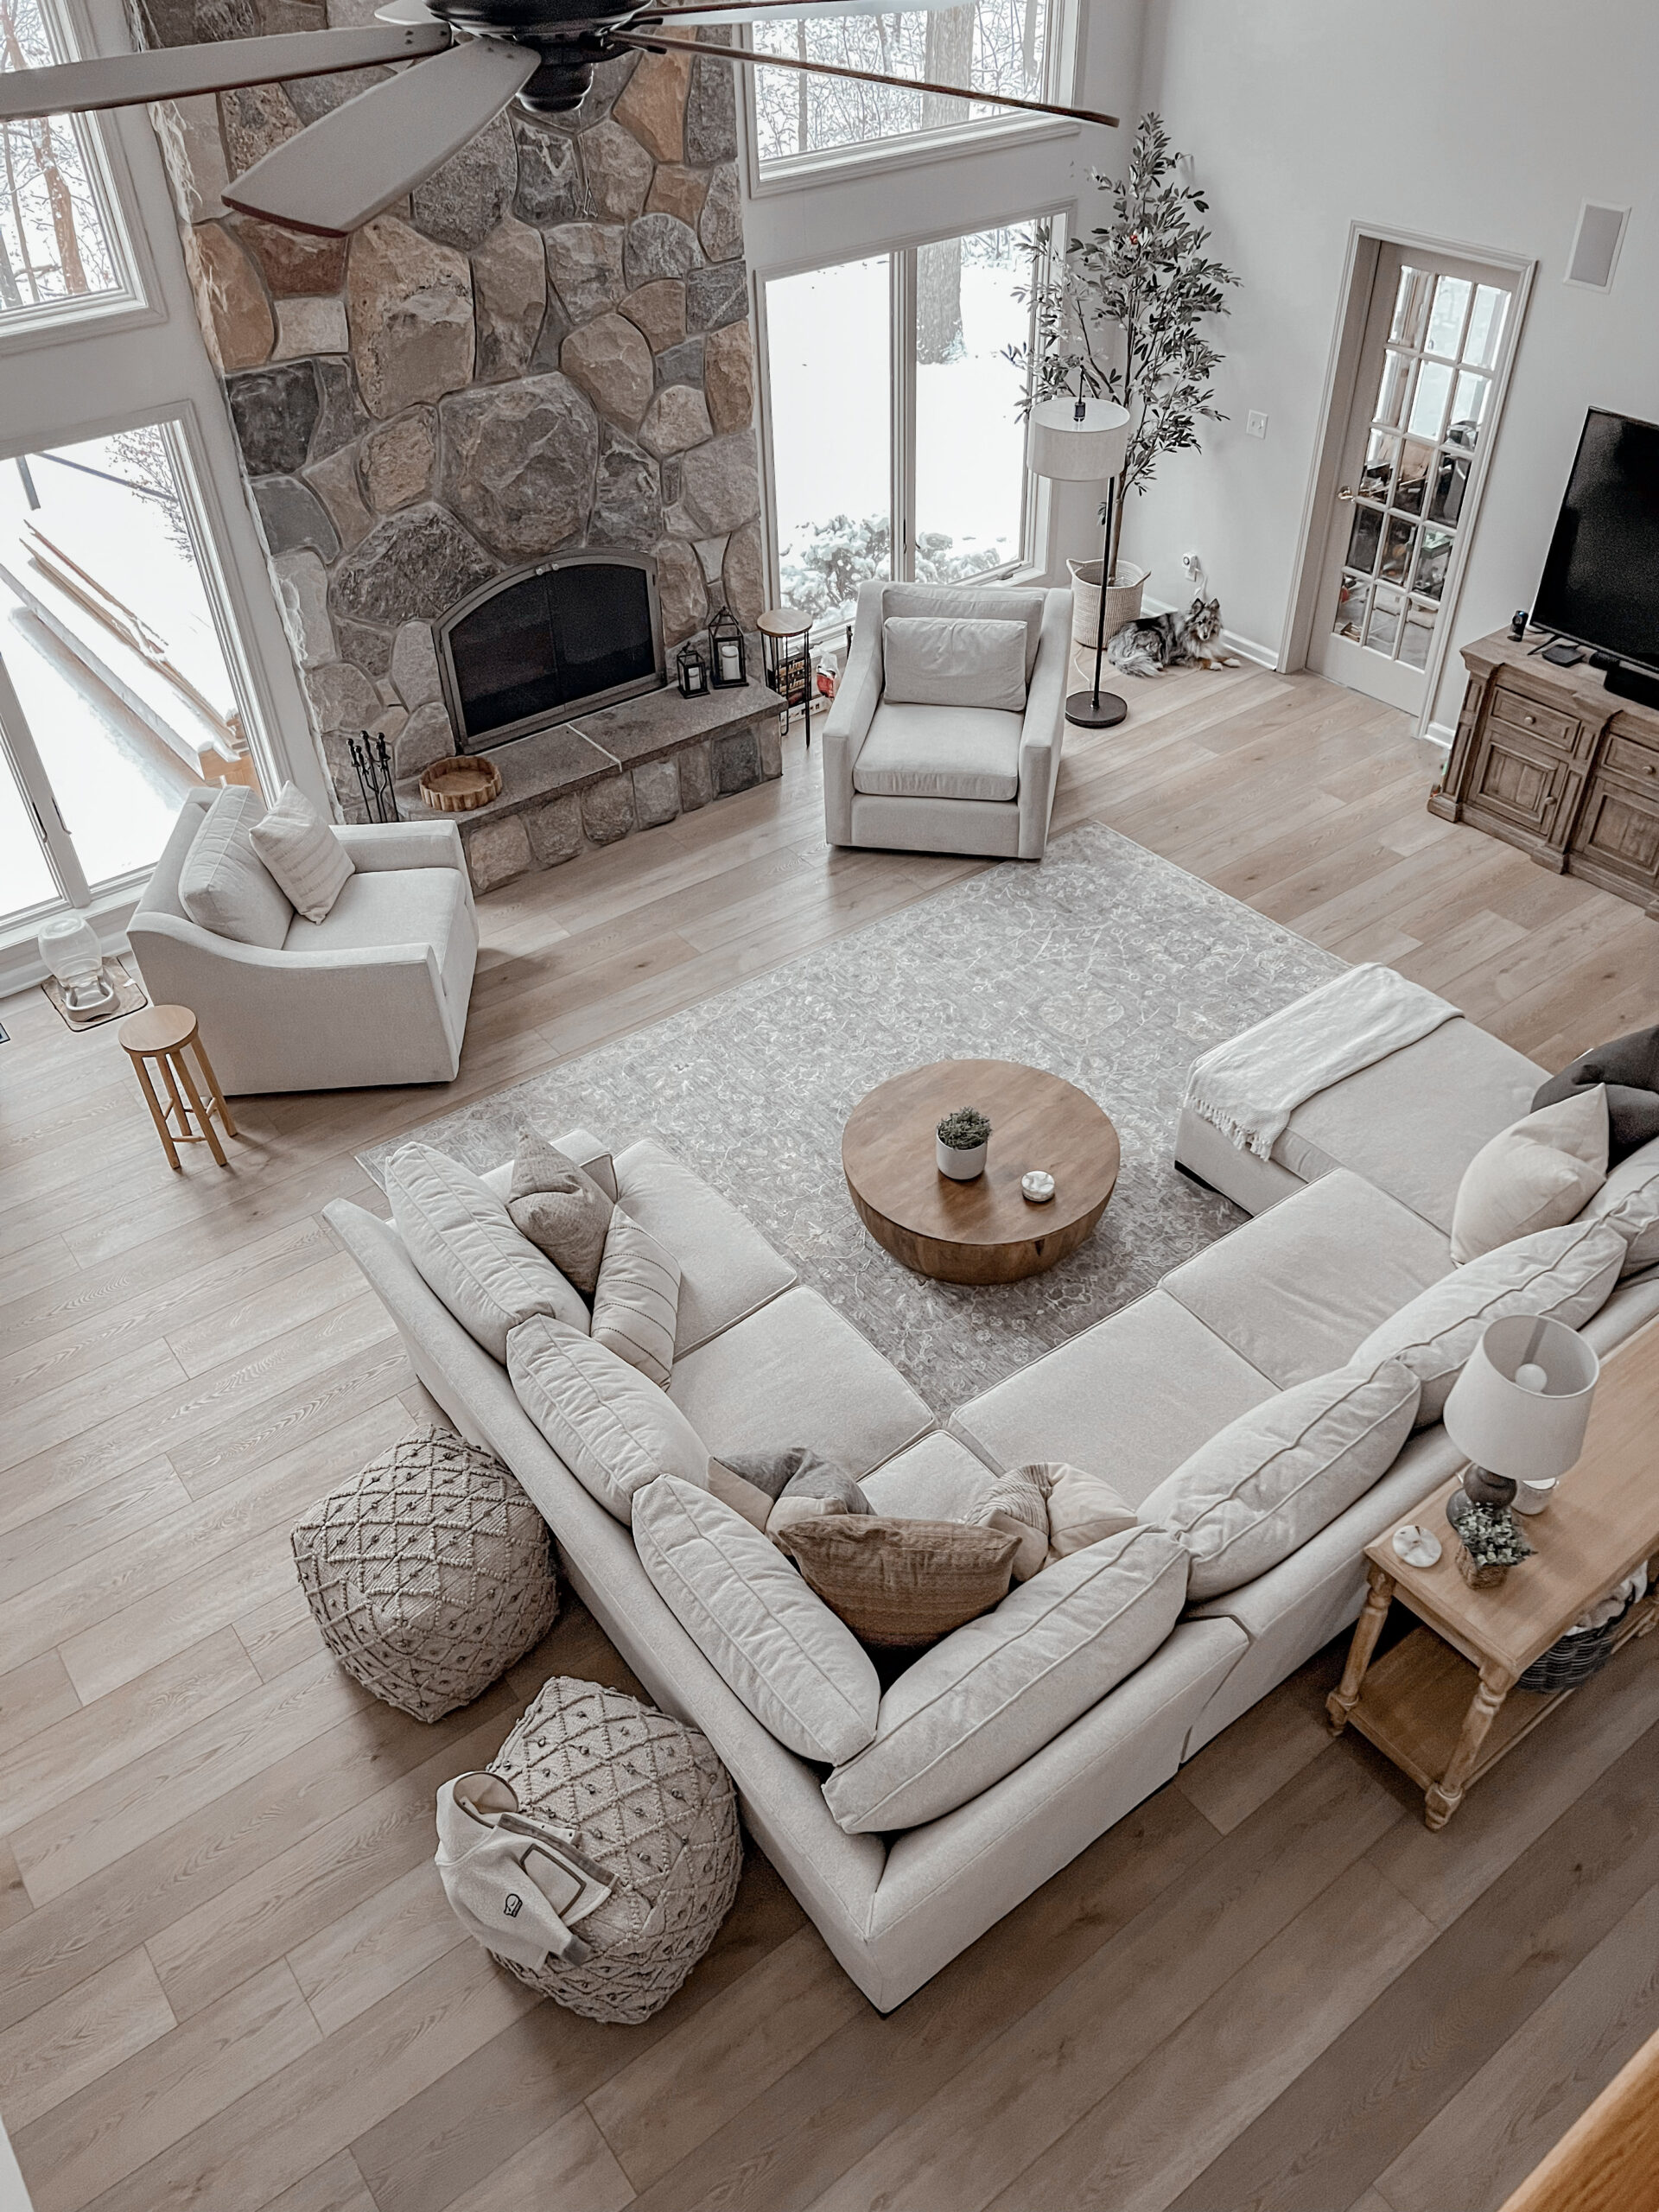
I knew that with new floors and kitchen the entire house would feel differently. I am so excited that this project is done and the new floors are warm and inviting, they’re truly my dream floors!


Slide the Xacto knife along the top of the baseboard trim. Place your trim puller above the baseboard and lightly tap the hammer to push the trim puller behind the baseboard. Once you have the trim puller behind the baseboard firmly tug to pull the nails from the wall and loosen the trim. You want to go down the entire length of the board with the trim puller, spacing out every 2-3 feet and then pull the entire board off the wall at one time.
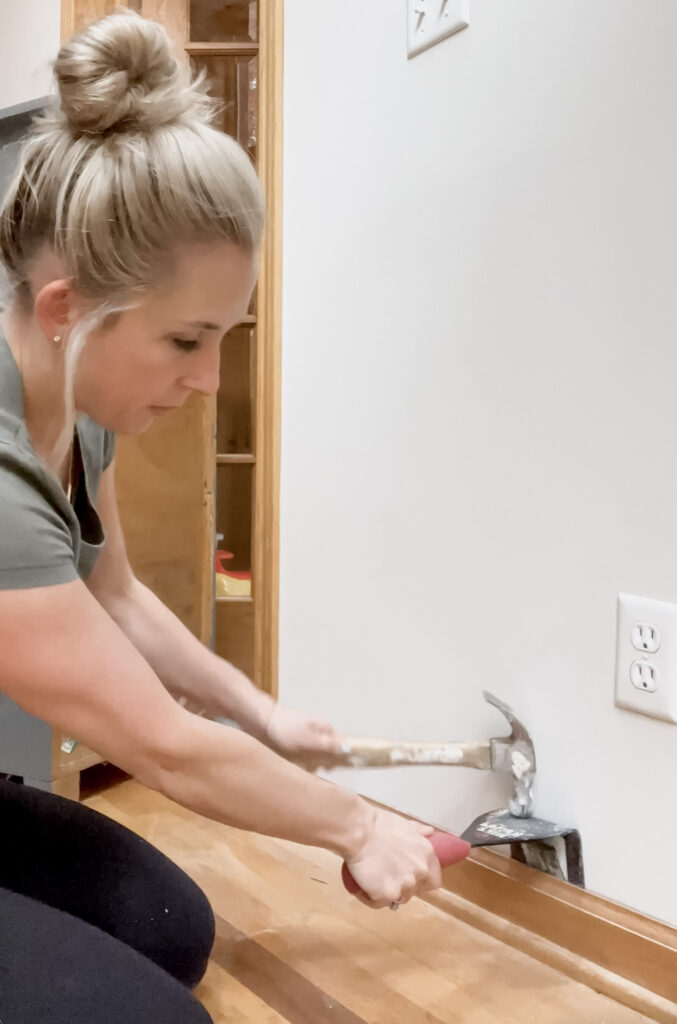

Pro tip: to remember where to re-install your baseboards (if you are saving them to reuse) number the baseboard and the wall so you can match them up for reinstallation after your floors are installed!
There are endless possibilities when it comes to choosing flooring. You want to decide what you’re looking for in a flooring and go from there. I wanted something easy to install, that I could float over the existing floors to eliminate demo, and something durable. I settled on the brand Hewn Floor for their durability. They had everything else I was looking for as well. I’m using the color Weathered from the Becki Owens collection.
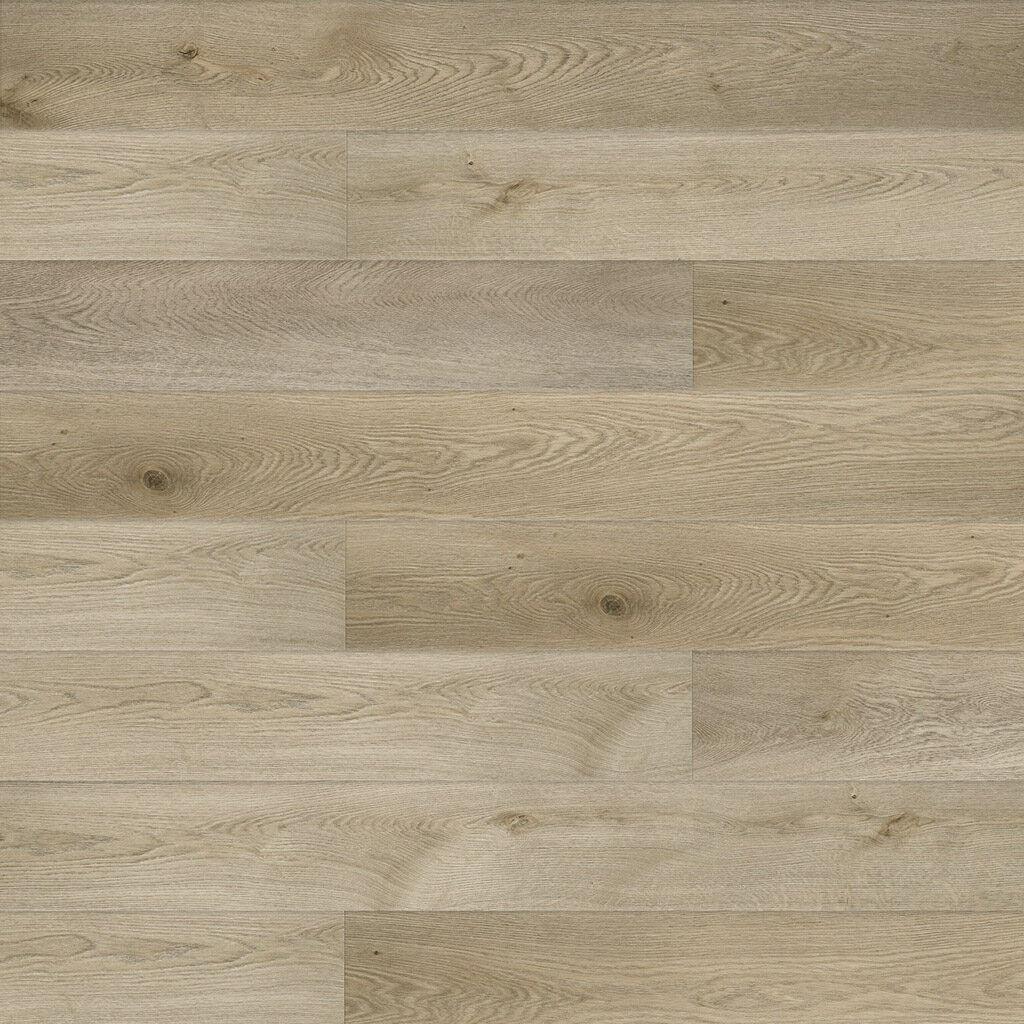
Hewn floor is stoneform, meaning it is 70% stone but it looks and feels like hardwood flooring. It is a floating floor that can be installed over existing solid surface flooring. It is waterproof and scratchproof which makes it a great flooring choice for pet owners!
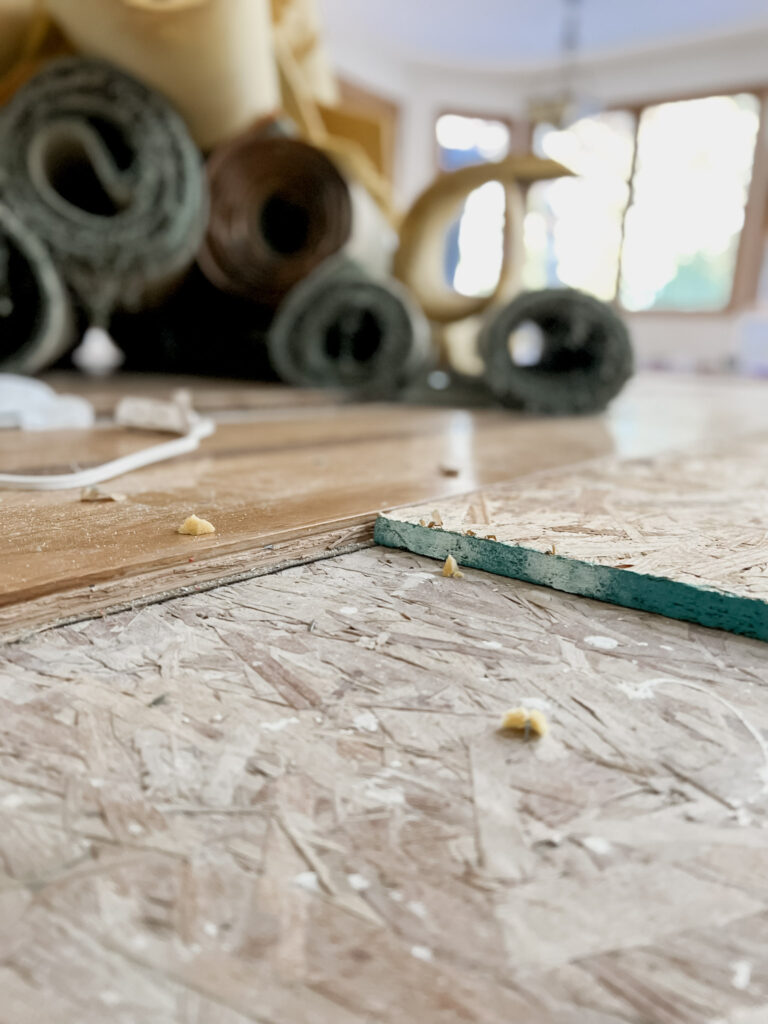
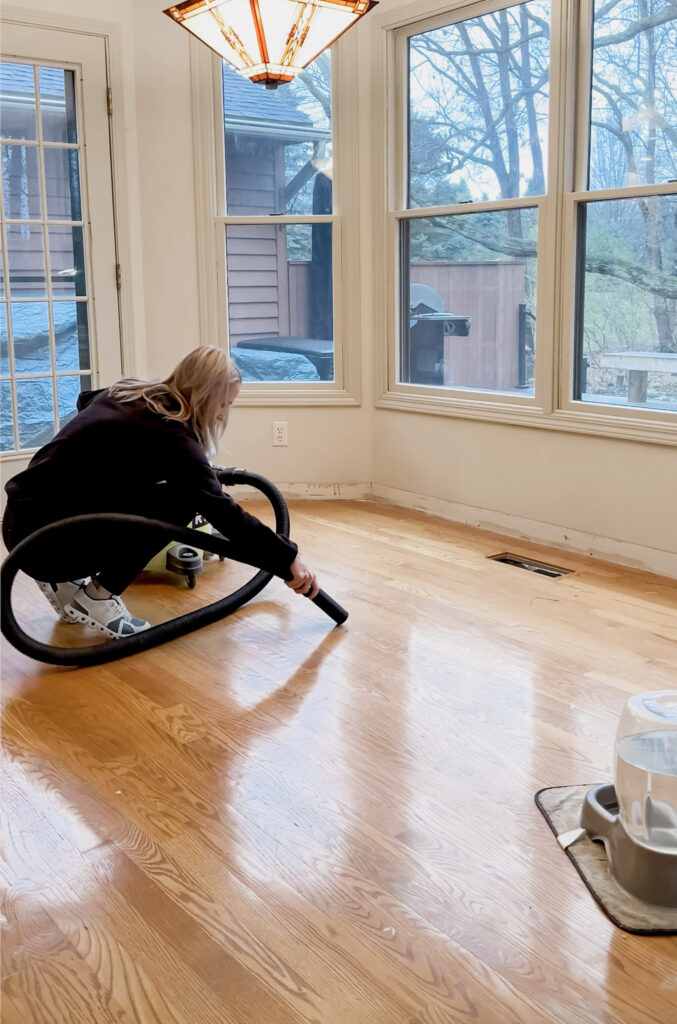
Before you start installation make sure your floors are a consistent level, flat, surface. Clean the entire space you are installing by sweeping and vacuuming. Because I had to remove carpet in our living room, I also had to install a subfloor to make the entire surface level before installation.

You also want to let the flooring acclimate to the temperature for 48 hours before installation, so make sure all your boxes are in the same space you will be installing them. It is also recommended to mix 4-5 boxes of flooring to start so you don’t run into any stark changes in the coloring as you install.

Choose the corner of the room you want to start installation in, and work from there cutting any edge pieces and angles as you go. Make sure you line the edge of the room with flooring spacers to allow room for the flooring to expand and contract with temperature changes. It will look strange at first but once your baseboard is replaced the gap won’t be visible.
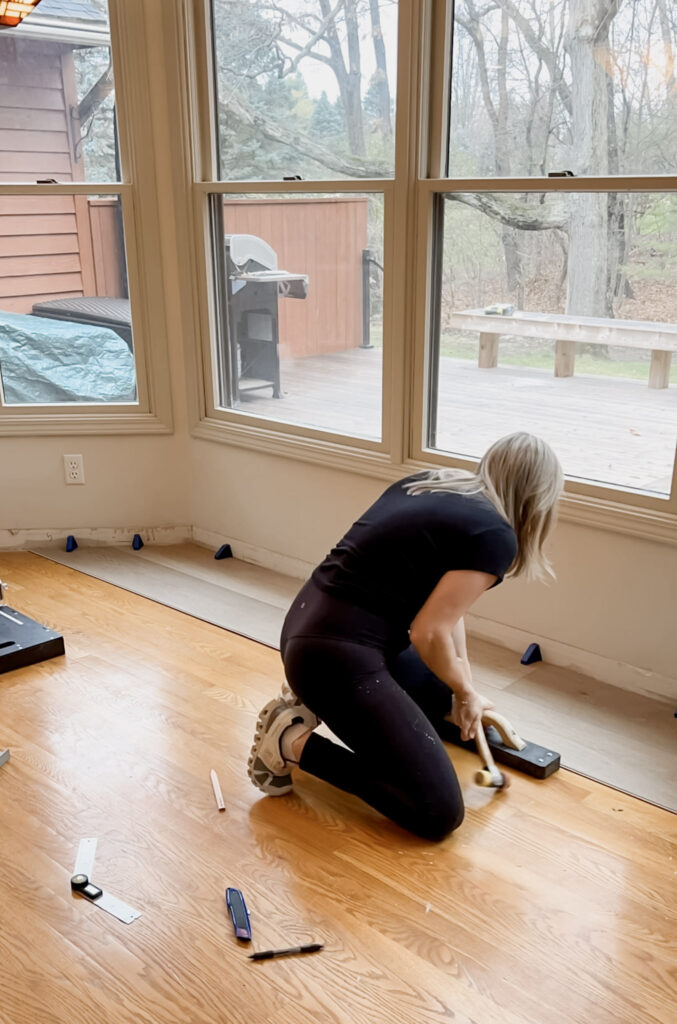


I used this floor cutter which was a game changer for installation. It made it so easy to cut to length and didn’t make a huge mess inside like my saw would. As I continued the rows I used this rubber mallet to click each board into place.
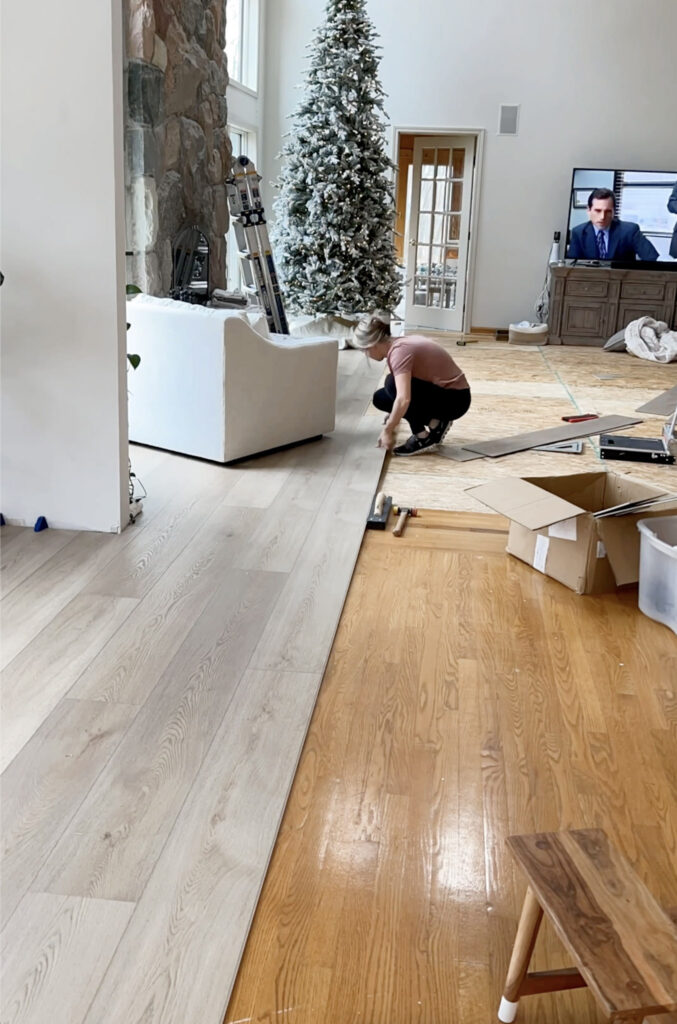


Once you get the first edges and corners done and move into an open space it really does go so quickly! I used my multi-tool to trim any door trim pieces that the flooring needed to be able to fit under
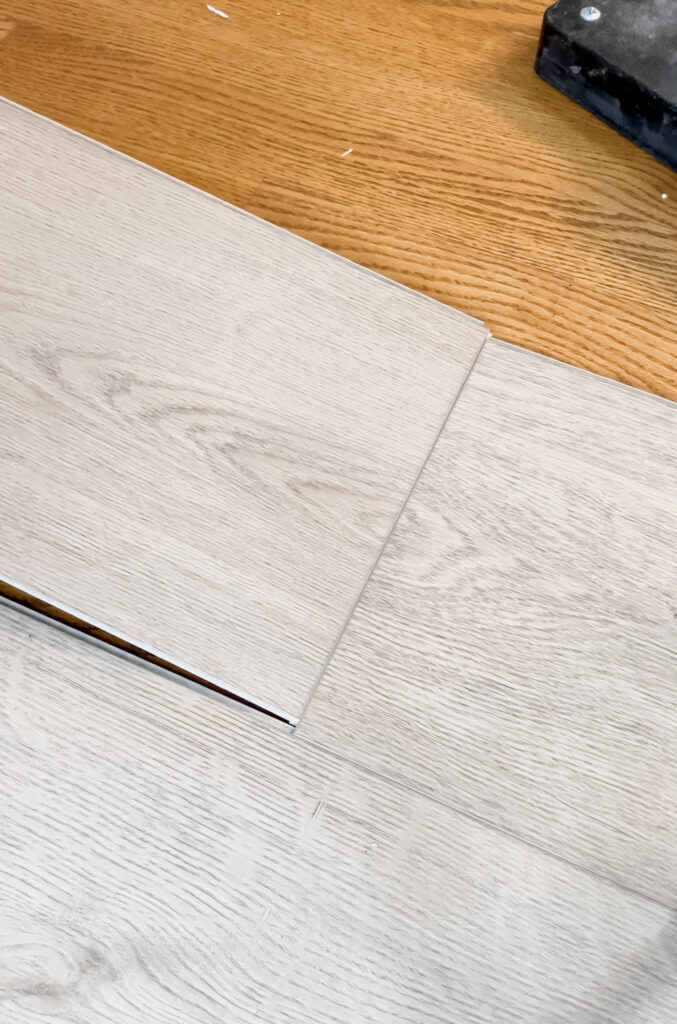
These specific floors are installed using a method called angle angle. You want to install the short side first, angling it in from the top down until it clicks into place. Once the short side is connected, you lift the entire length of the row you are on and click the next board into place. Lightly tap the entire board with a rubber mallet and tapping block to click the whole row together


I was having such a hard time finding my style in our new home until the flooring started going in. It changes the space so much and it is exactly what I imagined for this space! I couldn’t be happier!


Total Cost $10,248