Dining Room, DIY + Projects, Entryway, Home, Home Decor, Kitchen, Living Room, Projects on A Budget, View All, Weekend Projects


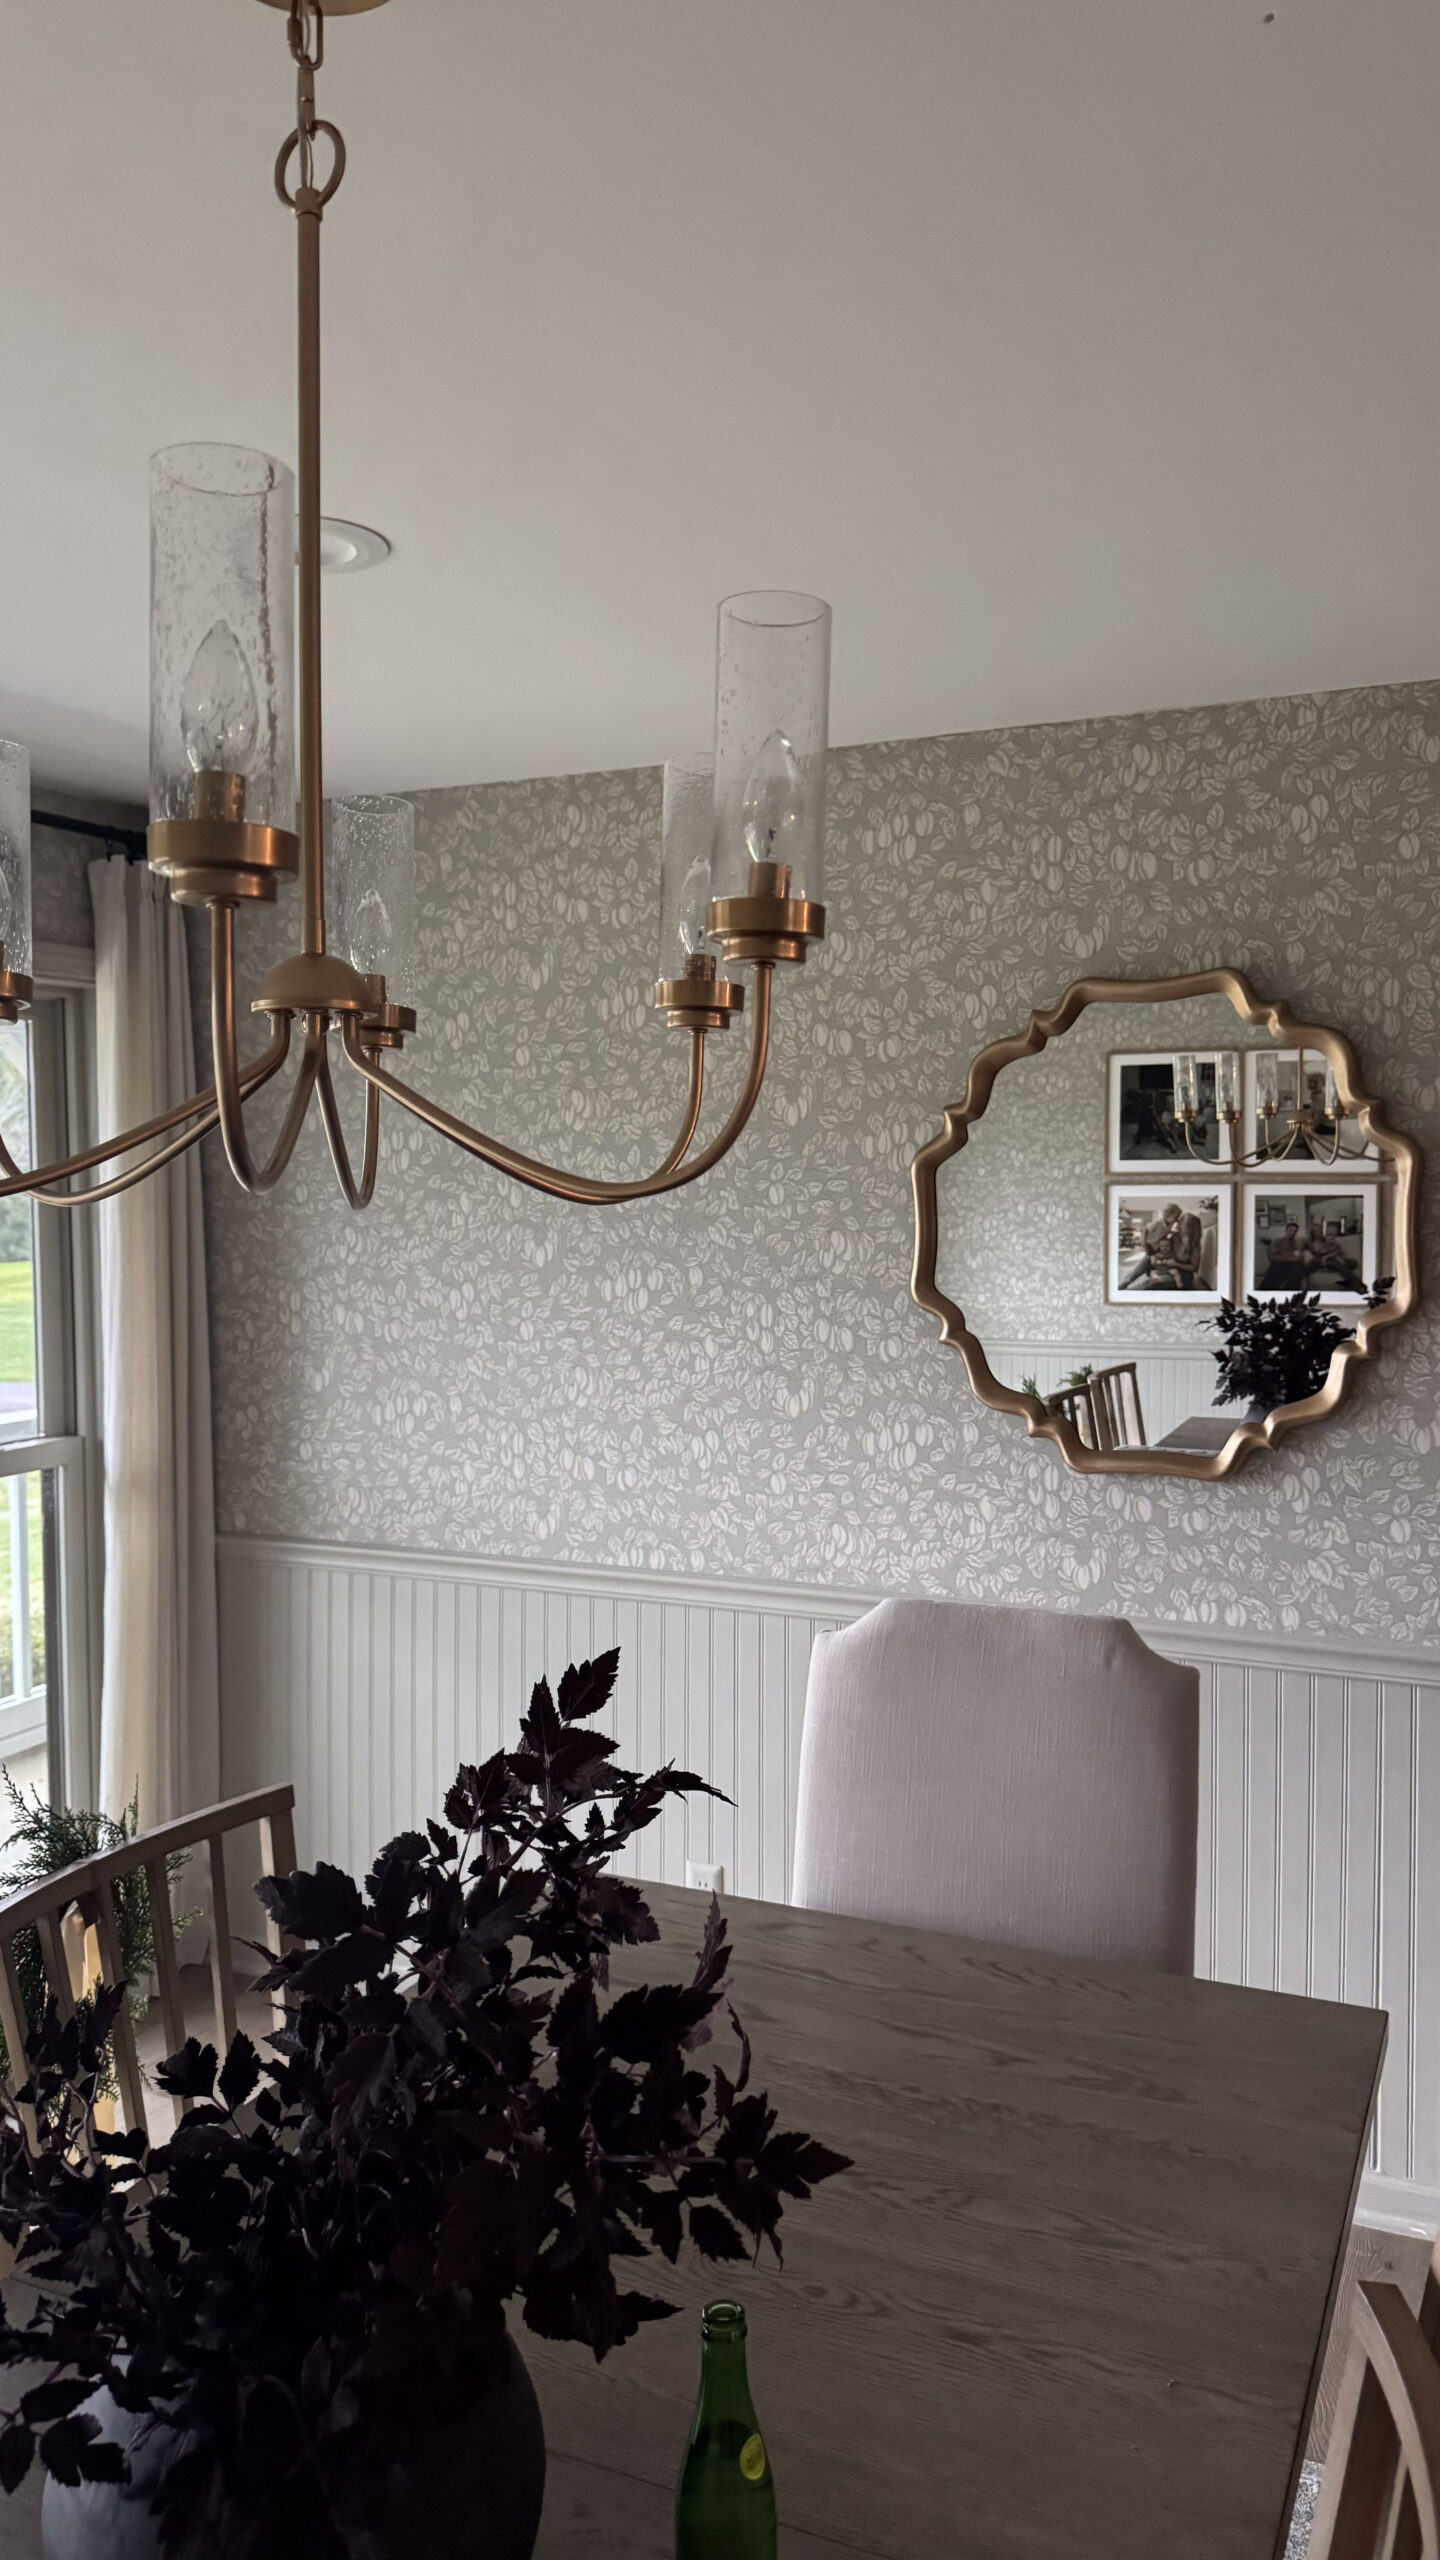
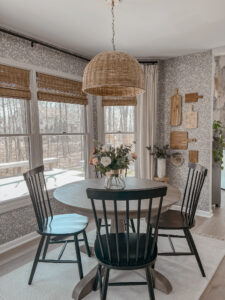
I just finished renovating the dining room, full reveal linked here in case you missed it. As part of that renovation, I added a new light fixture and a super cute mirror from Wayfair, but the gold finishes didn’t match so I’m using Rub ‘n Buff to refinish them!


Rub ‘n Buff has a ton of different colors to choose from! After testing a few different colors, I chose Antique Gold for mine because I felt it complimented the space best. I like using Rub ‘n Buff instead of paint because it has a metallic finish with more depth than your typical gold paint and since it’s a wax based product, there’s no need to seal afterwards! A little goes a long way with this stuff, one tube is really all you need!


First, you want to make sure that the surface you’re painting is clean and dry. If you’re updating a smooth metal surface, you might need to scuff sand and prep with primer. Then, squeeze a tiny amount out of the tube and use your finger, paint brush, paper towel, or sponge to rub it on. It dries really quickly so work in small sections and use a paper towel or microfiber cloth to buff it out. You don’t HAVE to buff it out, but it helps create an even, shiny finish.


Working with Rub ‘n Buff is so easy! Use small amounts and keep adding to it until you’re happy with how it looks. Use less product for a more antique finish, and more product for an even, polished look. Once it’s dried, there’s no need to seal it AND it’s waterproof! This is a super easy way to elevate hardware, picture frames, light fixtures, mirrors– anything you can think of!