Beginner Friendly Projects, DIY + Projects, Home, Kitchen, Projects on A Budget, View All, Weekend Projects


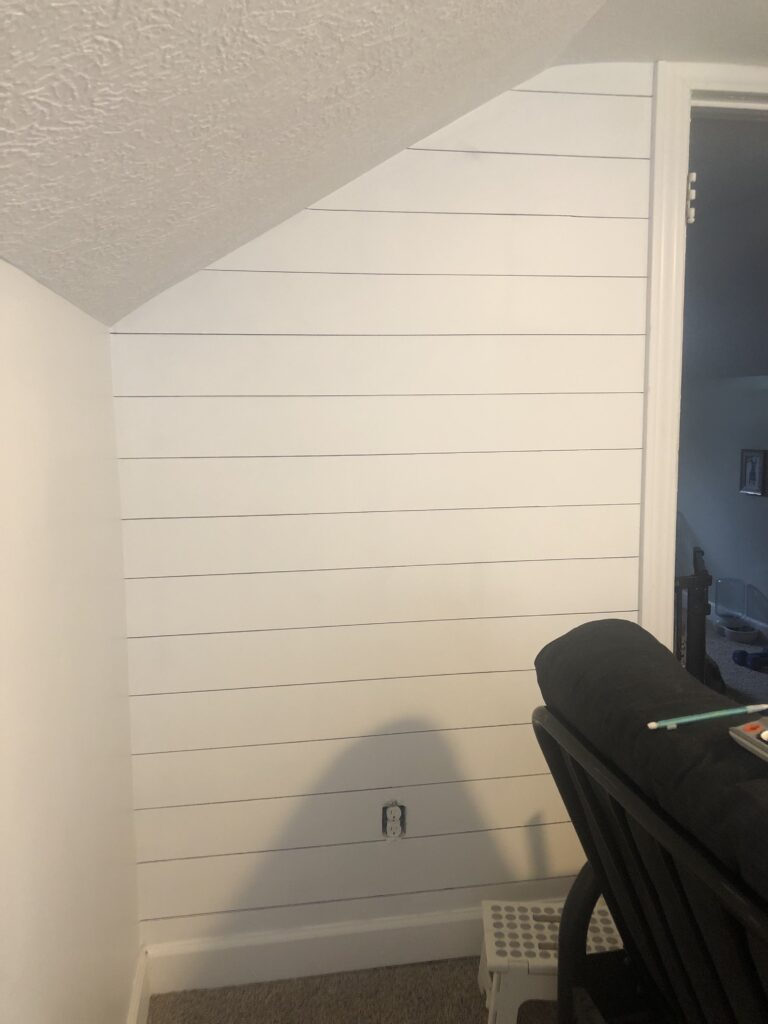
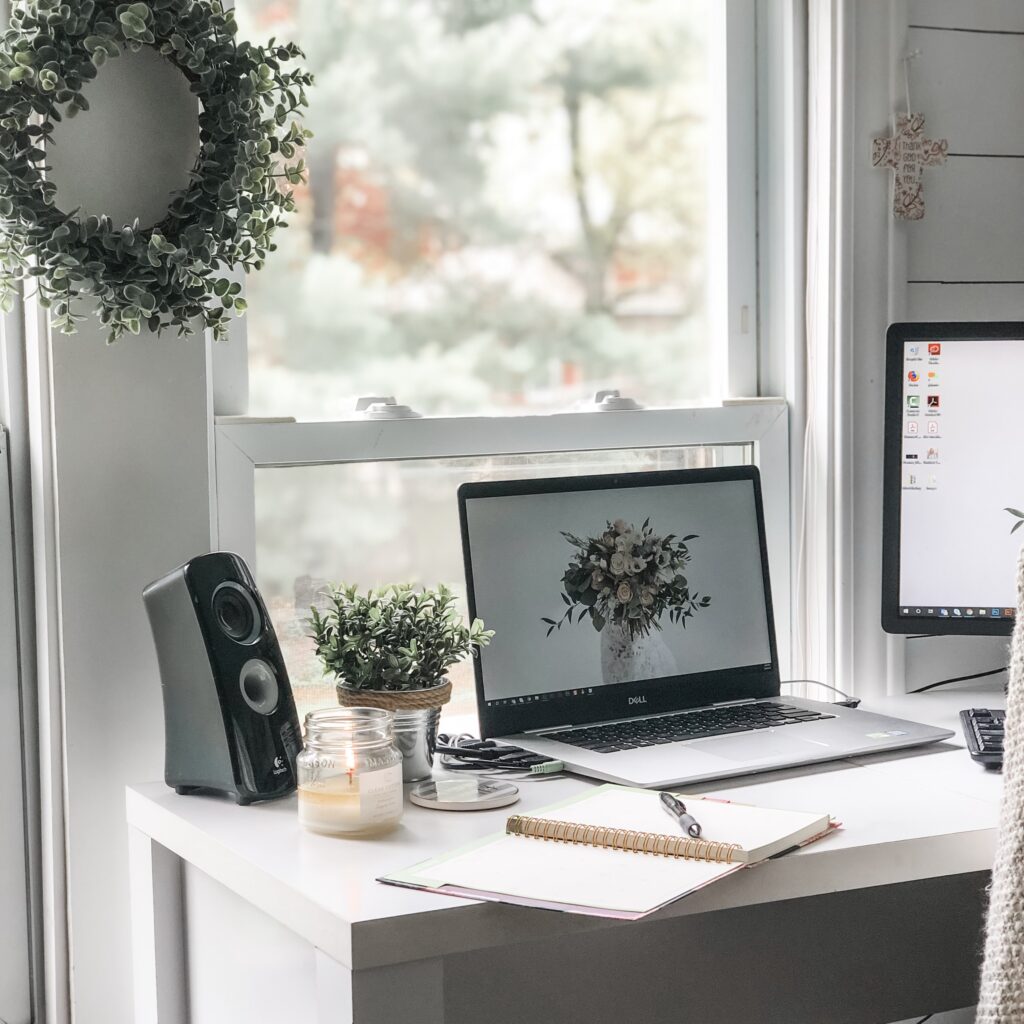
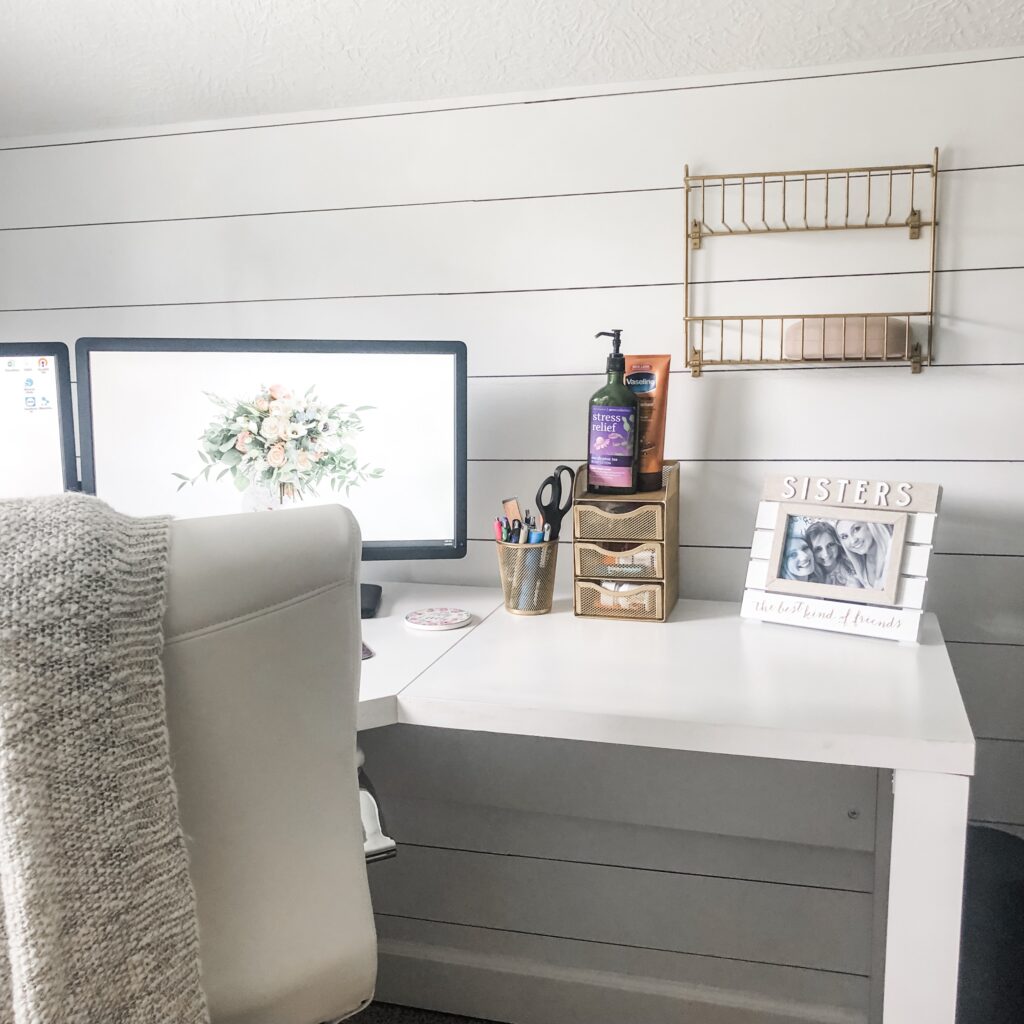
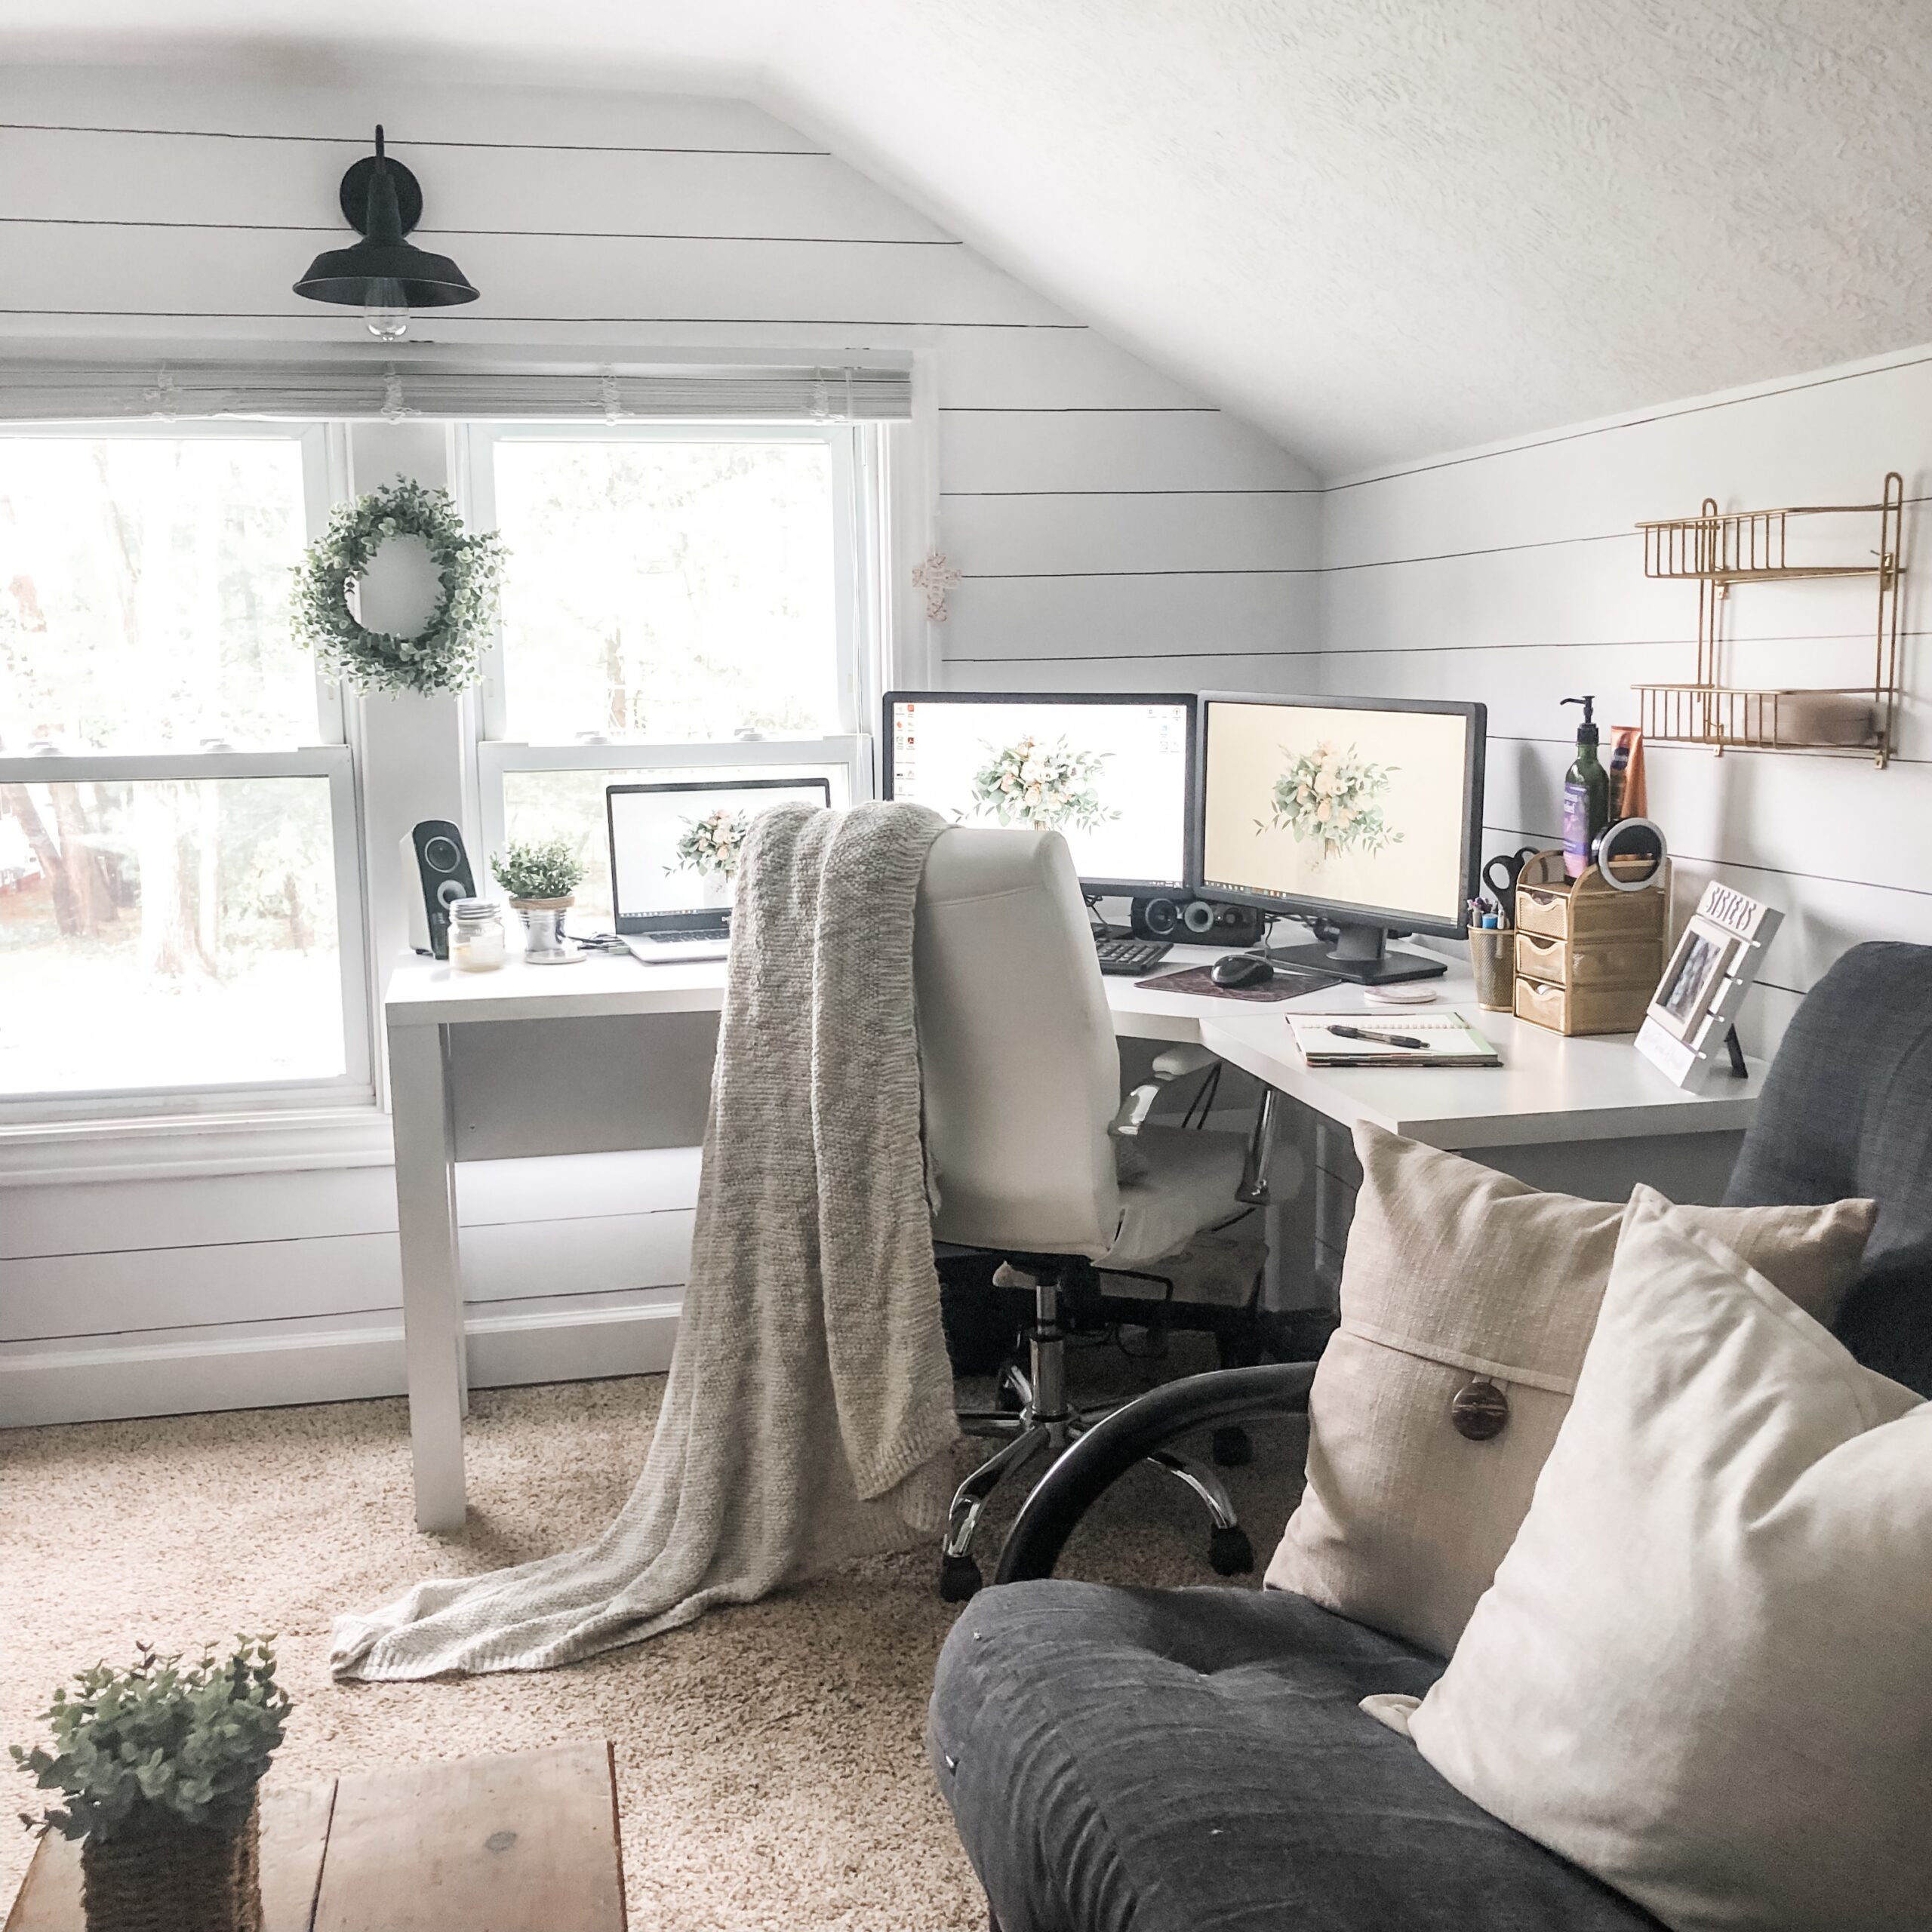
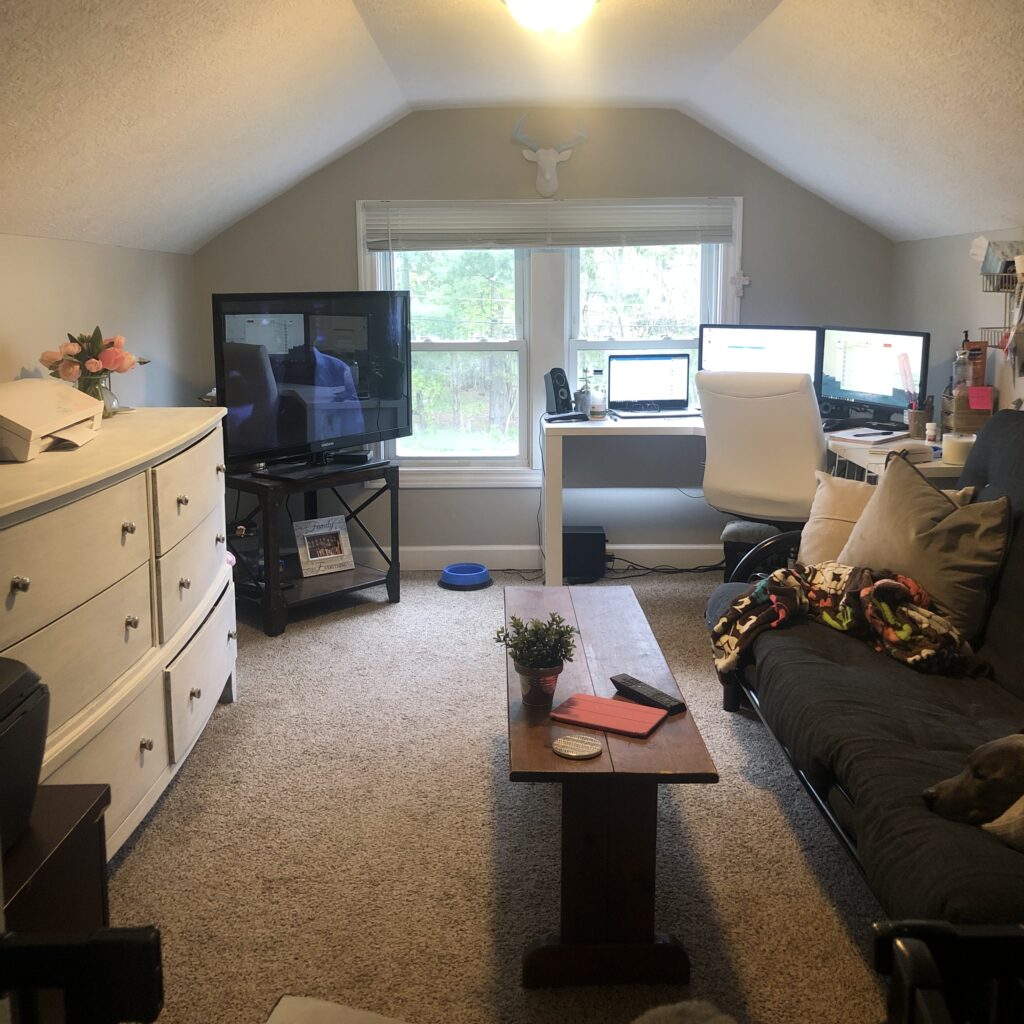
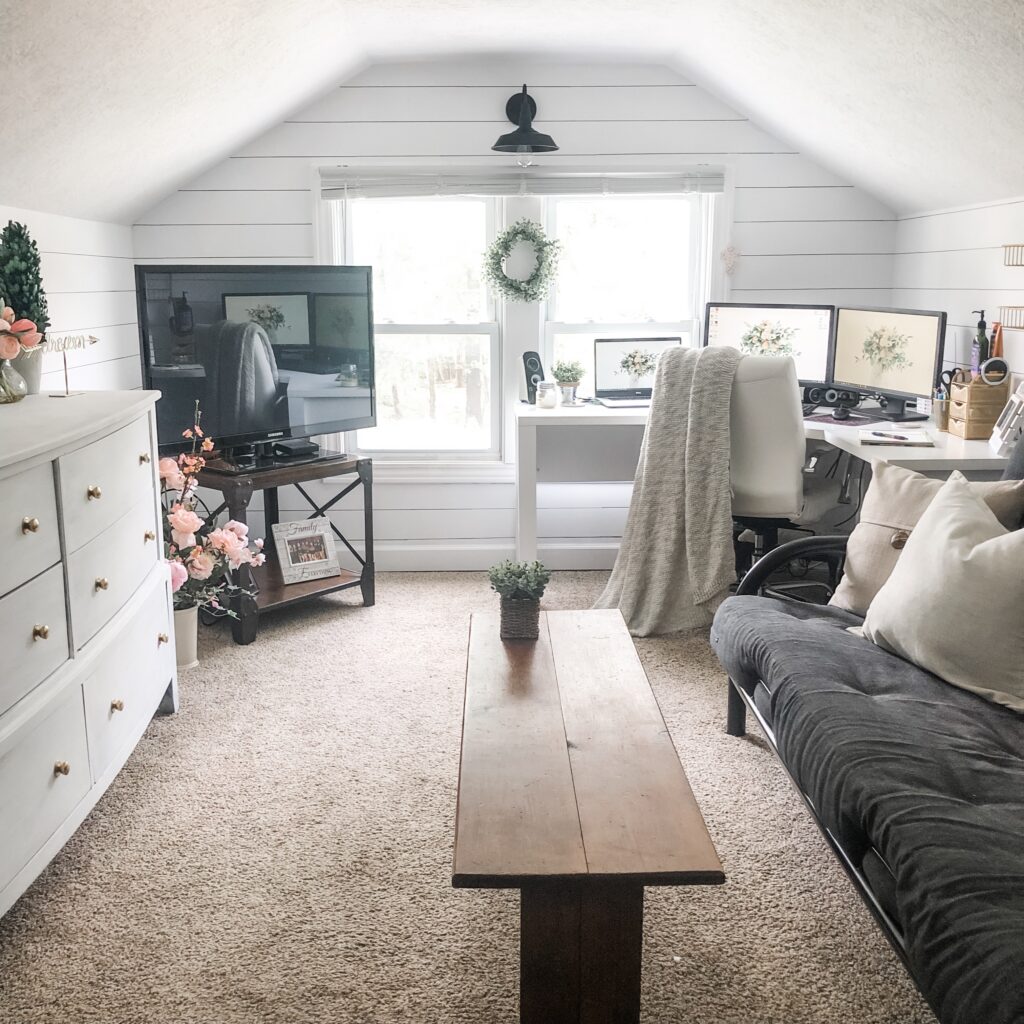
I work from home full time and my office has always been a space that was neglected. We have a loft in our house and the only thing up there is my office space. For so long, I only focused on the downstairs portion of our home that our guests would see. But then I started to realize, why am I not putting love into a space where I spend most of my time inflatable?! Craziness right… I have done the shiplap wallpaper before and it looks amazing but I knew it would require quite a few rolls to get this whole room done. I had heard about the sharpie shiplap before and figured I’d go for it!
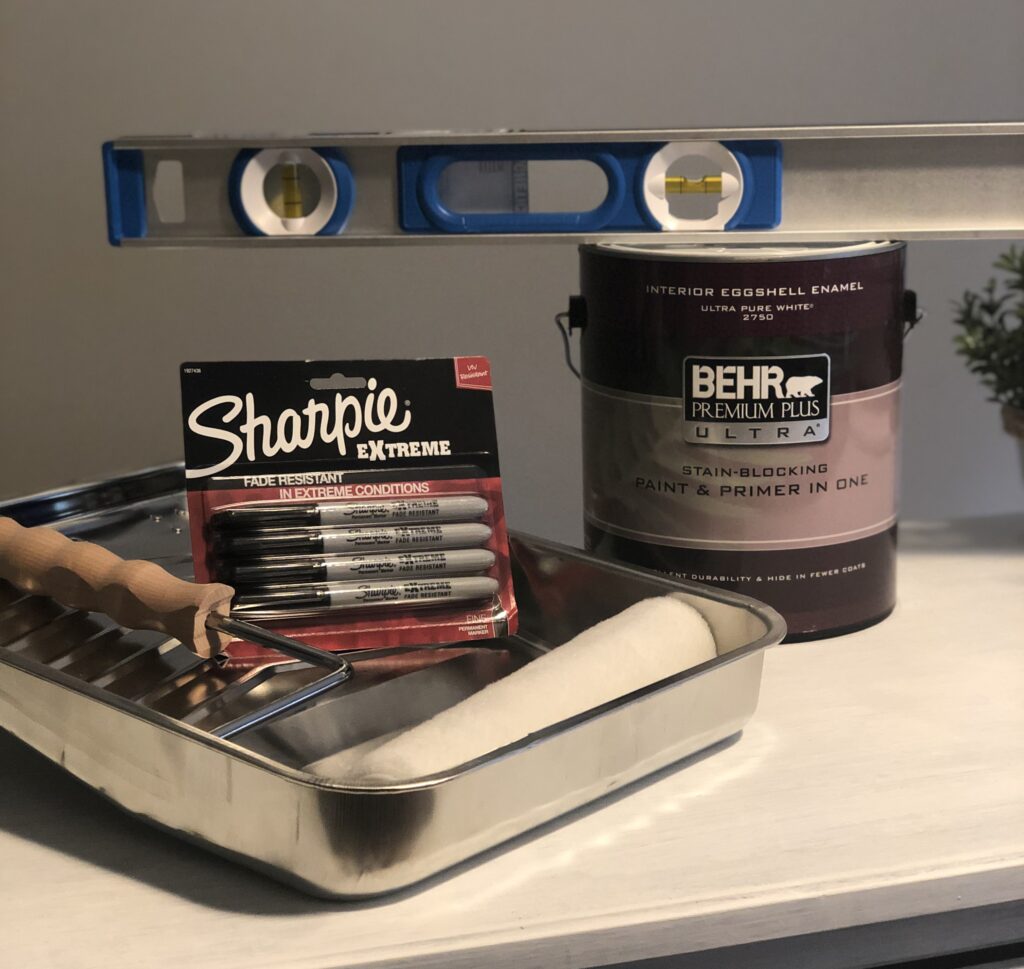
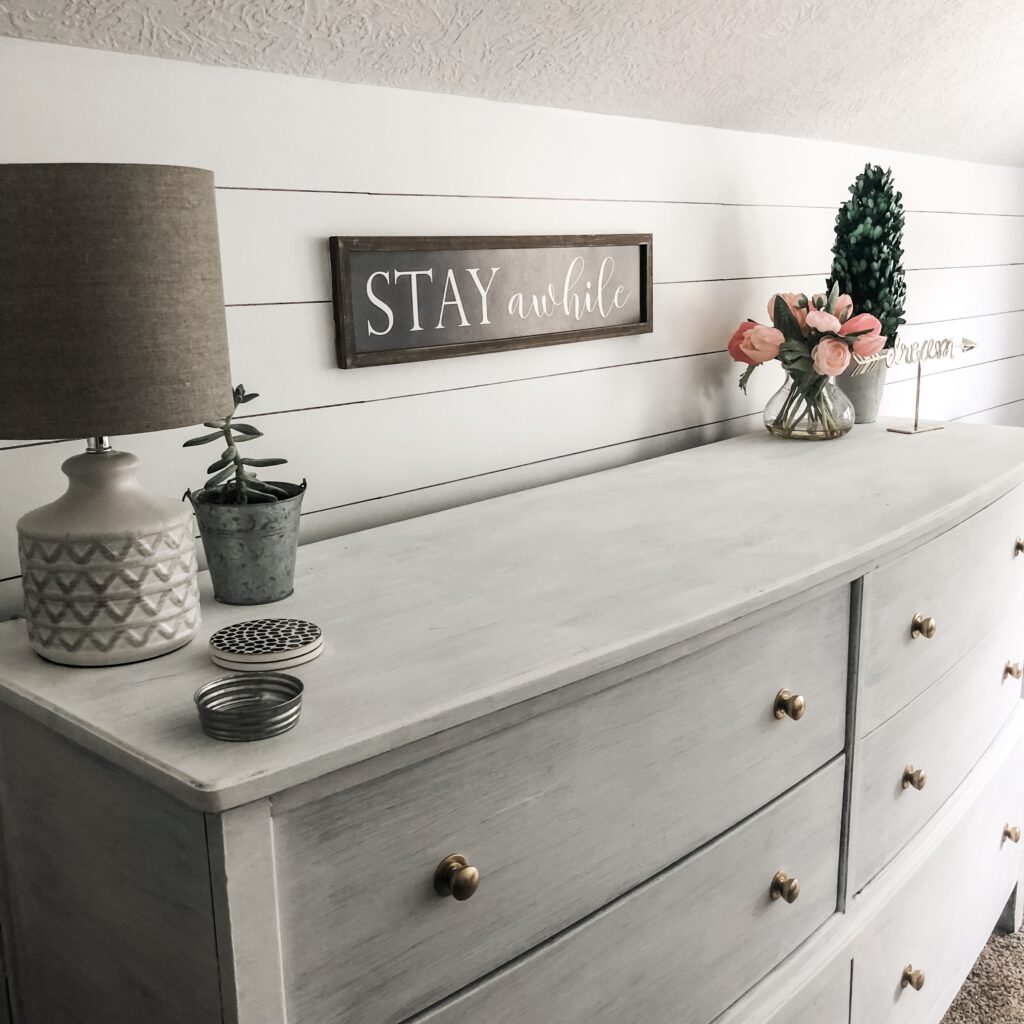
I decided to buy a paint and primer all in one so that I could save time but if you would prefer to prime the wall and then paint… that is totally ok. I gave the walls two coats of the Ultra Pure White.
I have shiplap wallpaper downstairs so I decided to just measure the height of the planks on that since I knew I liked the size. Mine were 5 inches tall.
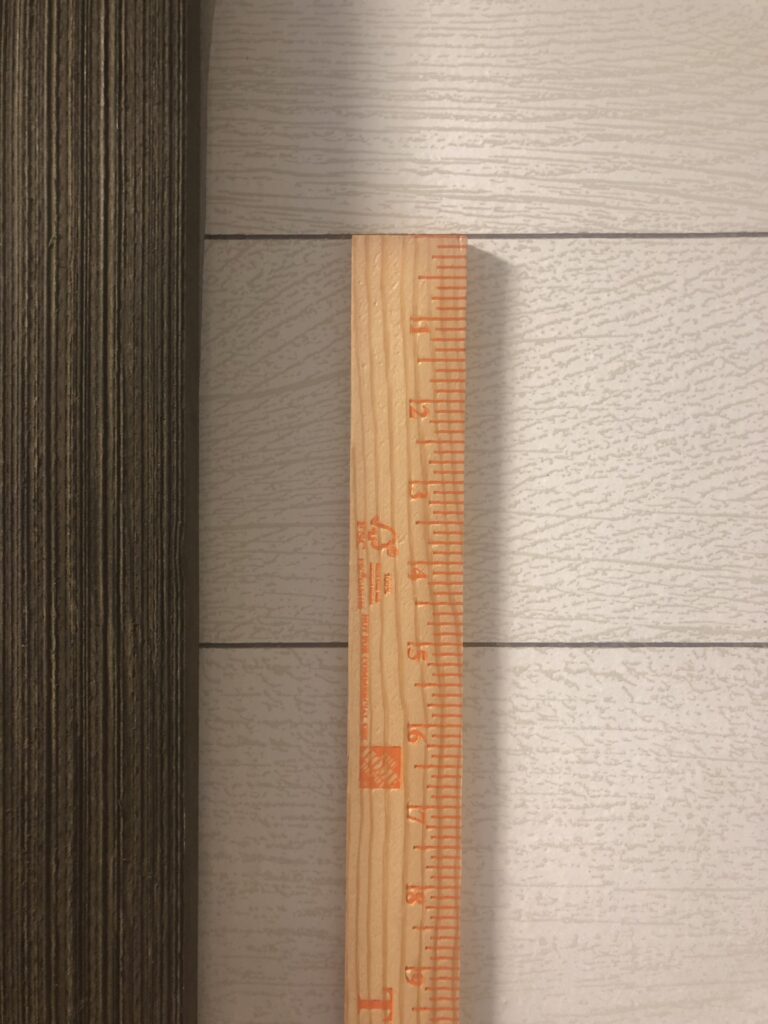
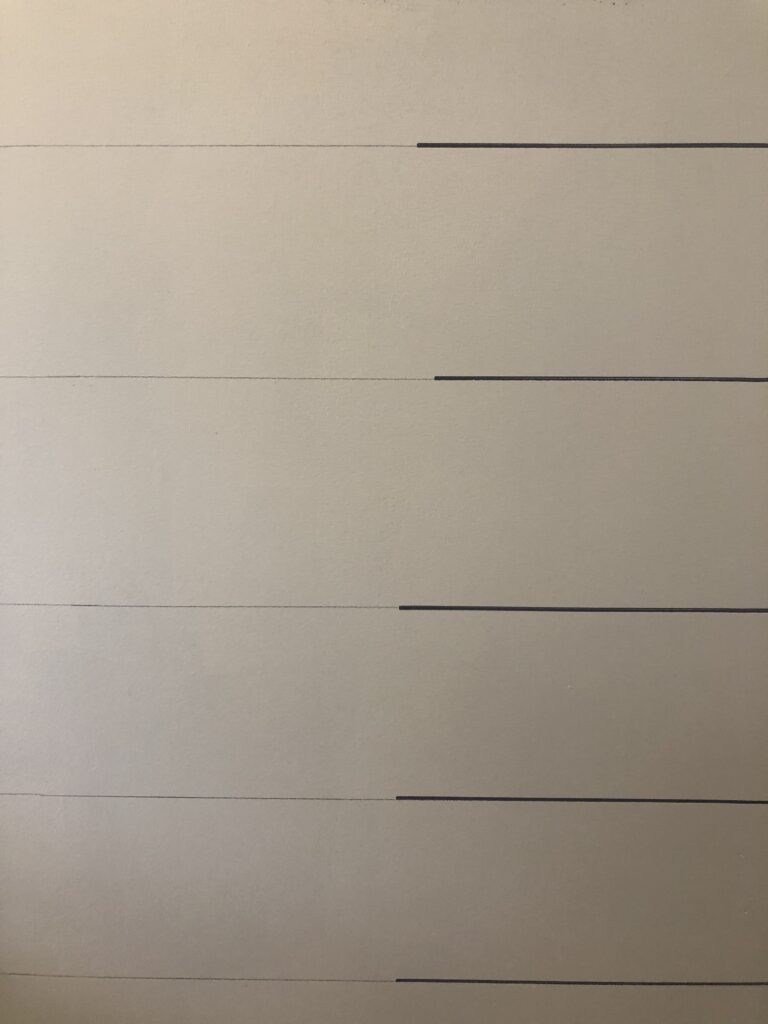
I have slanted ceilings so I measured where my ceiling started but if I were doing it in a normal room I would start at the top so that the planks you are more likely to see with your eye are complete. But this is totally your preference. I took a pencil and made a dot every 5 inches with the yardstick I got from Home Depot.
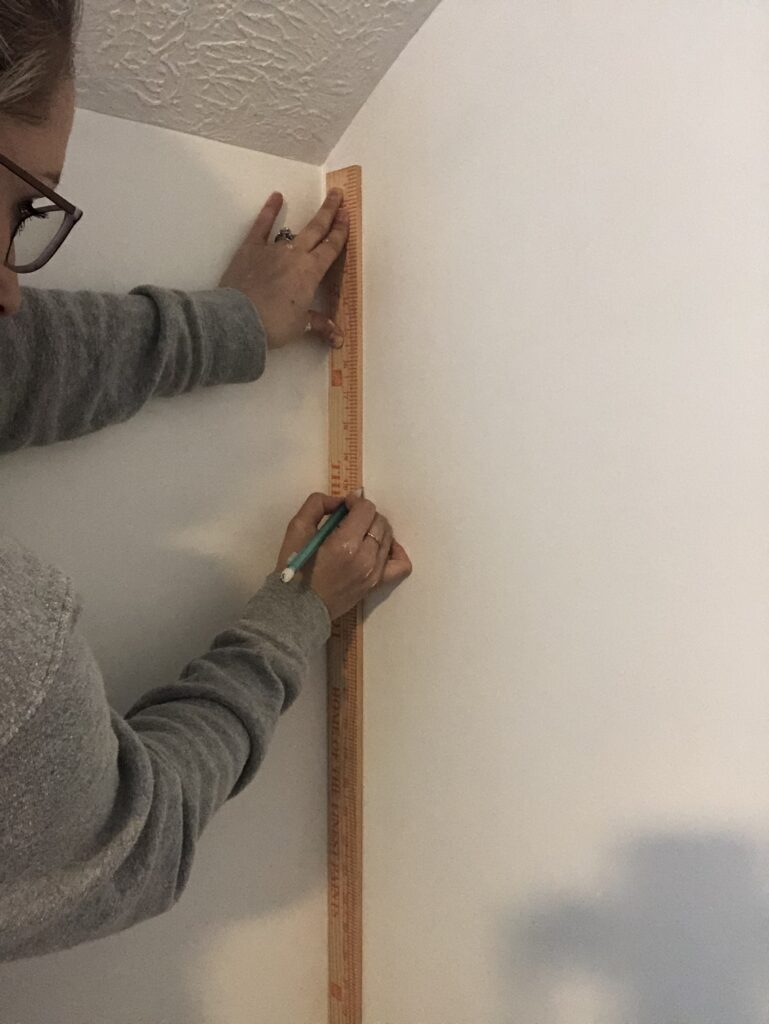
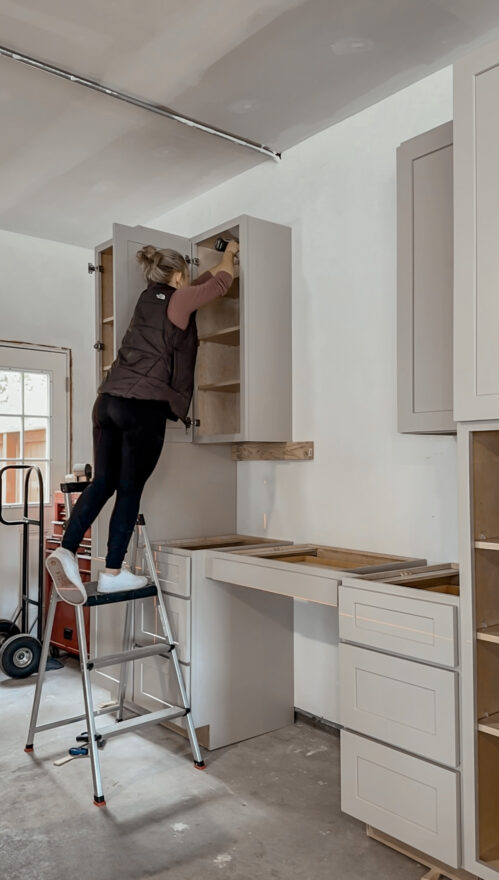
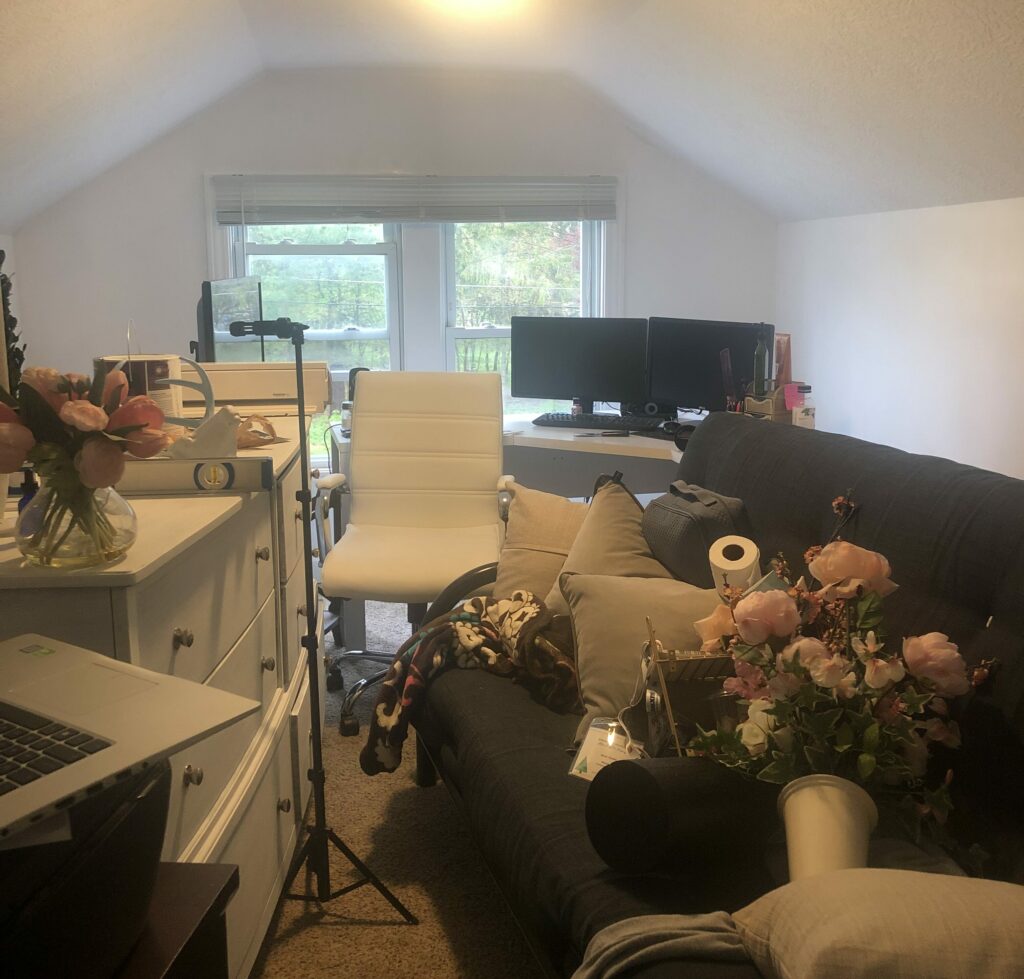
It would be helpful to have a second set of hands help you hold the level while you measure. I did it by myself but would of been helpful to have a second person for some of it.

You have to lower the yardstick a bit to be able to draw directly on your pencil mark. If you mess up, you can fix it with your paint when you are finished. There were a few places where my yard stick slipped and my line was messed up. But I was able to fix it with touch up paint inflatable slide.