


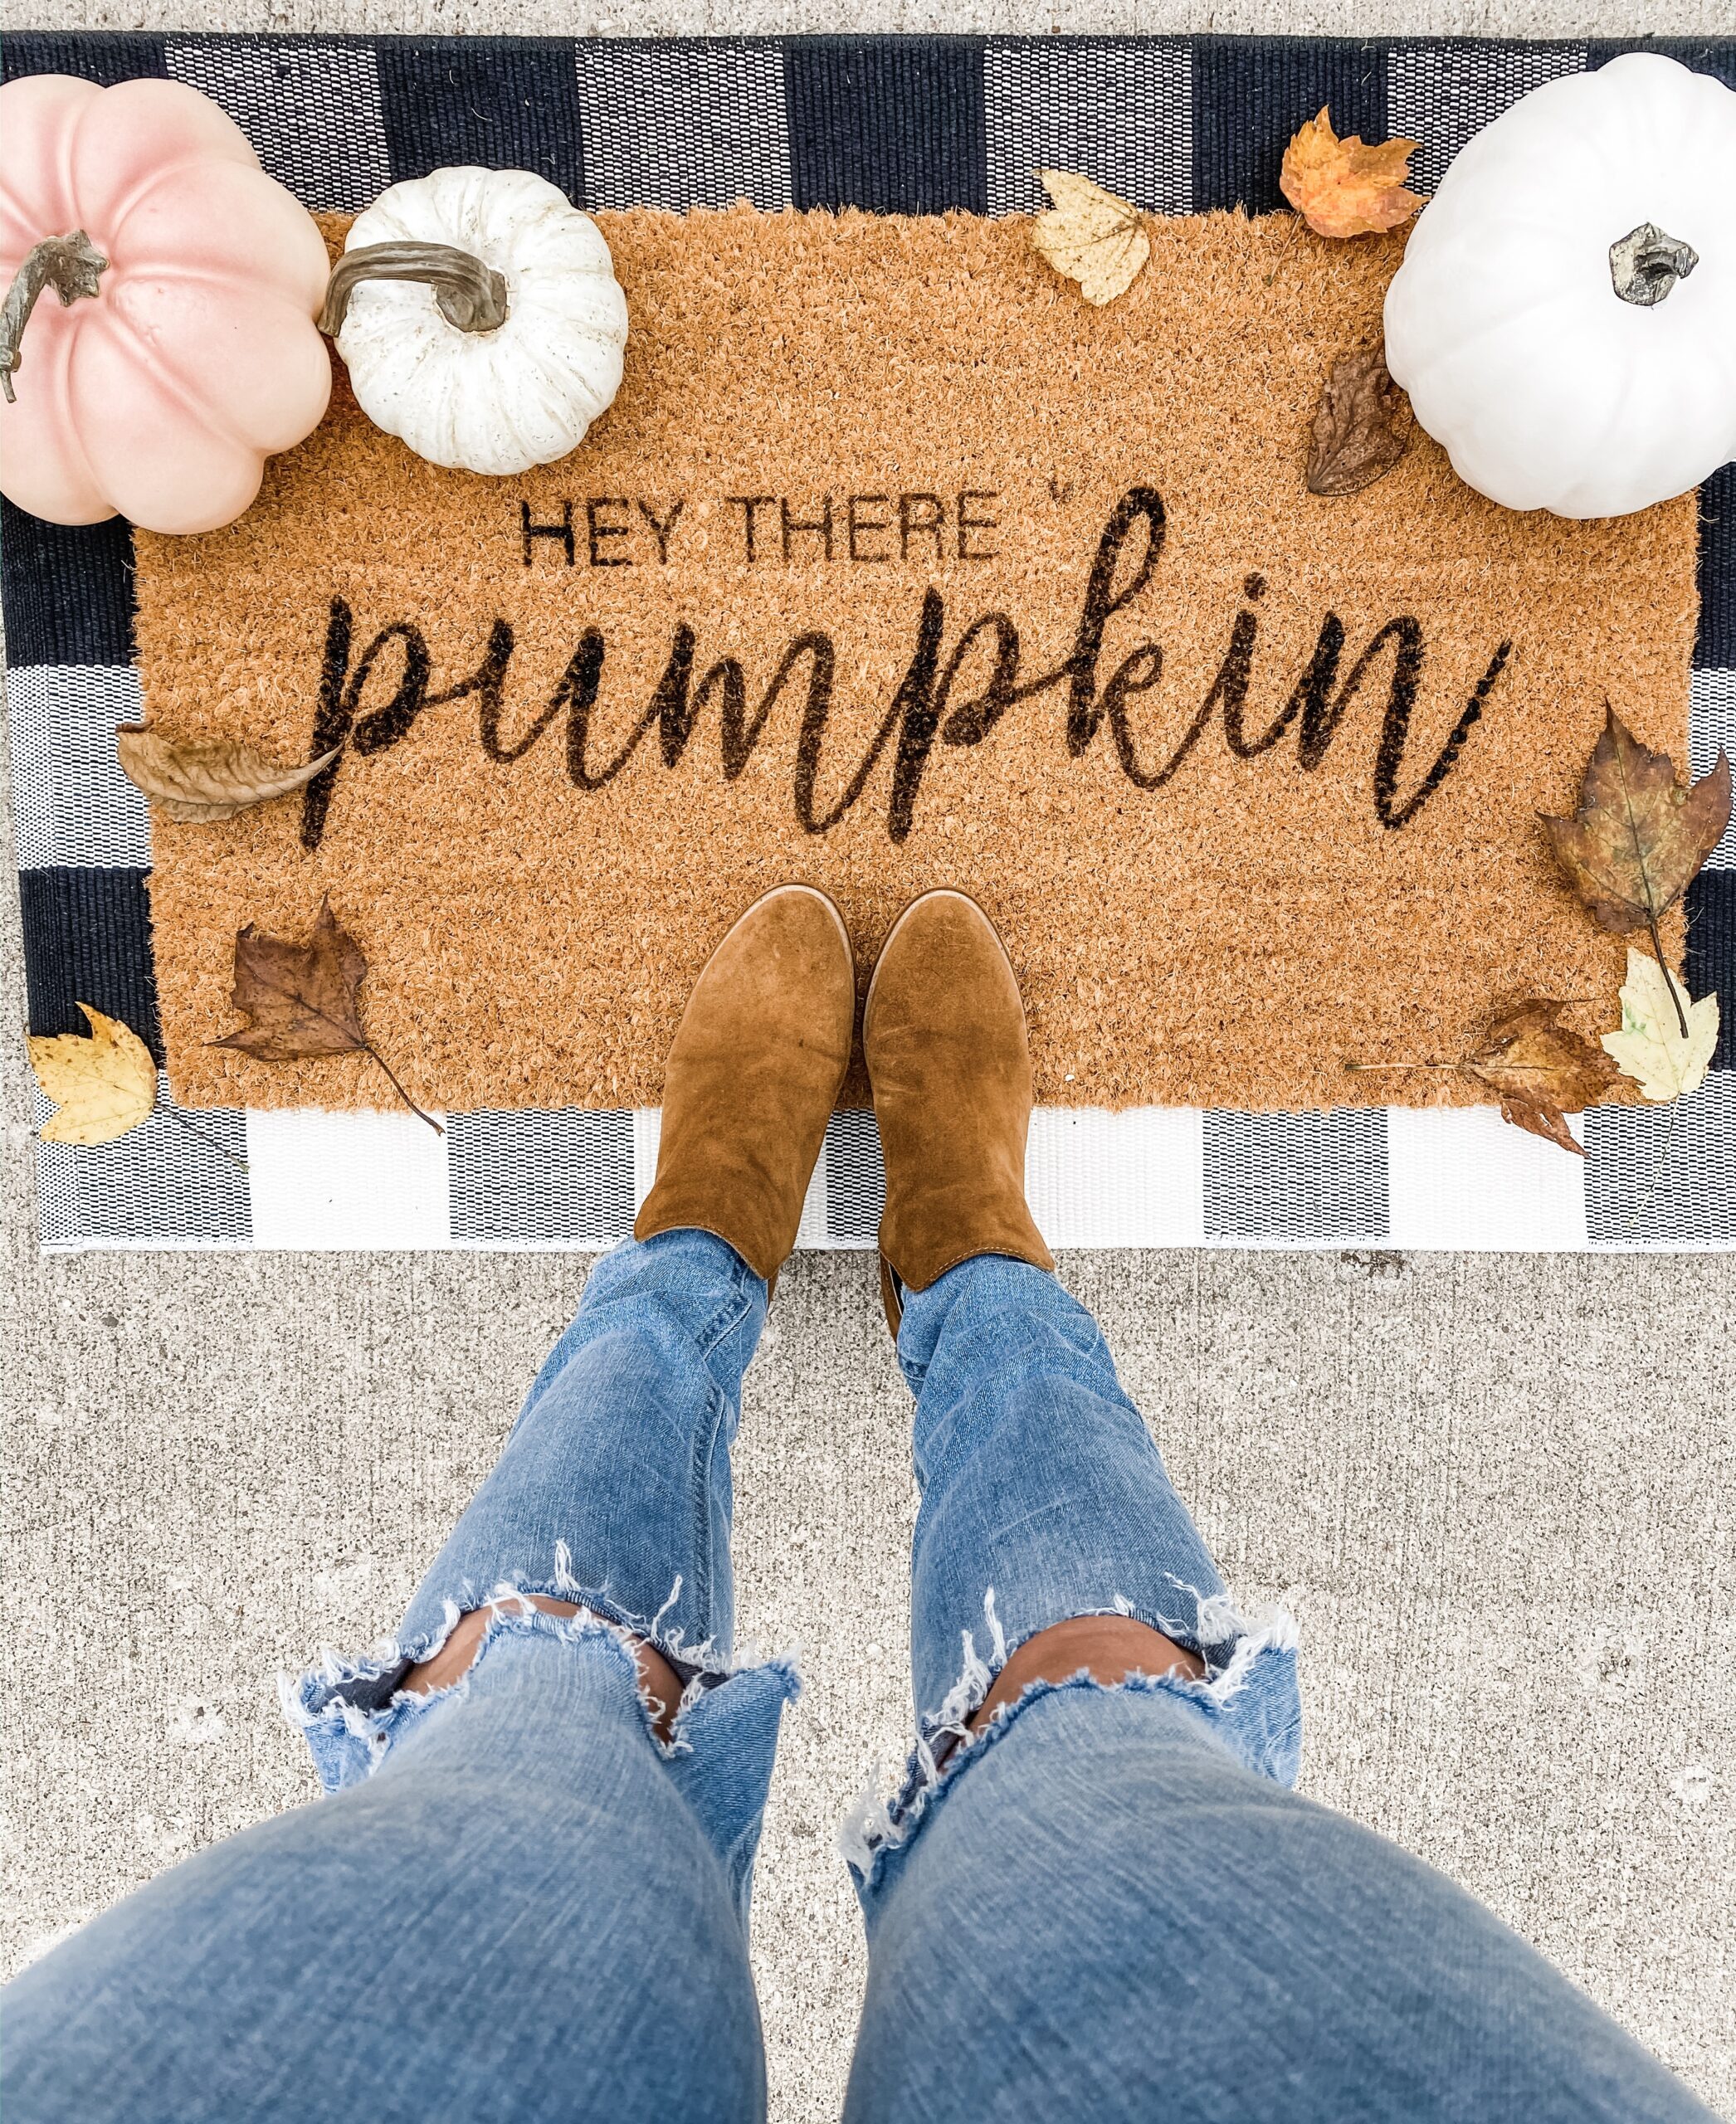
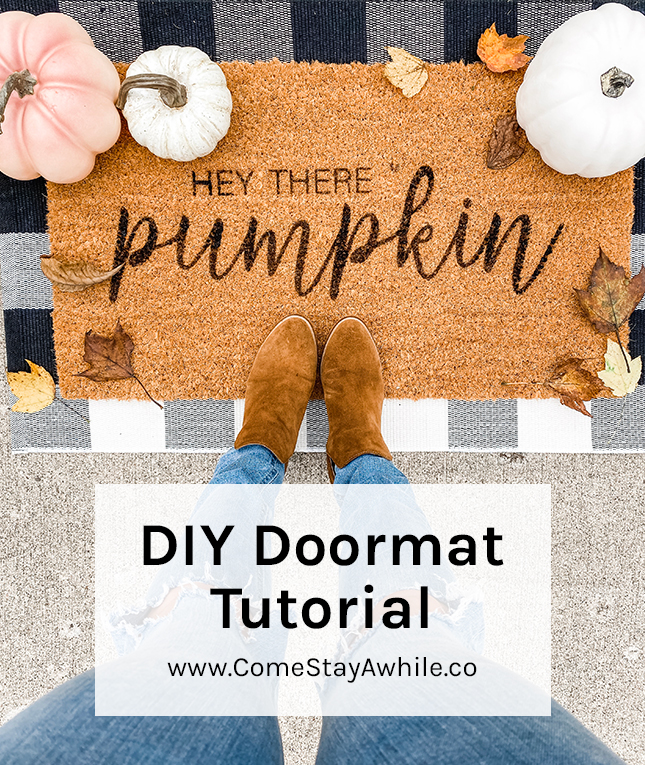
Doormats are all the rage right now but they can be expensive and you don’t get exactly what you are looking for. I decided to try and create my own. I discovered that it was actually pretty simple and easy to create! I will walk you through the process.
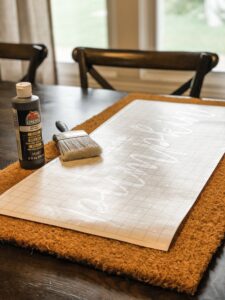
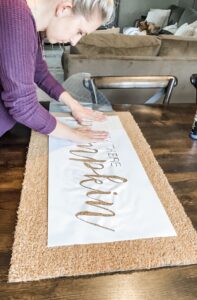
Make sure you are patient in this process. You can to remove the paper backing from the stencil so that you can apply it to the doormat
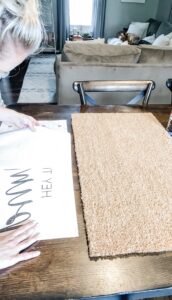
Place the stencil in the desired position. You will paint inside the lines once you remove the transfer tape layer
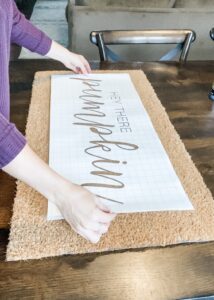
Remove the transfer paper layer of the stencil so that you are able to paint within the lines of the stencil. Make sure you press down all of the edges so that the paint doesn’t bleed.
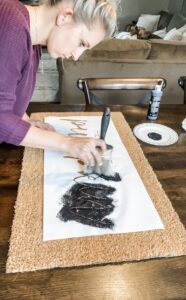
Make sure you paint in a dabbing motion so that you do not cause the paint to bleed underneath the stencil. Apply a few coats until you get the desired color bounce house for sale. You can use a hair dryer to aid in drying time.
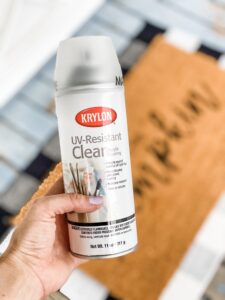
You can purchase this exact one here.
A super easy and affordable way to create the perfect welcome mat!