


Thankfully, we didn’t run into any delivery issues and our cabinets showed up on our doorstep the same weekend we moved in!
I have never installed cabinets before, but I decided to once again take matters into my own hands!

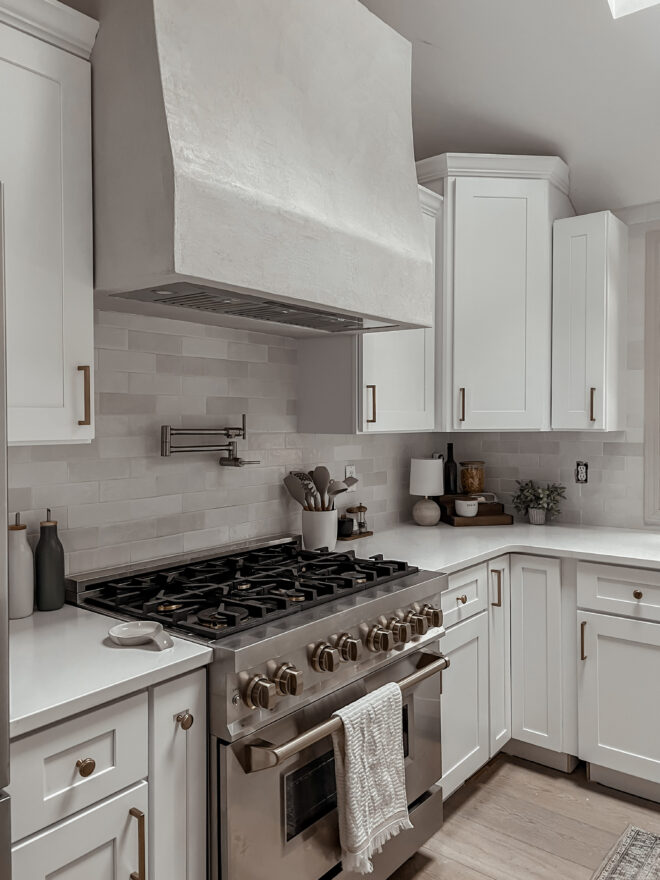
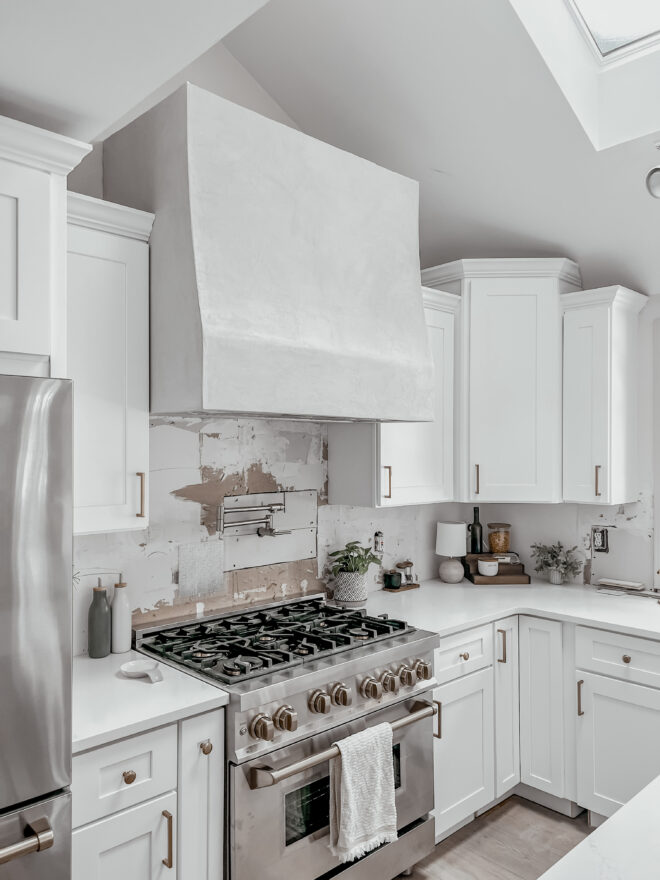
Lucky for you, I took notes and kept track of all my tips and tricks along the way, AND I just got the all clear from the countertop company that my cabinets were installed perfectly level! I couldn’t be more thrilled or more excited to share this with you and know that you too truly can have the kitchen of your dreams!
To get ready to order the cabinets I went over to the house while we were still under contract and measured everything. I had to know the layout I wanted and the measurements for the walls, ceiling, and so much more. It was a lot of front end work but the attention to detail in this step truly pays off.
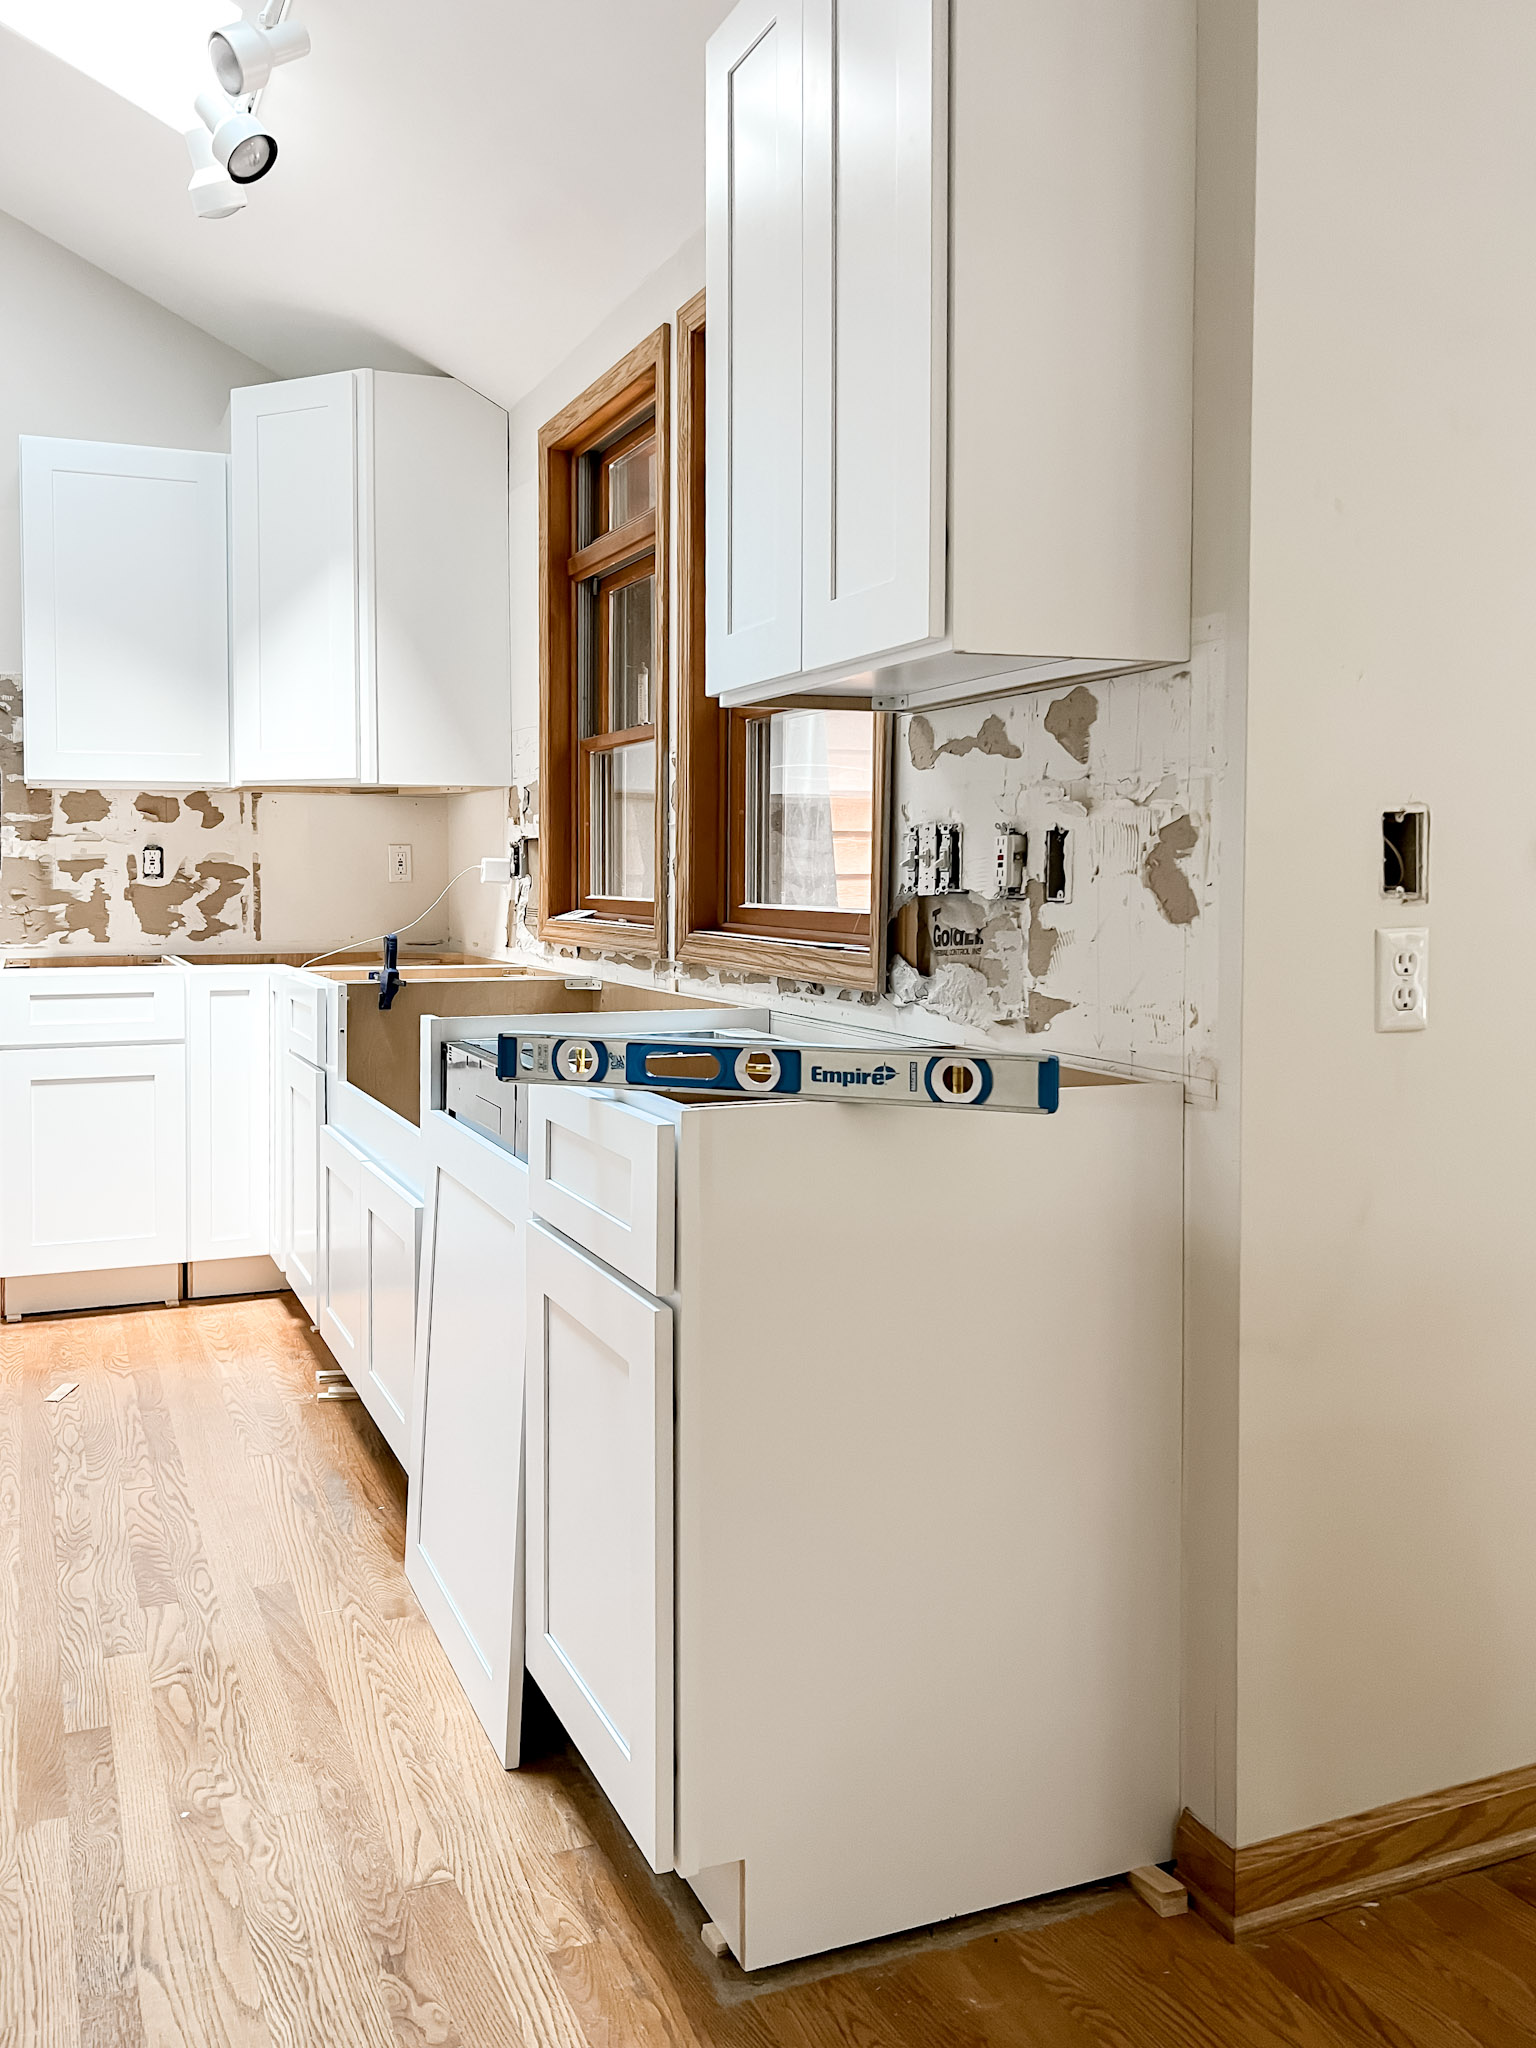
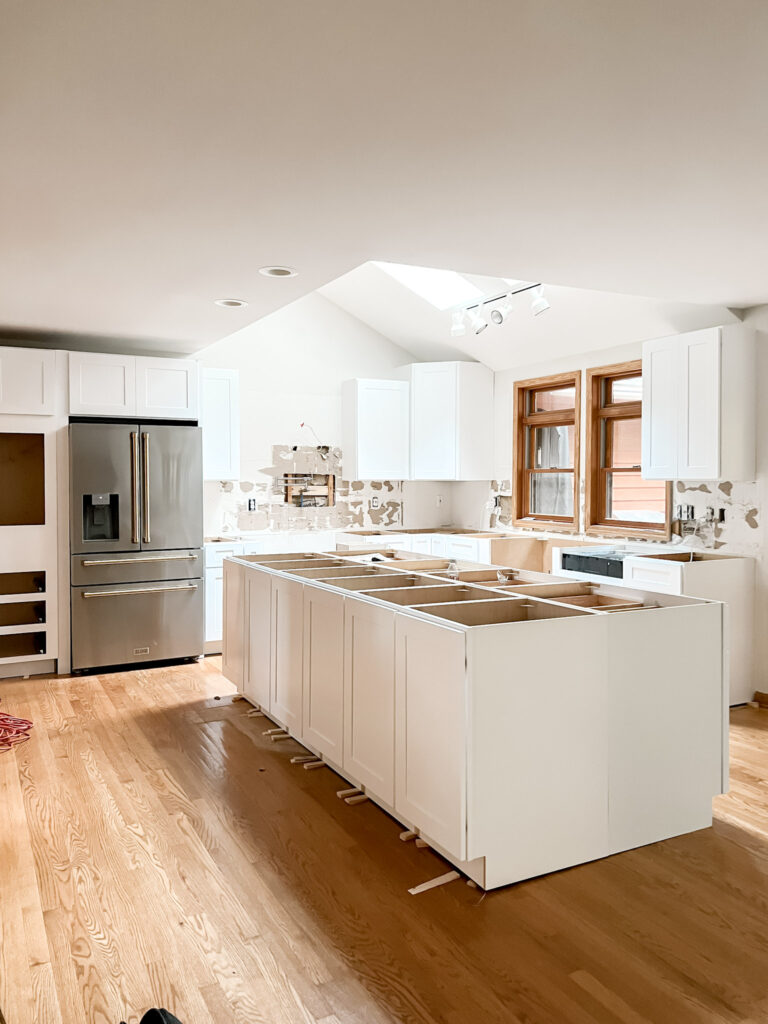
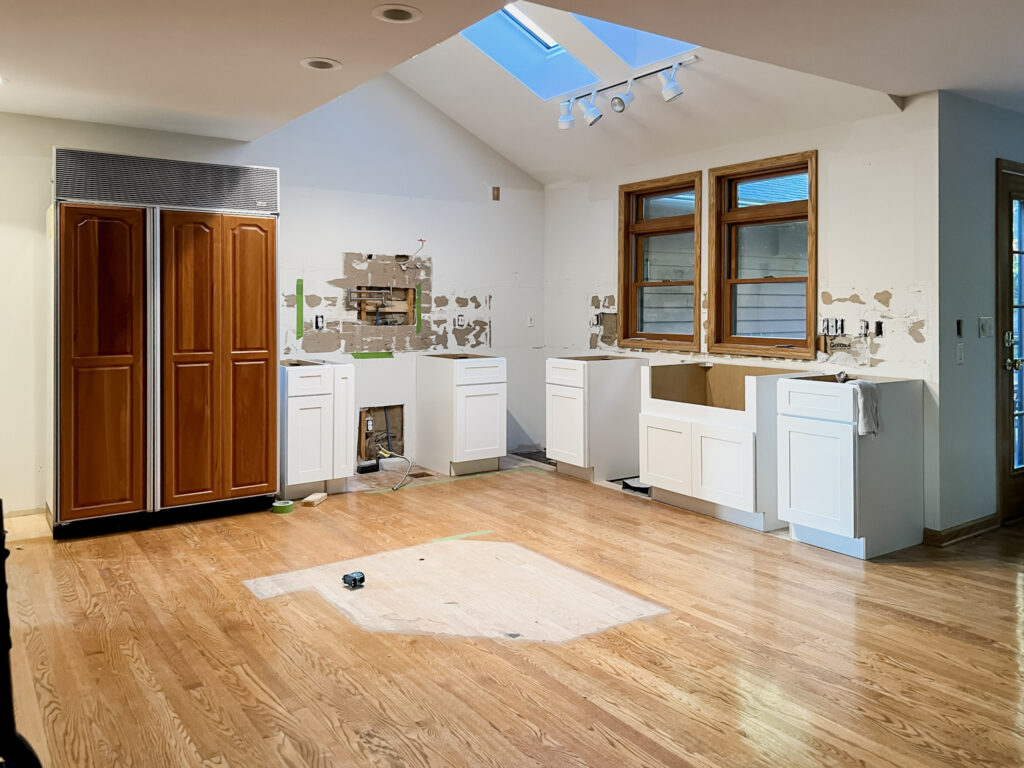
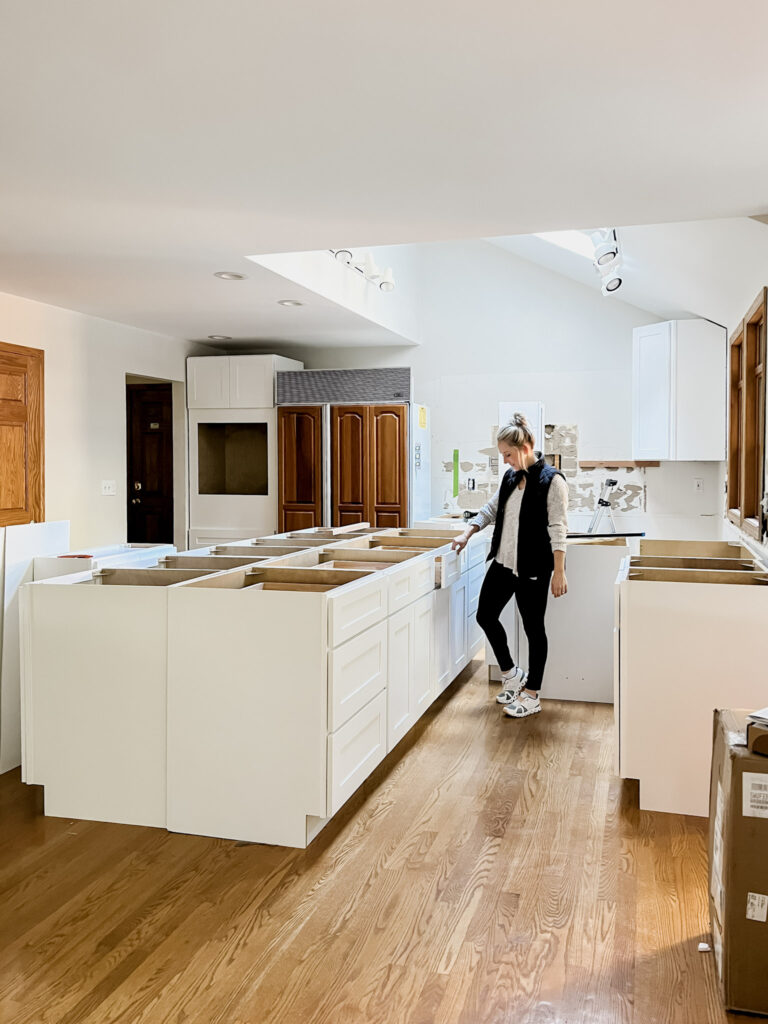
Once you get all your cabinets unboxed and in your kitchen, you get to arrange them! We got lucky and our cabinets from Lily Ann Cabinets came already assembled. This saved SO MUCH time. We unboxed all the cabinets and then arranged them in the kitchen how we had planned them out. This step felt like playi a life size game of tetris making them all fit in perfectly.
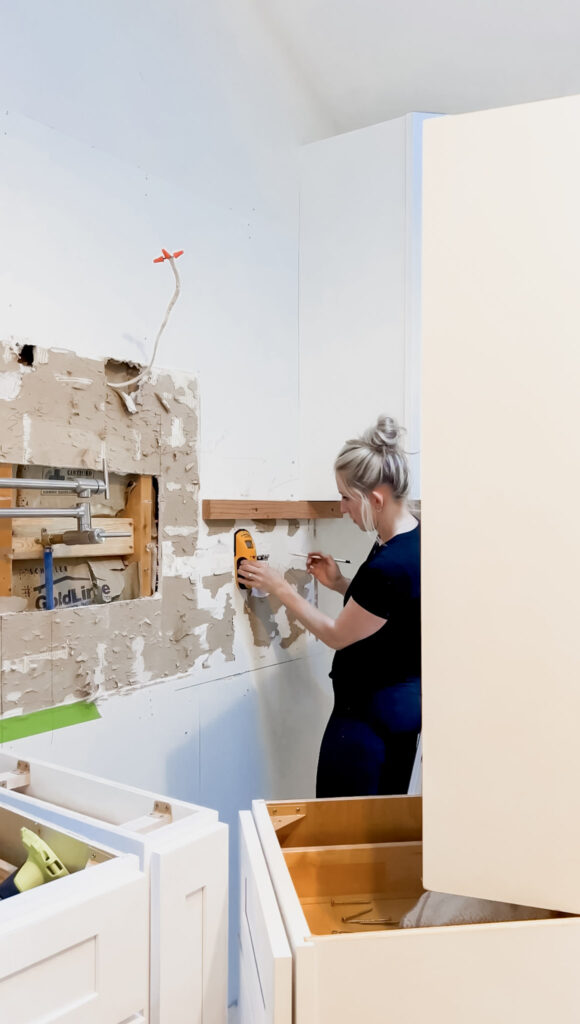
I decided to start with the upper cabinets so I had as much open floor space as possible to work with. I started by marking the studs and measuring the height the cabinet would be hung at.
Here comes the secret sauce: I used a scrap 2×4 to hold the cabinet up for me while I hung it.Use a level to screw a scrap piece of 2×4 into the wall exactly where you want the bottom of your cabinet to sit. Hoist your cabinet up and let the back rest on the board. This will absorb the weight of the cabinet while you screw it into the studs.
I used a laser level and lined the laser up with where I had marked the studs so I could see exactly where to place the screws inside the cabinet. Once your cabinet is set in place, remove the 2×4 and stand back and admire your work! ????????
1. Use shims. ALL ???????? THE ???????? SHIMS
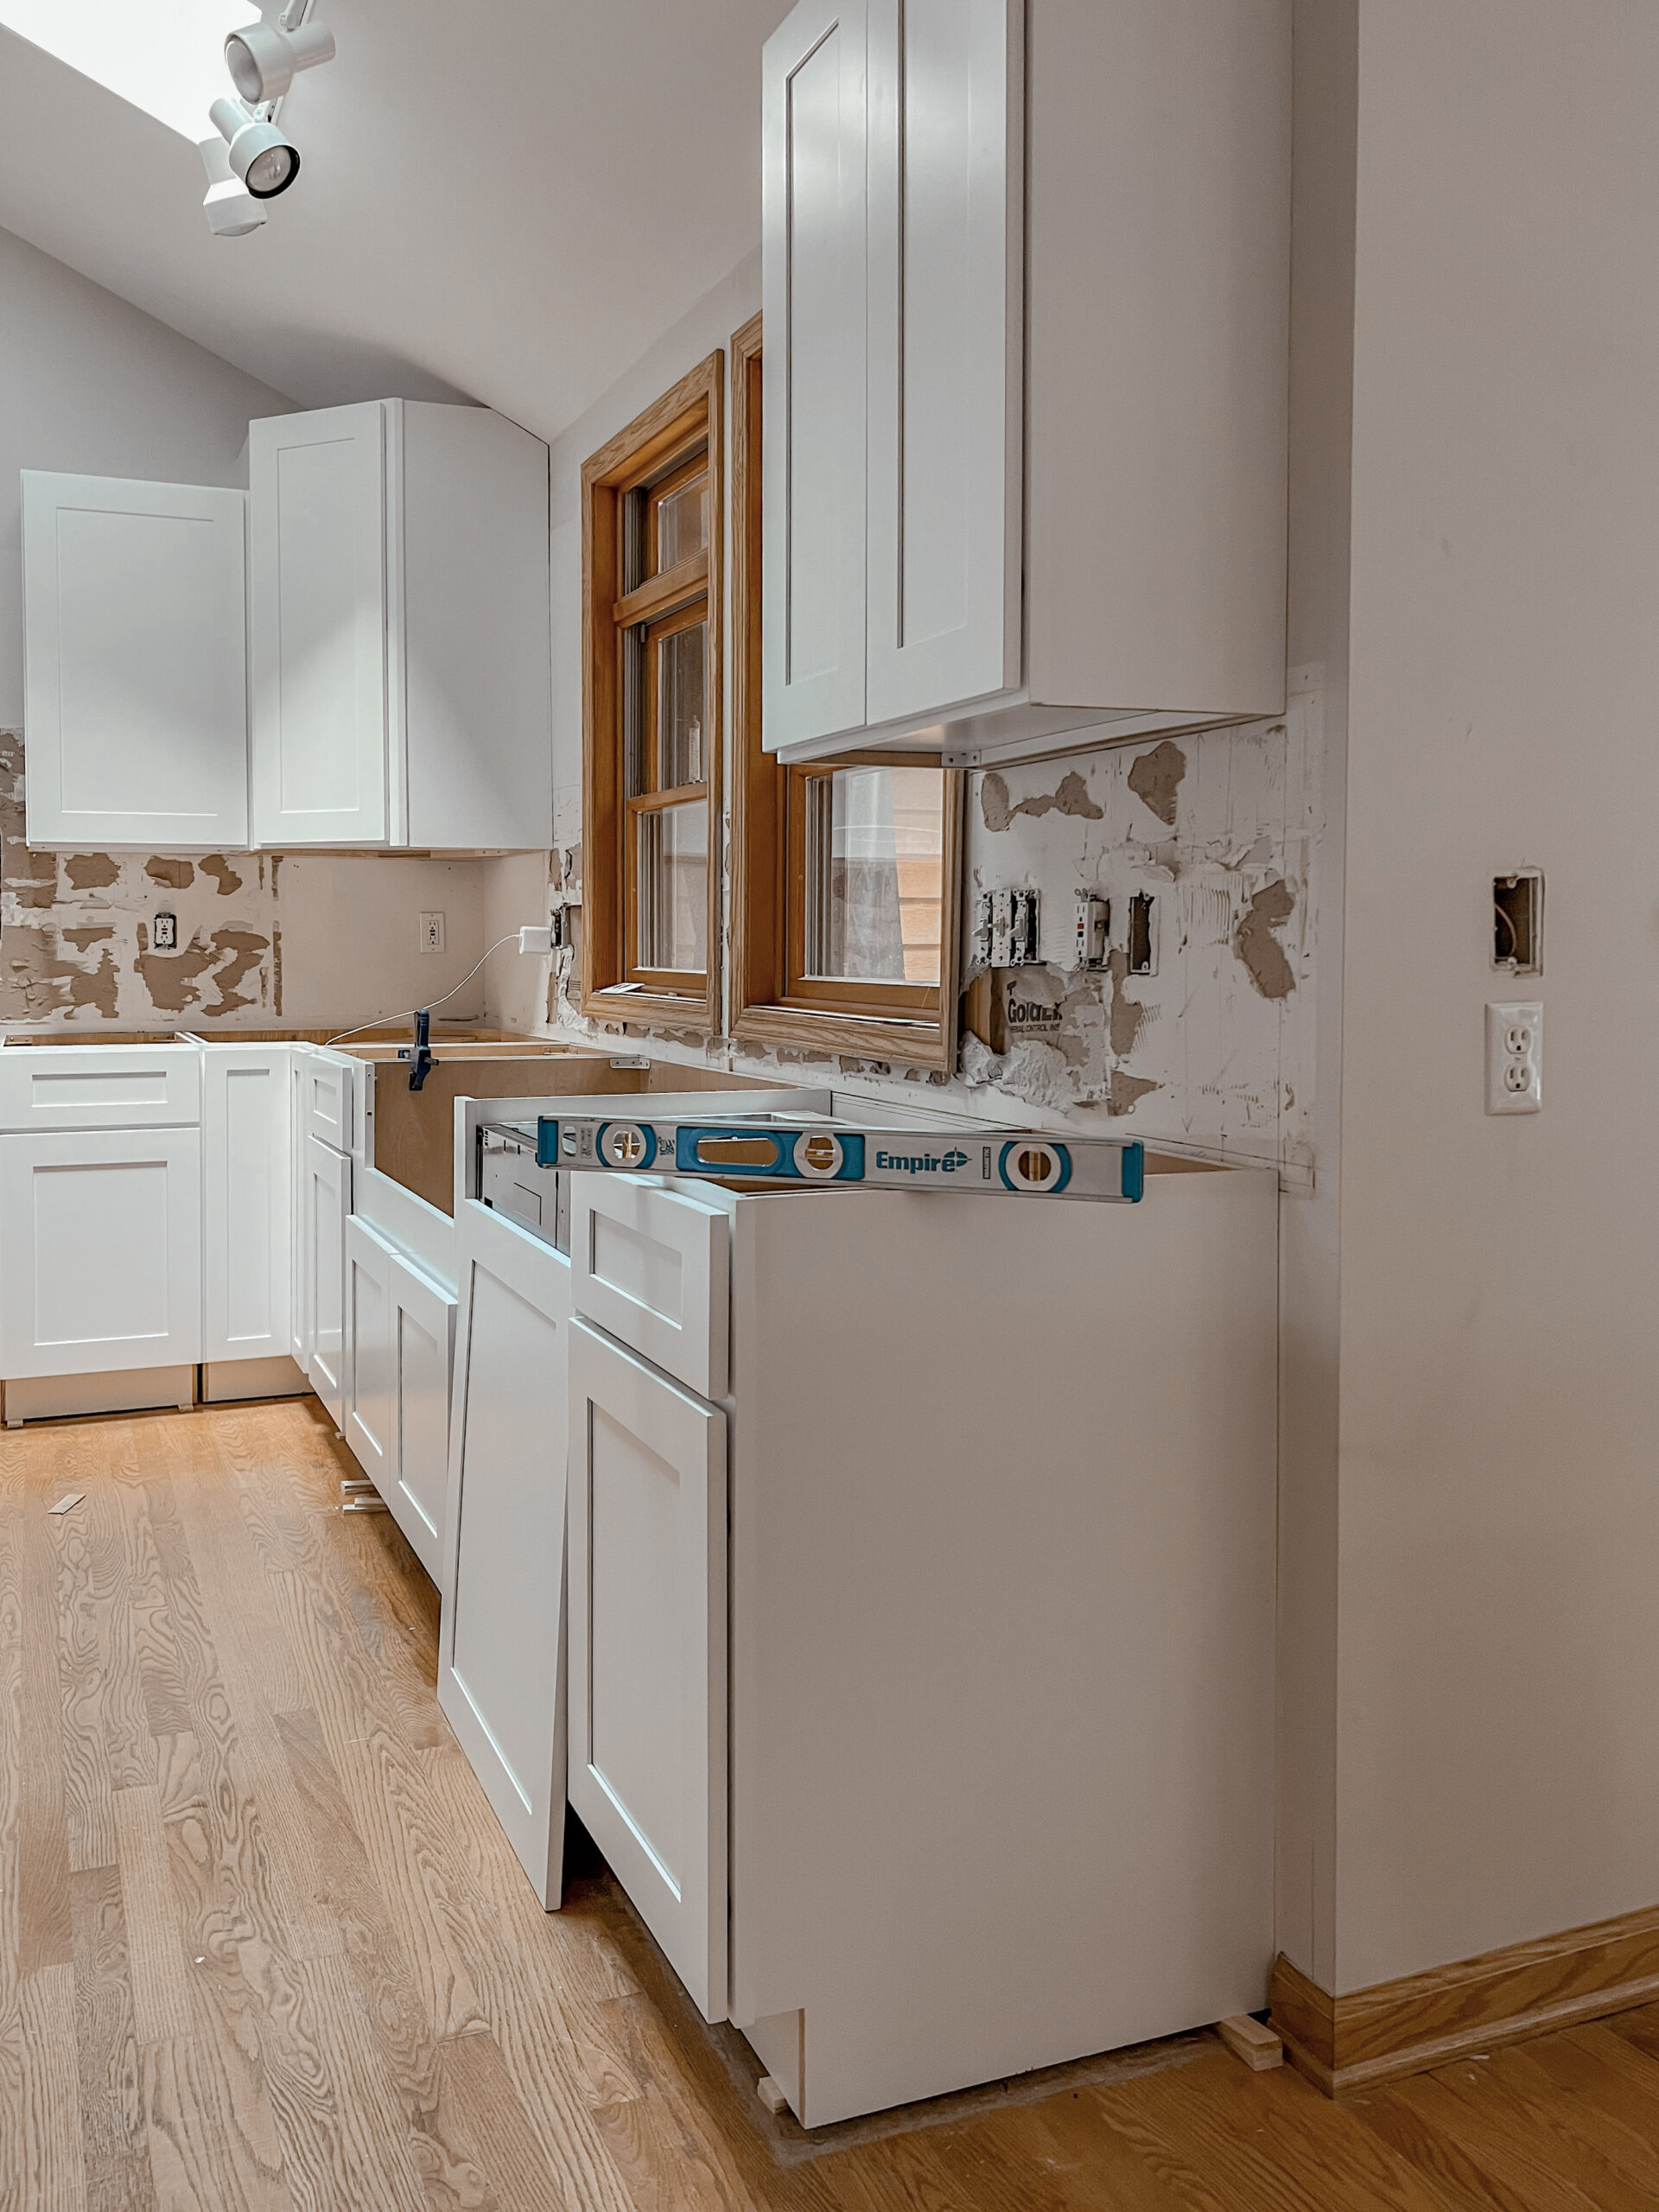
2. Draw a line with your level at the HIGHEST point of your floor. Always remember most floors and walls are NOT level. You will want to start installing cabinets at the highest point first so you can level them all on the same plane.
3. Once you have your line drawn, start at the bottom back of the cabinet first. You’ll want to wedge the shims on both sides by tapping with a hammer until the back of the cabinet matches the level line that you drew.
4. Check that it’s level and if it’s good secure it with a cabinet screw to the wall on a stud
5. Now that the back is attached and level, move your level to one side of the cabinet and repeat the process while adding shims under the front side of the cabinet. These will be trimmed and hidden when you add your toe kick so don’t worry about them being seen.
6. Check that you’re level on all 4 sides and voila!