Beginner Friendly Projects, DIY + Projects, Home, Home Decor, Living Room, Projects on A Budget, View All, Weekend Projects


Project Total: $344
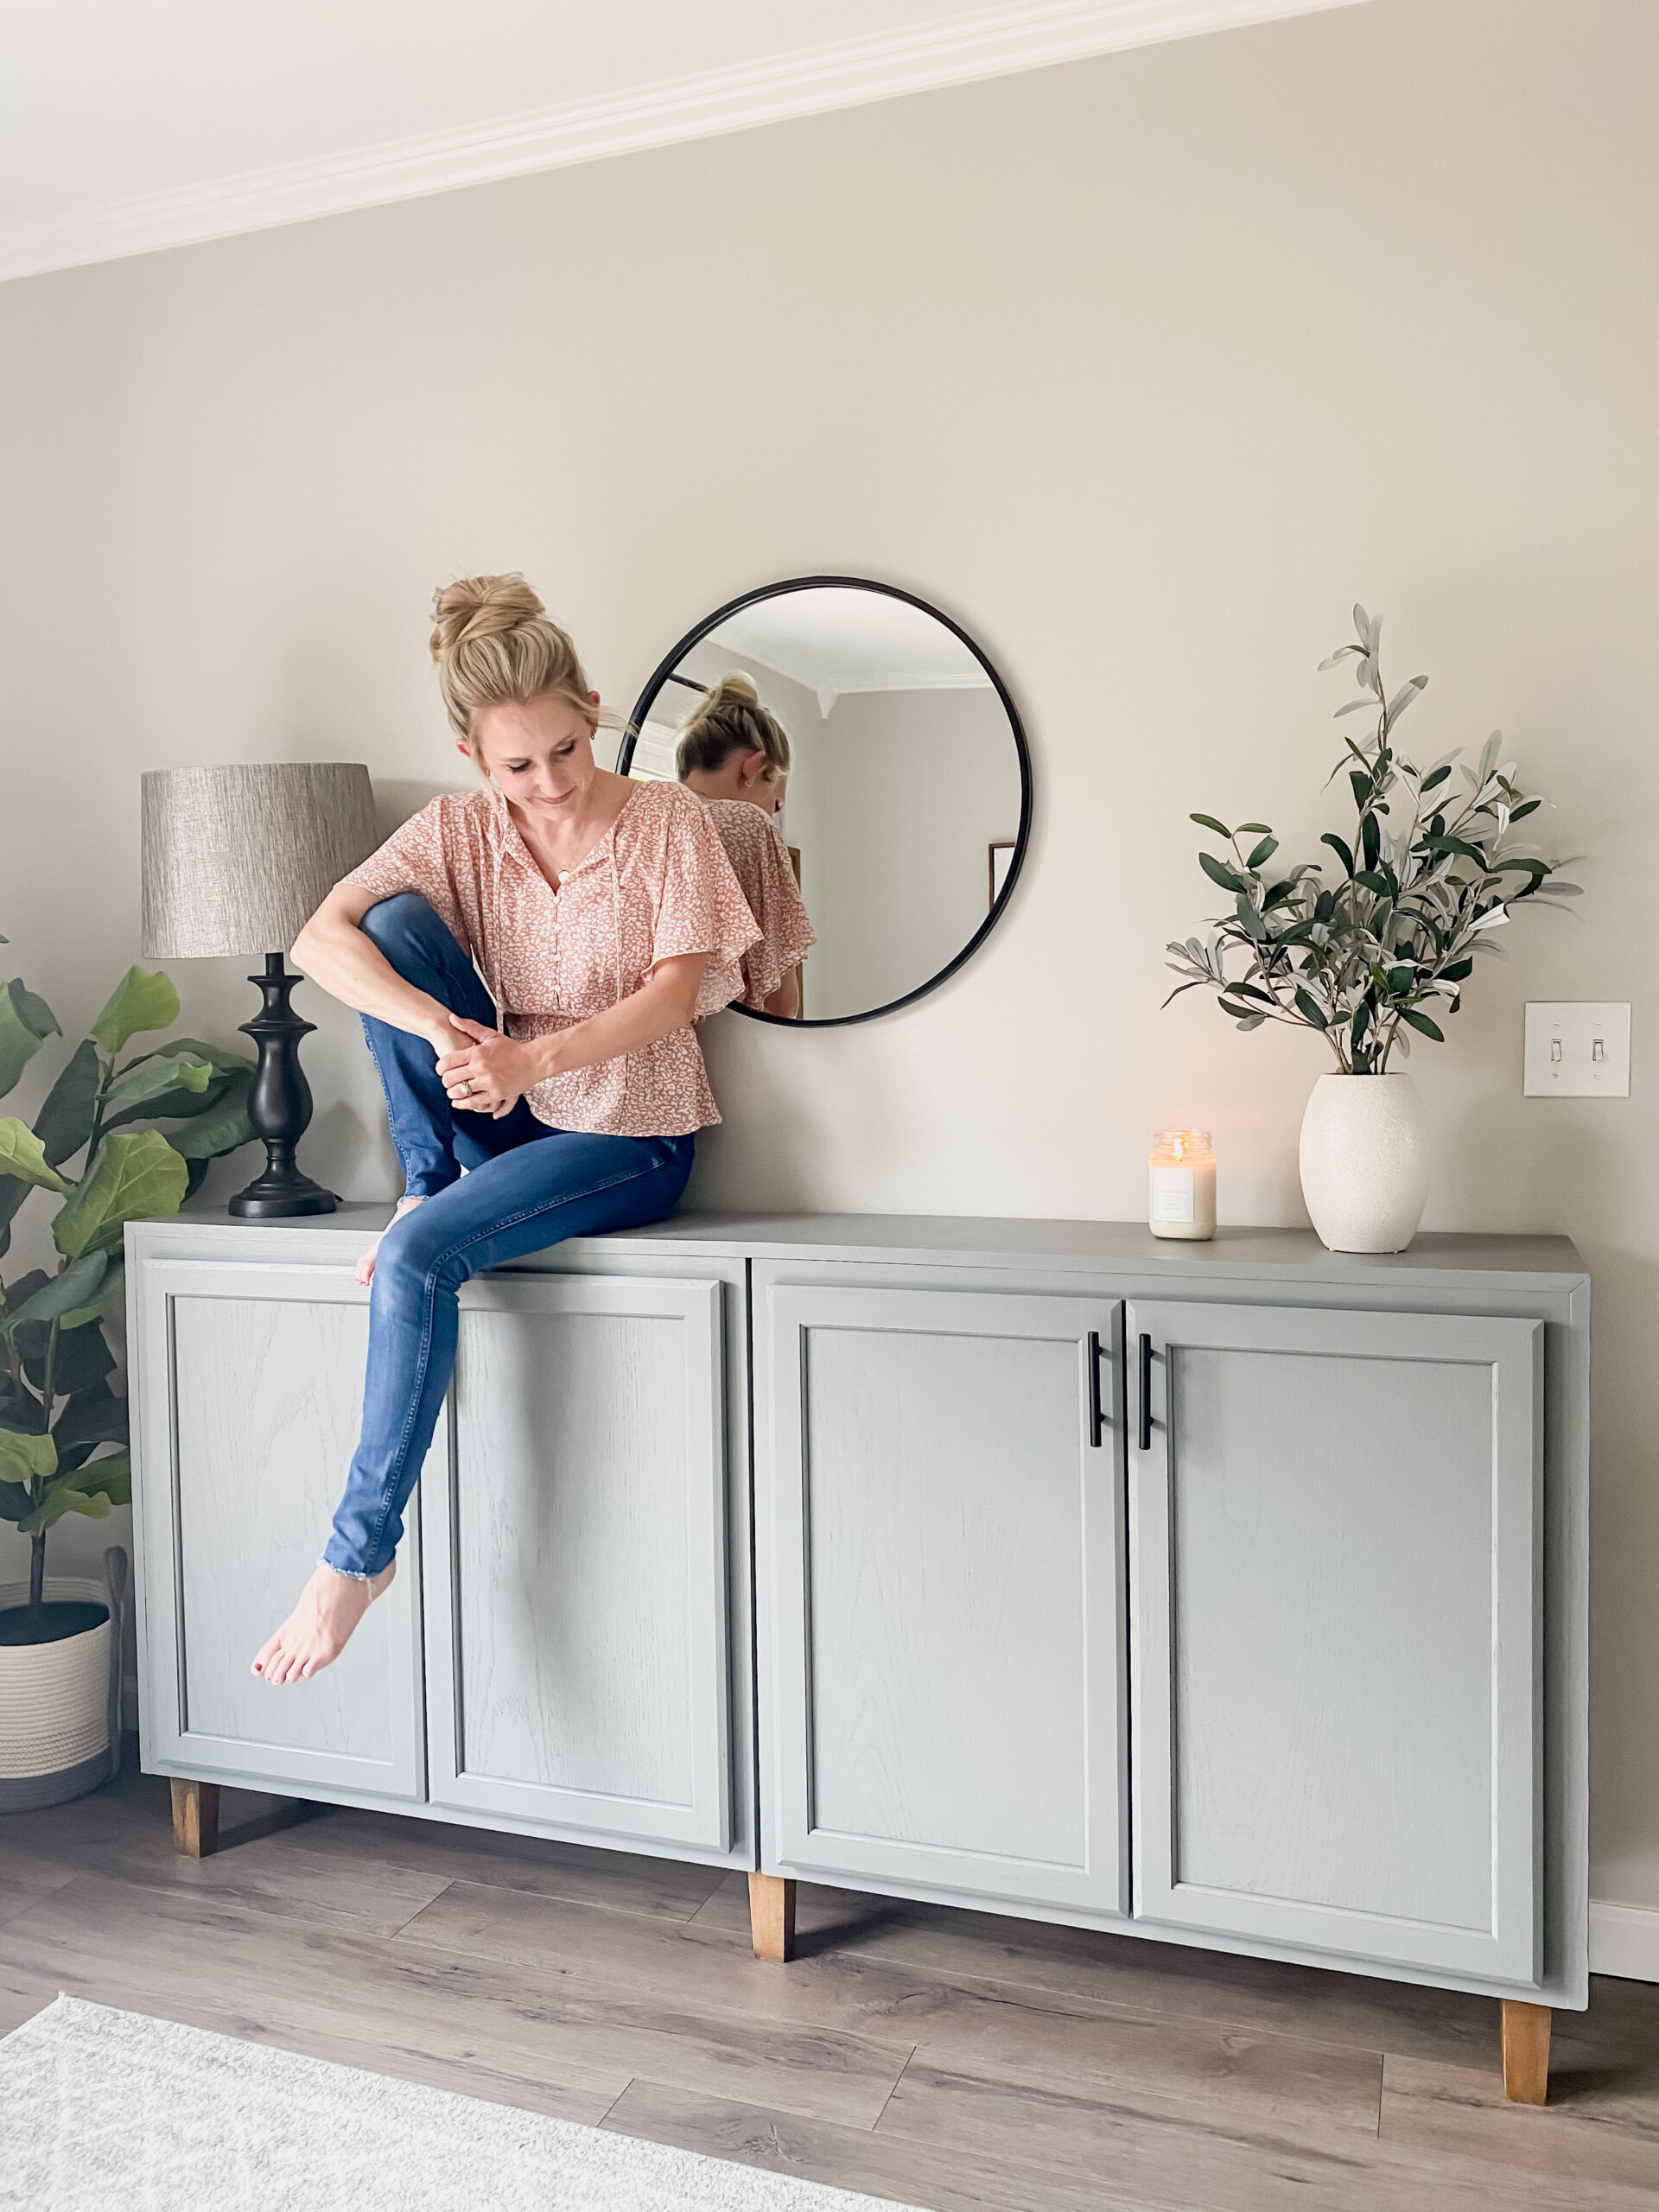
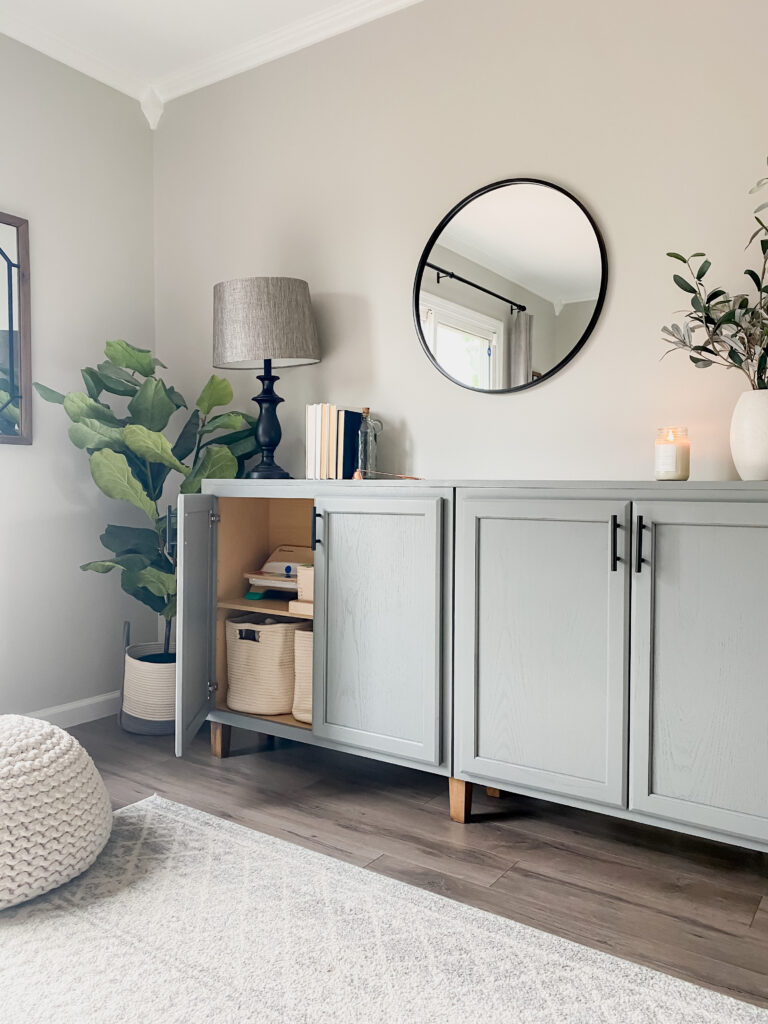
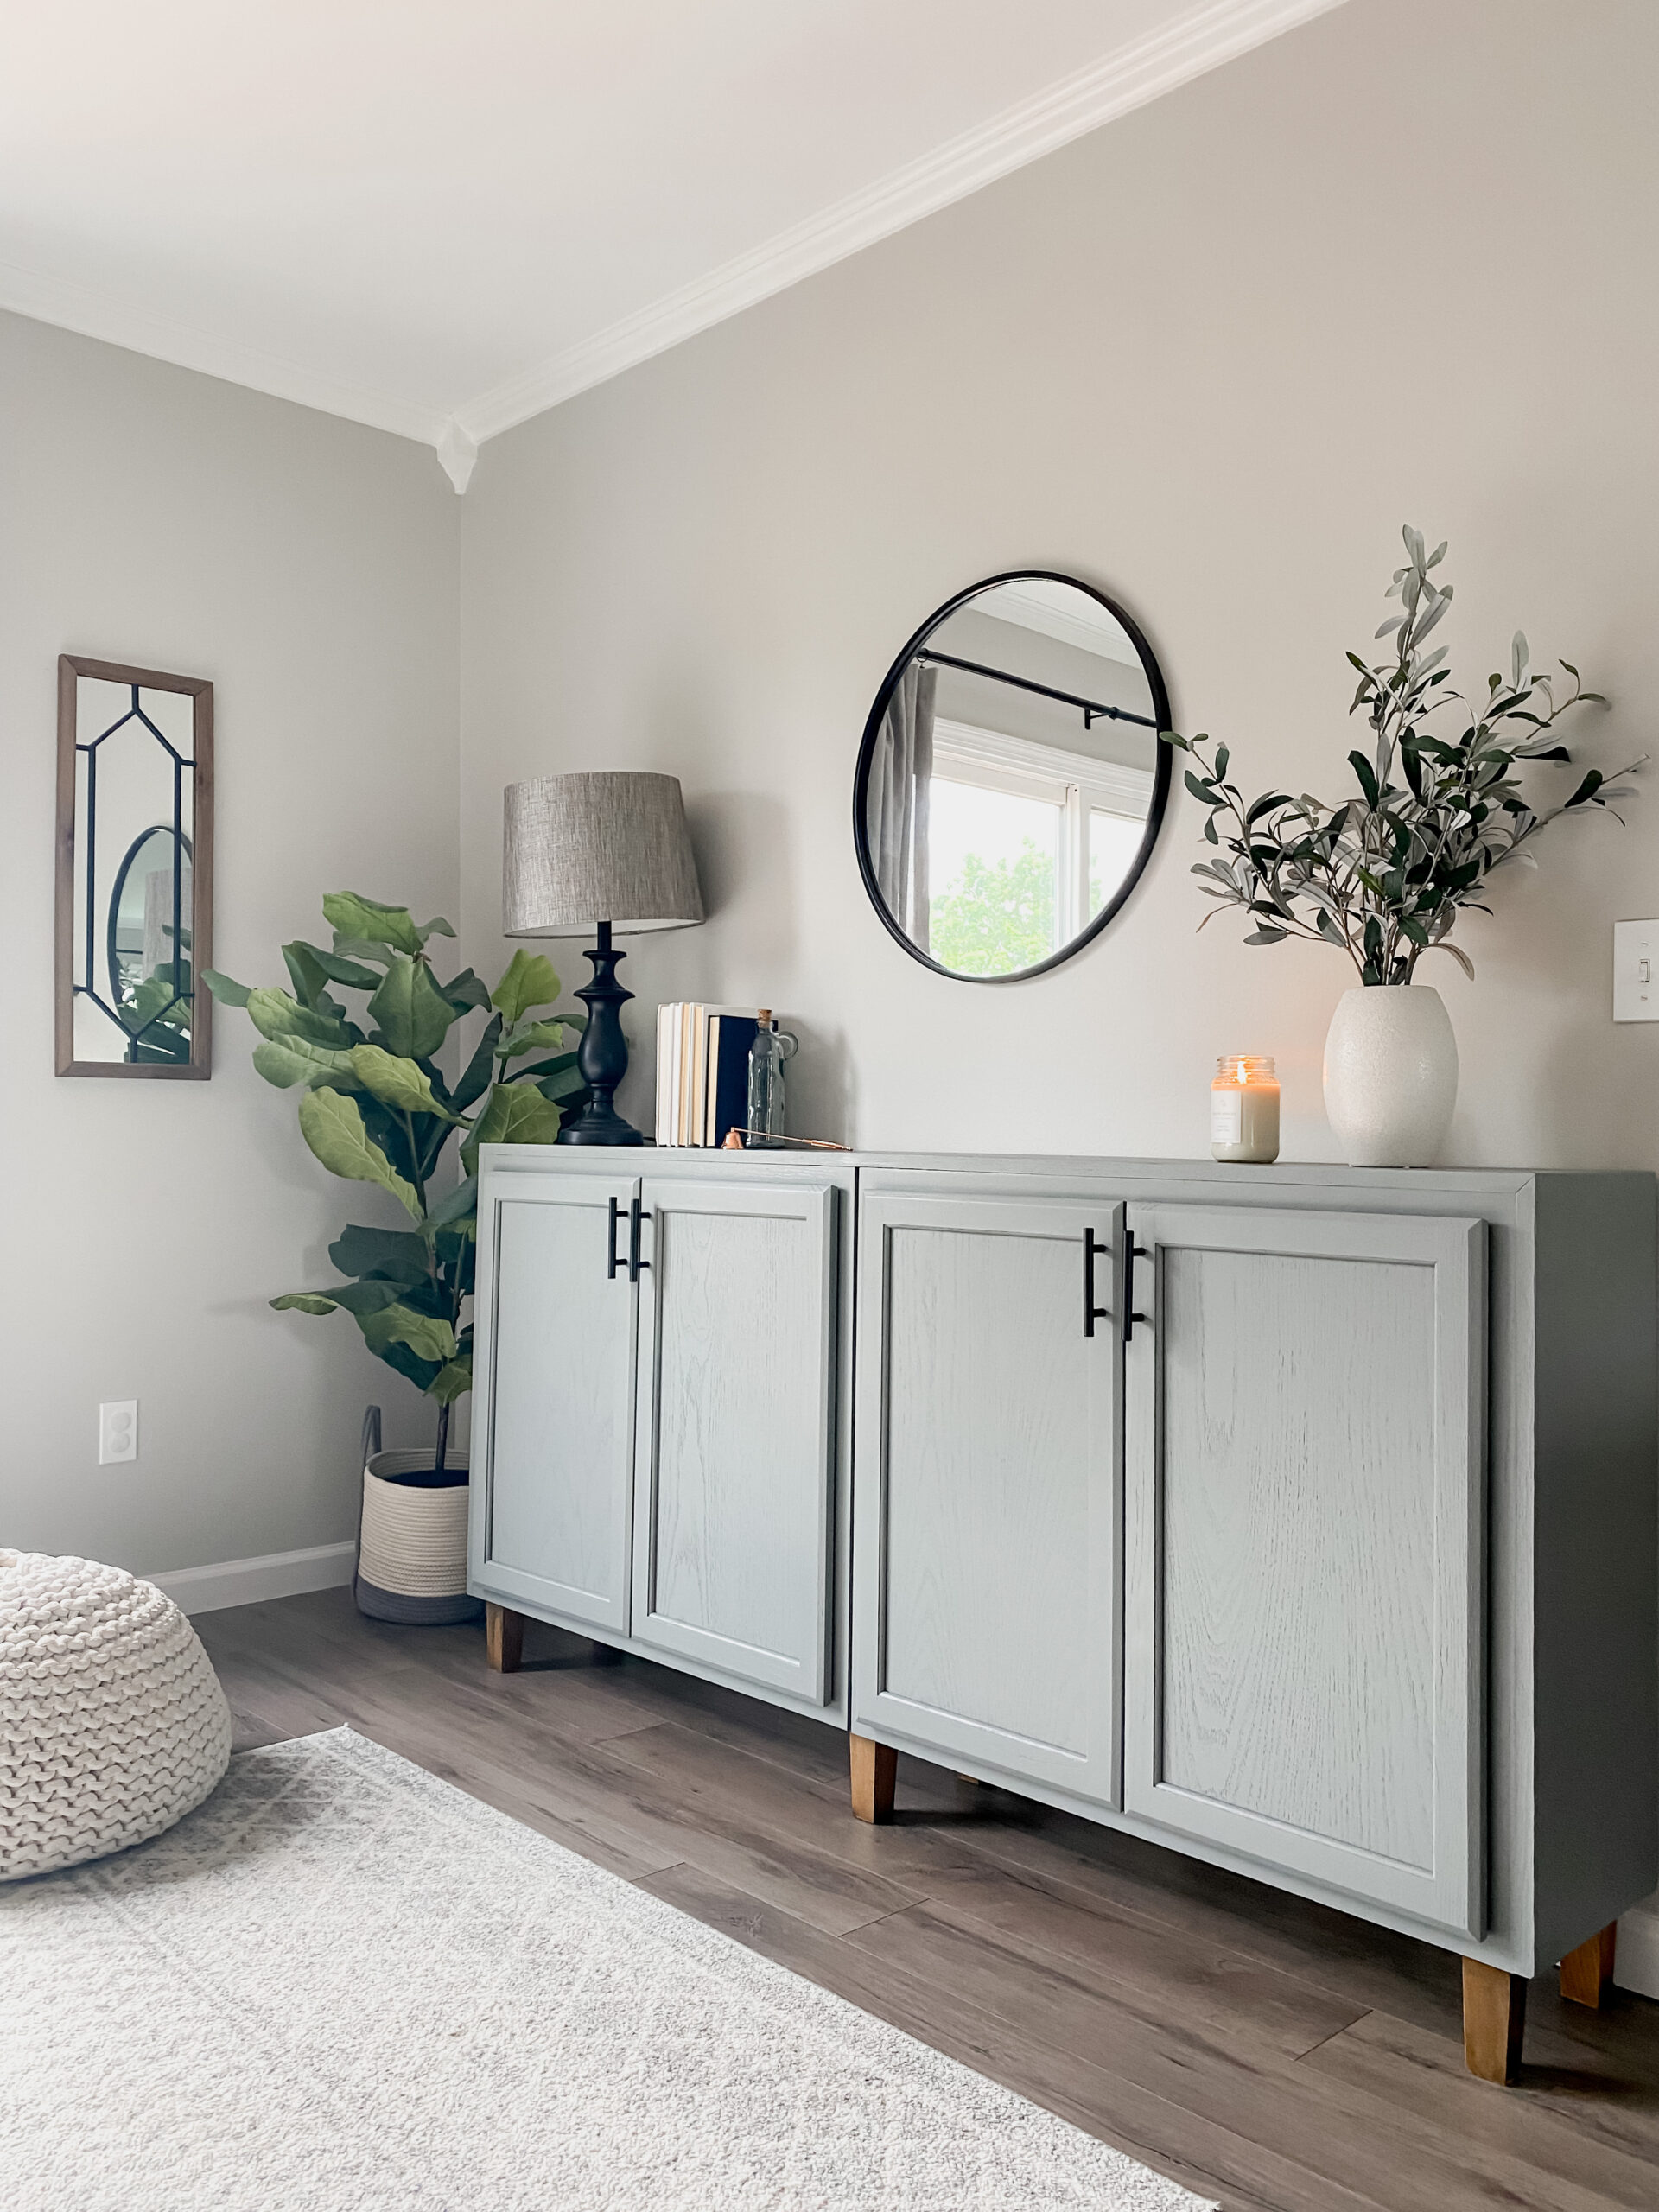
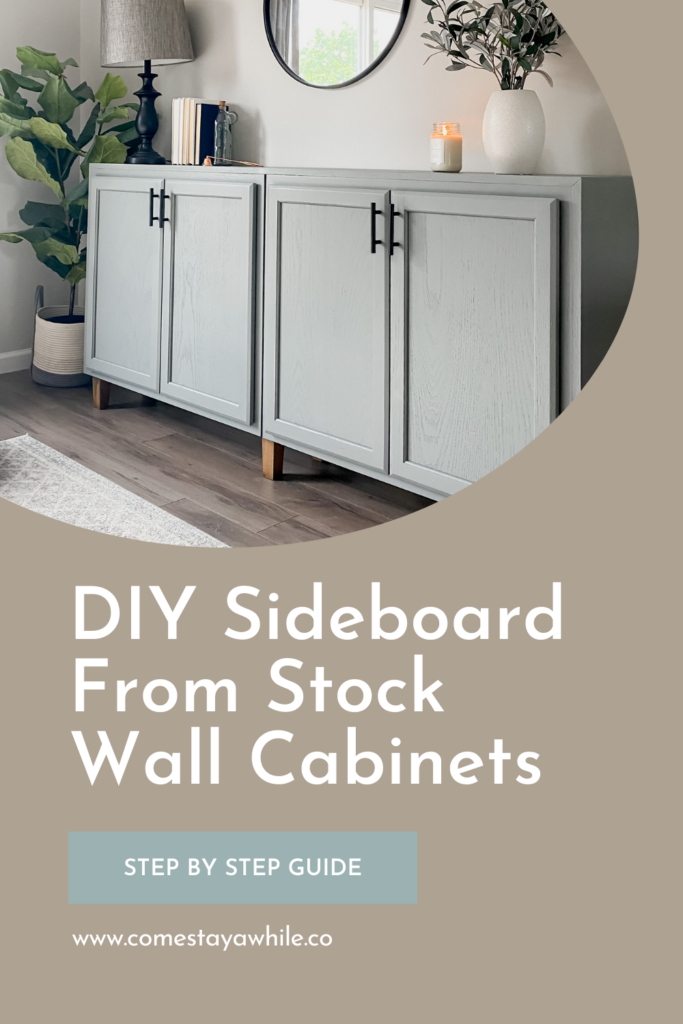
We desperately needed a new storage cabinet for my sons growing toy collection but when I was looking at sideboards, buffet tables and cabinets only they were going to cost me an arm and a leg and I really didn’t love any of them. I decided to buy two stock wall cabinets and turn them into a custom DIY sideboard!
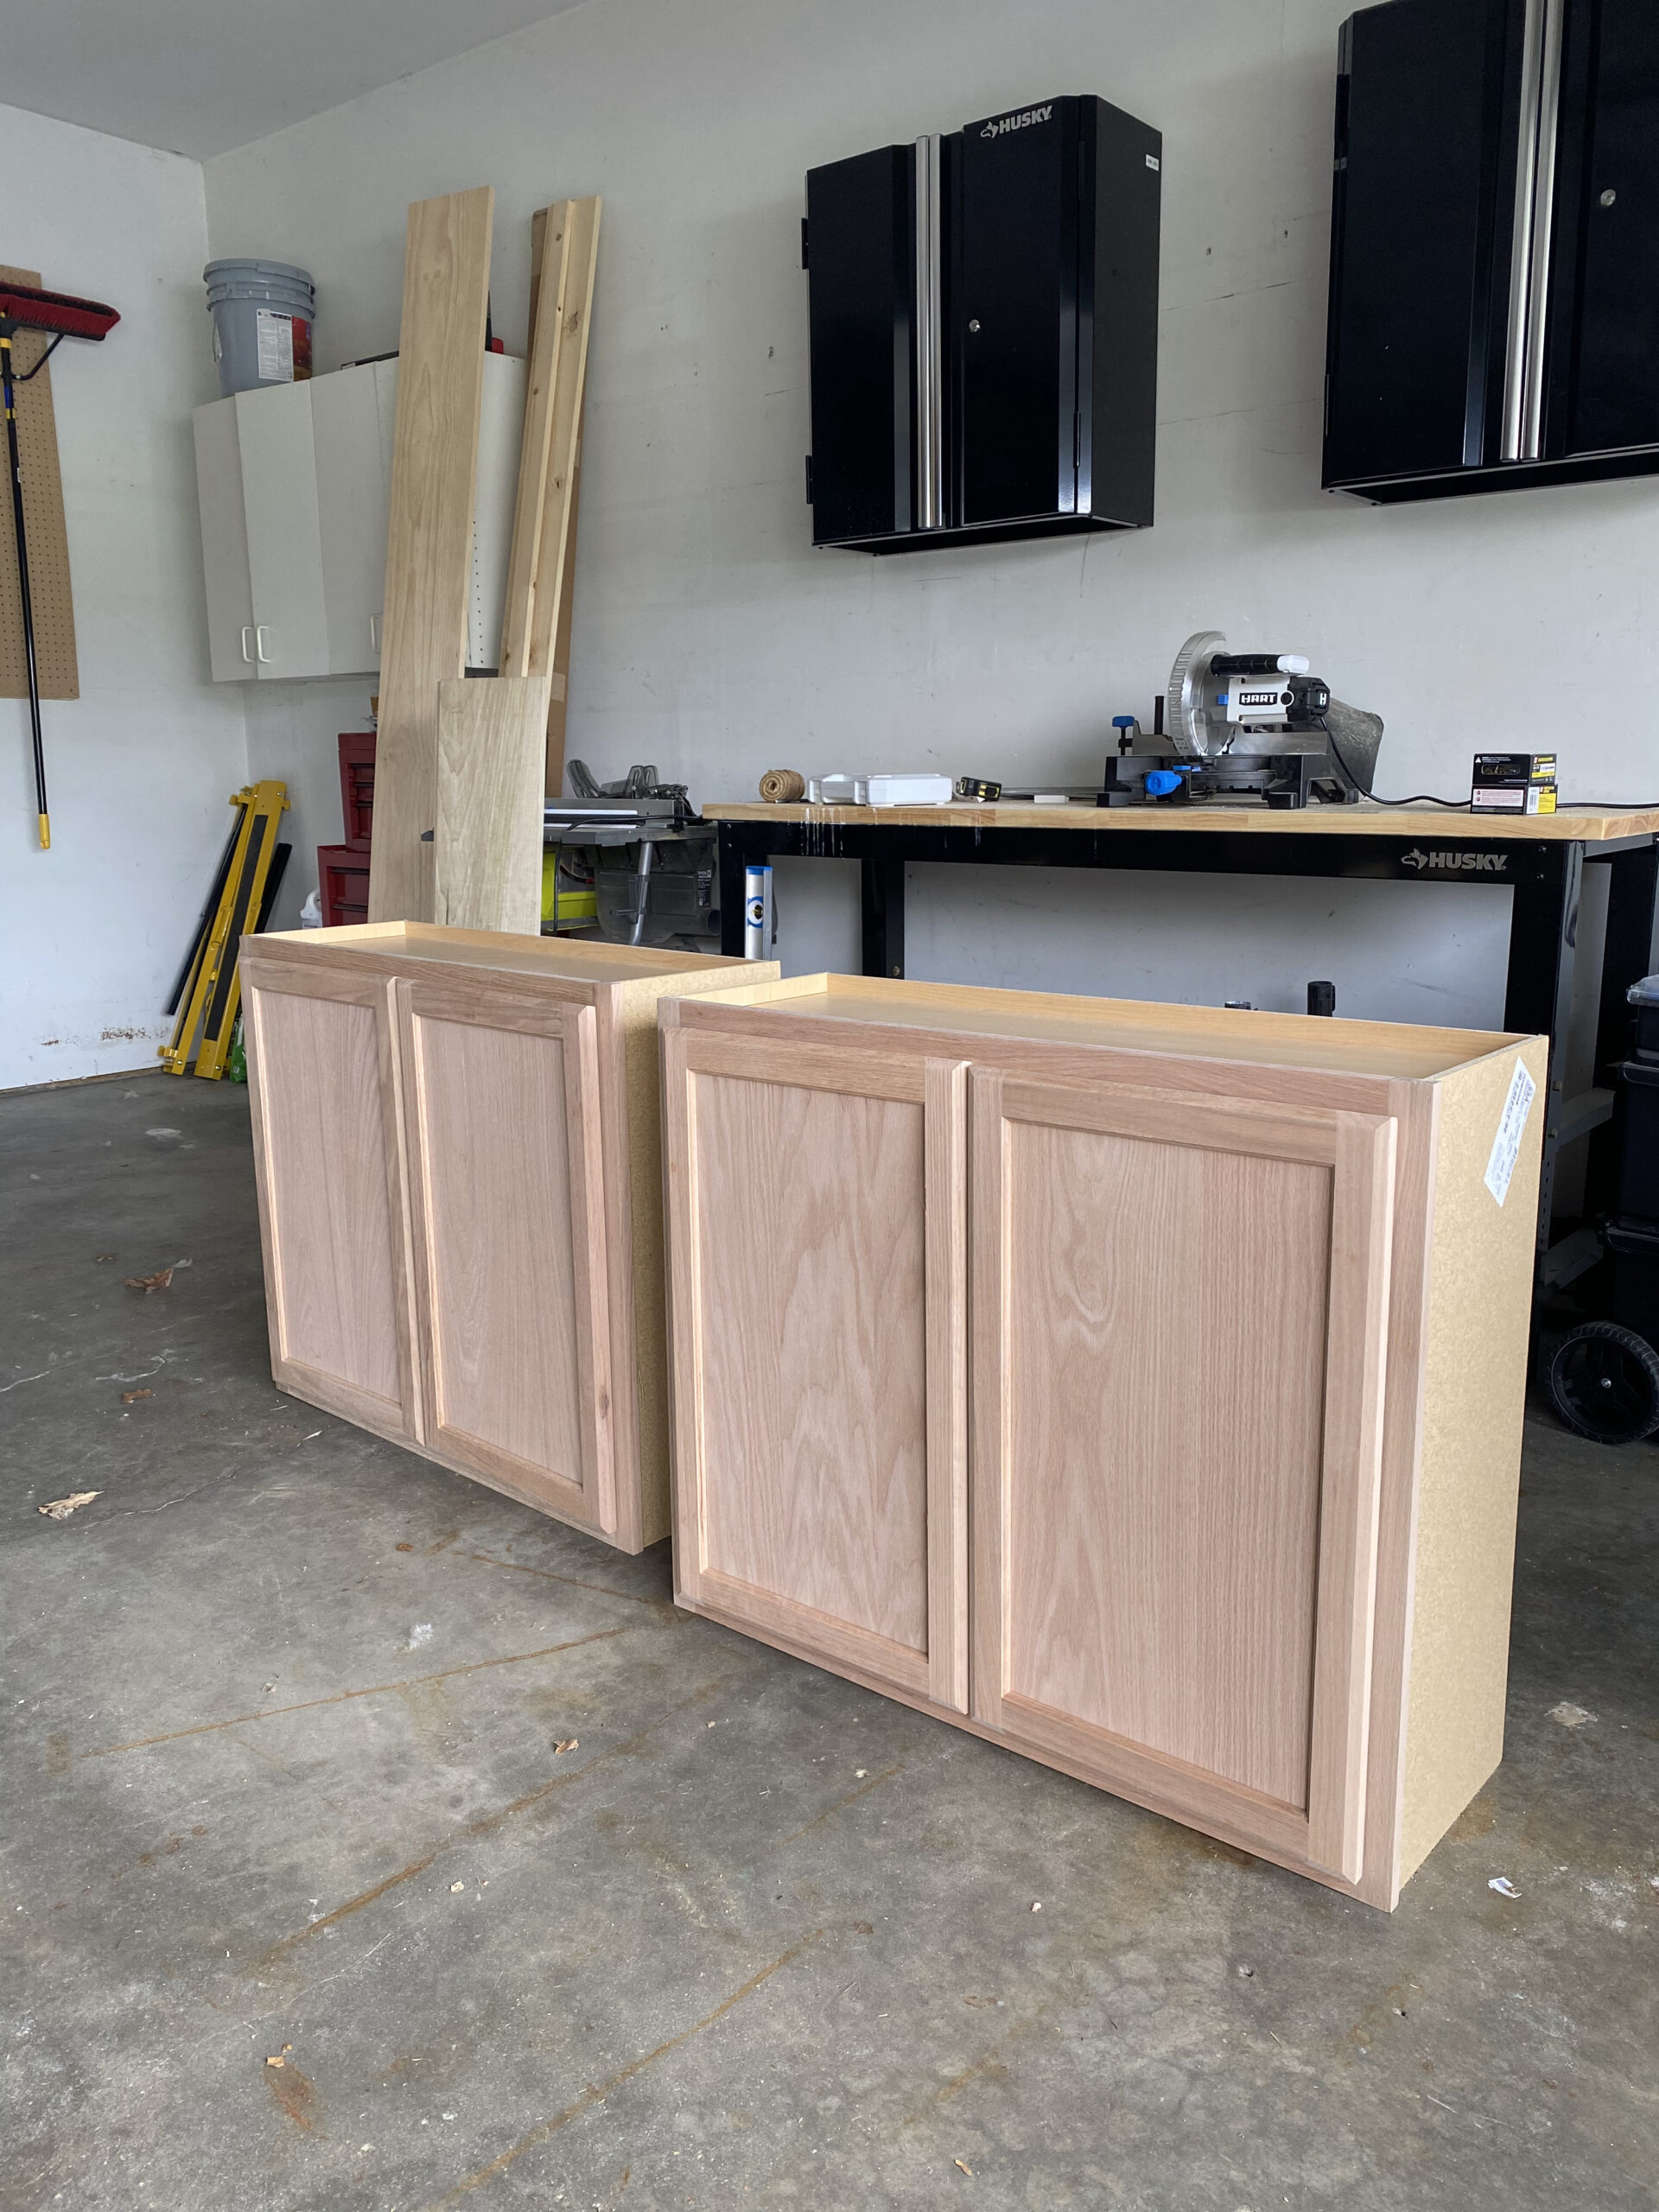
For this cabinet build, I decided to purchase two stock wall cabinets (you can buy them at home depot or Lowe’s) instead of building the cabinets from scratch. This saved me a TON of time.

The next thing you want to do is install your furniture legs. You will need 6 legs to make sure it is stable. 2 on the left, 2 in the middle and 2 on the right.
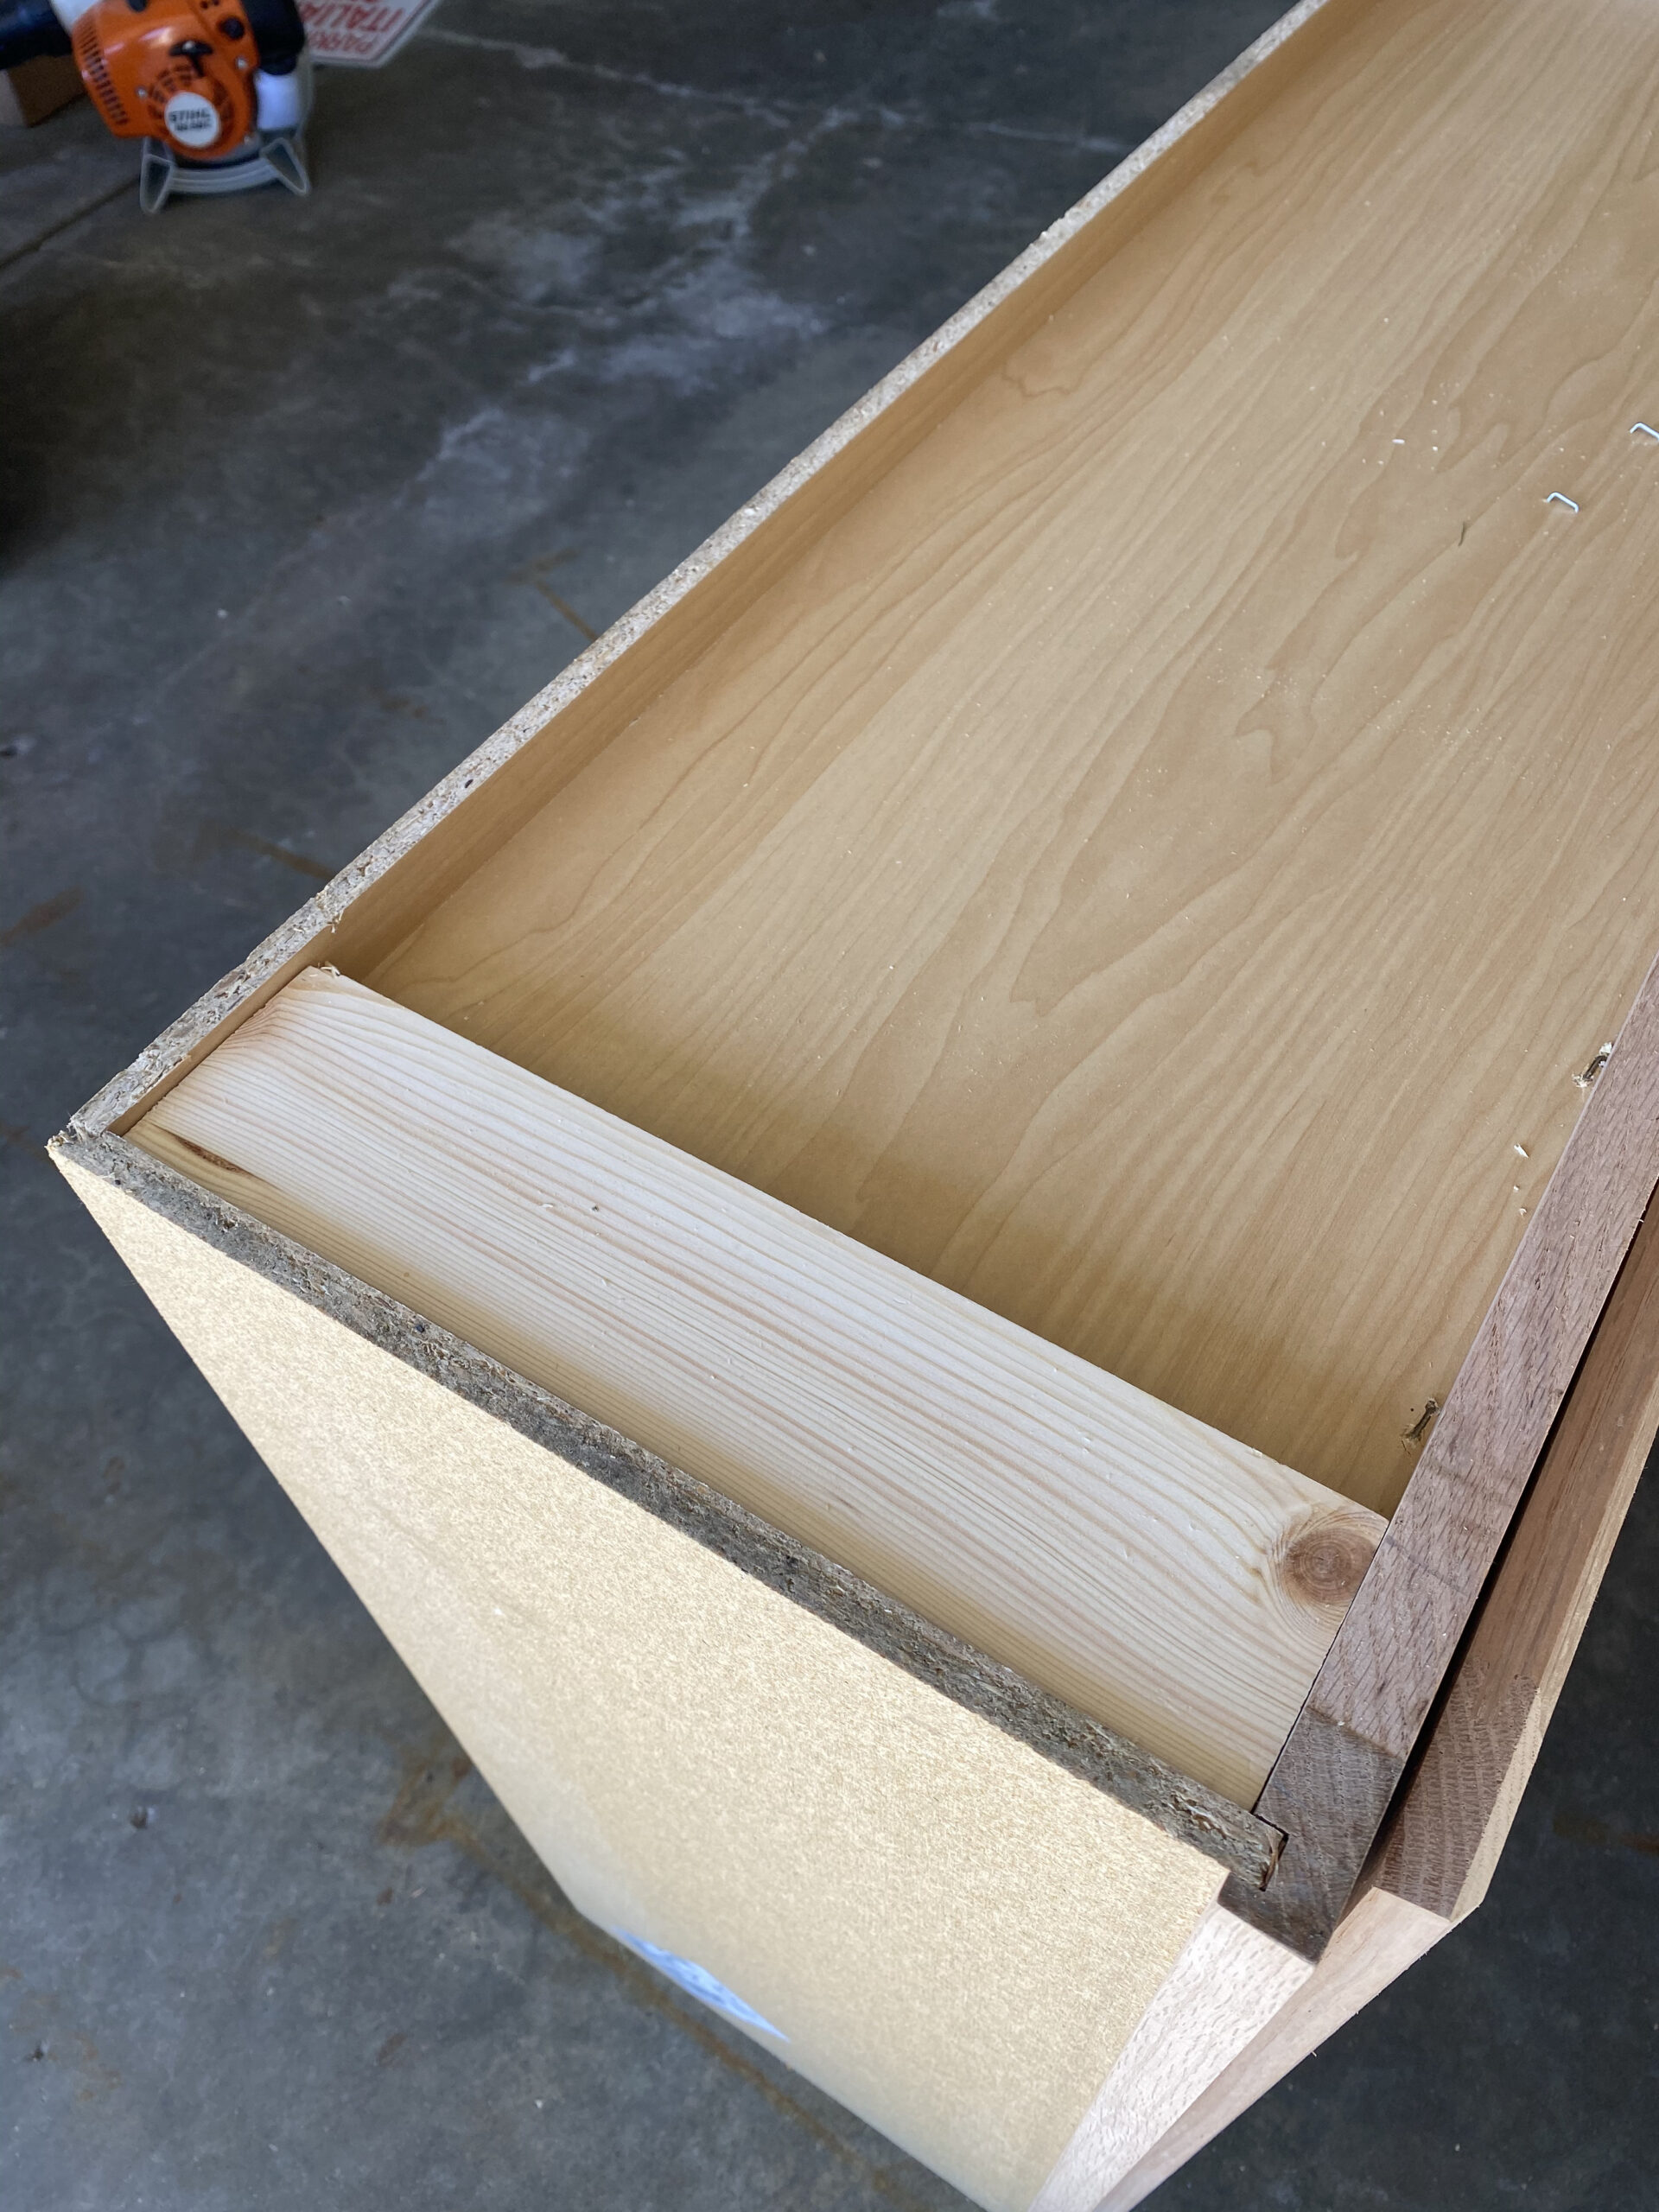
Note: because my boards weren’t flush with the middle divider of the cabinet, I used my multitool to carve out some of the wood. To avoid this, use shims or thicker wood to make everything flush.

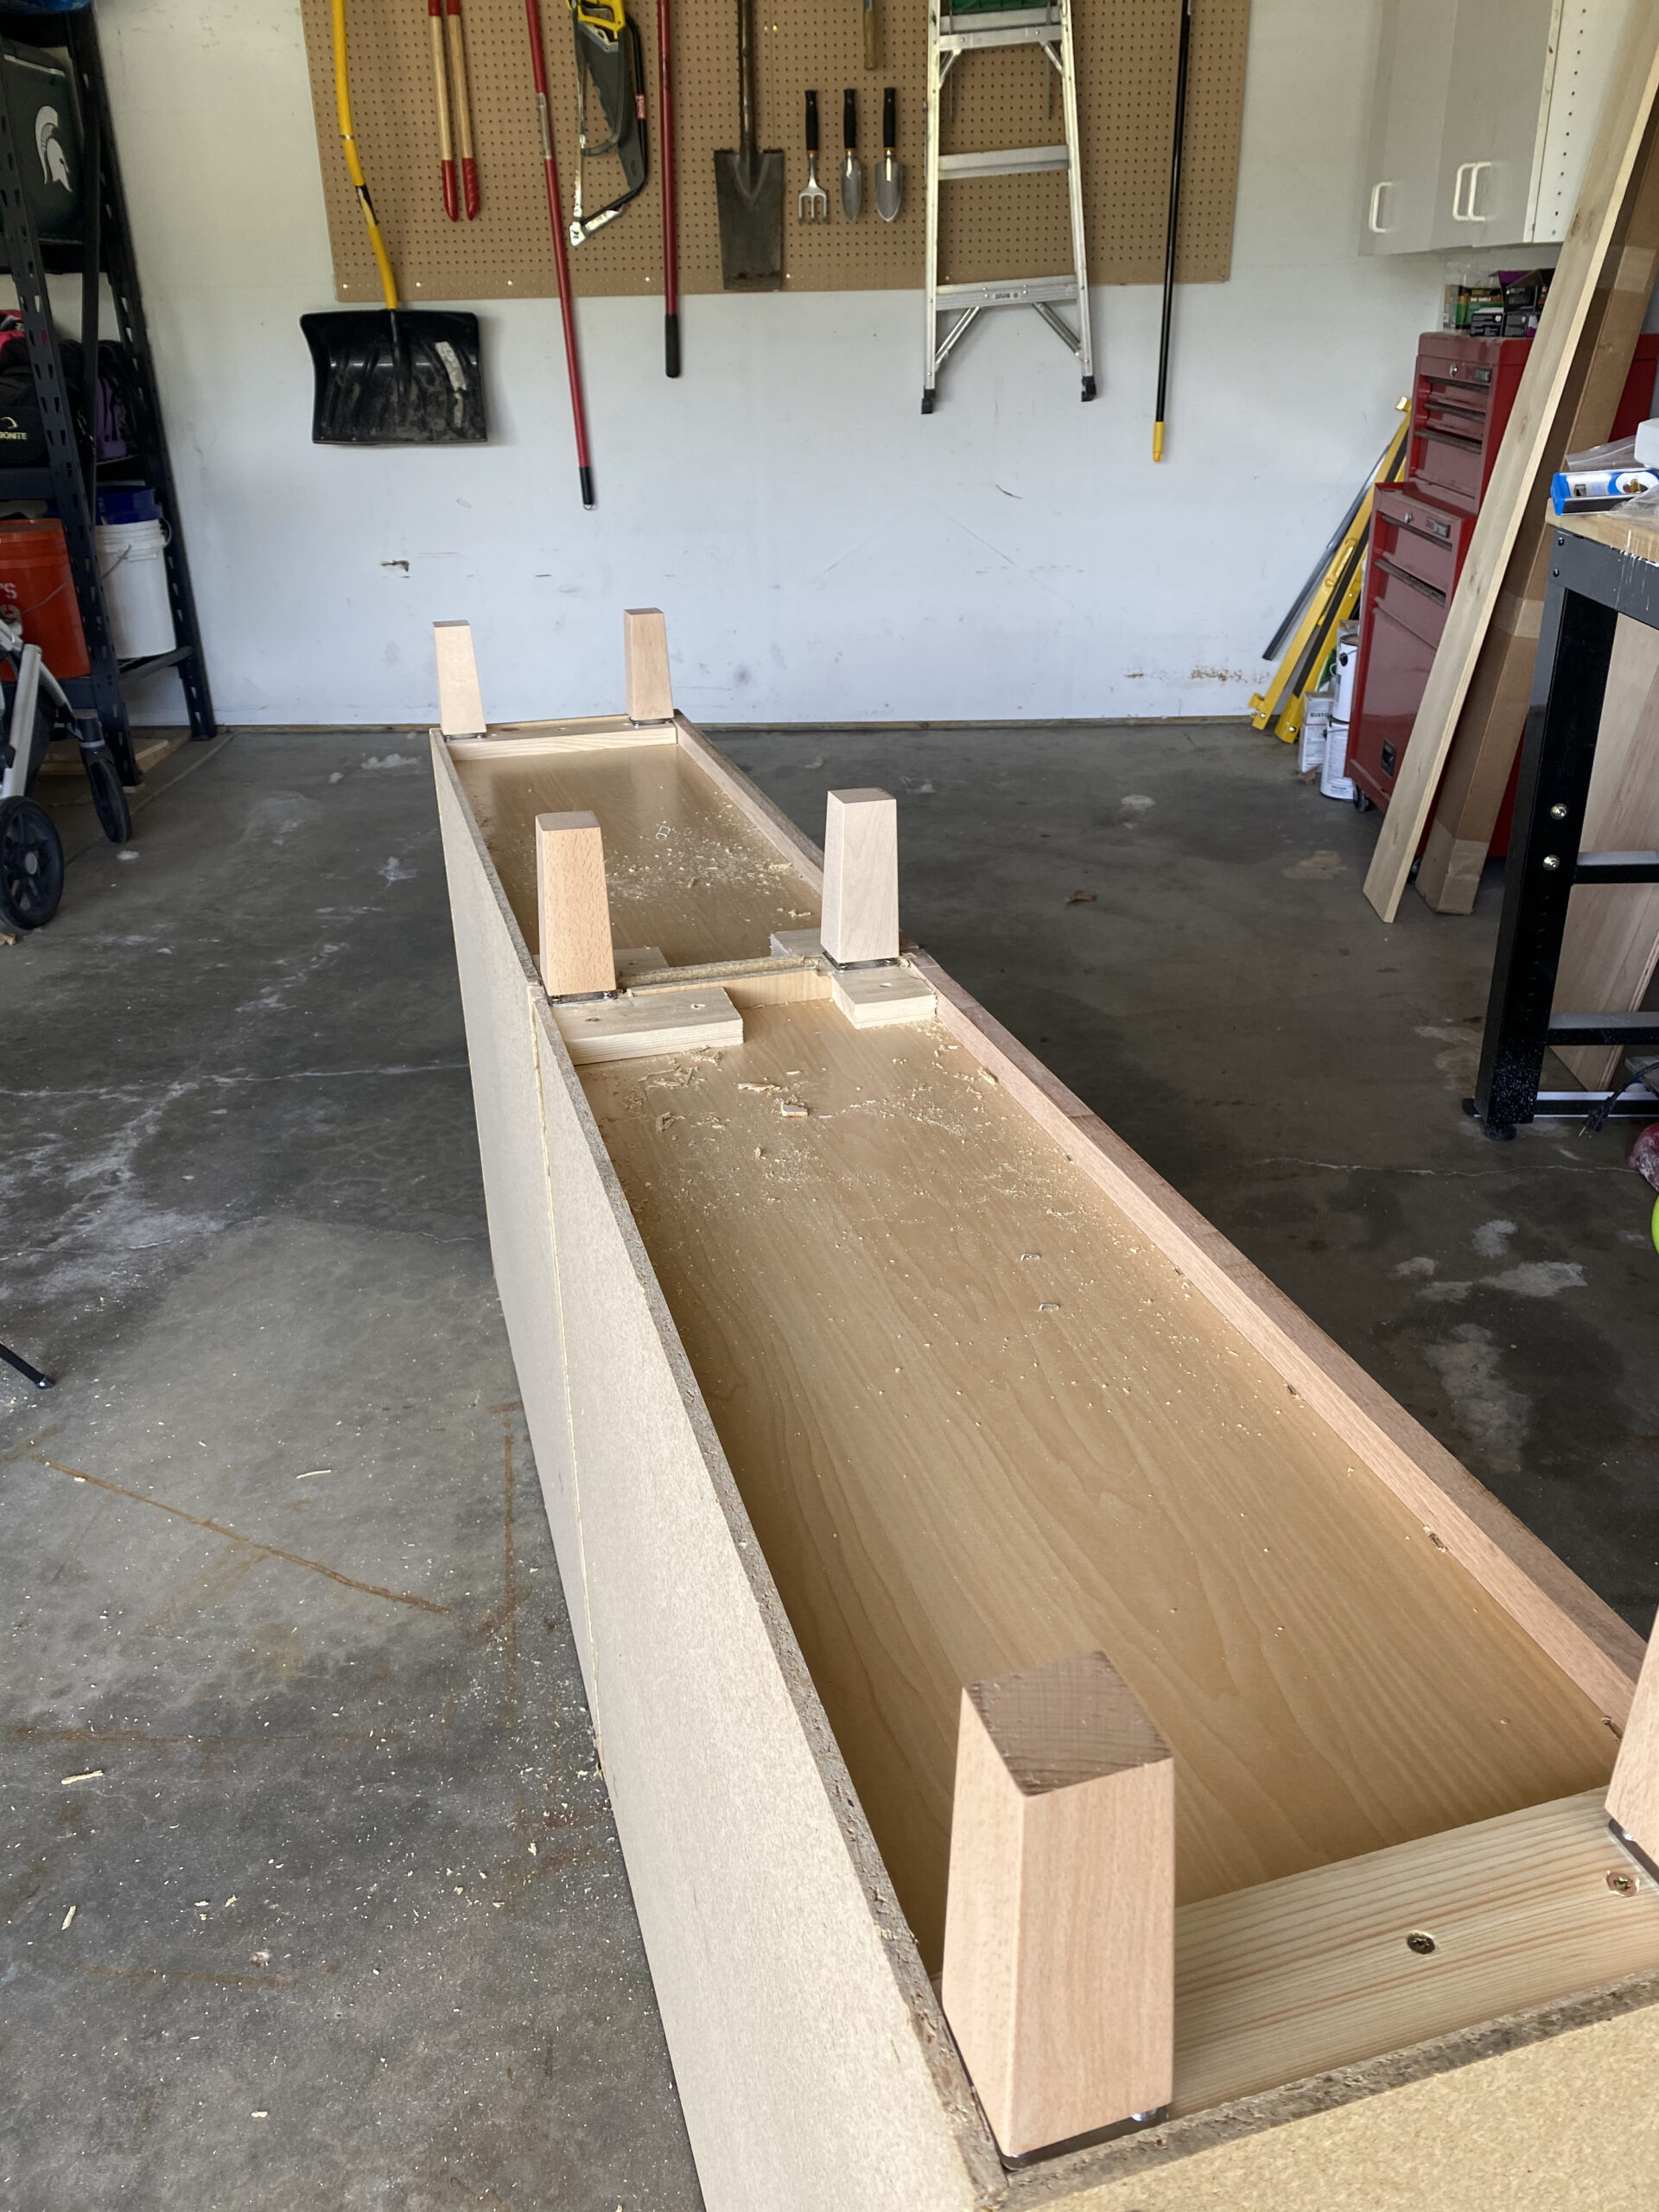

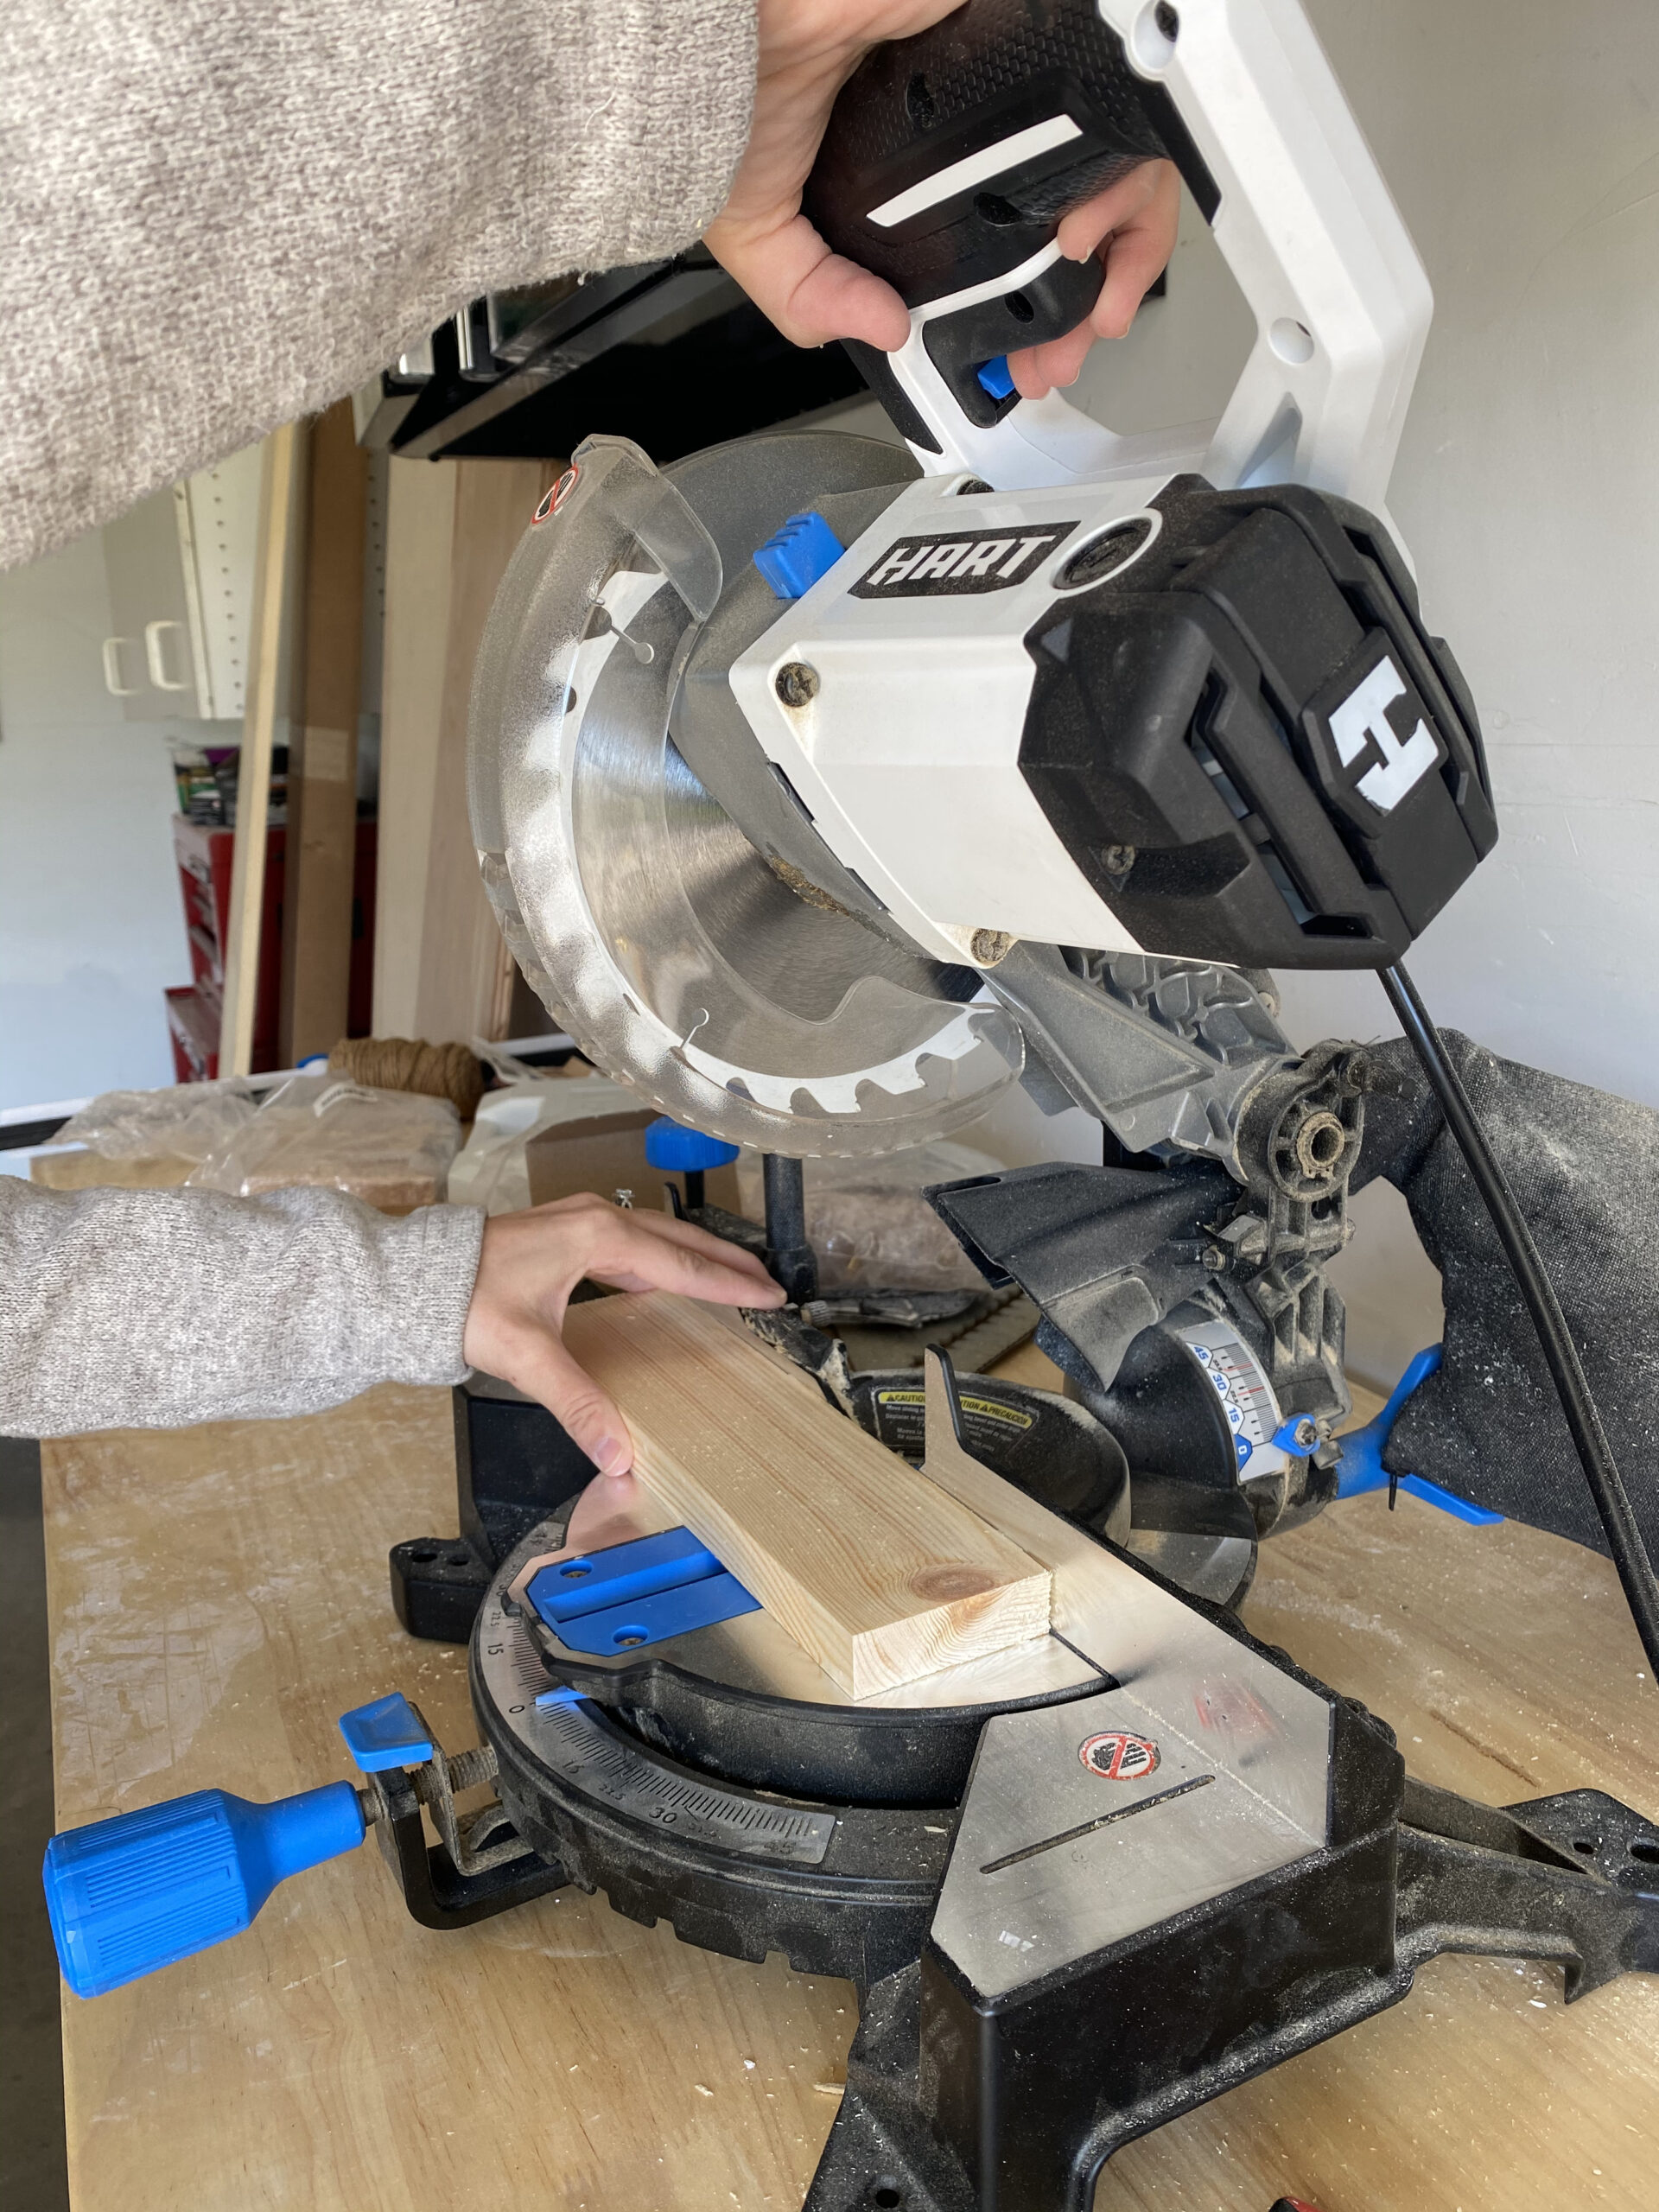
Once you have the furniture legs attached, flip the cabinet right-side up and make sure you are happy with the placement of the legs. You may need to adjust a few of them in order to have it level and not wobble. Once you are happy with that, you will need to create your top and side pieces. You will cut these from the birch plywood that you created. Save yourself time and energy by having the hardware store rip down the boards beforehand. The top and sides are 12in wide. I had the store rip them down to 13in and I cut off the last inch with my table saw when I got home to ensure that it was a clean cut. This is totally personal preference.

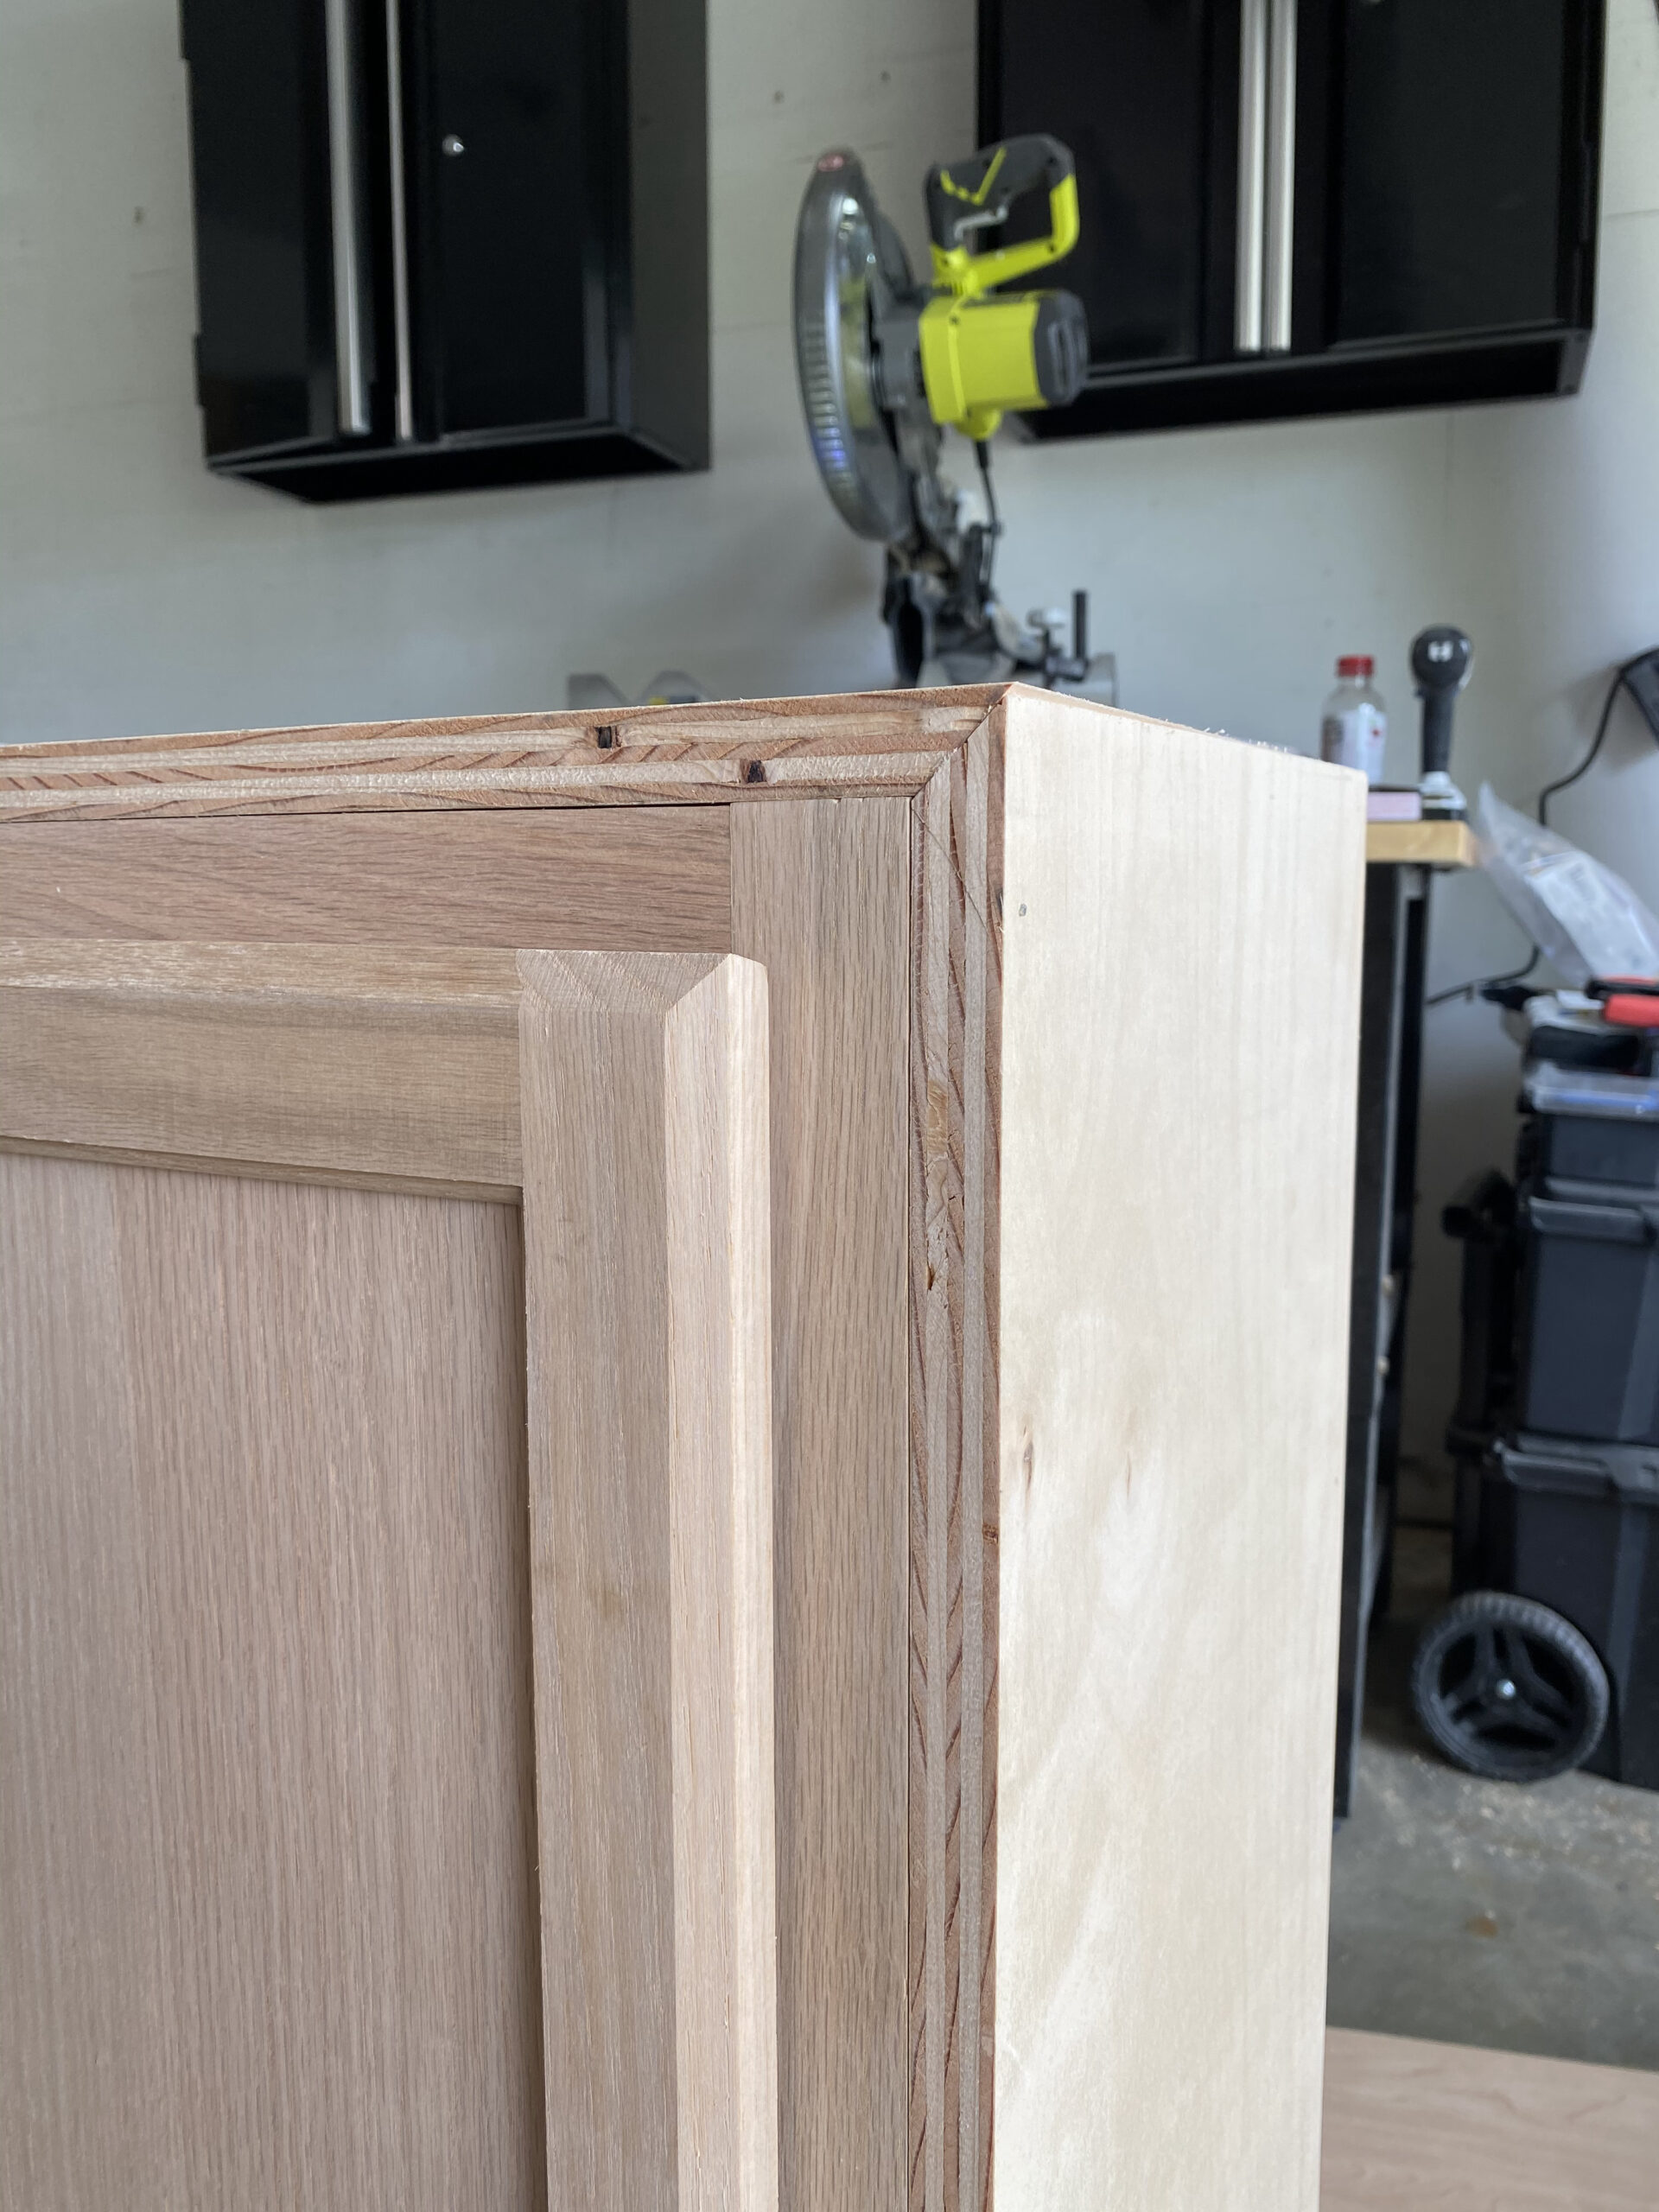
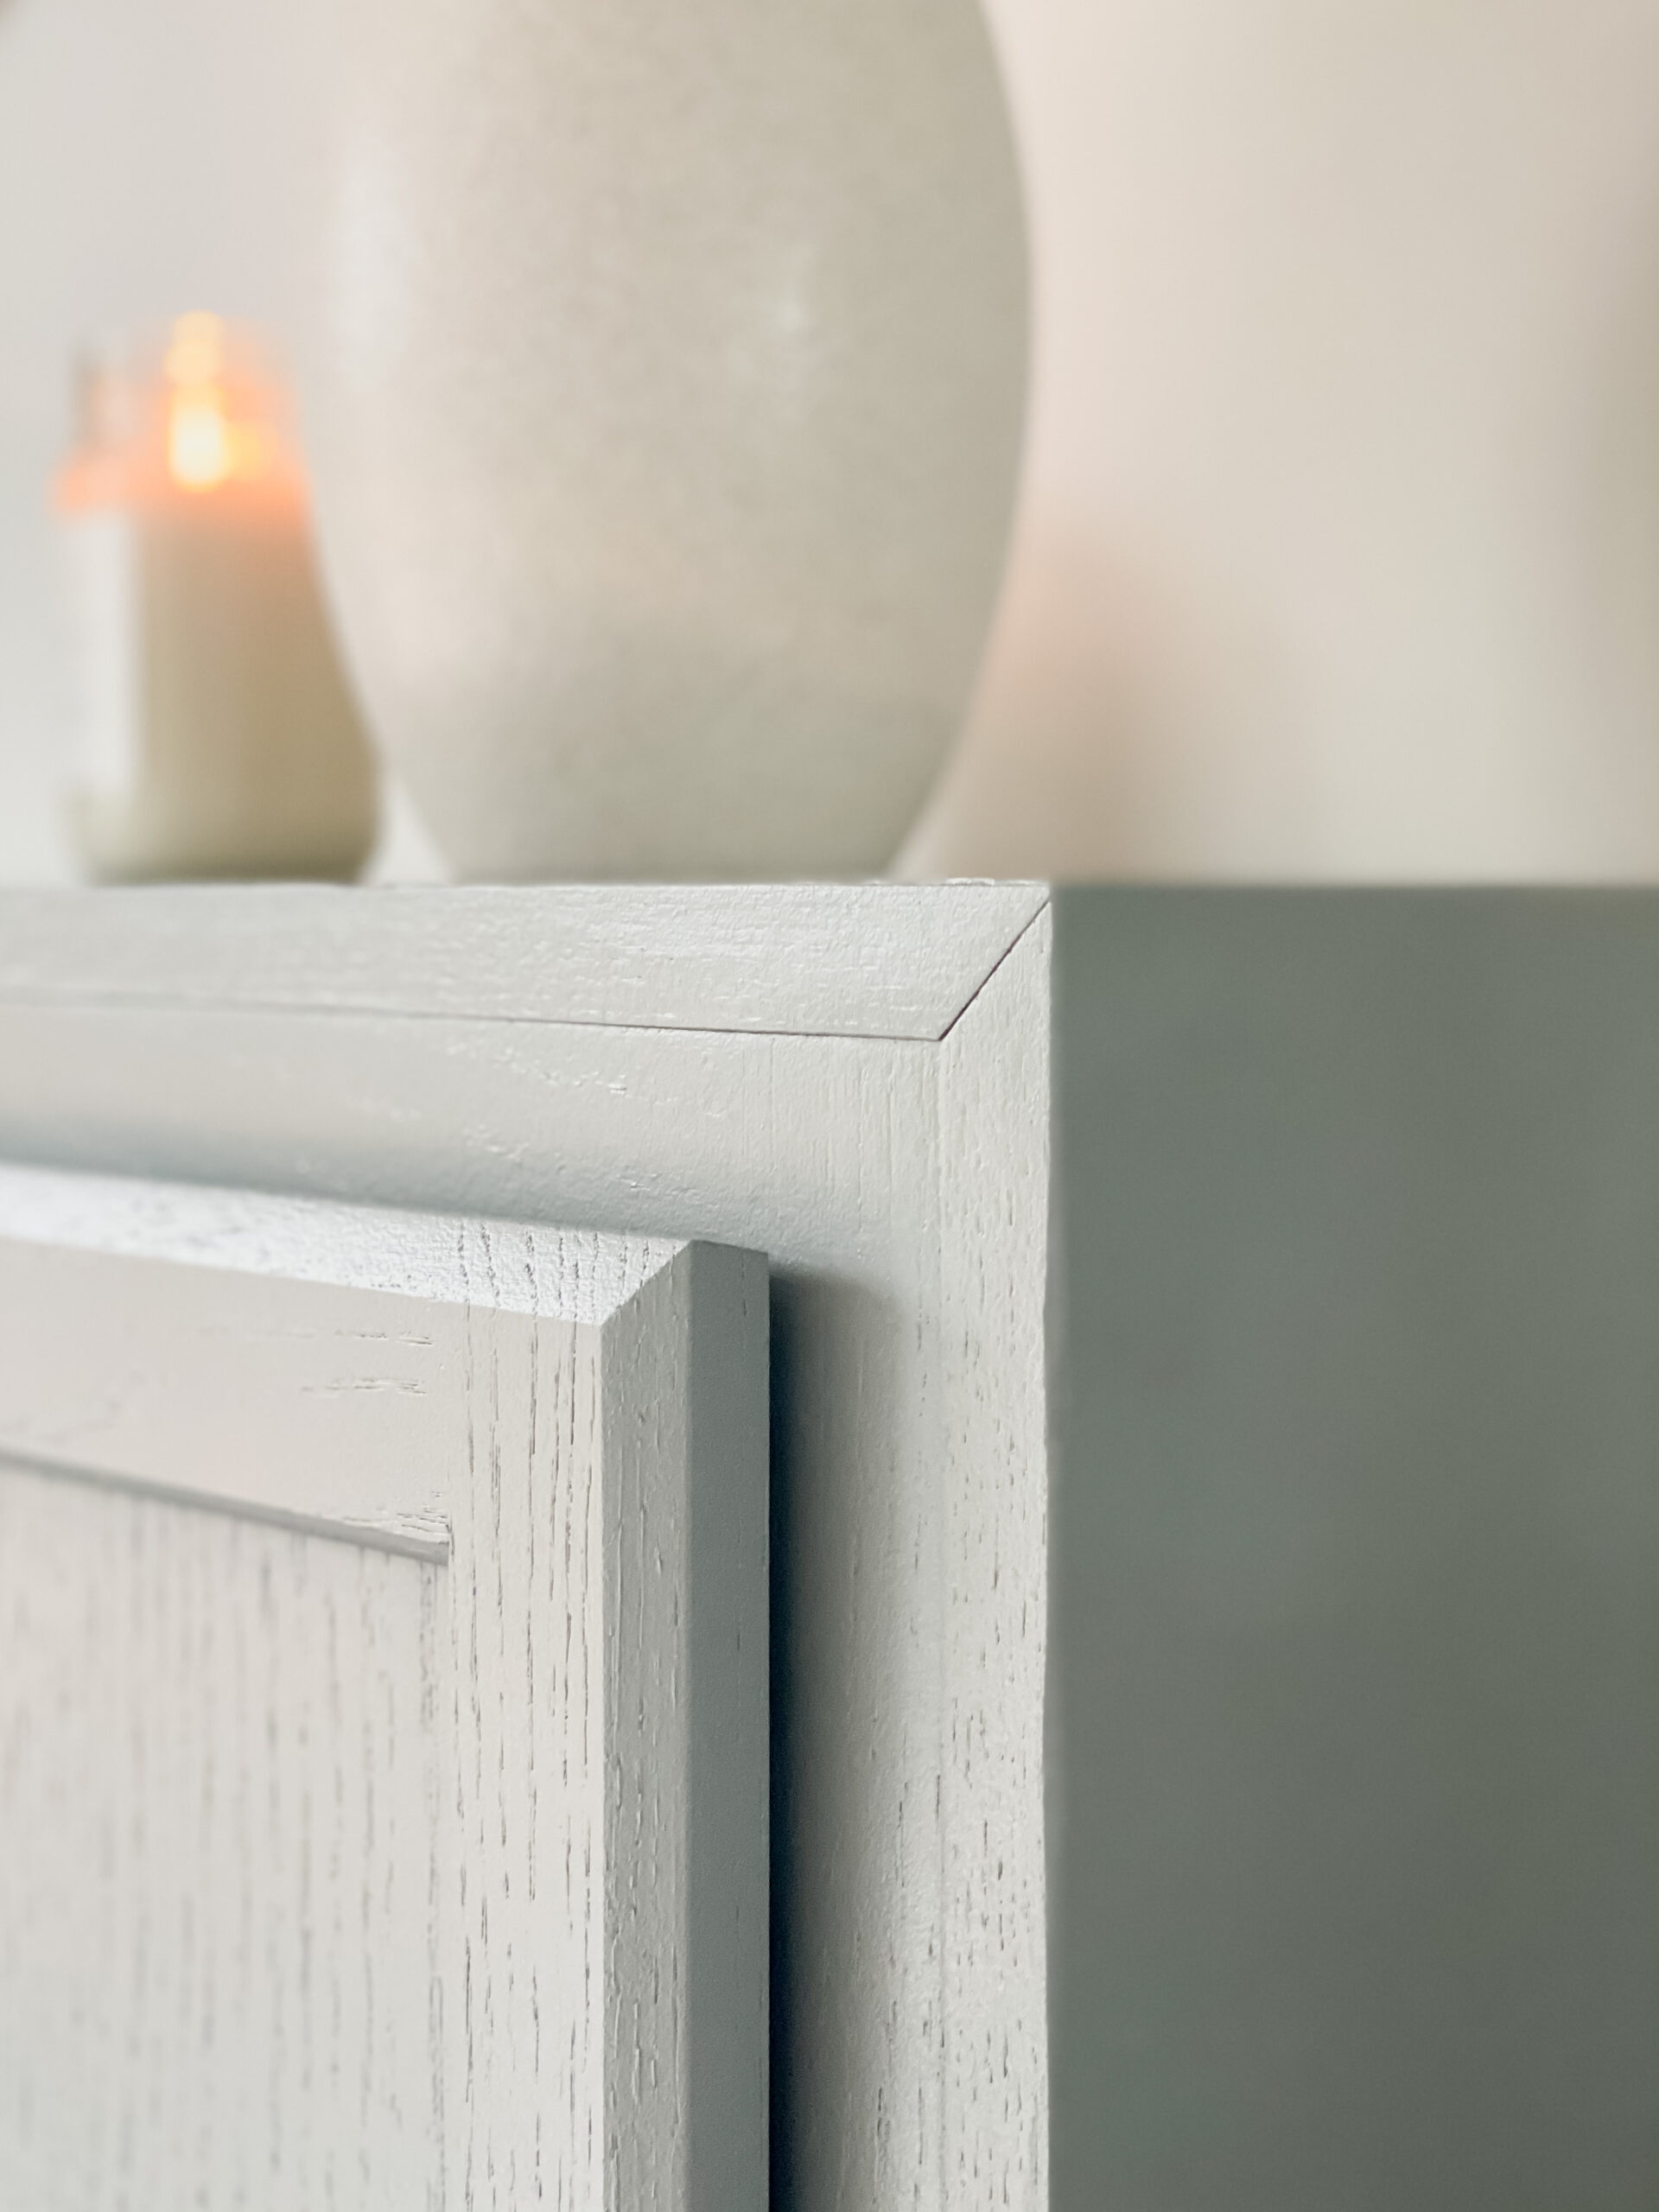
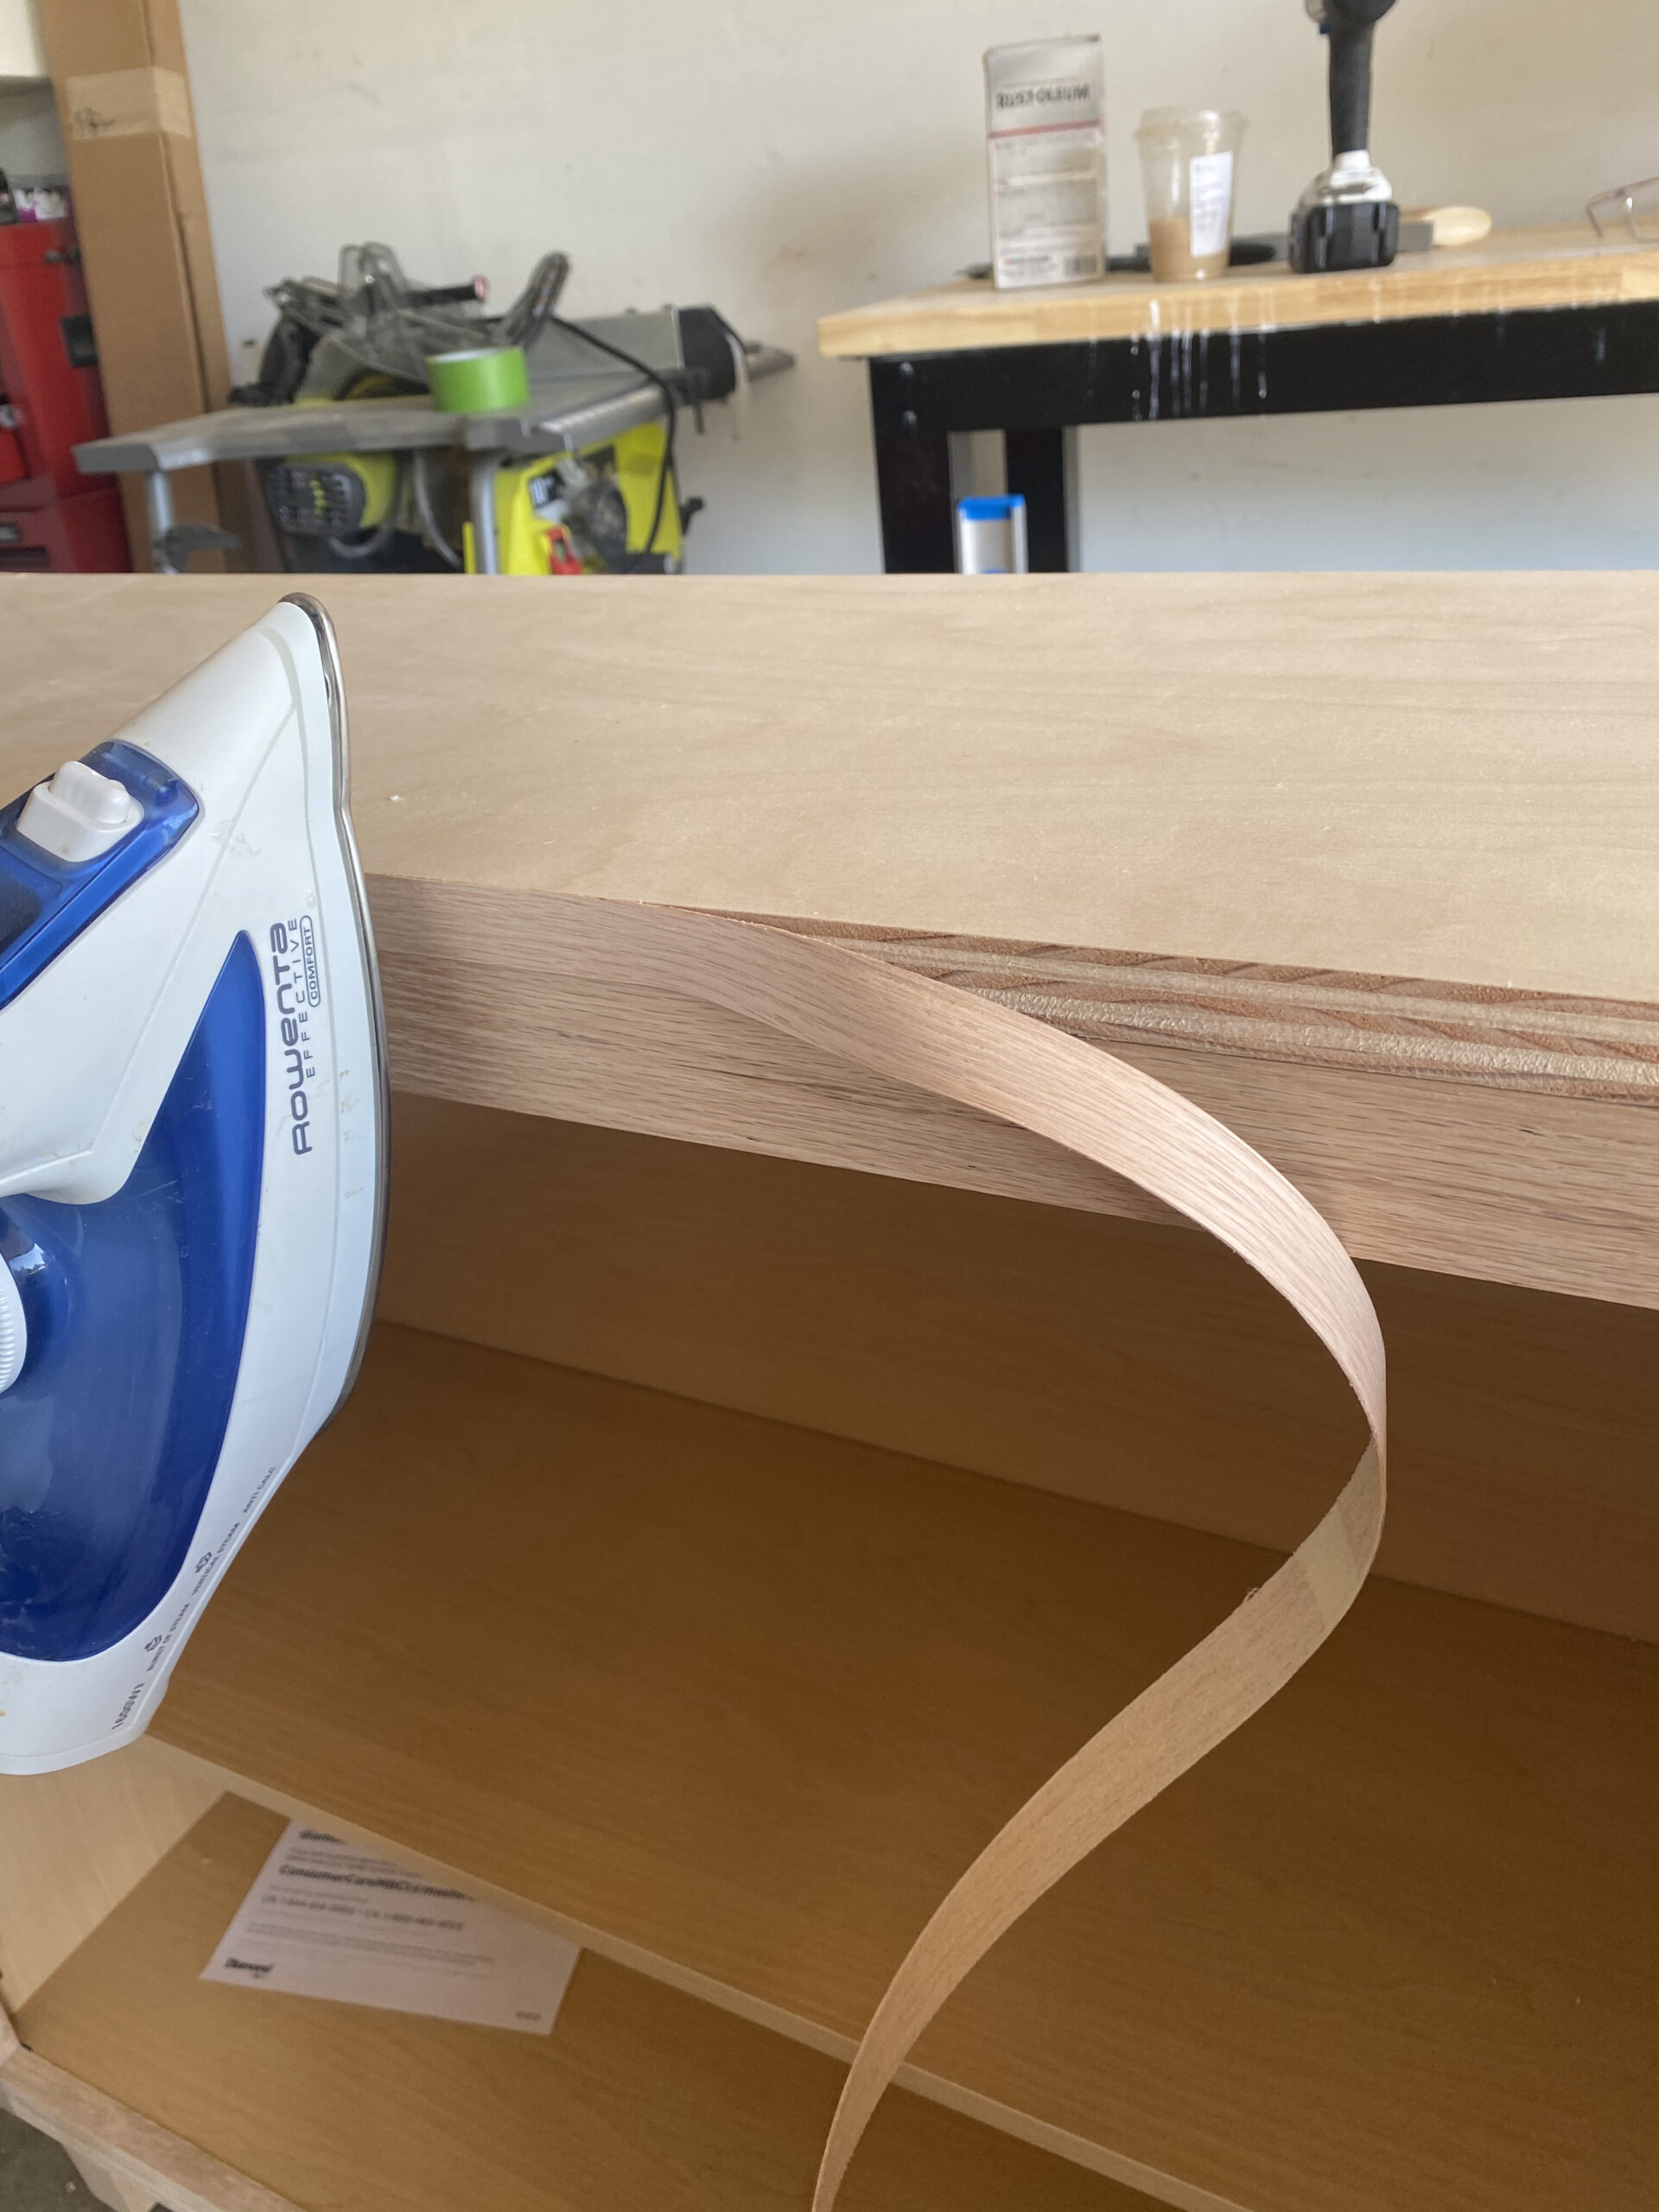
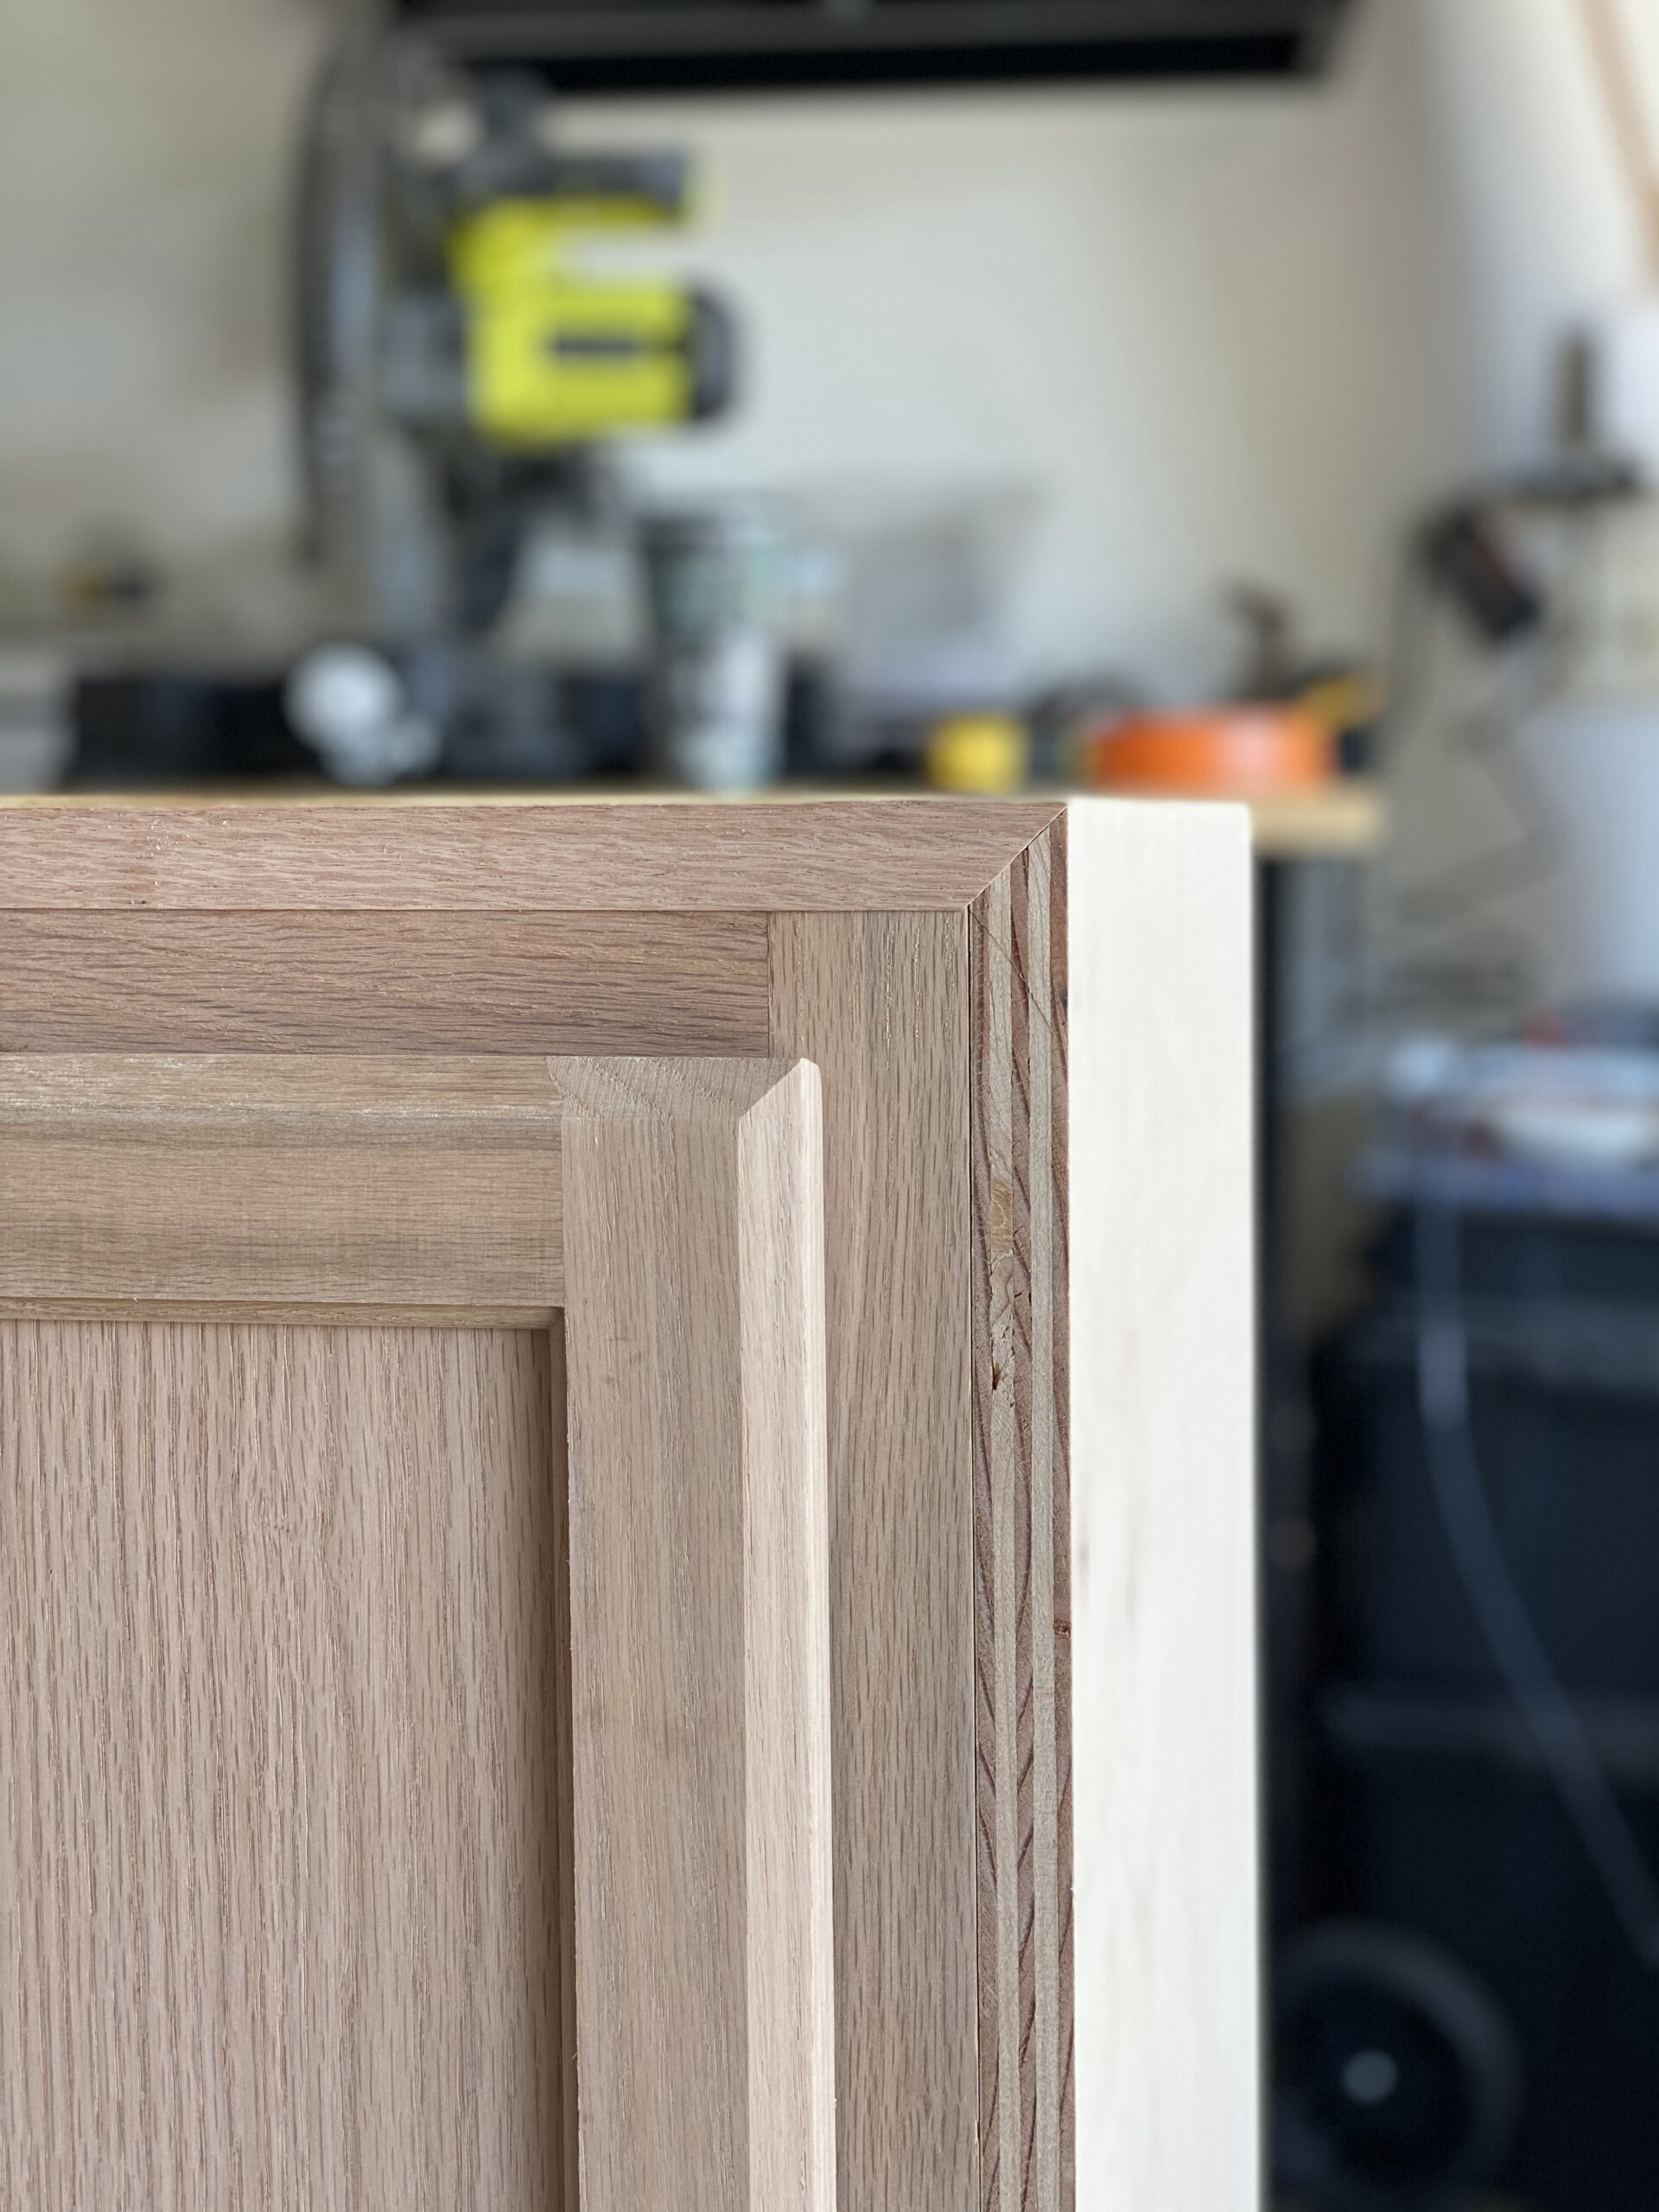
Because we are using plywood, we will want to apply some edge banding so that we can’t see the layers on the plywood from the front. You can see in the image above that you can see the plywood layering. Edge banding is easier than you think. Simply unroll the branding that you purchased and hold it in place. After your iron has heated up, press against the banding. This will activate the glue and it will adhere to the plywood edge. Run the iron along the edge slowly until it is secure. Make sure you tilt your iron at an angle to make sure the edges are very stuck. This will help to not peel up over time.
After you have applied it all, there may be a little bit that sticks up over the edges. Take a razer blade and run it slowly along the edge. This is easy and quick and will give you that perfectly clean look. You can see the difference in the image below.
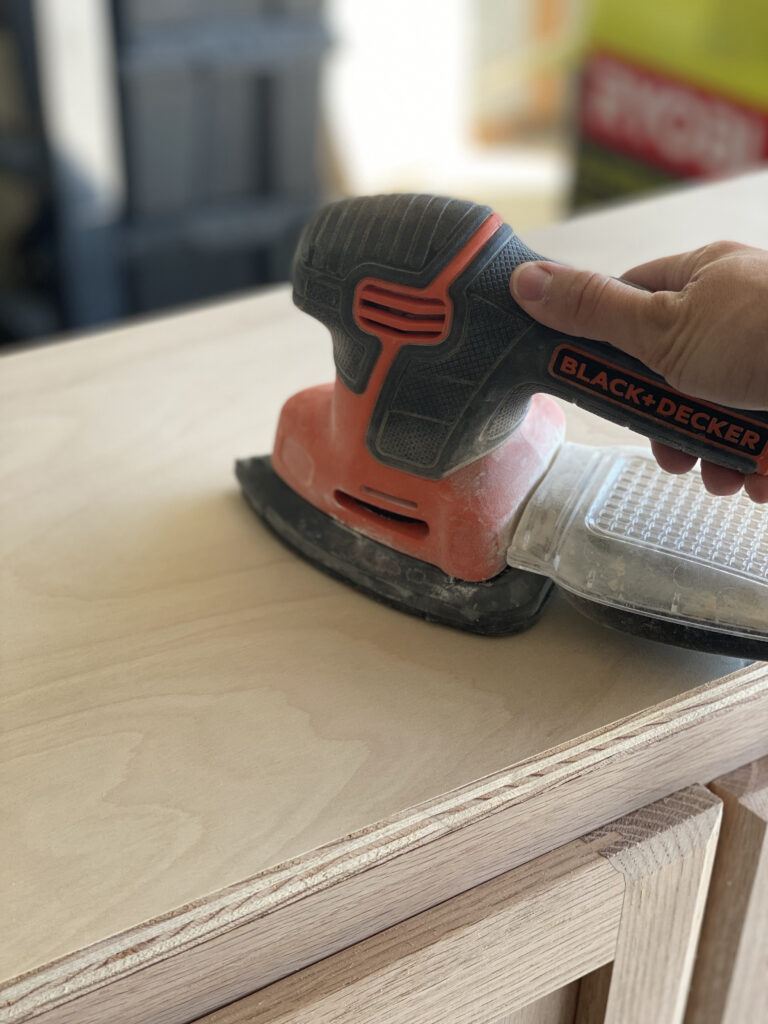
The next step is filling all of our nail holes and any other spots that need adjusting. Simply take your wood filler and apply it to those spots. Let it dry according to the packaging and then sand the entire cabinet smooth. The higher number grit sandpaper you use, the finer the sanding.
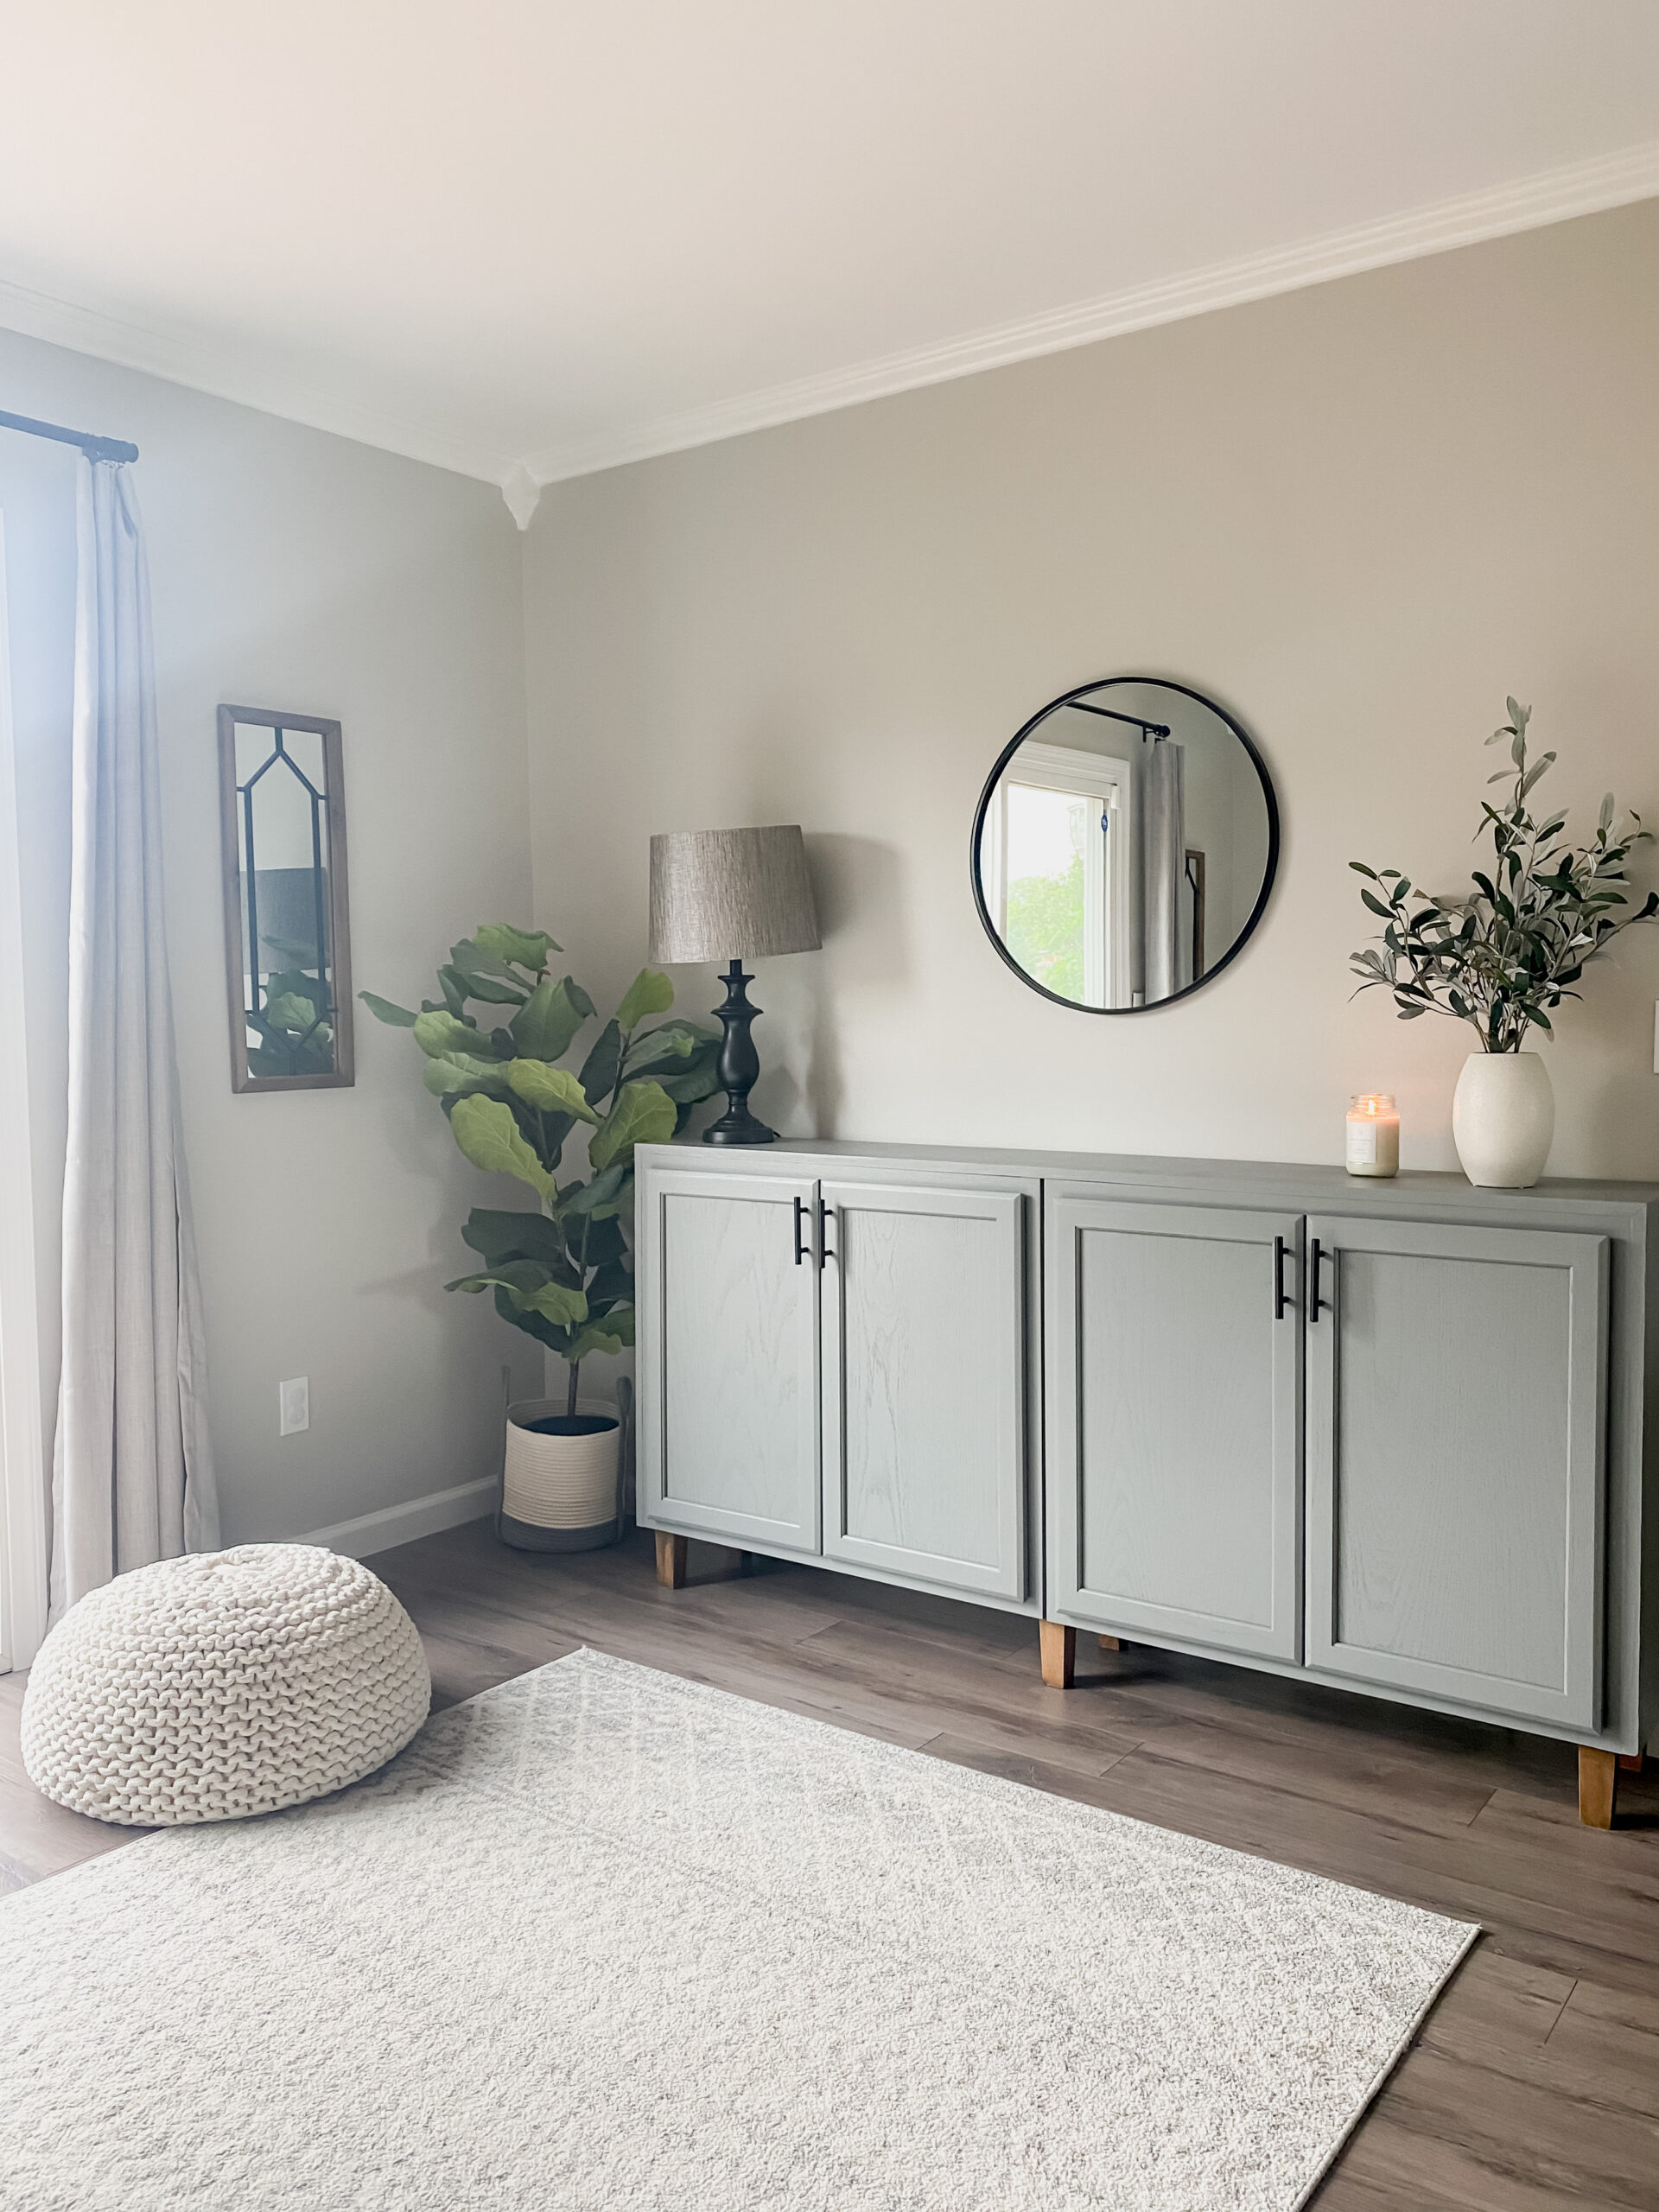
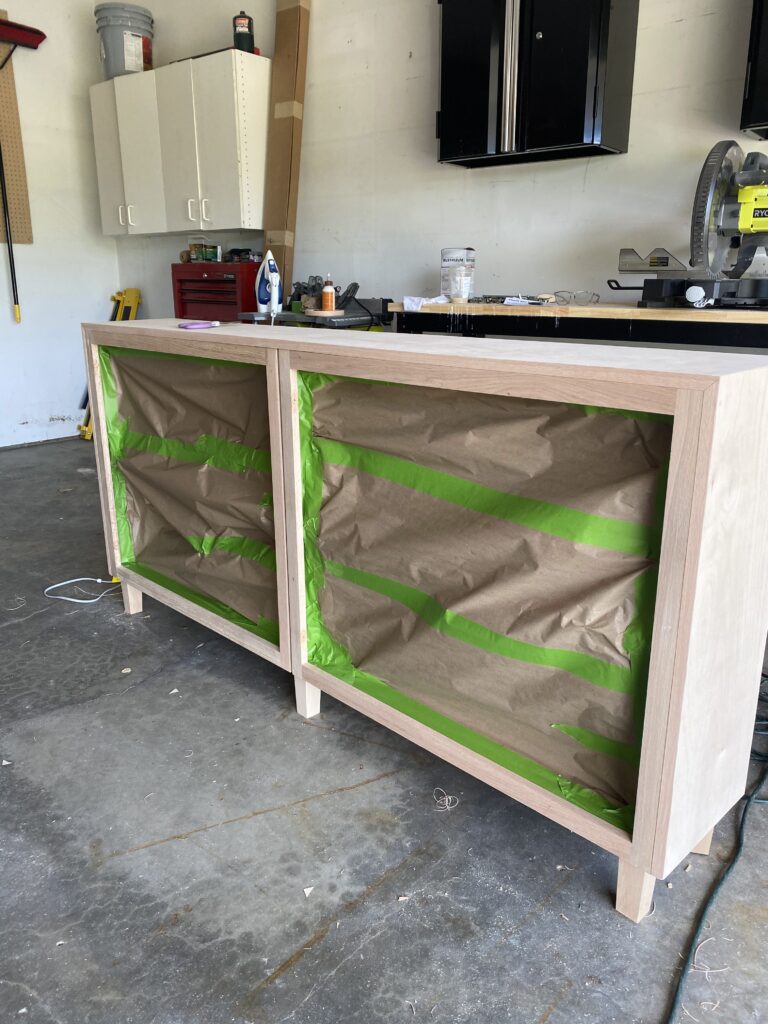
I decided to paint the cabinet with the color Teak Cups by Magnolia Home and stain the legs Dark Walnut but this is totally personal preference. I used my Graco paint sprayer and it dried fairly quickly. Be sure to prep the cabinet by taping off any sections that you don’t want to get paint. I didn’t want to risk the inside paint scratching off with bins/toys so I taped off the entire inside of the cabinet to leave it natural. I removed the legs and painted the entire cabinet. You could also paint this with a roller if you don’t have a paint sprayer.
Please note: if you are wanting to stain the cabinet, be sure to test your different materials first. There is a good chance that because the cabinet, edge banding and top/side pieces are different materials that they will stain differently.
Decide the sizing of your hardware and attach using the hardware guide linked above. This makes it SO much easier to make sure that all of your hardware pieces are perfectly lined up.
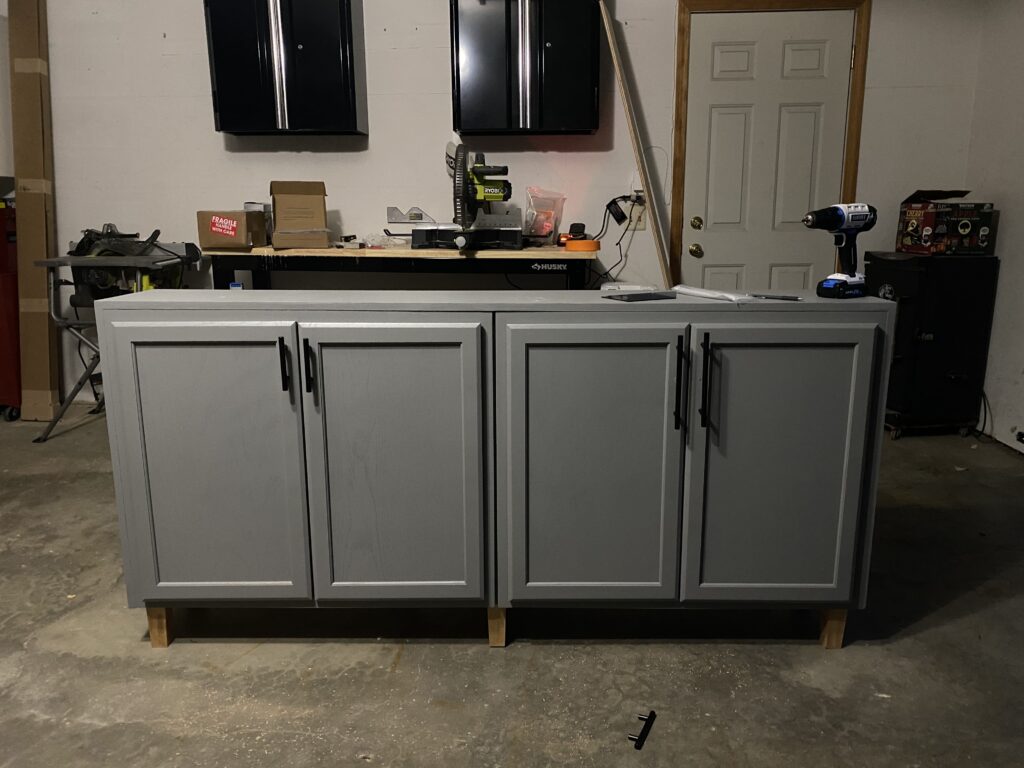


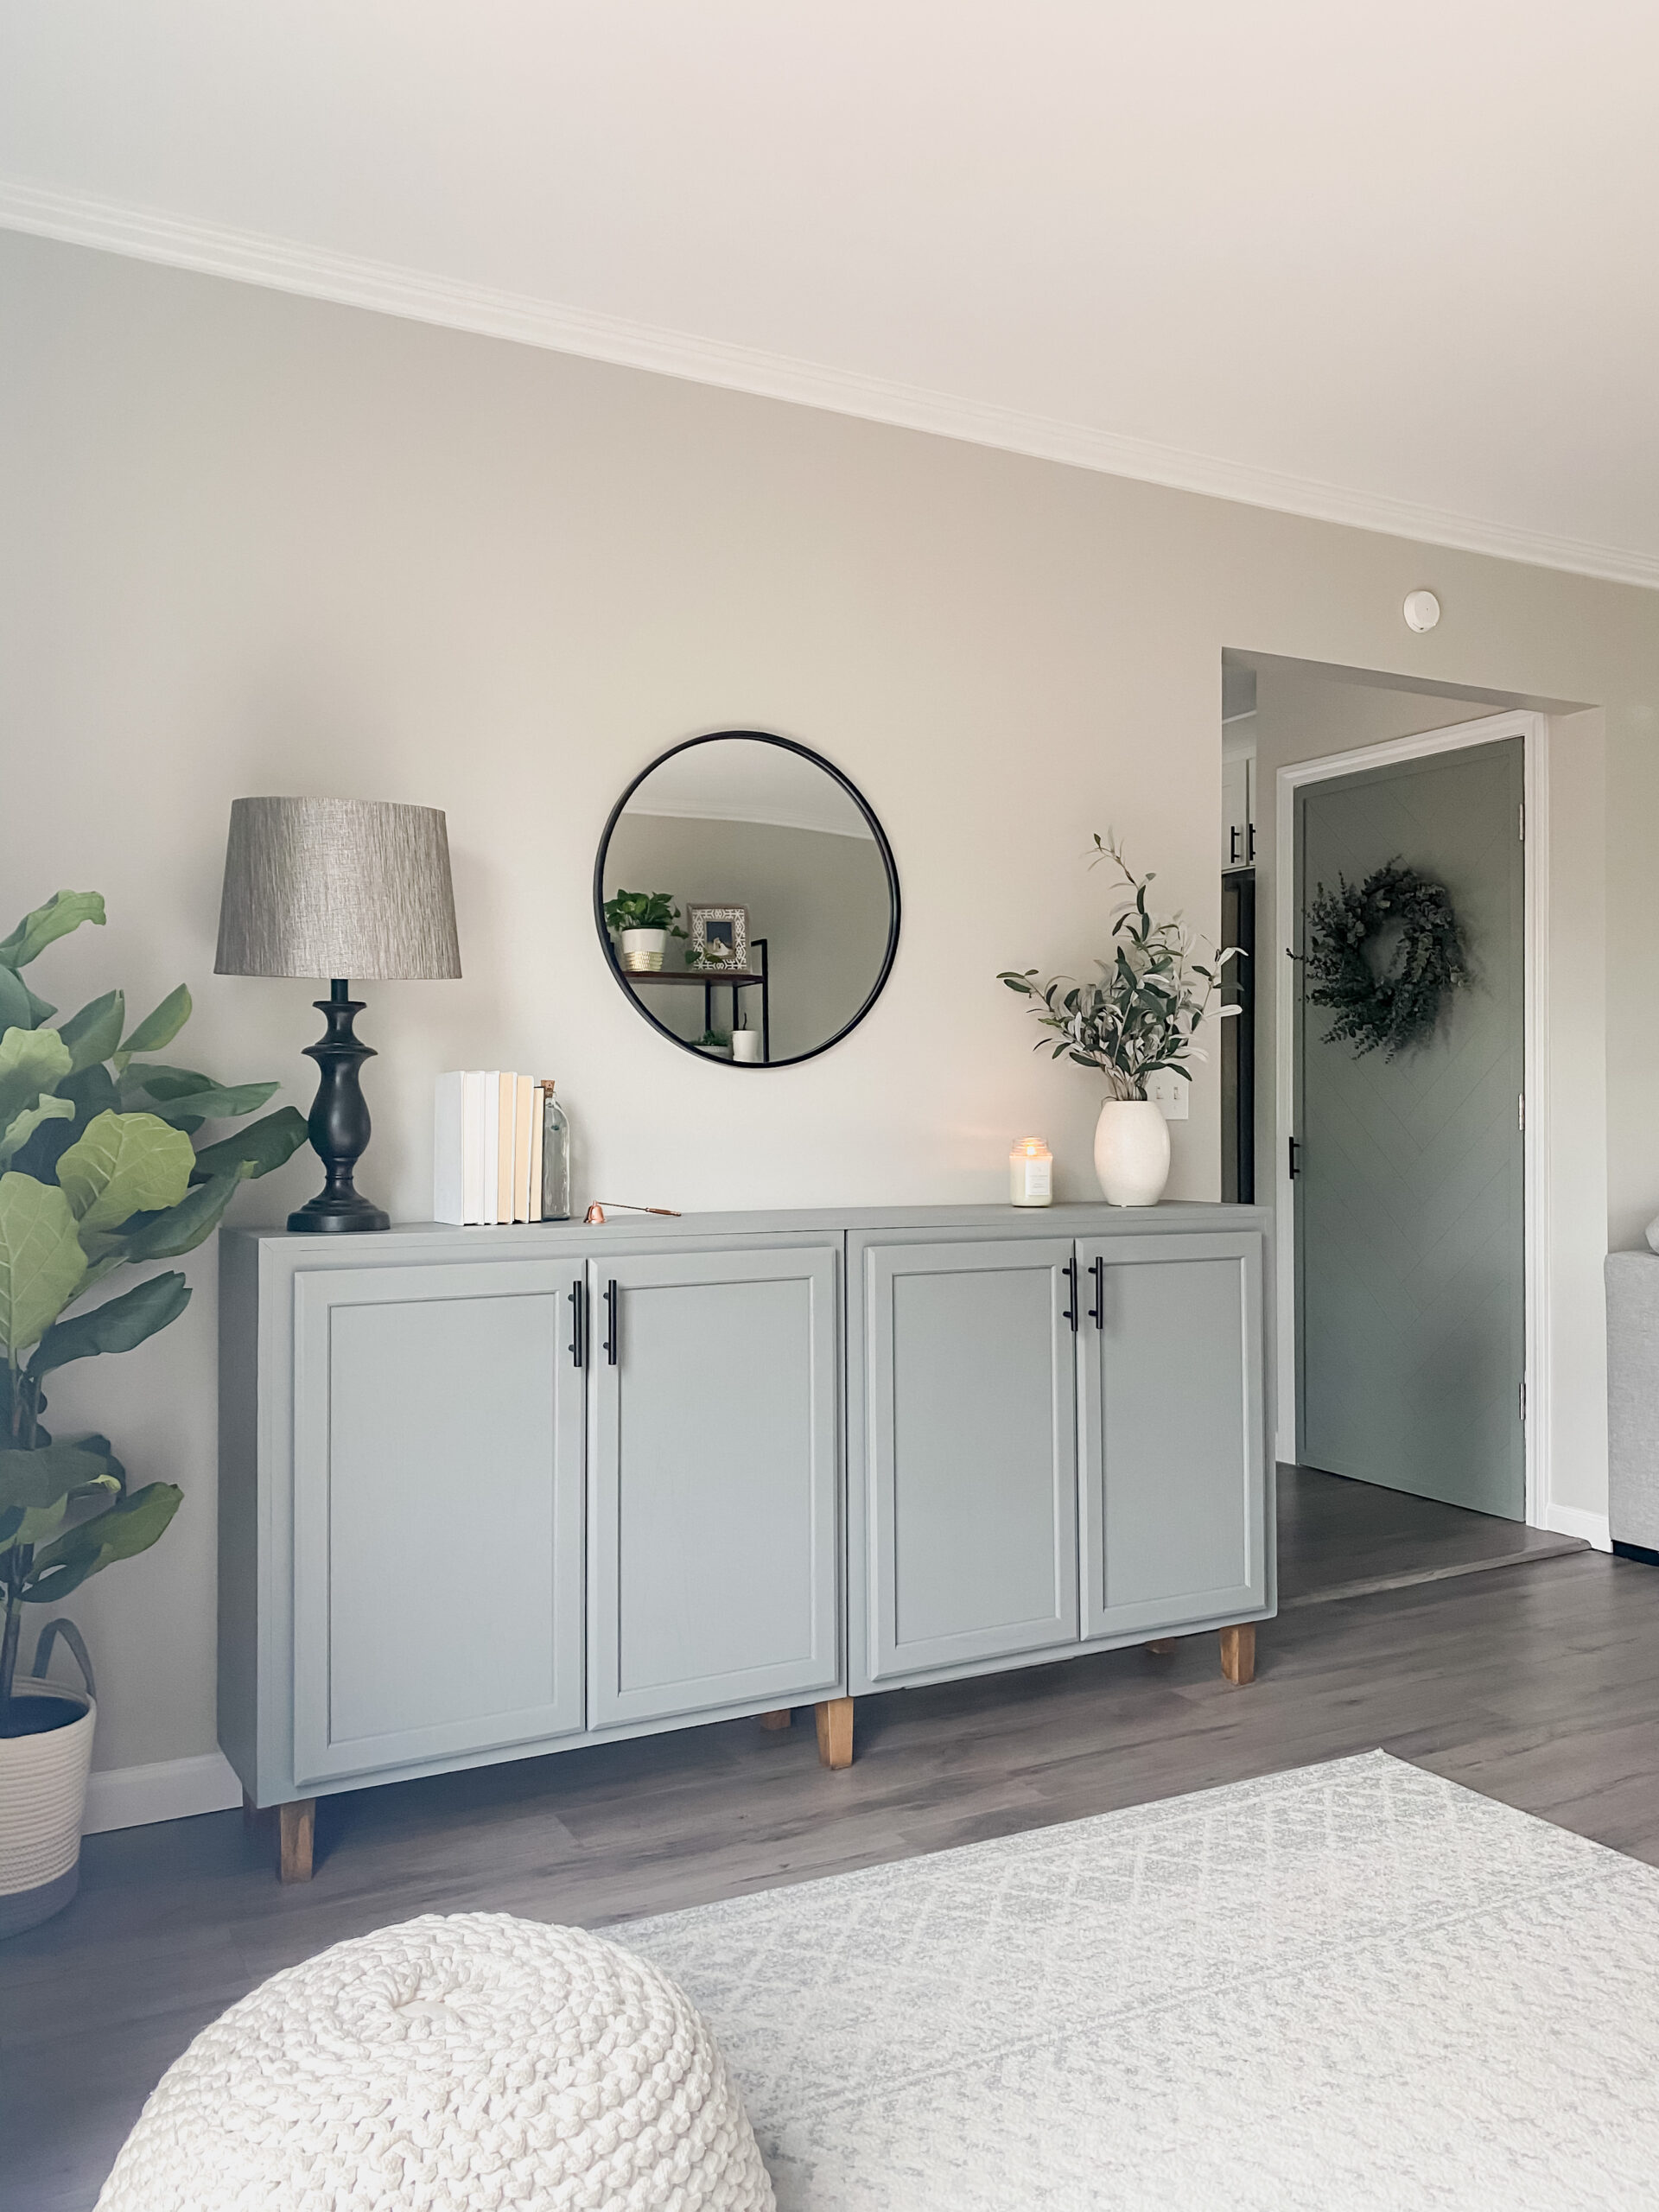
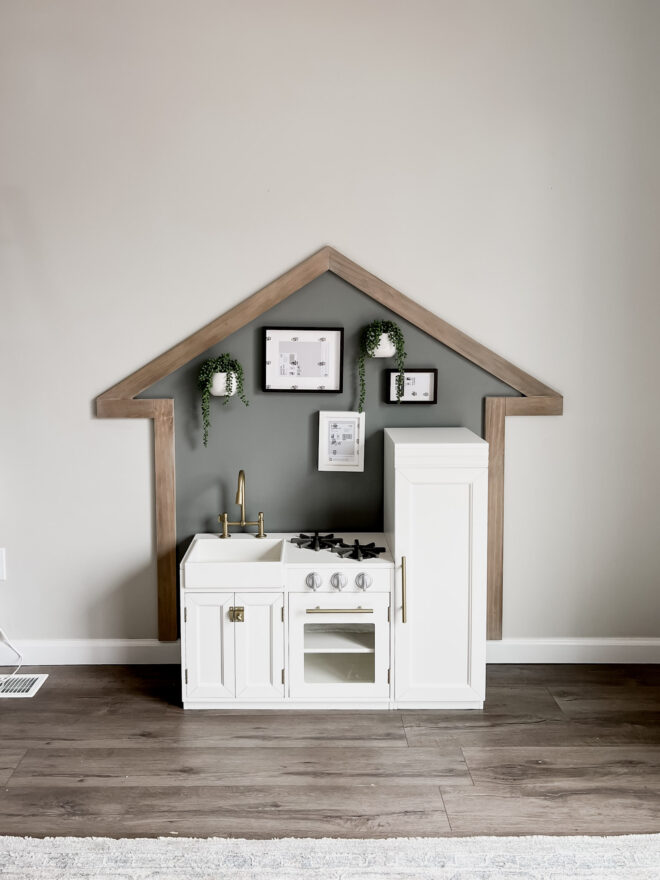
Ta-da! A custom DIY sideboard at a fraction of the price!