Beginner Friendly Projects, DIY + Projects, Home, Home Decor, Living Room, Projects on A Budget, View All, Weekend Projects


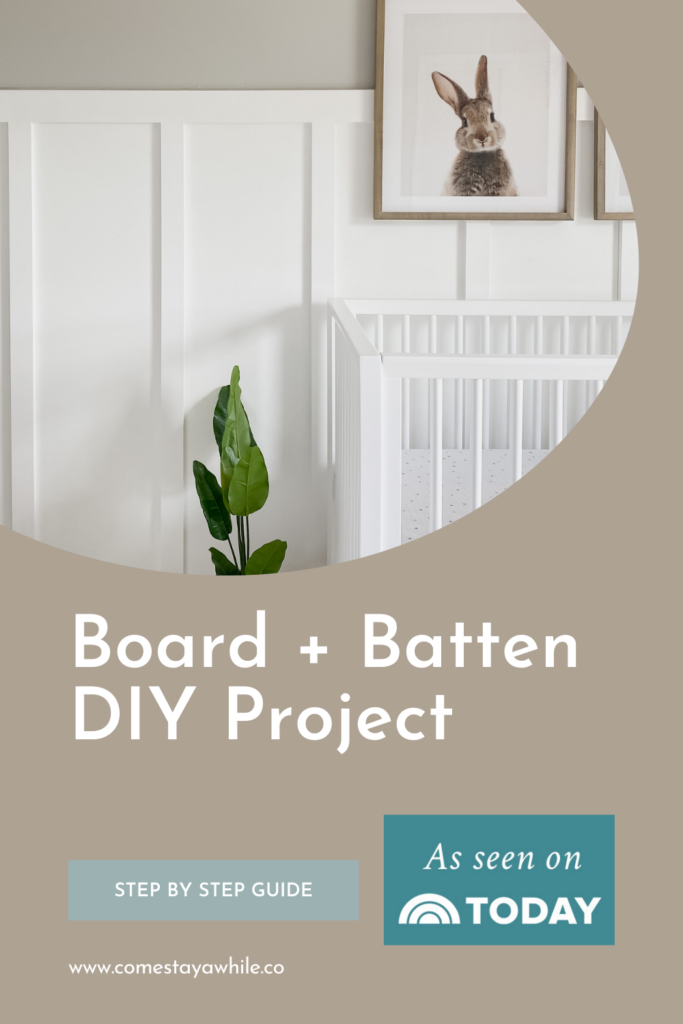

I want to show you how easy it is to elevate your space and make it completely custom with board and batten! This project can seem intimidating but is actually simpler than you think and can be completed in just a few days!
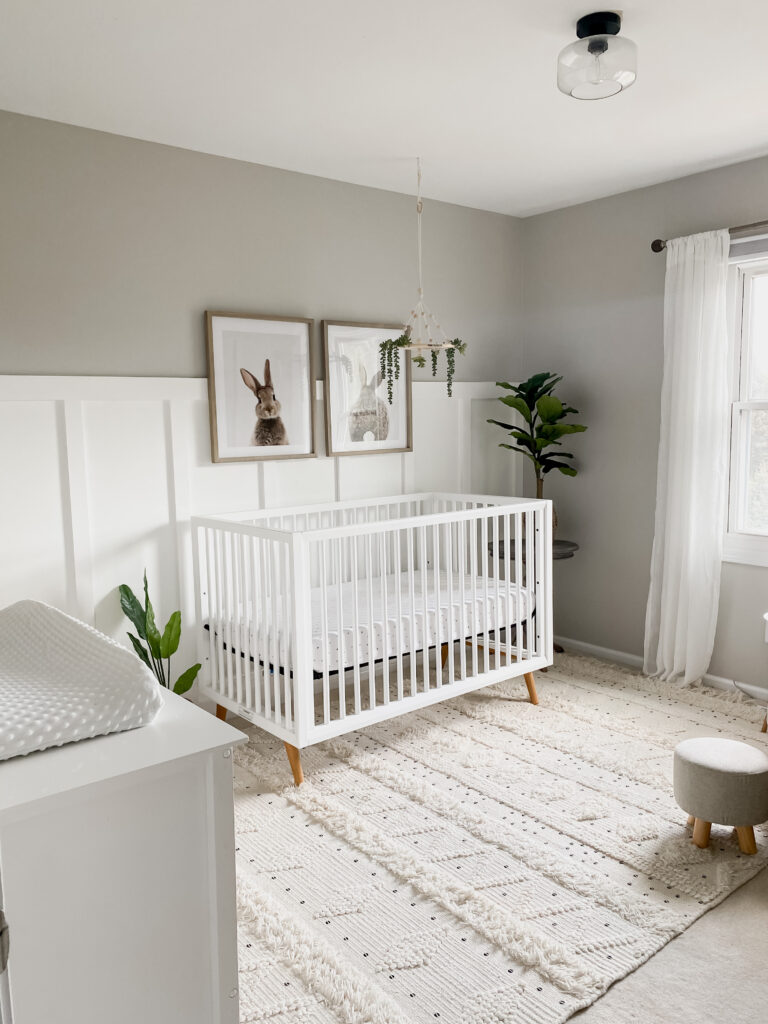
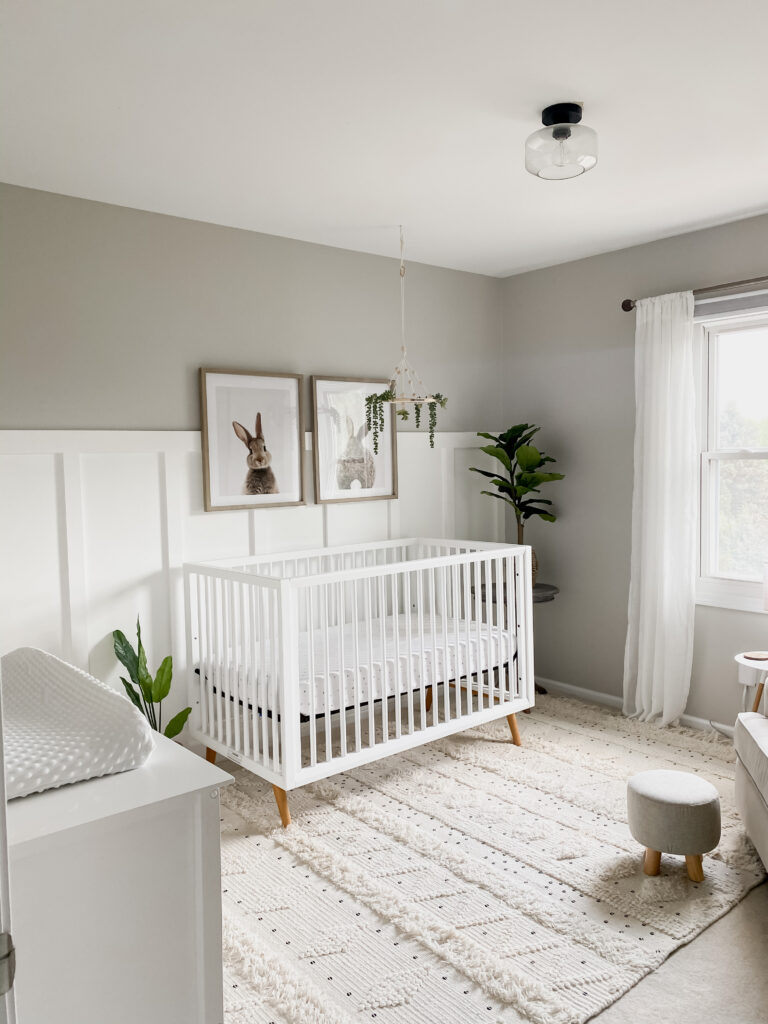
Board and batten is basically just a fancy way to describe adding wood/MDF strips to your wall to create a pattern of design. This is great because it can be used in a variety of ways to add character to a space. I’ve actually used it in a few places in our house and it totally takes something from builder grade to custom.
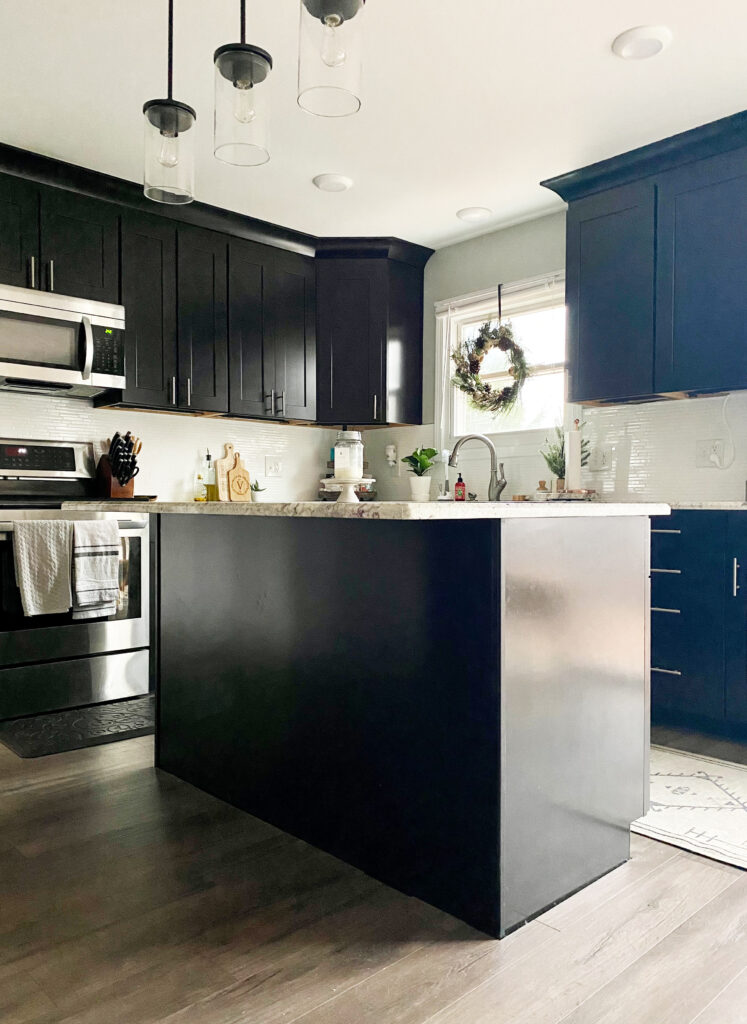
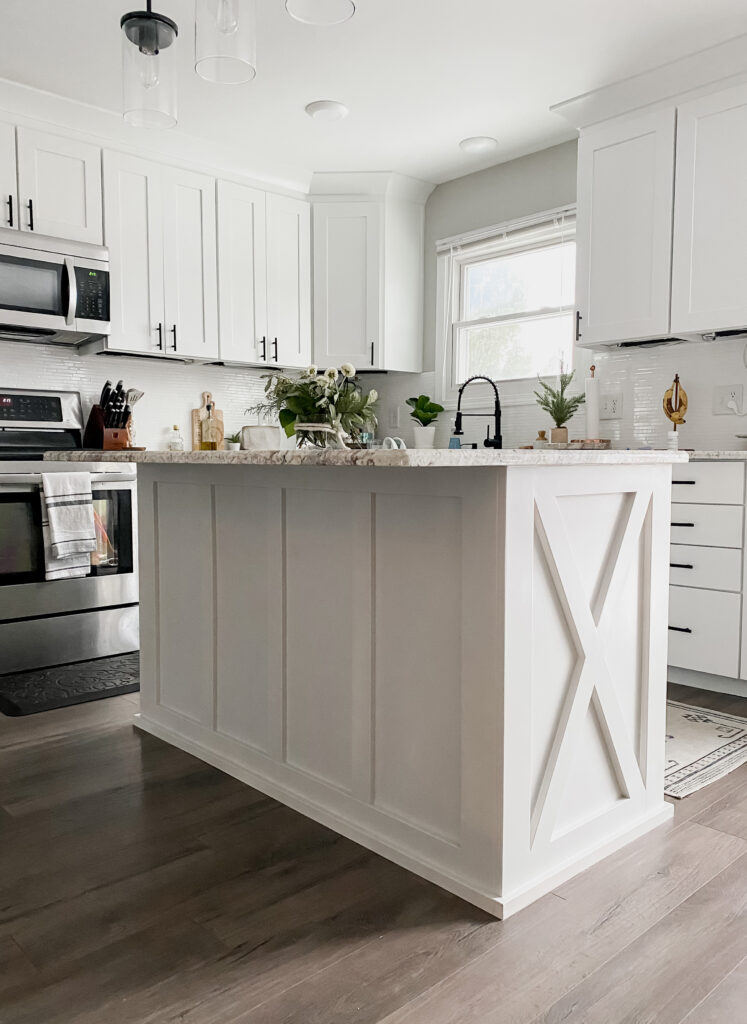
You can see here I did this on our kitchen island.
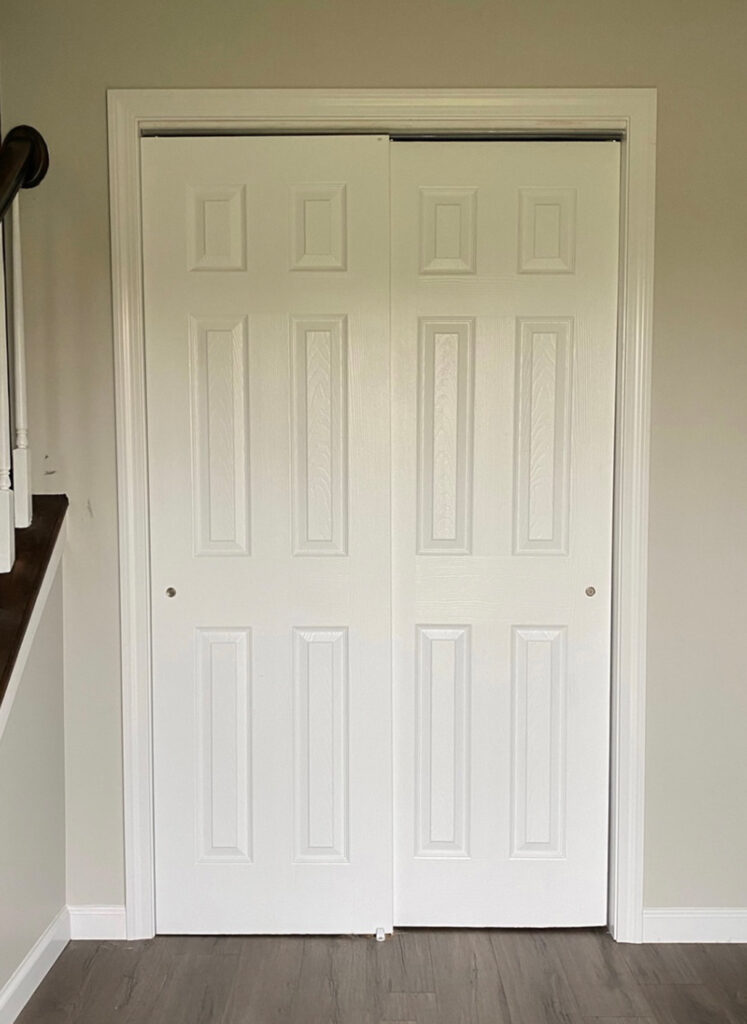
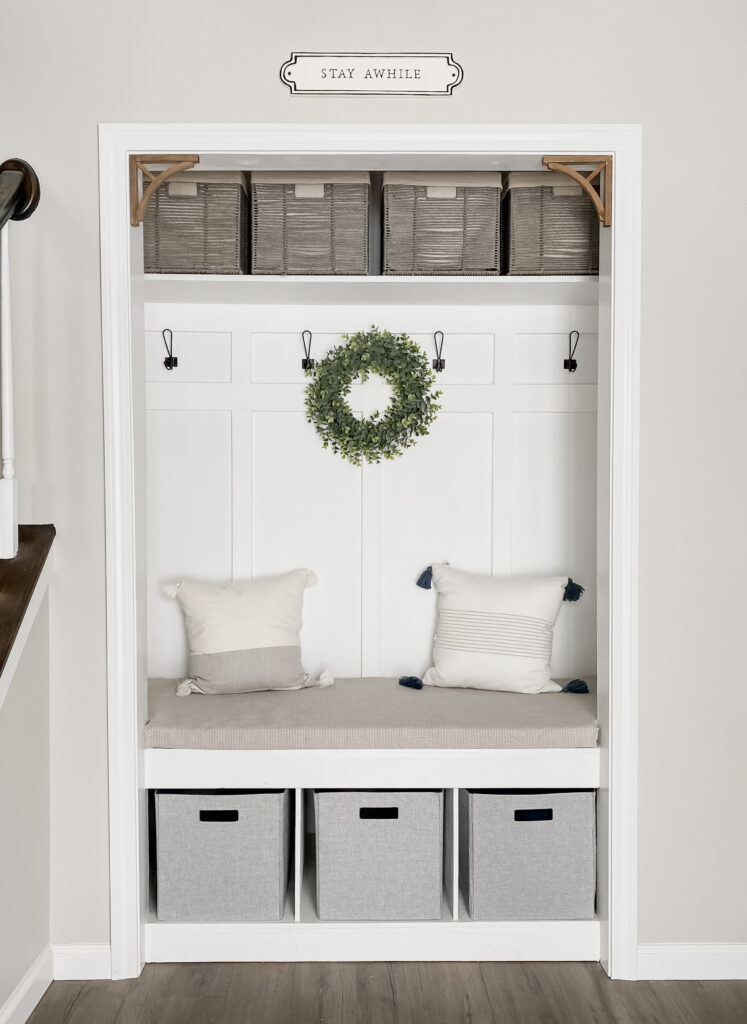
I also converted a closet to a mudroom bench and we used this technique here too!
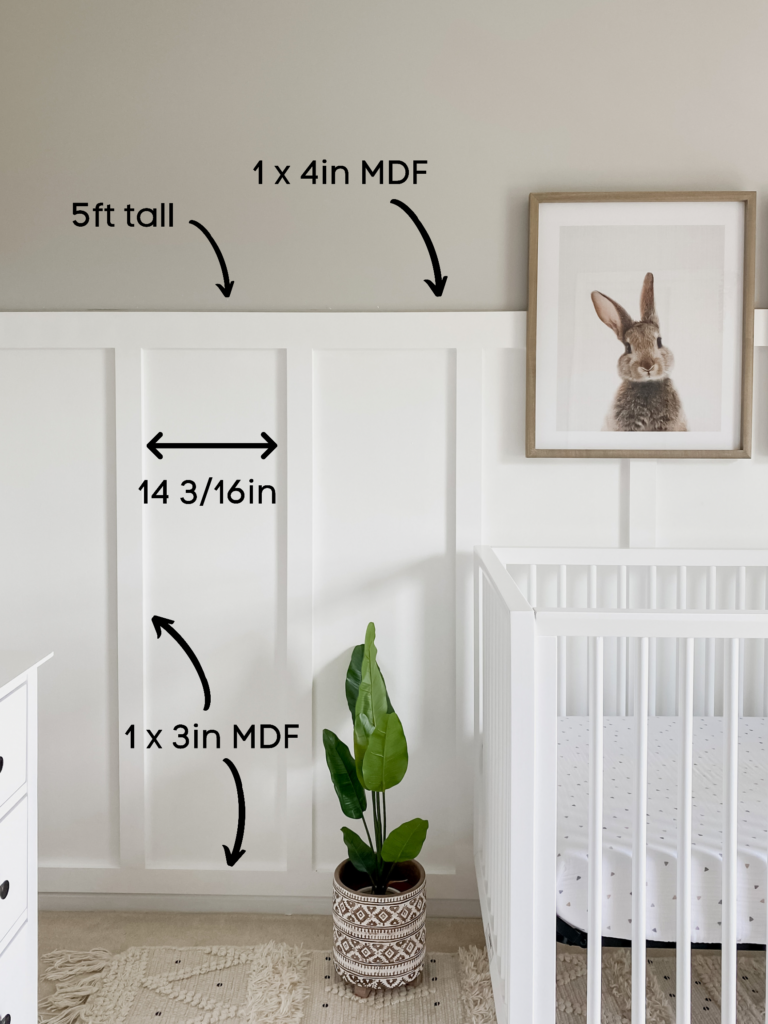
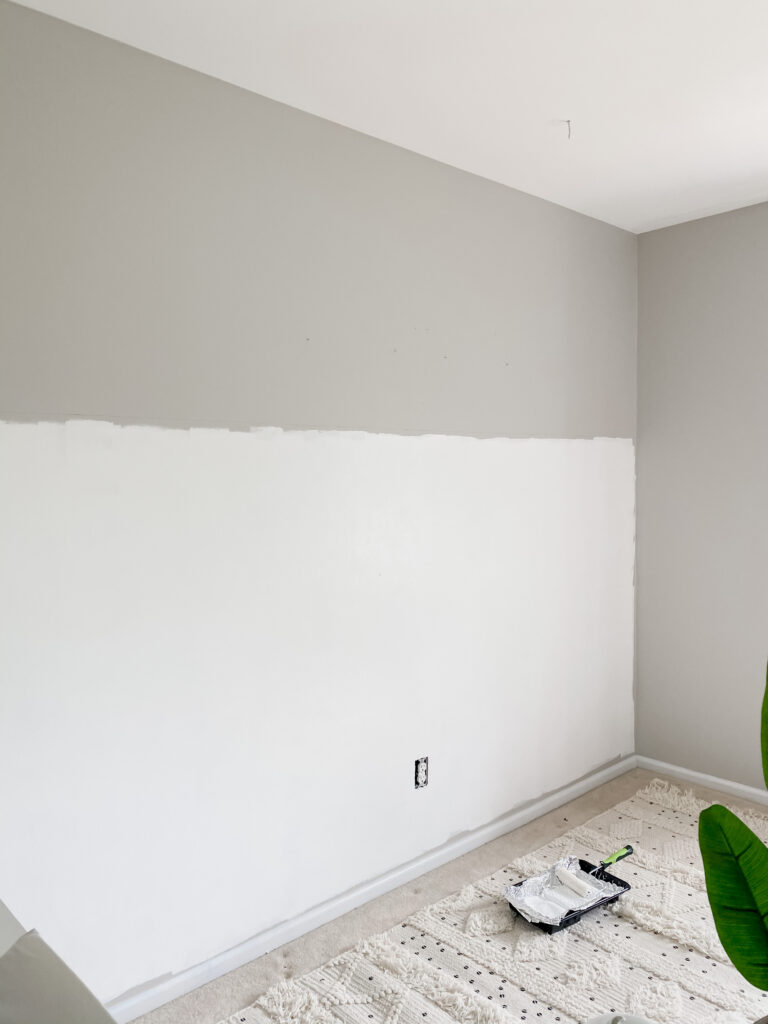
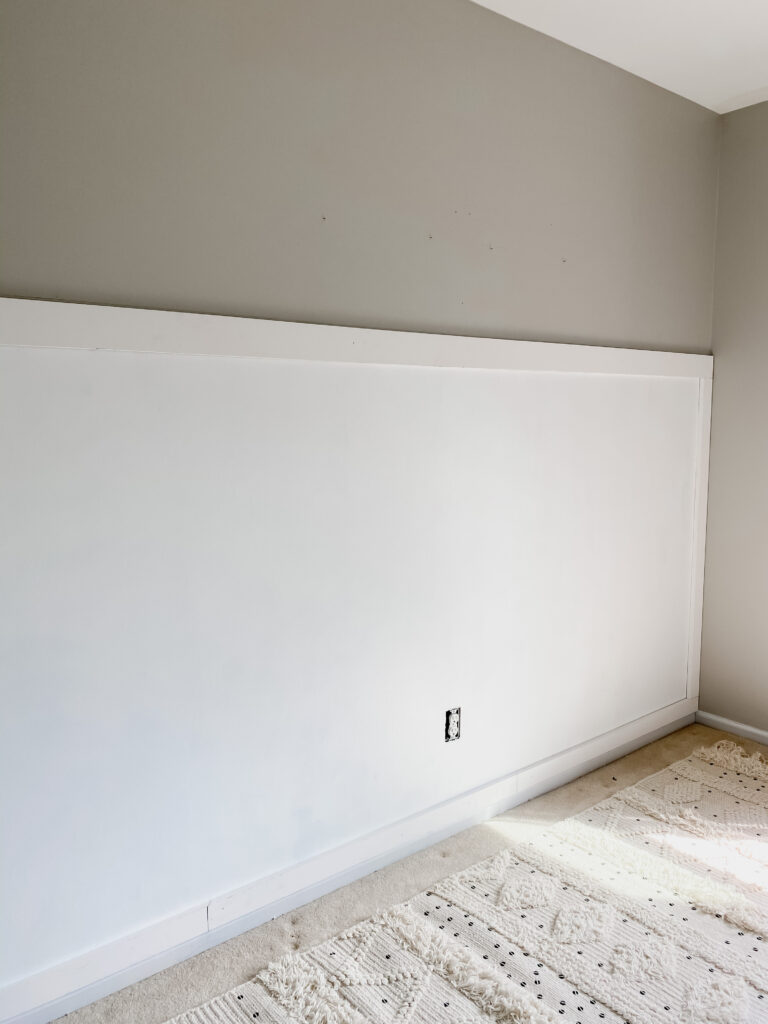
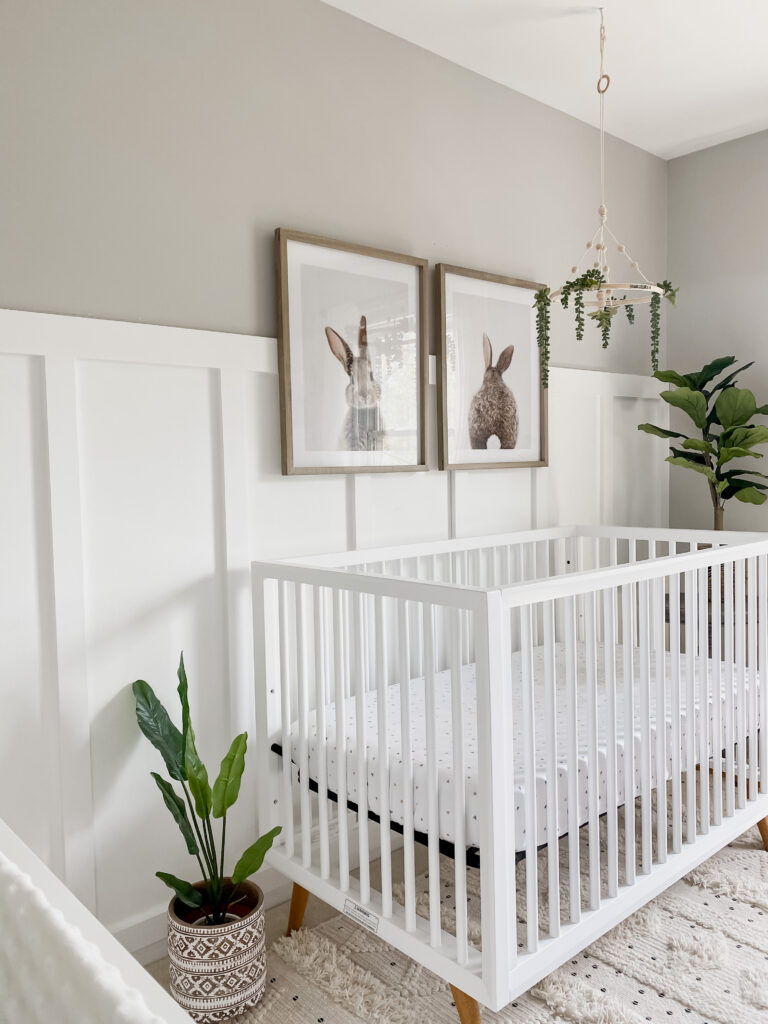
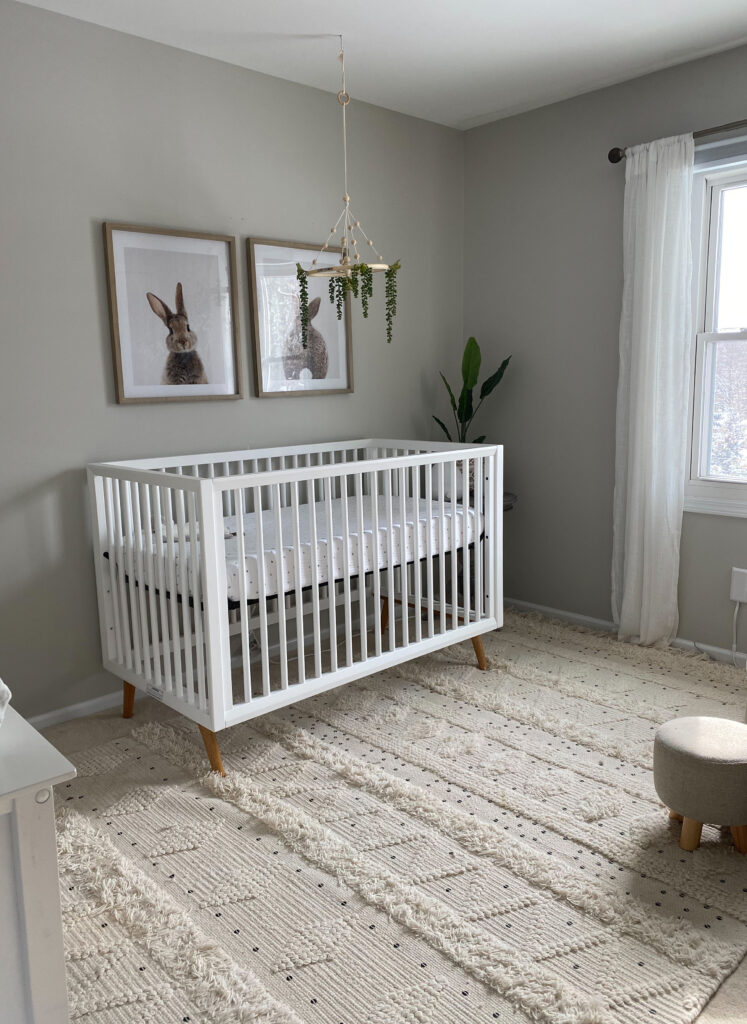
The nice thing about board and batten is that you can totally customize it. I’ve seen it taken all the way to the ceiling, half way, painted… the possibilities are endless. Determine the height of your feature wall and paint 1-2 coats in that space before attaching your boards …you’ll thank me later! Don’t worry about it being perfect, your boards will cover the edges.
You want to find and mark the studs. You can use a stud finder to do this. The goal is to shoot our nails into the studs whenever we can but chances are this won’t be possible for every board. To determine the spacing, I recommend using this online calculator. It is super easy to work with and will give you all the measurements you need! Why calculate the hard stuff when this will do it for ya!? You can simply put in the measurements of the wall width, the width of the boards and the number of panels you want.
Once you determine the spacing, cut your boards to size.
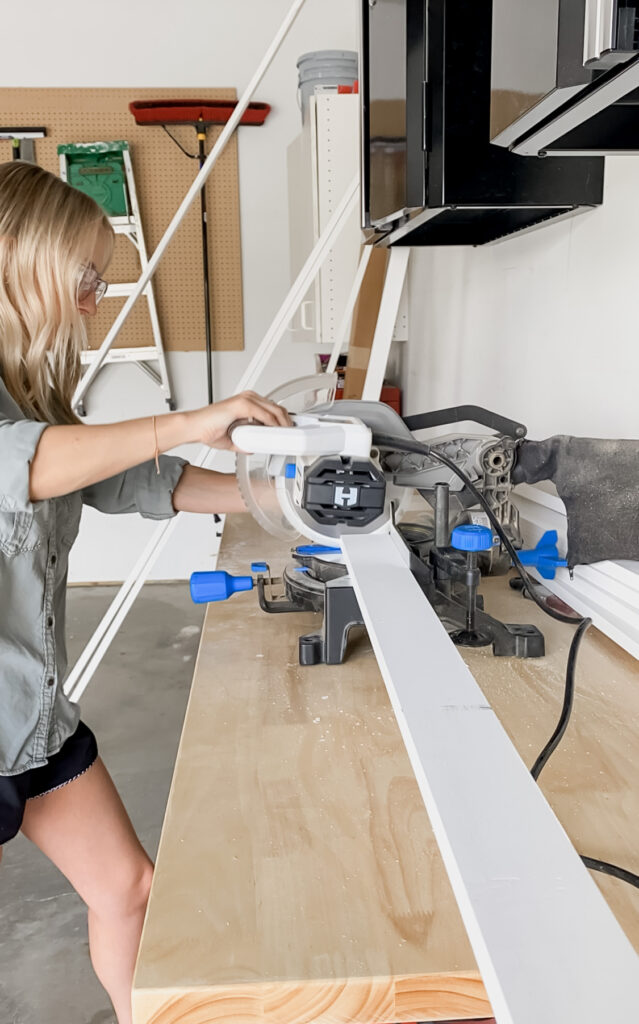
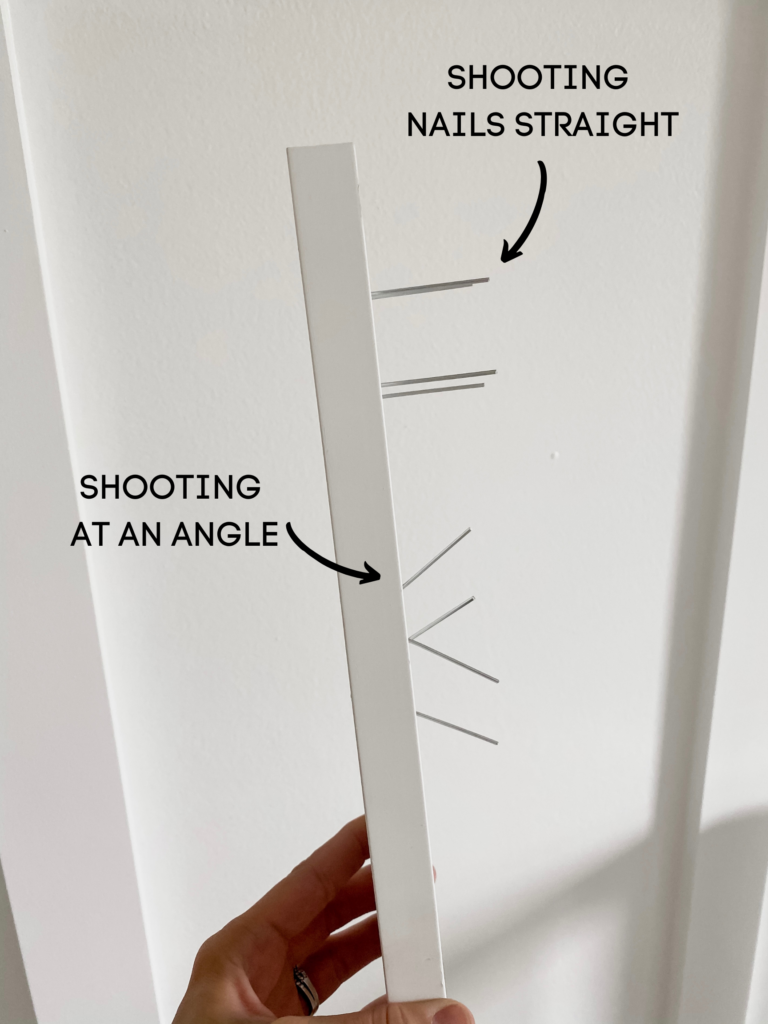
I recommend shooting your nails at a slight angle and alternate as you go. This will help the nails grip into the wall if you aren’t able to line up with a stud. If you don’t, the board can be easily pulled from the wall.
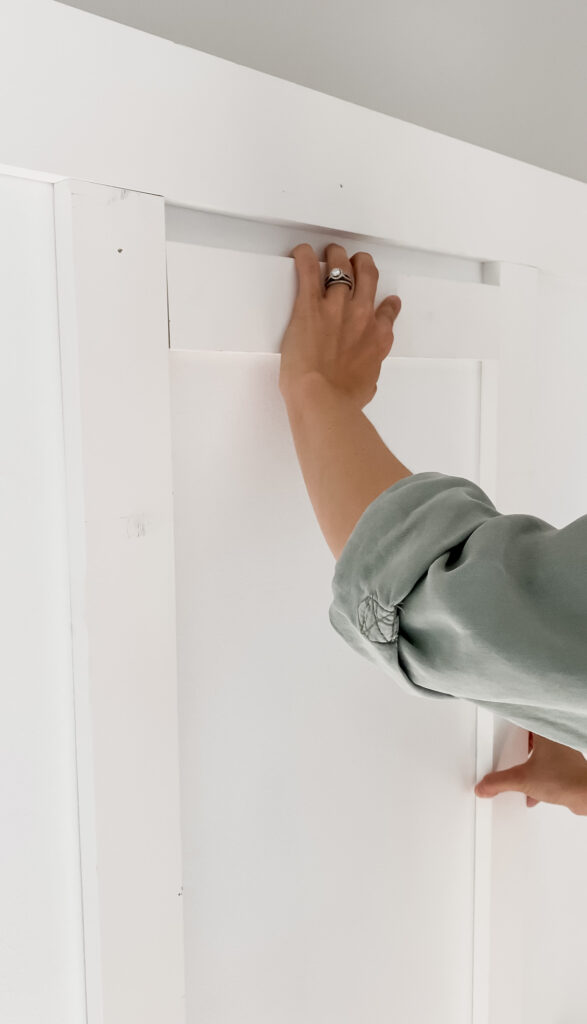
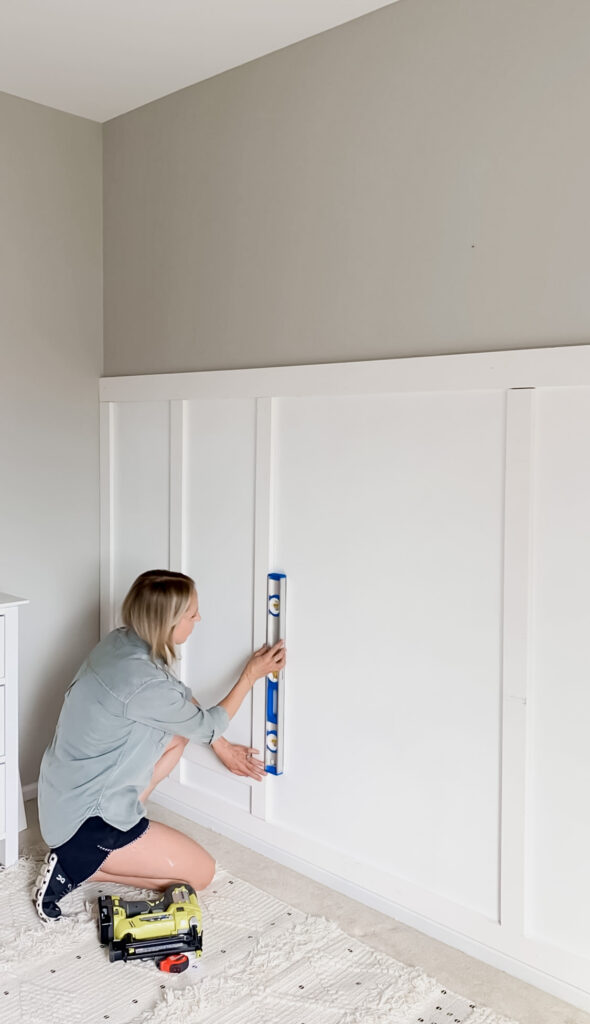
Don’t assume that your walls/baseboards are level. This will get you into trouble every time. I recommend using your level and attaching your top horizontal board first. You can remove the baseboard if you’d like but I just installed a second horizontal board right over it and it looks totally fine. This is a personal preference. Nail this horizontal board into the studs that you marked.
I recommend using a scrap piece of wood and cutting it to size to use as a spacer. This will make things easier for you. Work from left to right installing the boards with your brad nailer. I recommend shooting your nails at alternating angles at the top, middle and bottom of the boards to make sure they are really secure. Use your level as you go to make sure they are straight.
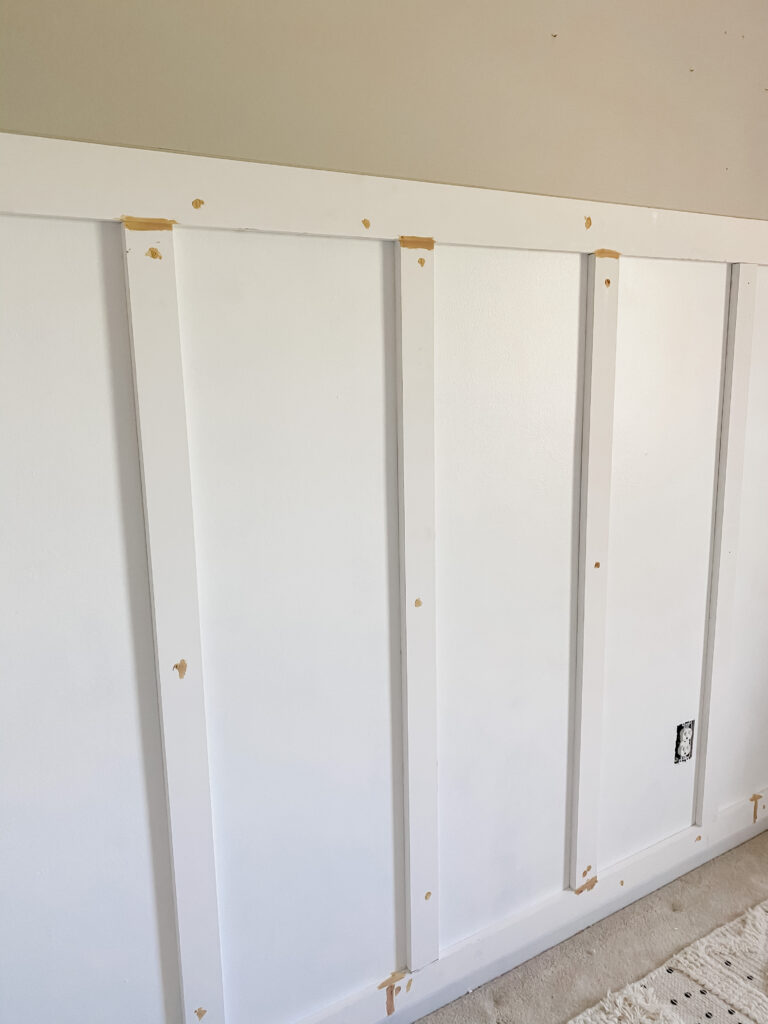
After all of your boards are attached you will want to do the finish work. This part can be tedious but it totally takes the project from that “DIY” look to professional and clean! You will use wood filler and caulk. TIP: wood to wood = wood filler, wood to wall = caulk. You can view my full tutorial on how to caulk like the pros here. Let everything dry and then sand it smooth. After everything is dried and sanded, paint the wall and viola!! A beautiful board and batten feature wall! See… that wasn’t so bad, was it?!

This project was featured on the Today Show with Hoda and Jenna! Click here to check it out!