It’s here! The full reveal of AJ’s bedroom including a cost breakdown and everything I used! I found myself getting discouraged in this project because being pregnant was slowing down my progress, but now that it’s finished it was so worth it. If you missed any of it, catch up here!

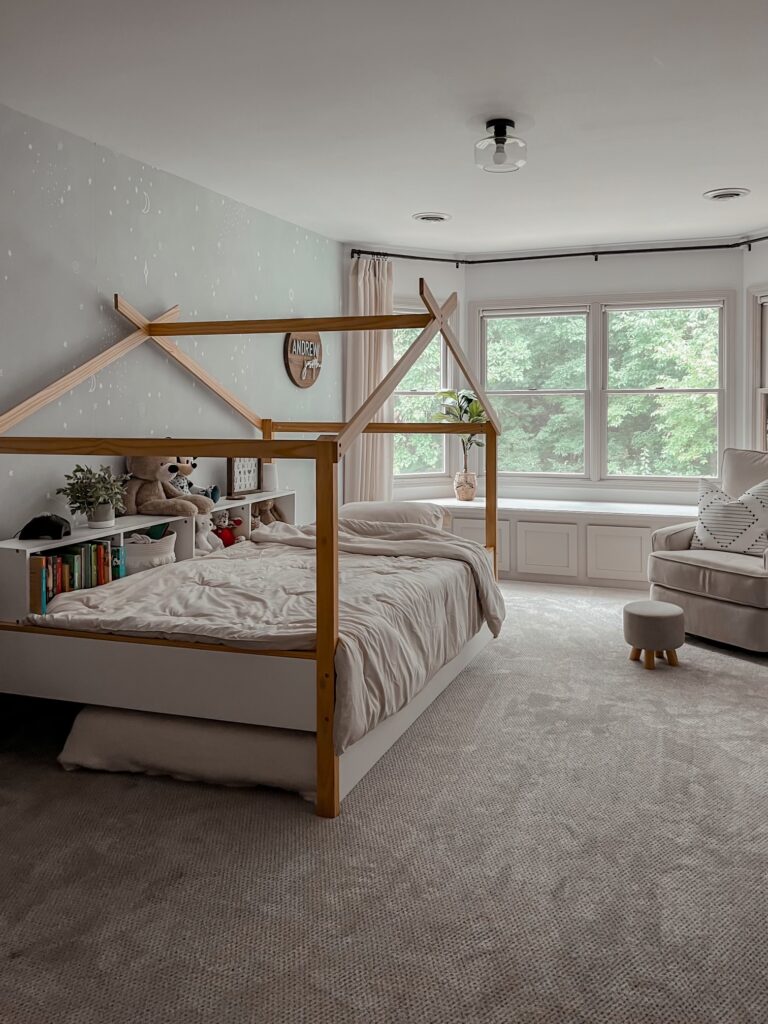
The wallpaper is one of my favorite features of the room. I love that it is boyish, neutral, and will grow with him. Peel & stick wallpaper is so much easier than real wallpaper, and I’m glad I didn’t attempt that for this project! I always overlap the edge of the wallpaper slightly to account for any variation in the wall where it might not be completely straight.


Originally the wallpaper was going to be the first project, but while I was waiting for the panels I put together his bed and started on the window trim. I went with the same trim color as downstairs (Even Better Beige by Behr or Accessible Beige by Sherwin Williams – they’re basically the same). I used the Sherwin Williams Emerald Urethane trim paint because it is self leveling and doesn’t leave brush or roller marks. Painting trim is a simple project with the right prep. Make sure you follow these steps for best results.


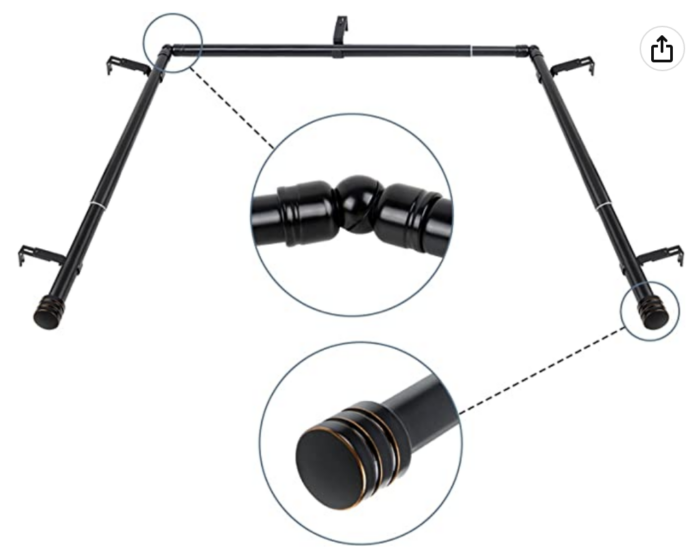
Having the window seat painted makes the room look SO MUCH bigger and brighter! I’m loving our house more and more as I transform each room. I also installed the same bay window curtain rod that I have in our downstairs breakfast nook, with linen curtains, and the best roller blackout shades. I love how seamless everything looks while still being functional.


What is your favorite part of the space? Do you think I’ll have time to finish the nursery before baby comes?!


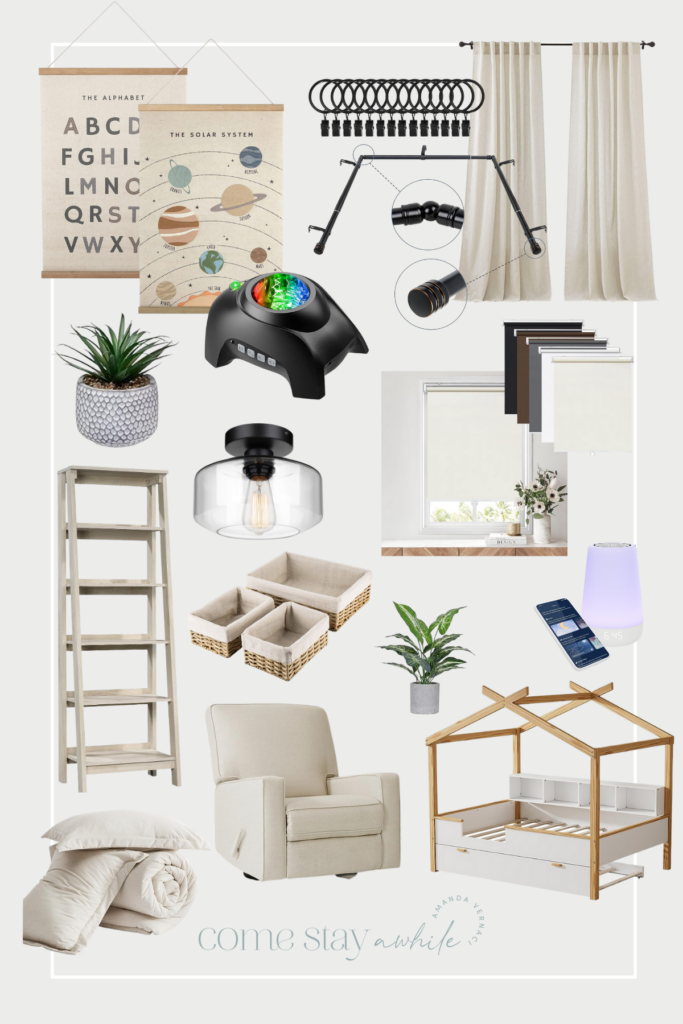
Total Cost: $565 (not including wallpaper)