


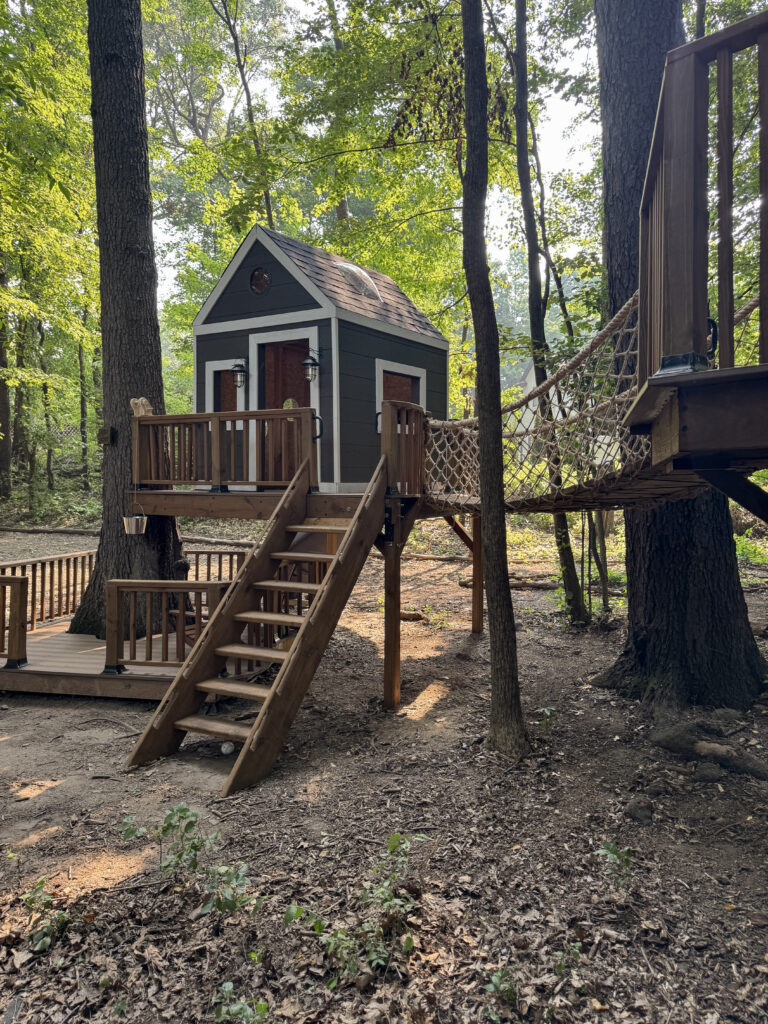
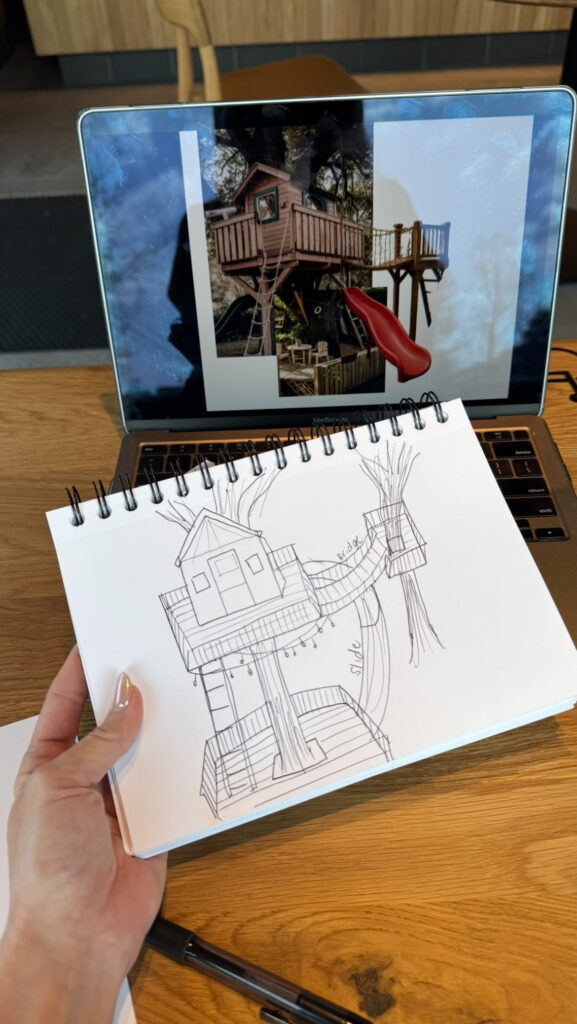
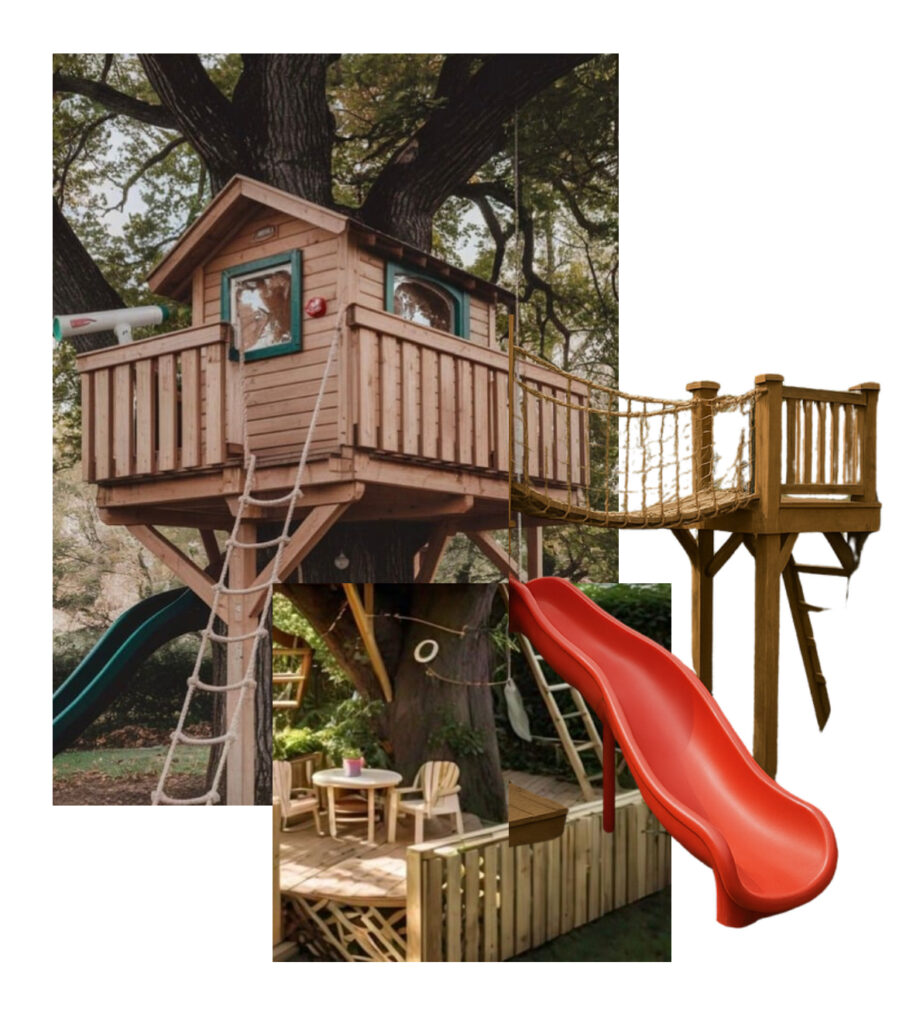
The dream was to build a one-of-a-kind treehouse for my boys completely from scratch with a whole lot of imagination. I asked the boys what they would want in their treehouse and prayed I wasn’t dreaming outside of my skill set. We ultimately decided on multi-platform treehouse layout that would be connected by a bridge, with slide coming off the side. I had no blueprints, or treehouse building experience, but I was determined to make this dream a reality.
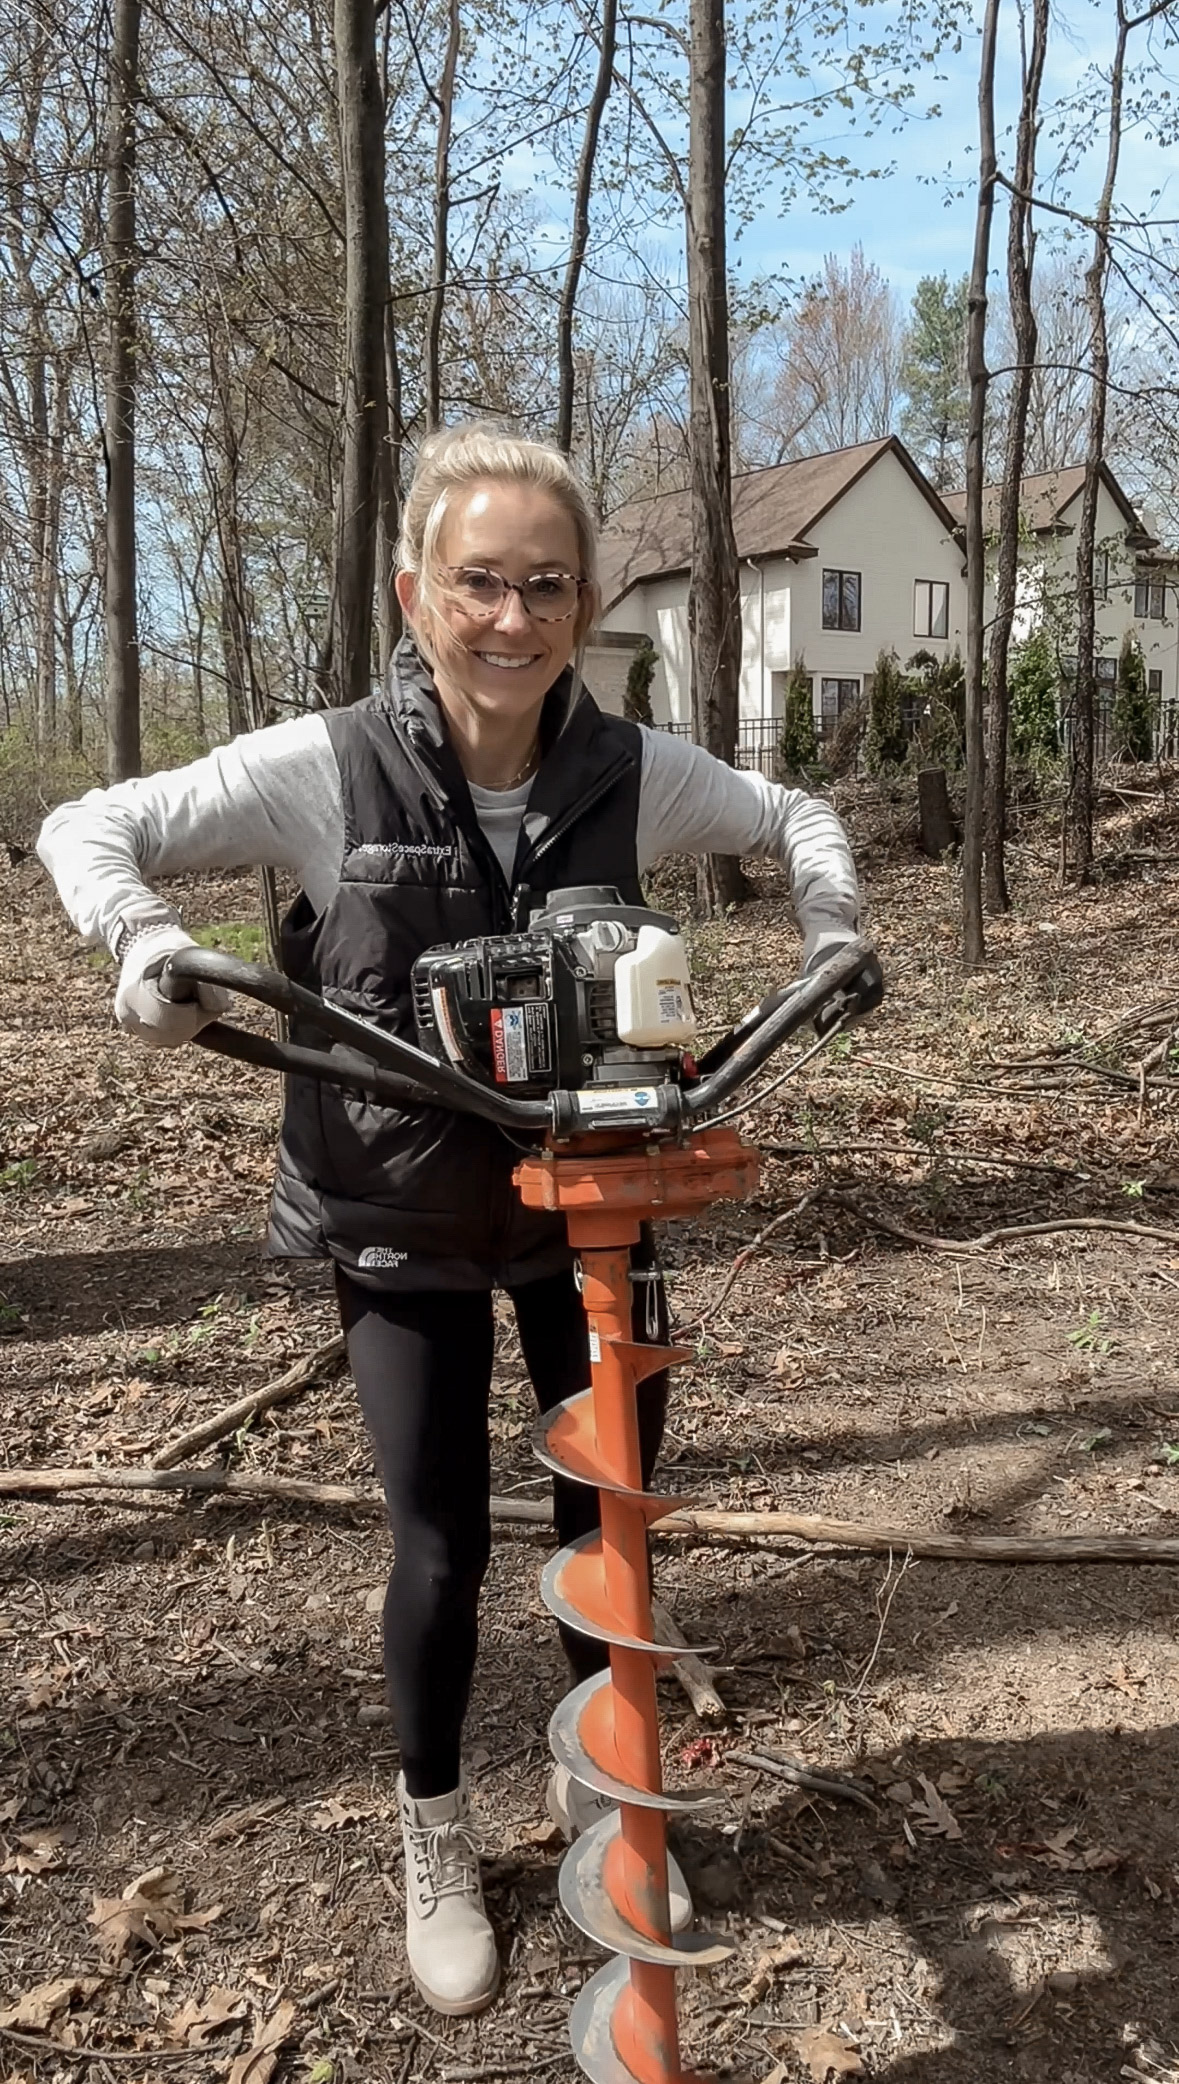
After mapping out where I wanted the platforms to lie around the trees, I rented an auger to start drilling holes for the posts. I had to ask my dad to come help, because that auger was kicking my butt– my shoulders may never recover. After the holes were dug, I used concrete to set the posts in the ground. This is the most important part, the whole treehouse is built off these posts so if they’re set incorrectly, the whole thing will fall apart.

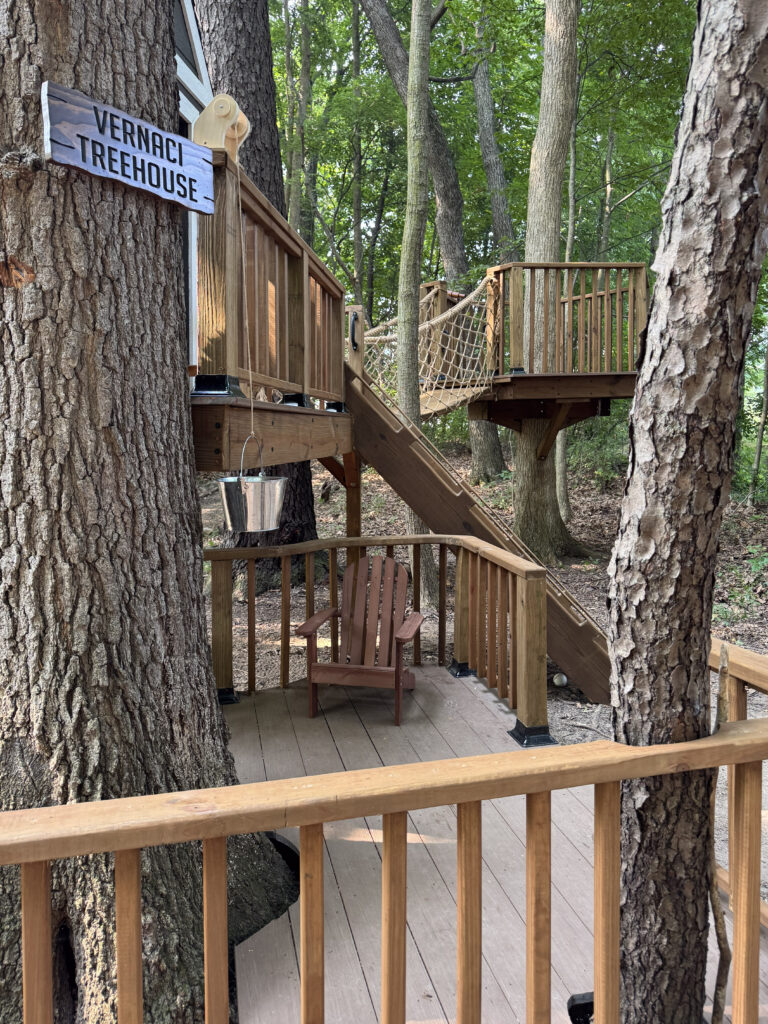
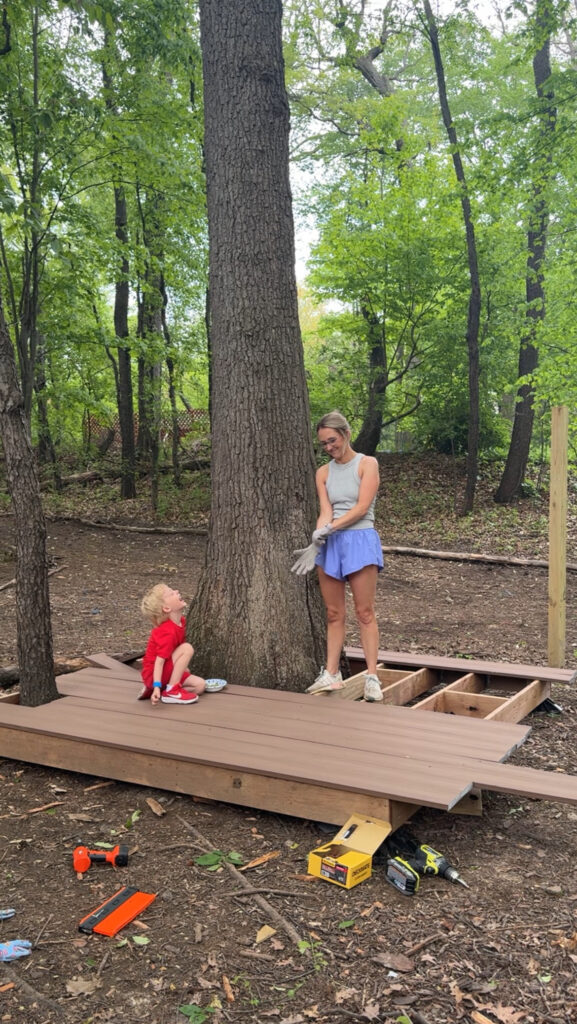
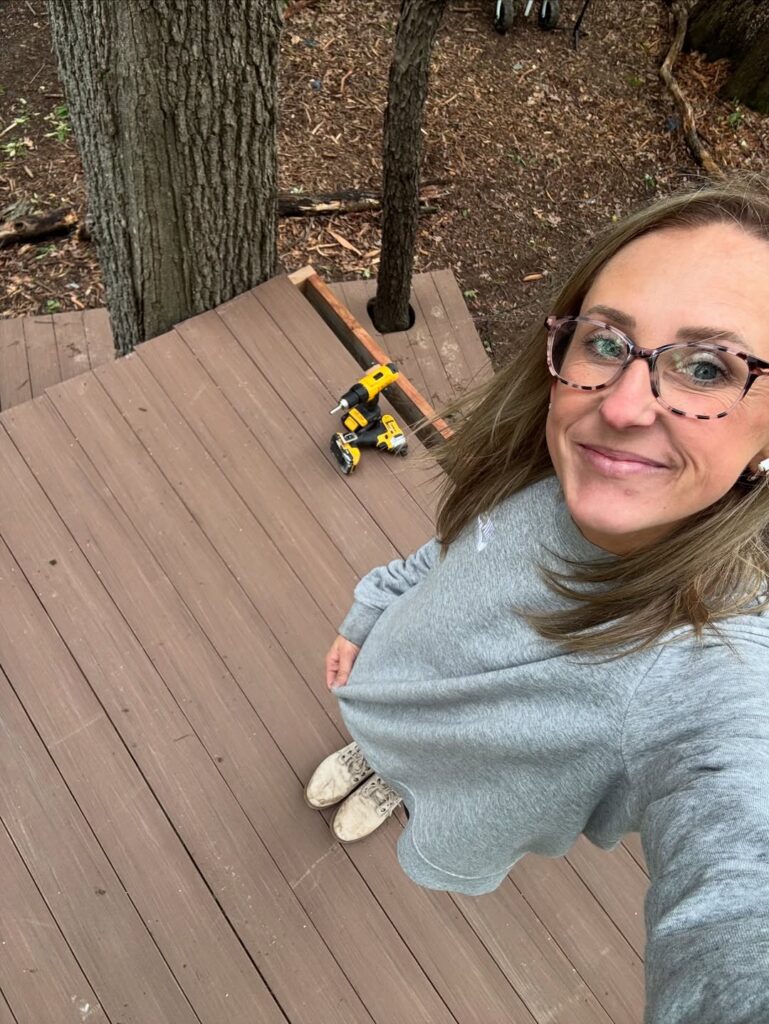
Once the cement was dry, I was ready to start building the lower platform. It’s a floating platform that the kids can have a table and chairs on below the treehouse. This was a good place to start because its only a few inches off the ground and built up my confidence before building a whole house and putting it in a tree. I used 2x6s to build the frame and joists and composite decking for the top. I cut the decking around the tree, making sure to leave a big enough gap for the tree to grow and move. Then I cut a curved pattern on the edge to give a whimsical vibe.

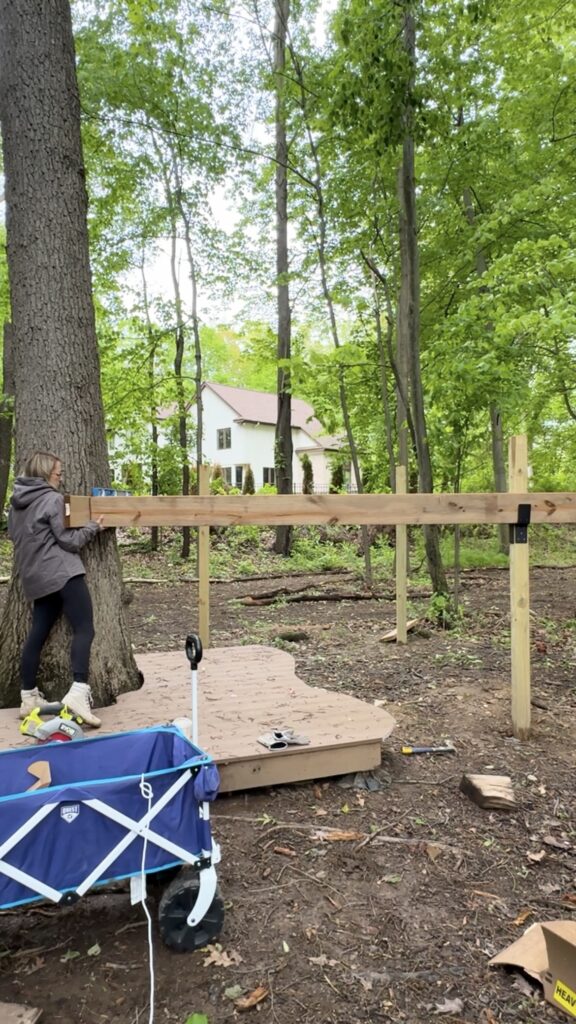
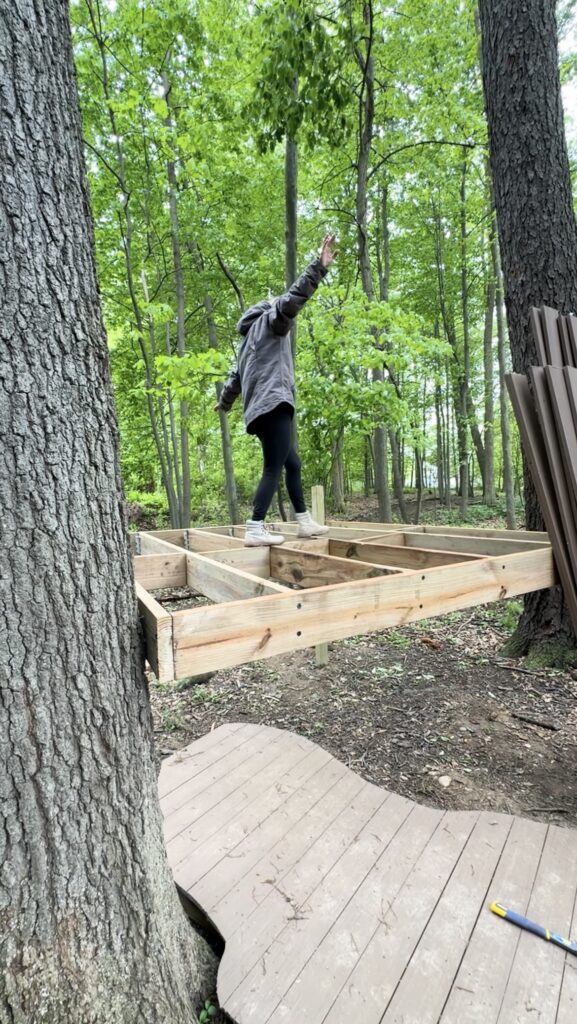
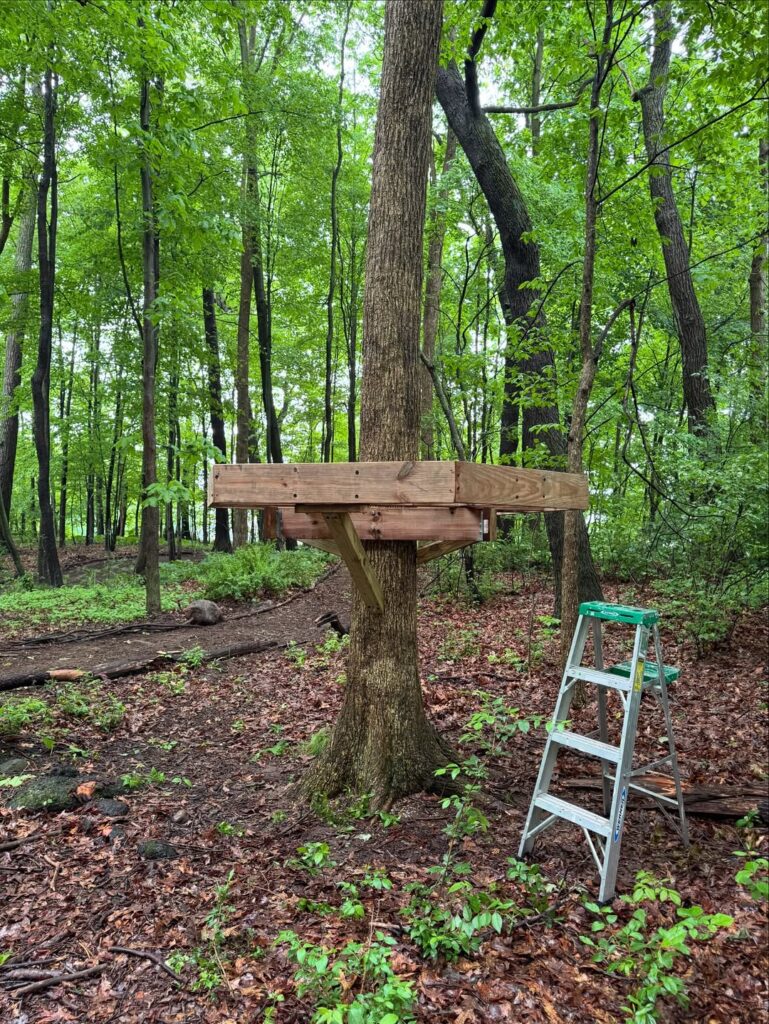
This is the scariest part… like no pressure but if this isn’t built well enough to hold not only the weight of the treehouse but also withstand kids jumping and playing up here for years to come… then we’re in for a really scary disaster. ChatGPT was my literal lifesaver for this project. I asked every question I could think of to help make sure that this platform was structurally sound. The upper platform is supported by 3 posts that are cemented into the ground, and the fourth post is the tree. I used carriage bolts and Z brackets to connect the corners and added extra bracing on either side of each post and one across the corner for additional support. I built the frame and joists the same way as I did the lower platform, using 2×6 boards and securing with screws. To secure the platform to the tree, I used a TAB (treehouse attachment bolt) which is basically a giant bolt the goes into the tree with a large bracket that attaches to the joists underneath the deck and it allows the tree to grow and move while still being secure.
At this point I was questioning, “who do I think I am?”. Five years ago, I had never picked up a power tool, and now I’m not only building a house, but then putting it in a tree?! I’m so damn proud of all that I have learned through DIY. It’s absolutely insane to me how far I’ve come in just FIVE YEARS! Trust me, if I can do it, so can you.
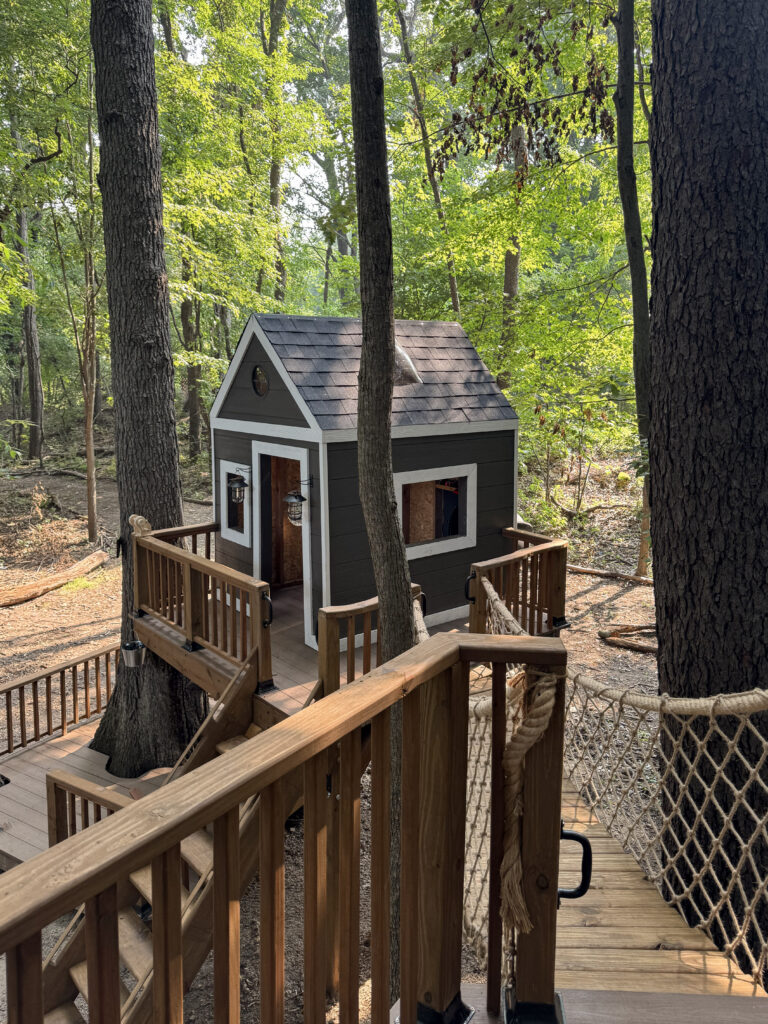
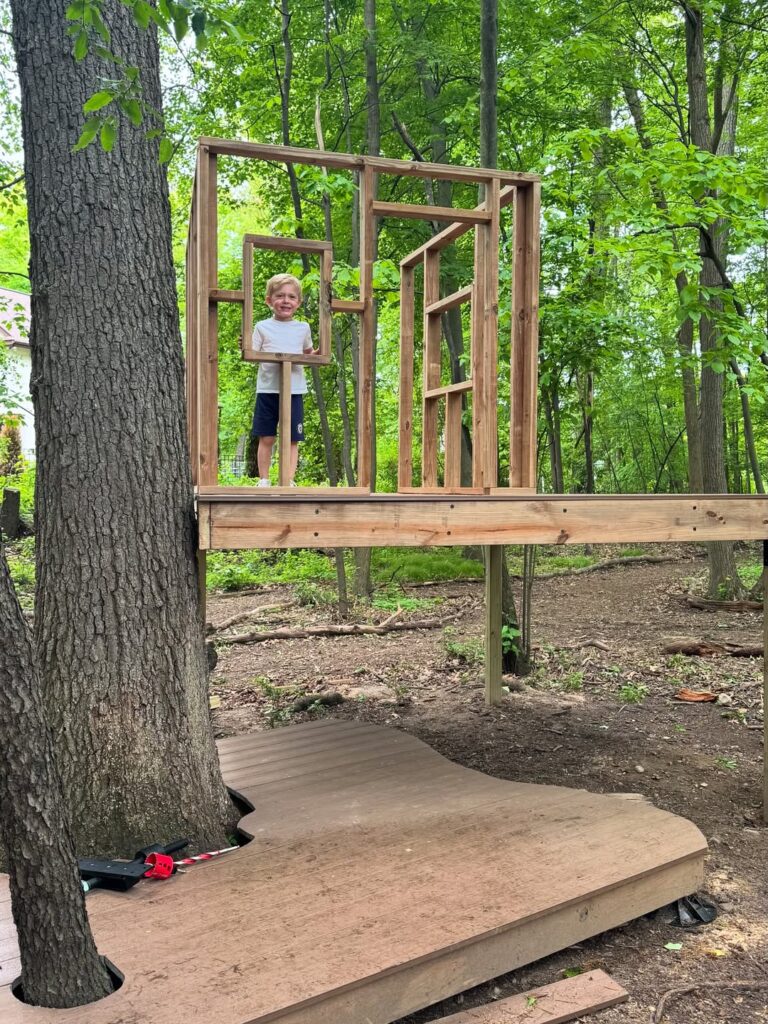
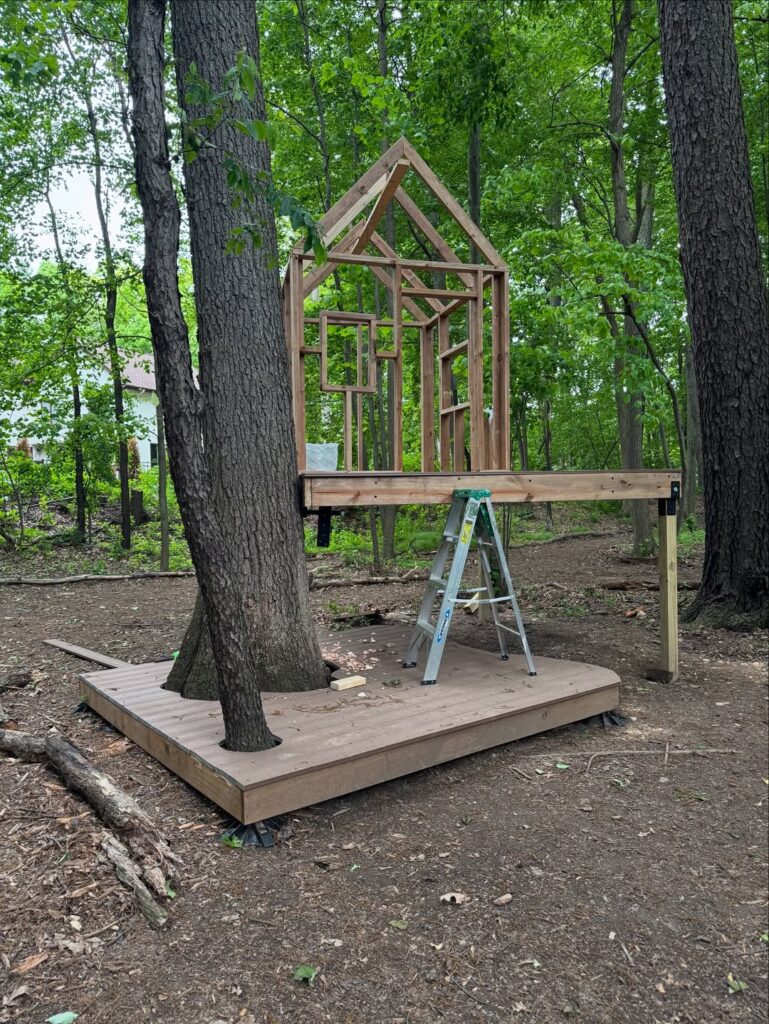
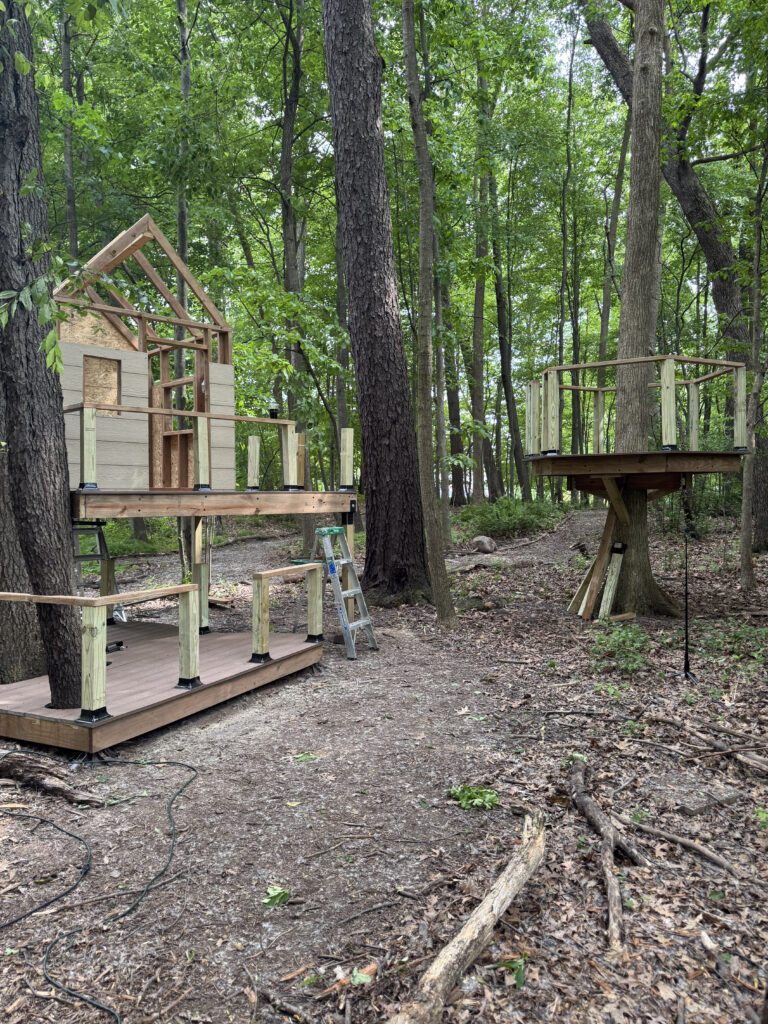
I used 2x4s to frame the walls and roof. I assembled the roof and each wall in my garage so I had a flat surface to work on and ensure I had the measurements correct. Once they were put together, I had my husband help me lift them up onto the platform where I made them into a TREEHOUSE!!
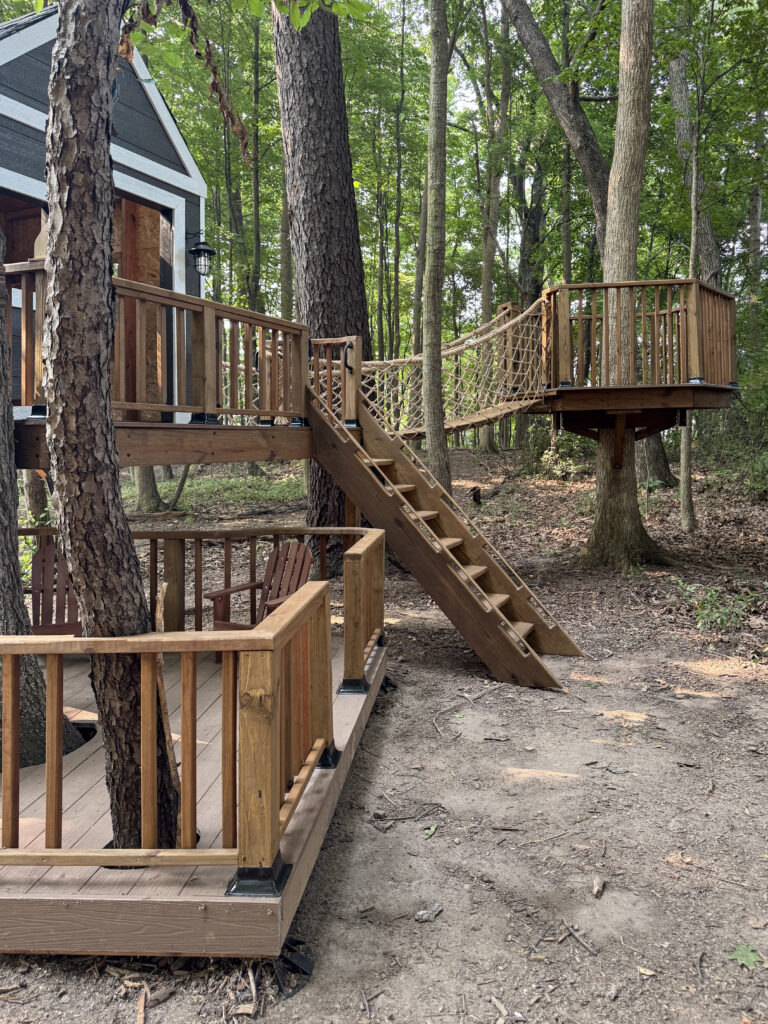
I wanted to build a lookout platform that is connected to the treehouse platform by a bridge. I asked ChatGPT to make me a cut list and building plans for an octagon shaped platform and then got to work. I used 2×6 boards and cut them at a 30 degree angle with my miter saw. I laid everything out in the garage to make sure it fit together, then brought it out to the treehouse to assemble. This is easily a 2-3 person job, but if you’re as hard headed as I am, you can do it by yourself by using a ladder as your extra hands lol.
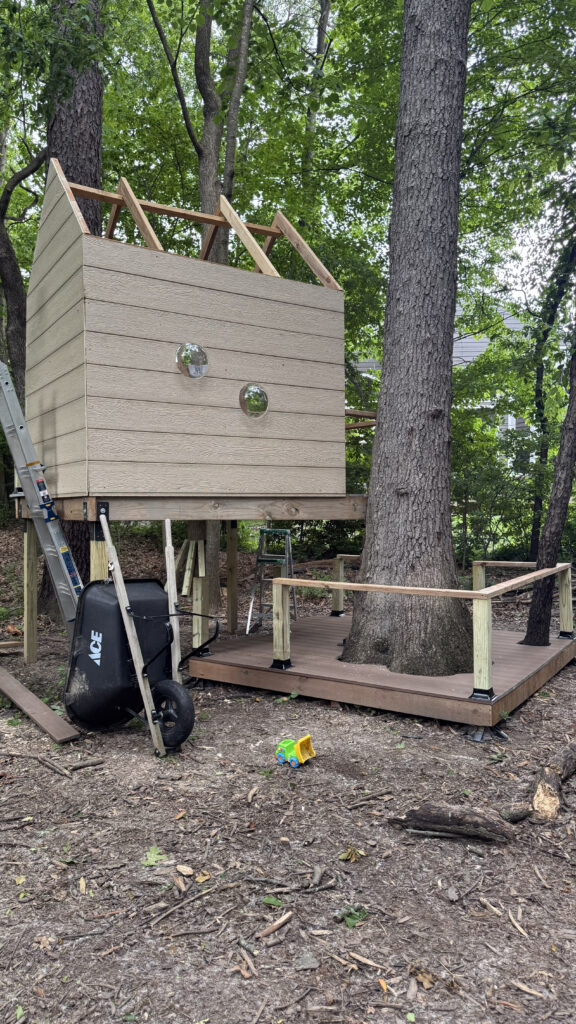
I recruited my husband TJ to help me put the cedar gap siding on the walls of the treehouse. After only a few dozen arguments, we got it done! I cut circular windows in the walls at each of the boys’ height so we will always remember how small they were when I built the treehouse.
I really wanted this treehouse to feel whimsical and like it was carved out of the woods so for the decking and railing I added curved details with my jigsaw. For the curved railing, I used a 2×6 board and laid it on the edge of the deck along the curve, then used a pencil to trace the line onto the board. For the straight railing I used regular 2x4s. Then, I put a 1×2 under all of the top rails to secure the balusters to. I spaced the balusters about 4 inches apart so the kid’s wouldn’t be able to stick their head through or fall off the platform. I had to re-do the railing a couple times to get it right, but the curved details and imperfections make me so happy.
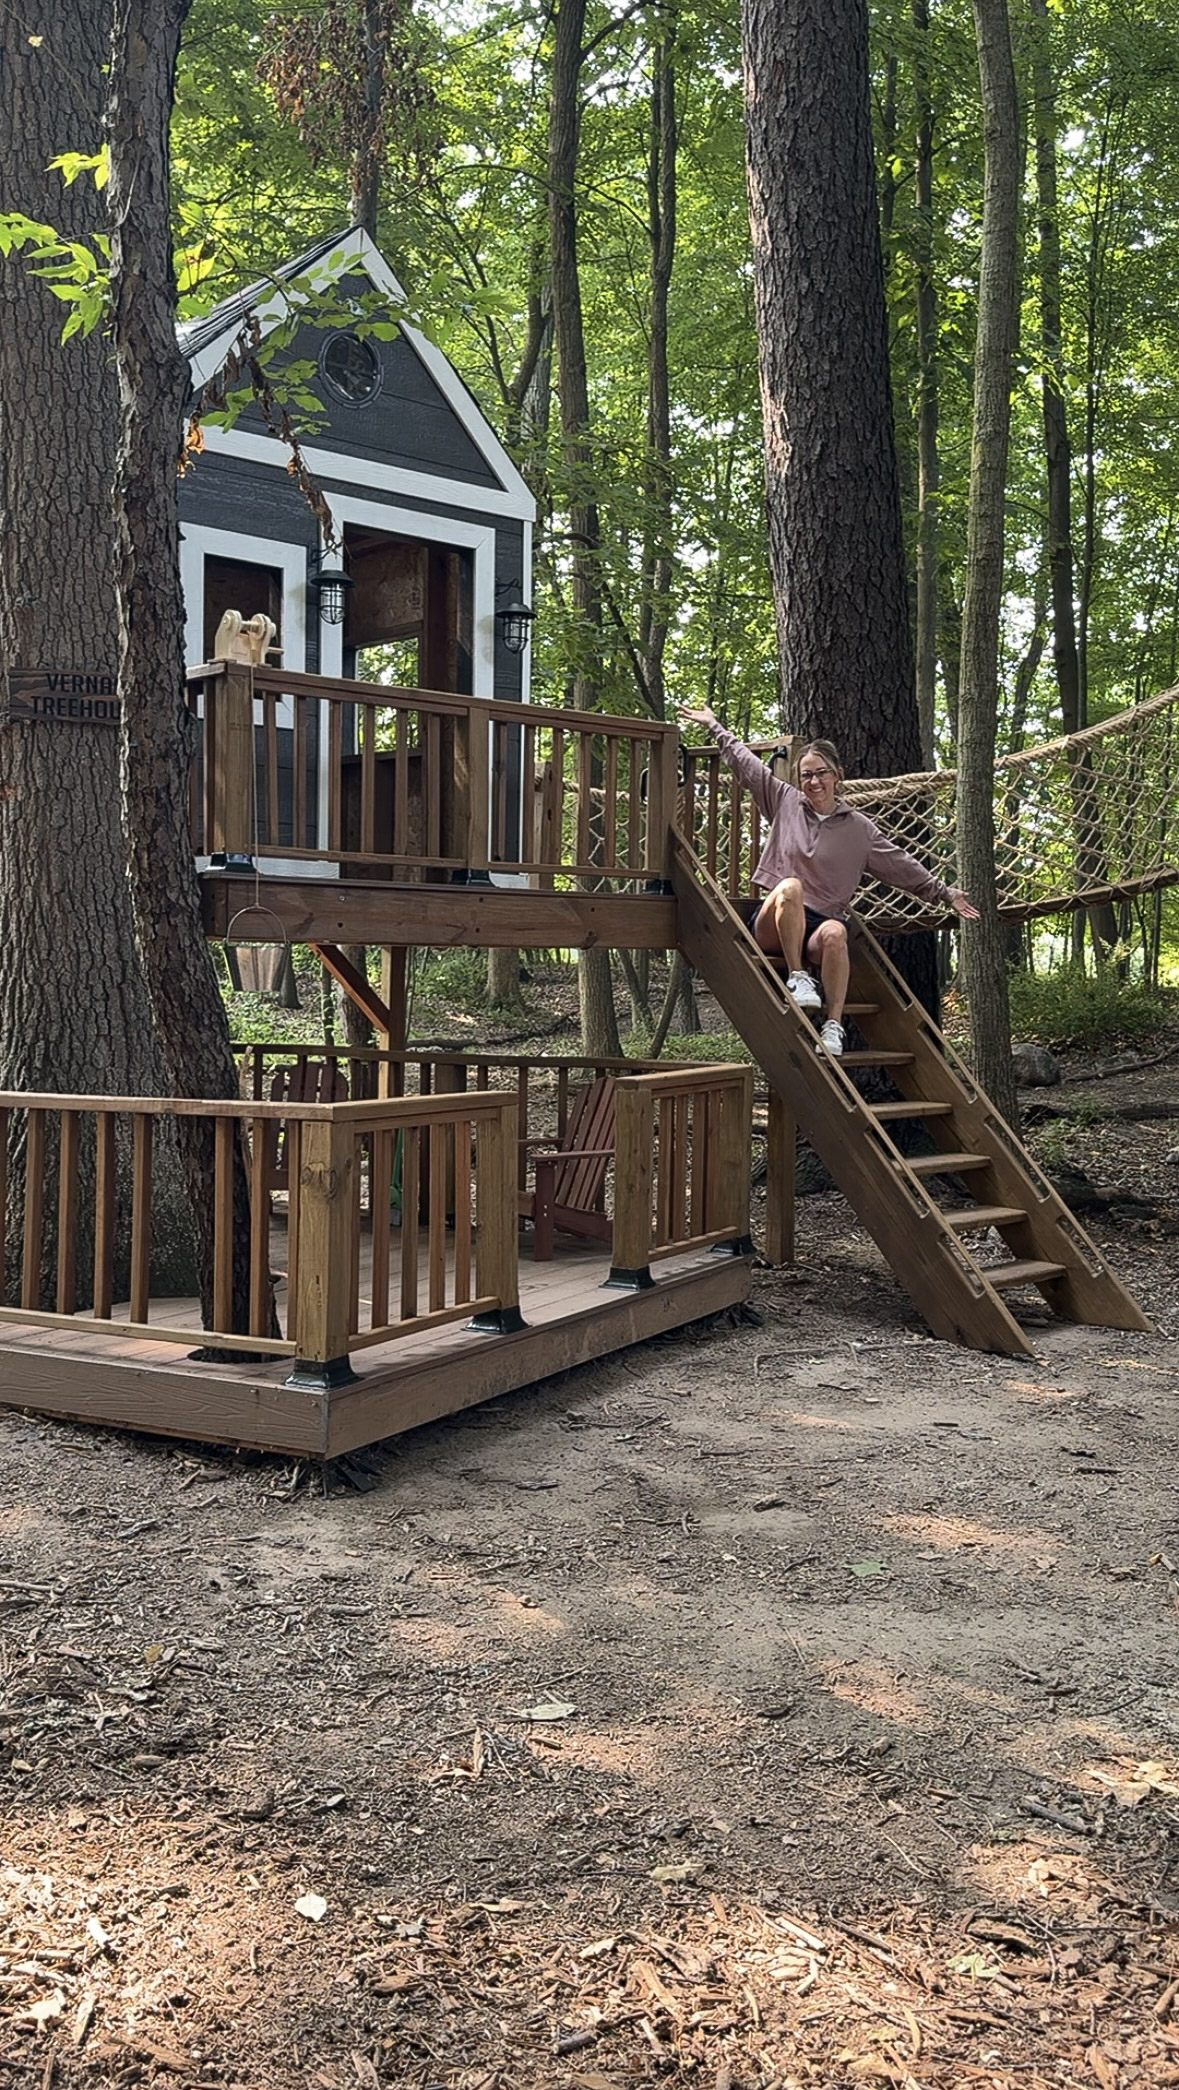
I had no idea how to build a ladder, so I decided to wing it! I made my own railing and steps with 2×8 boards, then I decided it would be could to cut out holes along the sides for the handles. I routered all the edges and sanded everything smooth… y’all it turned out even better than I imagined! I love how that handle is built into it. It feels so whimsical makes my heart so happy.


I ran into so many roadblocks during this part of the project. Starting with the steel cable, it’s rated for 6,400 lbs which is more than enough to build a bridge on top of, but what I didn’t take into consideration was how hard it would be to cut. Once I figured out how to cut the wire, I realized that the eye bolts holding the wire were not rated for the same weight that the cable was, so I decided to use two for each side of the wire, then use a D ring to connect the turnbuckle to the eye bolts which should distribute the weight evenly. Each eyebolt is connected to the joists underneath the platform with washers and nuts.
Once I had all that figured out, I drilled holes through all the planks because I originally planned to run the cable through each plank but that ended up being way too heavy. TJ and I spent an entire day trying to get it off the ground, but ultimately decided it was impossible to tighten the cable enough for the bridge to actually be in the air with the weight of all the planks.
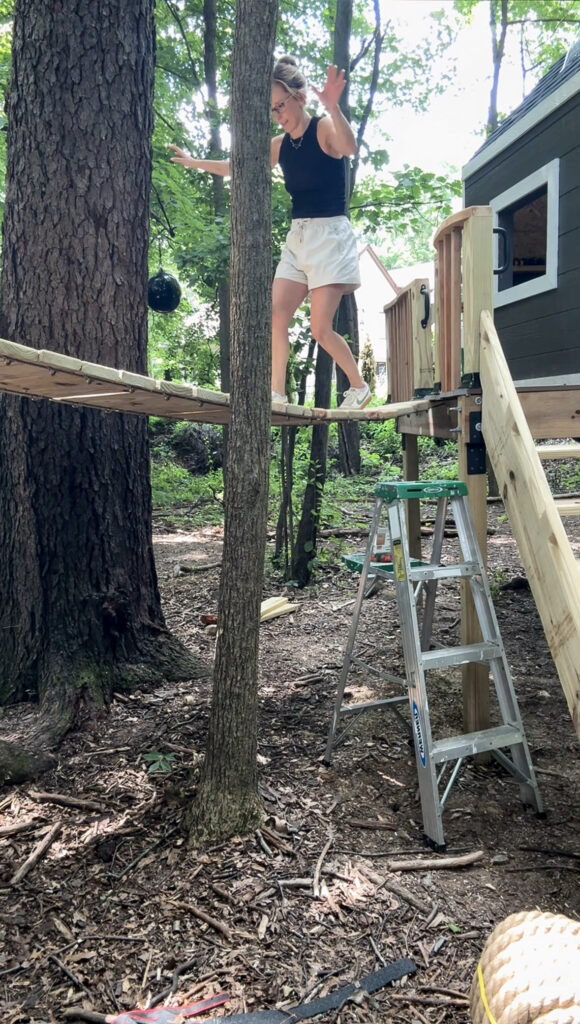
So I went back to the drawing board, the bridge needs to have a slight angle to get from one platform to the other, so I made a template to cut the planks along the curve of the bridge. This time I decided instead of running the cable through each plank I would set the planks on top of the cable and attach them with eye strap anchors. Spoiler: it worked!!
For the railing, I used a 2 inch thick rope and netting for the sides so that once they’re on the bridge, they can’t fall out. I used a 2 inch forstner bit to drill a hole through the posts on either side of the bridge, then threaded the rope through the netting and into the hole and secured it to the post with screws. To make sure the netting was tight, I used string in a criss-cross pattern underneath the bridge to secure everything. This project was nothing short of challenge after challenge but I persevered and it was all worth it!

96 days of hard work, learning as I went, and pushing way past my comfort zone… it’s DONE. I built this treehouse with my own two hands, and I’m so proud of what I created for my kids. This one’s for the memory books. ✨