


One of my friends got married, and I kept her bouquet to preserve it for her! I found so many cool options on Etsy for ways to dry the flowers and display them, but I think I can do it myself! I decided to do a few different options including a double sided glass frame and an Epoxy Resin tray! You can follow this tutorial for a few other options also!
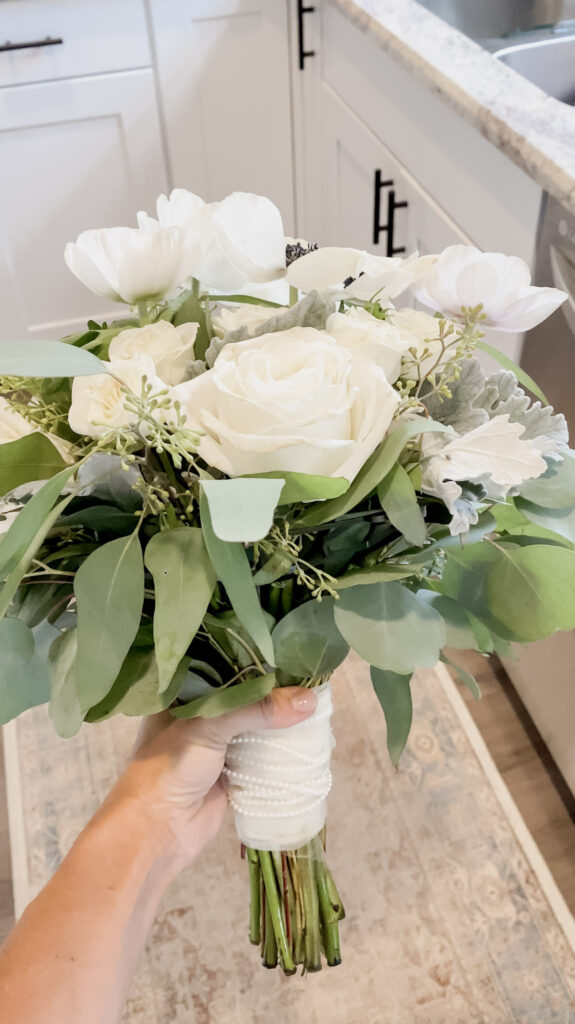
This is a brand new project for me, so I had to do plenty of research before I started. I decided to make two things for her, a pressed flower frame & an epoxy resin tray. I read tons of blogs and tutorials before I got started, and spoiler alert, it worked! So now I’m compiling my different tips and tricks together for you here!
Because this is such a precious set of flowers, I wanted to make sure I knew what I was doing before I started the preservation on her bouquet. I grabbed a test flower from my garden and started with that one. I recommend you do the same as you follow the steps through the first time!
This step turned into a science experiment, I felt like a real scientist by the time I figured out what worked best! It’s super important because if there is any moisture left in the flowers or greenery, it will rot in the resin and epoxy. EW.
I tried three different processes to figure out what worked best: microwave, ironing, and the oven on low heat. Let me just say the iron method sucked, so don’t even attempt it! I went back and forth between the microwave and oven and ended up actually using both methods.
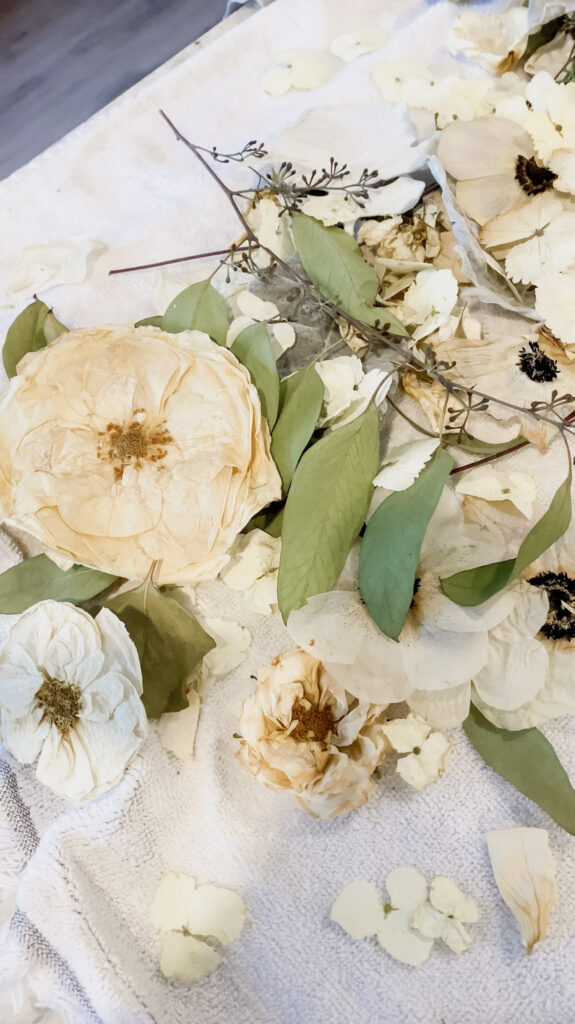
I figured out that drying the flowers and greenery needed two different methods, so I’ll share them both separately. For the flowers you will need your computer paper, book, and rubber bands.

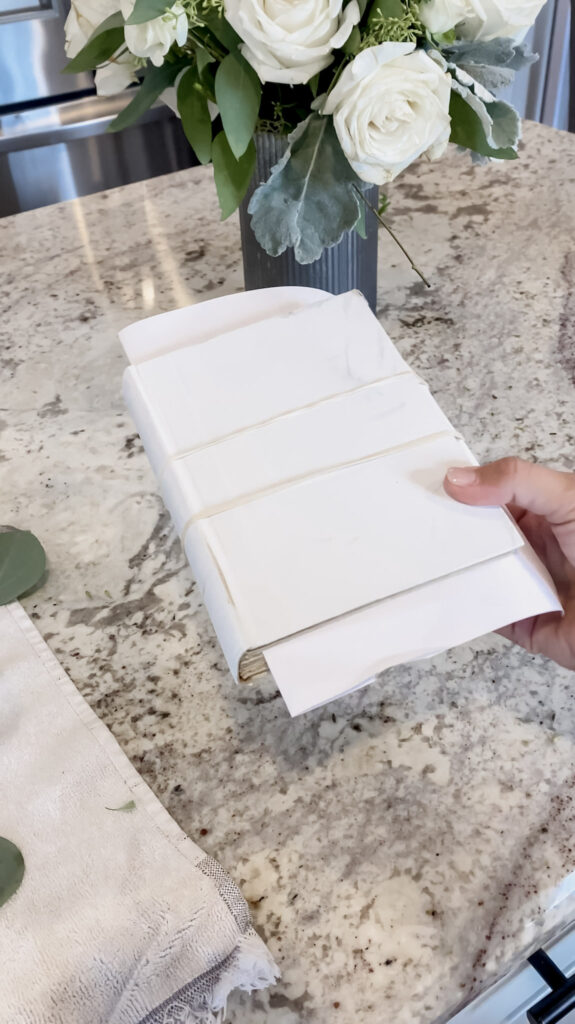
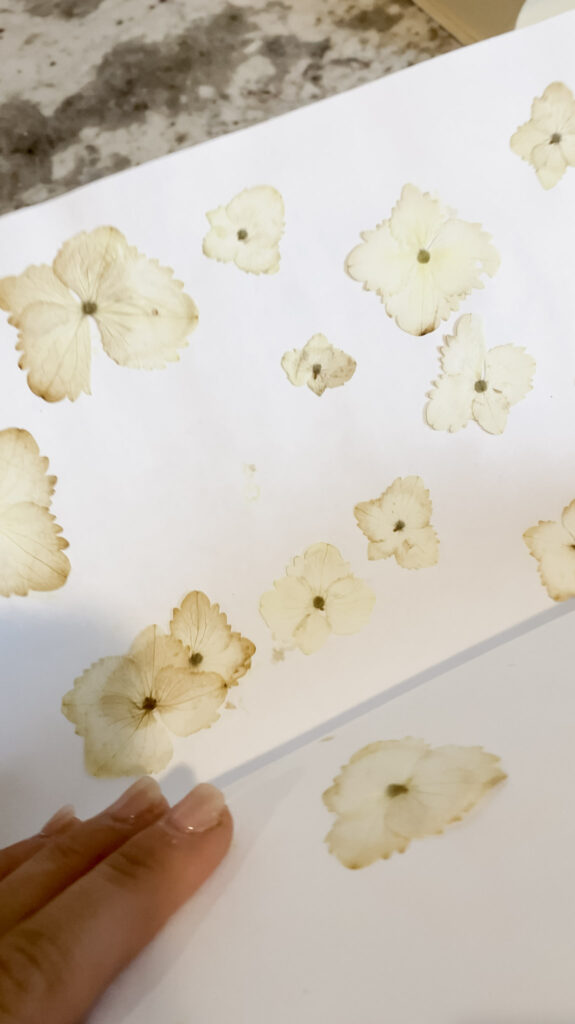
You want to flatten your flower by hand, and then place inside a folded sheet of computer paper. Place the paper with flower inside a book, and rubber band together. I trial and errored and ended up on using the microwave on medium heat for 30 second intervals, it ended up taking about 2 intervals per flower to get them dry. This is a lengthy process, because it’s a lot of back and forth!
For drying the greenery I used the oven, which was the best method for preserving the color of the greenery. The microwave turned it brown which wasn’t what I was hoping for.
The oven is a longer process, but an easier process because you don’t have to change it out as often as the microwave. You want to put your oven on 175º and leave the greenery in for 20 minutes, after that it should be completely dry and have the color preserved!
This method does also work for the flowers, but I recommend trying it on a test to see which you like the best.
This is the fun part! After all the hard work drying the flowers, this is definitely much more fun and creative. I love the creative process of DIY the most, and I also like trial and error and proving to myself I can do hard things and learn new skills.
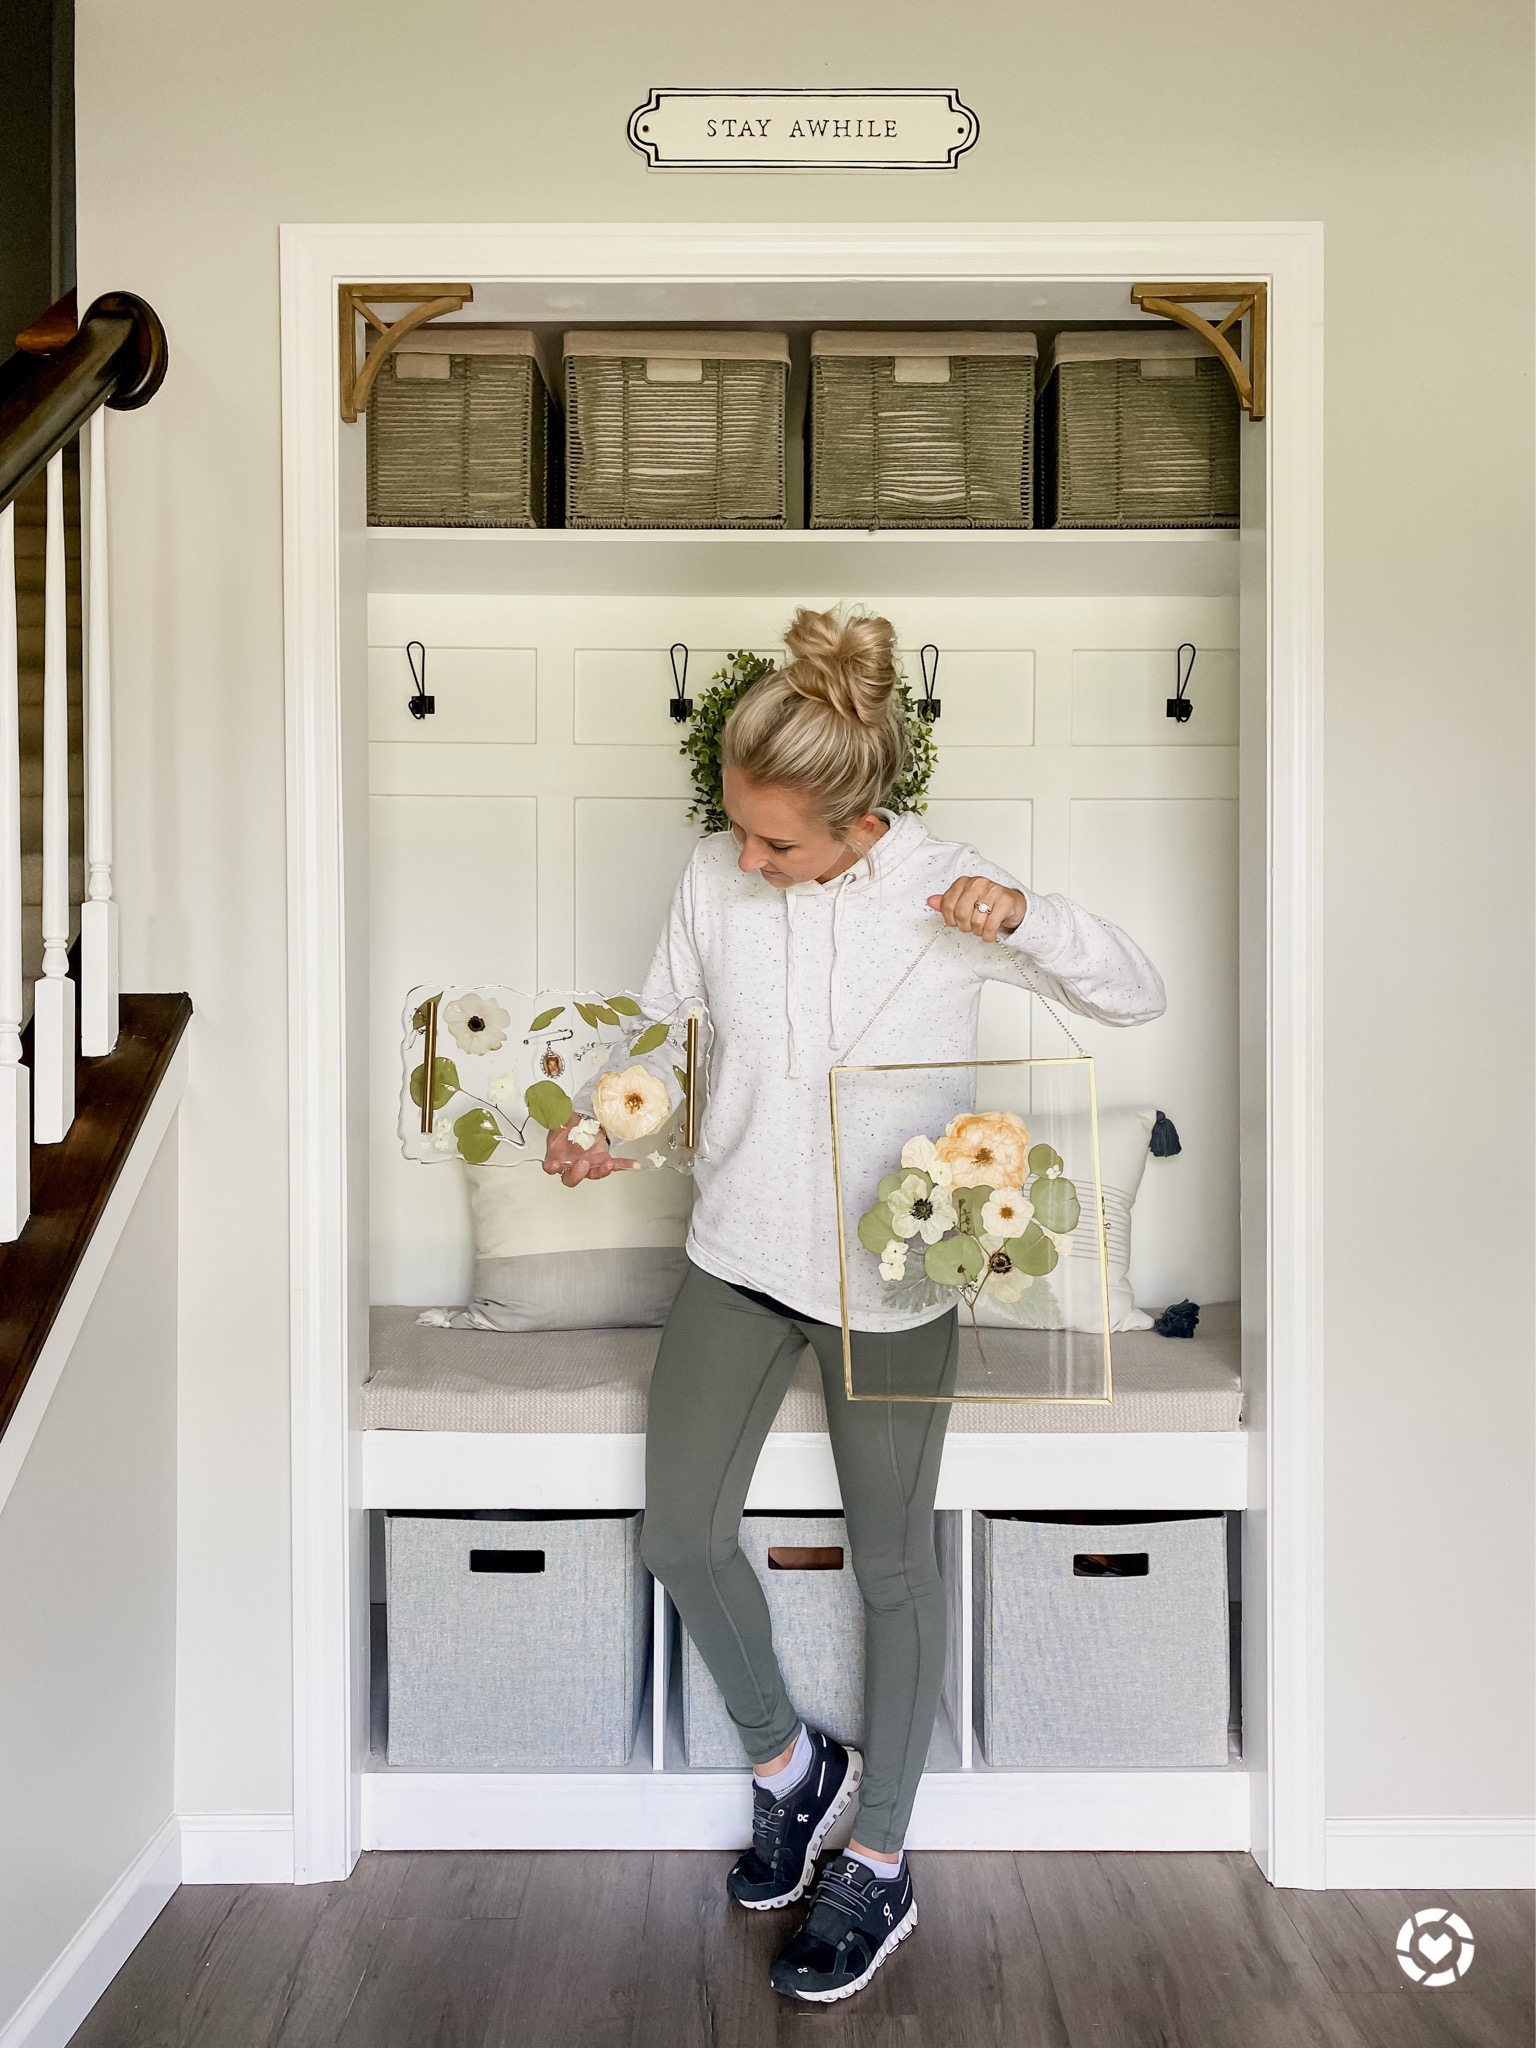
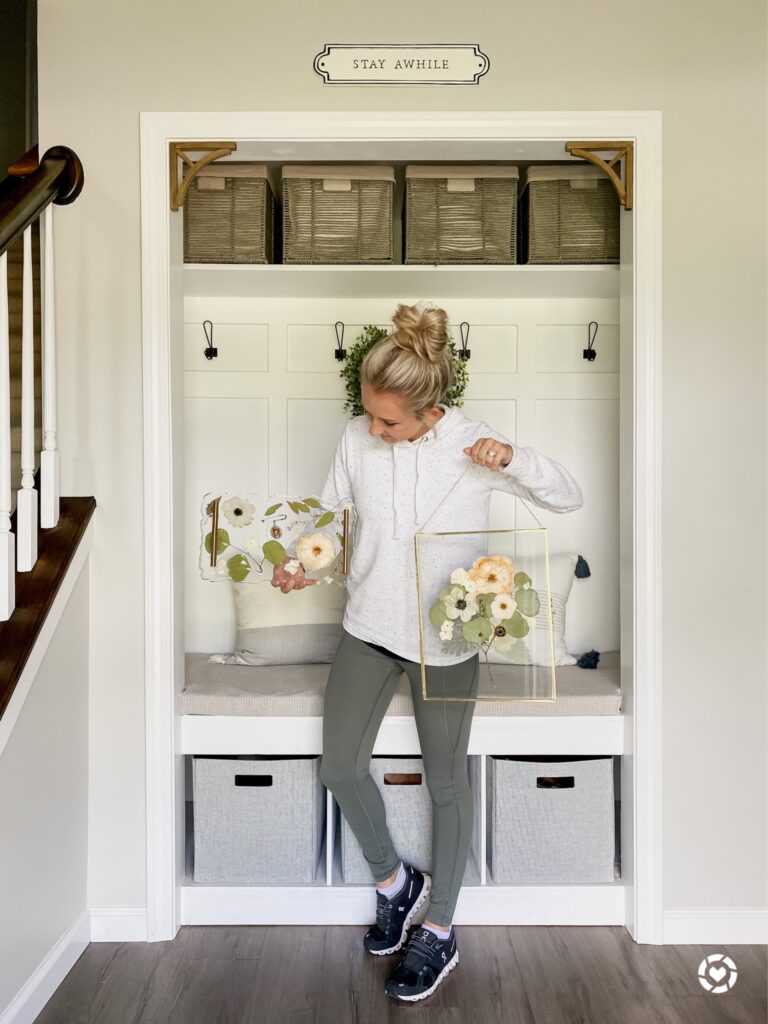
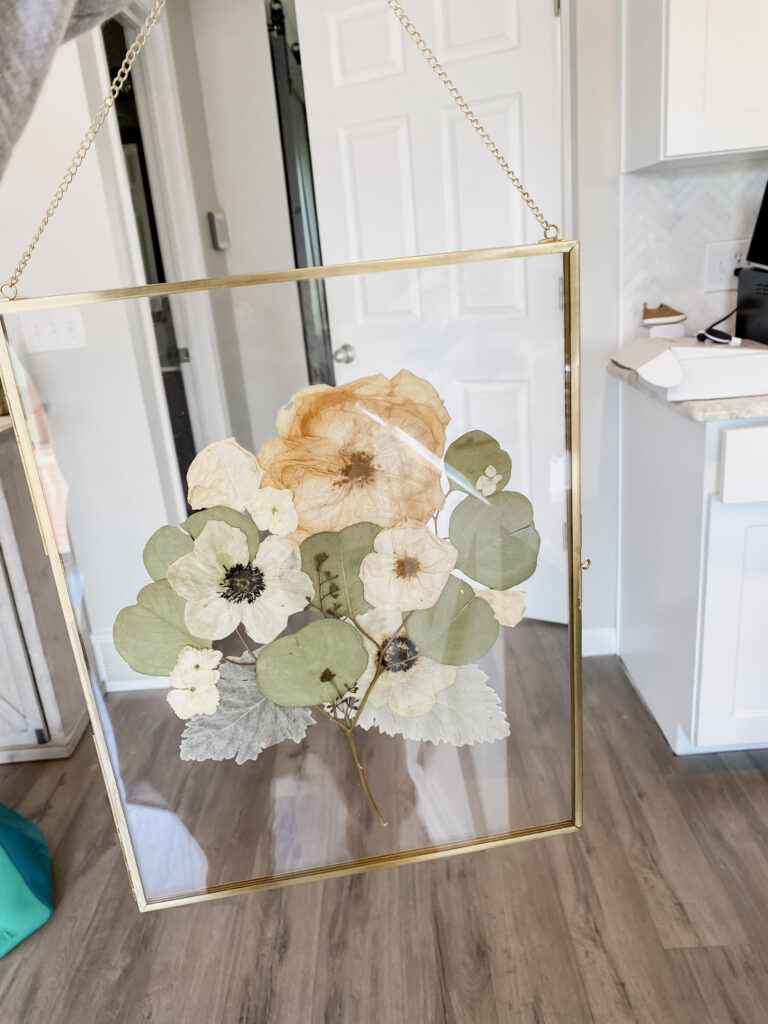
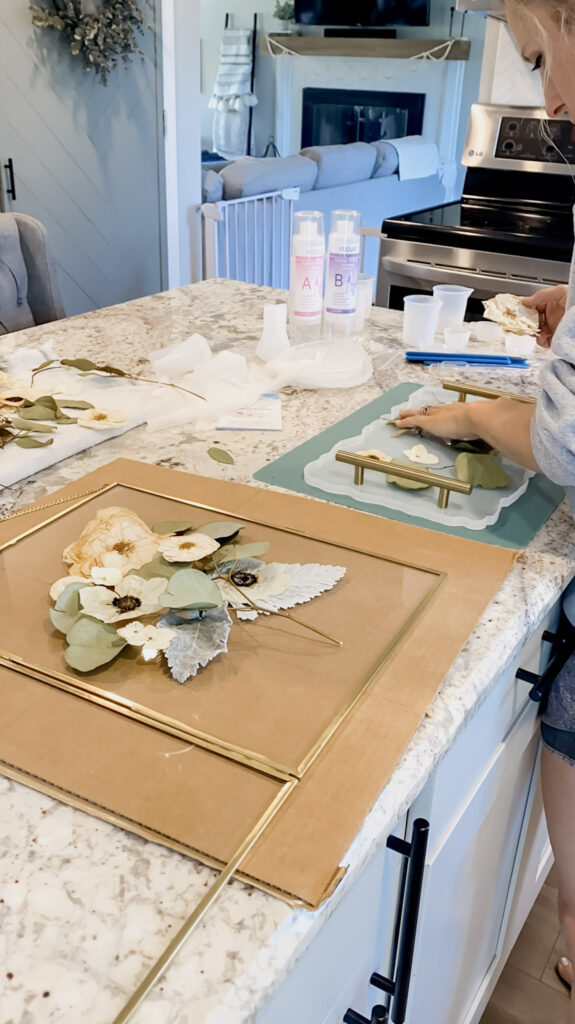
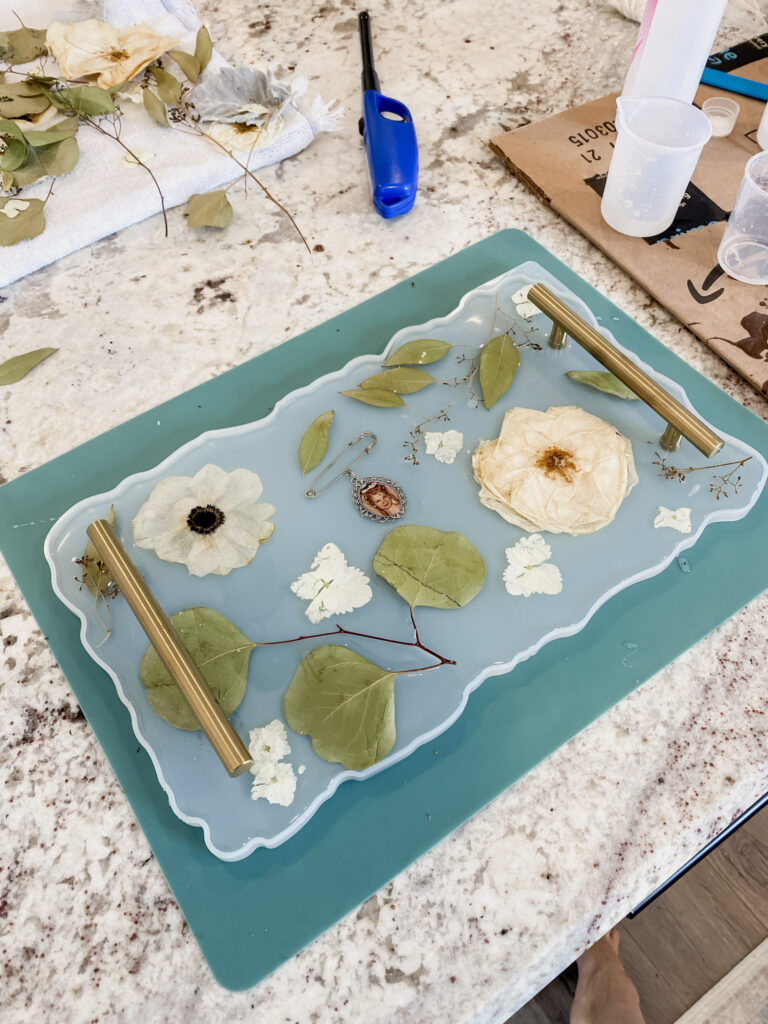
I decided to do a few different options for her, I made an epoxy resin tray, a glass frame, and some jewelry holders. For the tray and the glass frame I arranged the flowers exactly how I wanted them to look. Once I had them all in place I was ready to set them!
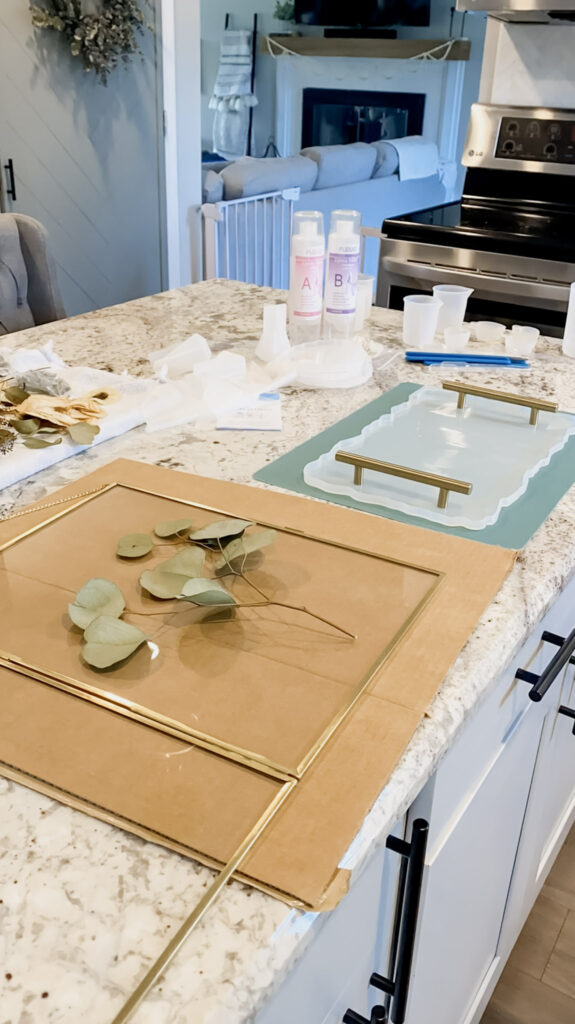
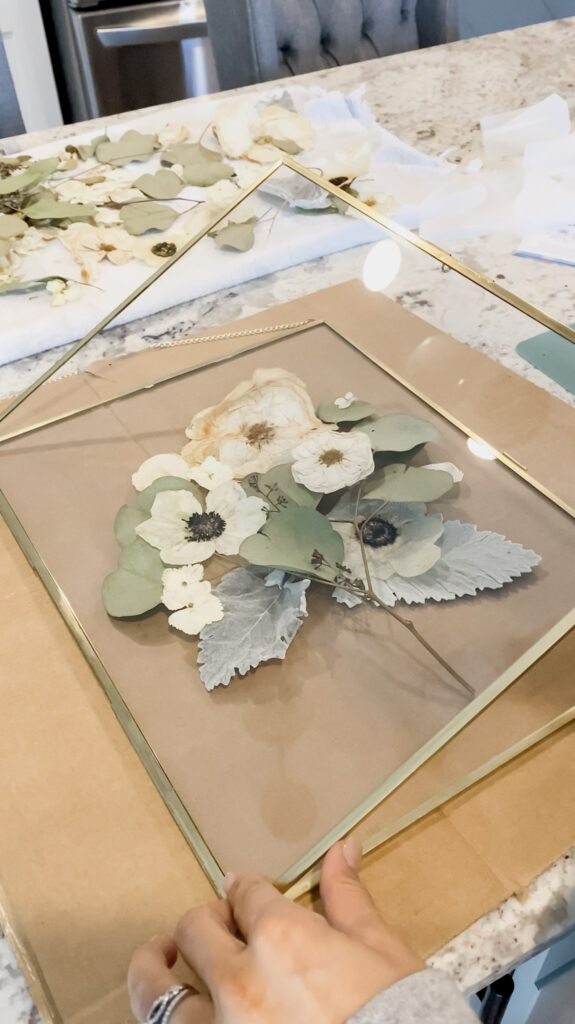
The frame is simple, with a double sided glass frame all you have to do is close the front of it and the flowers are secured in place!
For the tray, you might want to use hot glue to secure down some of the corners before you start to set it with the epoxy.
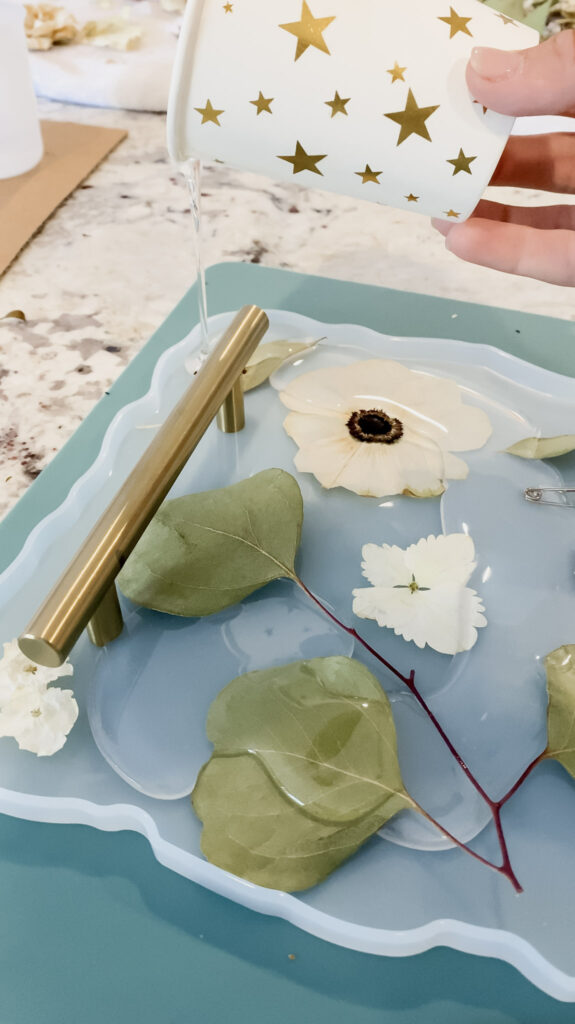
Once the flowers are in place, pour the epoxy resin into the tray! After the epoxy is set is in the tray mold, you have about 40 minutes working time to make slight adjustments with the placement if something moved. You can also use a lighter and hold the flame lightly over any bubbles that have formed when pouring the epoxy.
That’s it! It has to cure for 10 hours and then you can remove it from the mold and it’s ready to go. This would make a great shower gift, wedding gift, anniversary gift, or mothers day gift!