


The space sits right off of the hockey rink that I’m building and I feel like it just makes our basement feel so cozy! I can’t wait to entertain and host down here.
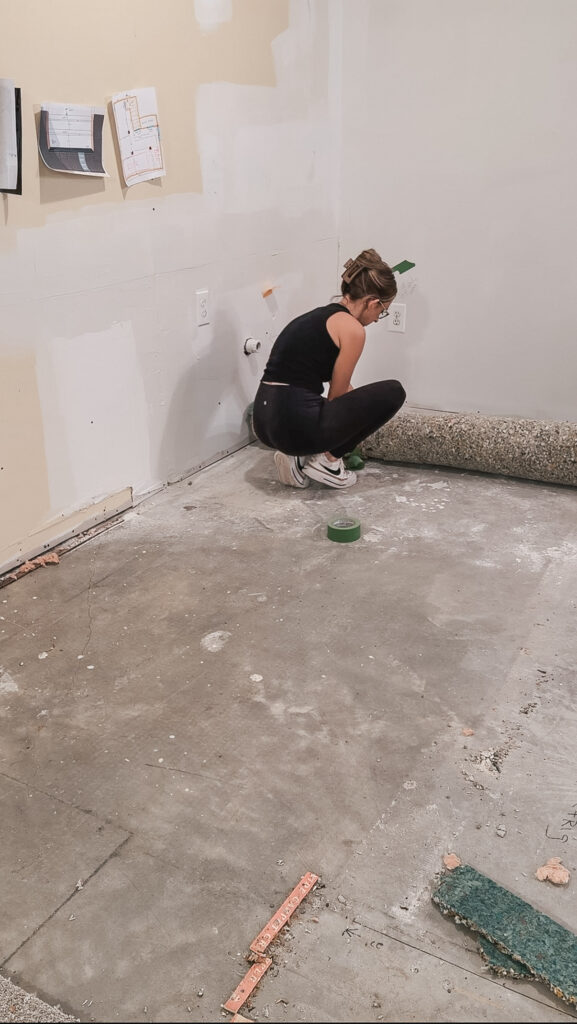
Ripping out that gross carpet felt so good. I’d never installed tile before so I was a little nervous, but a couple of tutorials later, I was ready to go for it. Honestly, that’s the best part of DIY: you pick up new skills as you go. And if you mess up? It’s not a failure, it’s just part of learning (and getting better the second time around). Yes, mistakes can cost some time and materials, but the confidence and know-how you gain stick with you for every future project. Consider this your sign to start the project! Don’t let fear hold you back, you’ve got this!
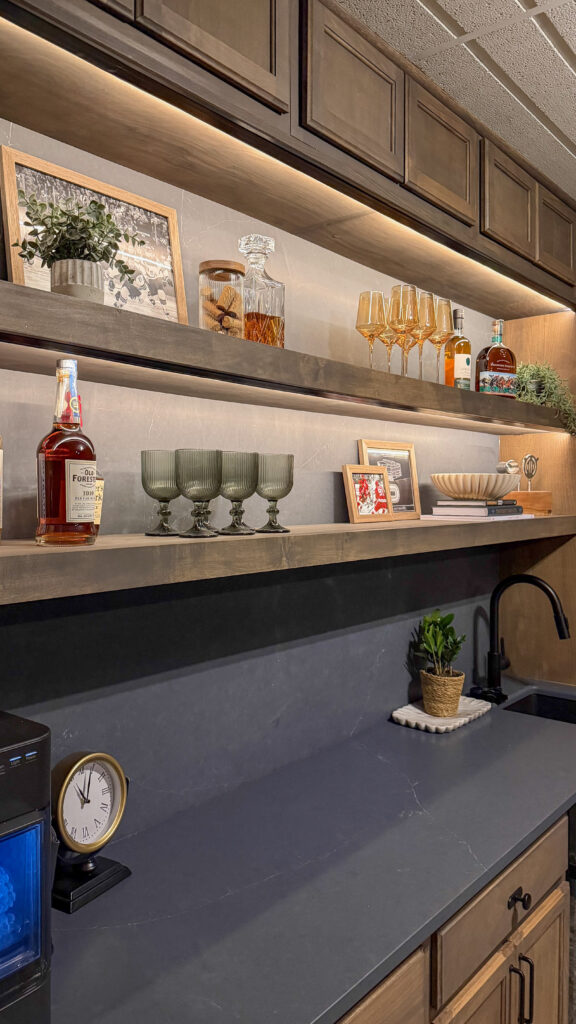
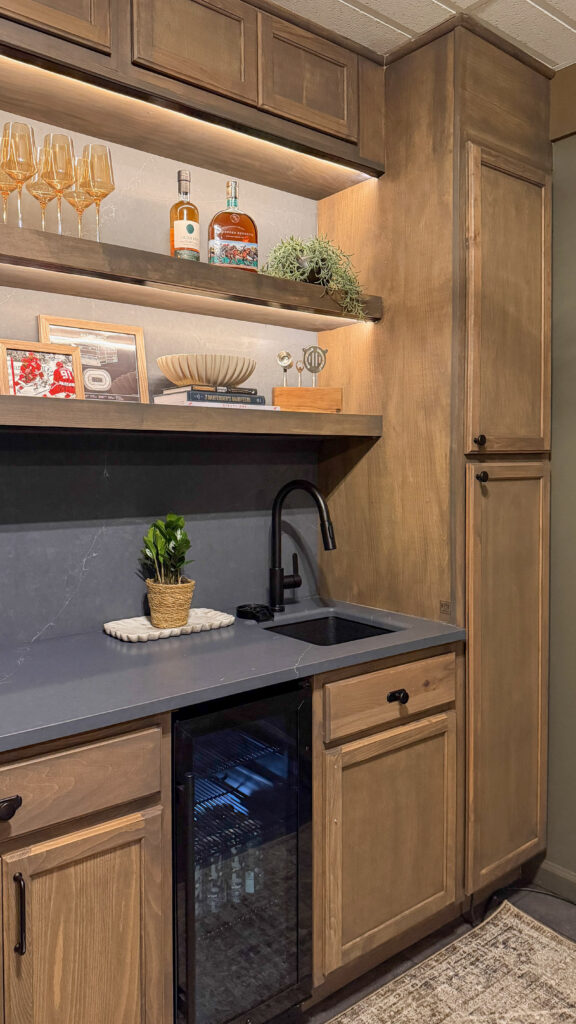
I used unfinished base cabinets from The Home Depot to build the bar area. I kept the design simple with 4 regular base cabinets, 2 tower cabinets on each end, and 3 bridge cabinets across the top. I wanted the bar area to match the rest of the basement with moody, speakeasy, man cave-y vibes so I stained the cabinets with a dark stain (Rubiocoat in Steel Gray) and painted the walls with Sherwin Williams Hidden Trail. To give the bar a custom, built-in look I added framing and end panels to the tower cabinets to take them all the way to the ceiling and added plywood to the bottom of the bridge cabinets to make them look more finished. These small details are what really elevates the space and makes builder grade cabinets look custom!
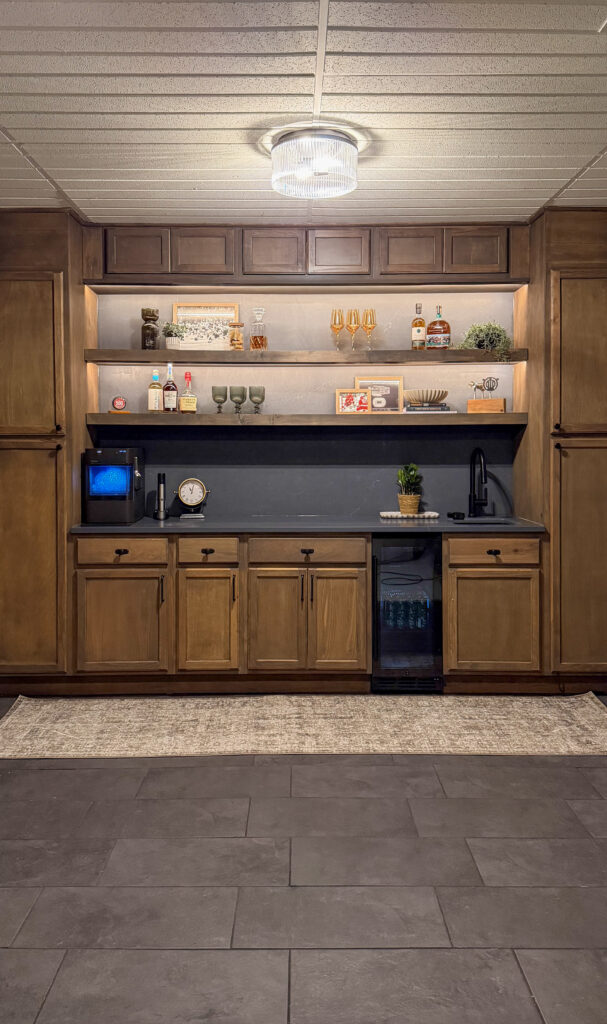
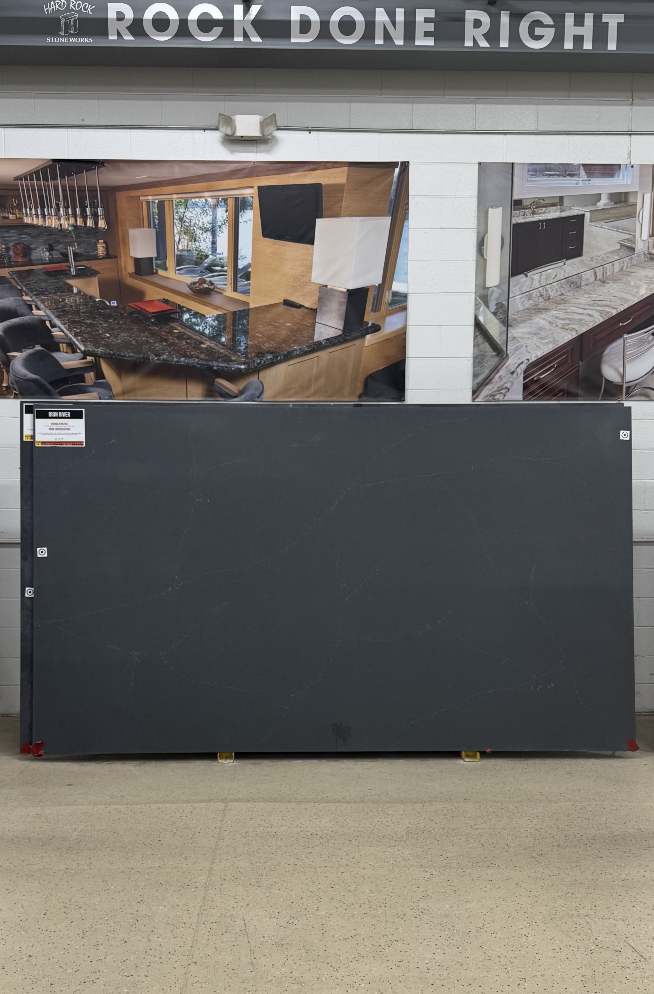
If you know me, you know I usually lean more towards light and airy design choices. But since I’m leaning into the moody vibe in the basement, I decided on a dark countertop and backsplash from Hard Rock Stoneworks. Their exclusive venti stone is an engineered quartz that is super durable and low maintenance! The color I chose is Iron River which is dark with minimal veining, it’s so pretty! I’m so glad I went out of my comfort zone with dark countertops and I can sleep peacefully at night knowing that my new countertops aren’t going to be a headache to maintain and will withstand years of parties and hosting in the basement! If you’re in the metro-Detroit area, stop by Hard Rock Stoneworks and check out their venti stone collection– mention Come Stay Awhile for 10% off!
I used floating shelf brackets from The Home Depot to create two floating shelves! I had the guys at Hard Rock Stonework drill holes in the backsplash so that I could mount the brackets to the wall. Then I cut a 2×6 board to the width between the two tower cabinets and marked where the shelf brackets lined up on the board. I used a 1/2 inch drill bit to drill holes into the board and then slid the boards onto the brackets (with a little persuasion from my hammer). Then I used my finish nailer to secure 1/4 inch plywood on the top, bottom, and front of the 2×6 board to make the shelves look finished! I added LED rope lighting to the bottom of each shelf to illuminate the decor and it totally made the shelves have the speakeasy look I was going for!
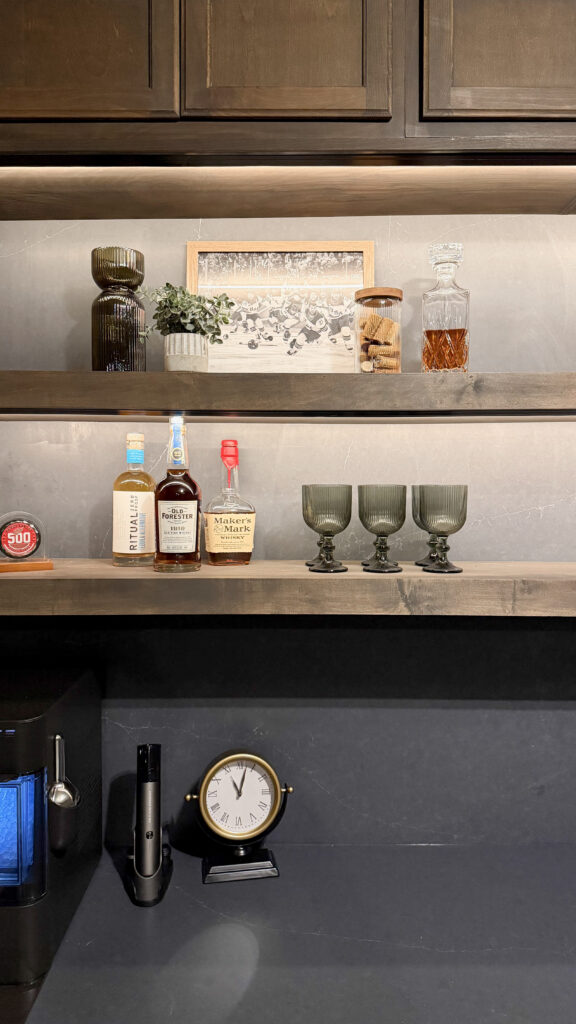
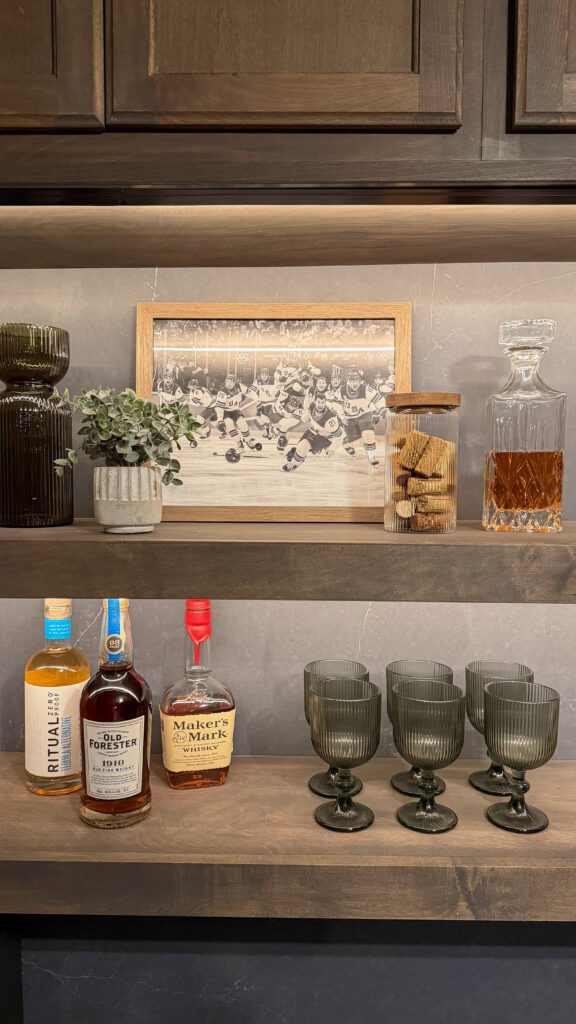
Would you believe me if I told you all of the decor and hardware is from Amazon?! I’m shook over how good the bar decor looks and the black hardware ties everything together perfectly! I am so excited to host family and friends in our basement for years to come and I just know this bar will be the centerpiece of it all!

xmlns:xlink=”https://www.w3.org/1999/xlink”>