Bathroom, Beginner Friendly Projects, DIY + Projects, Home, Projects on A Budget, View All, Weekend Projects


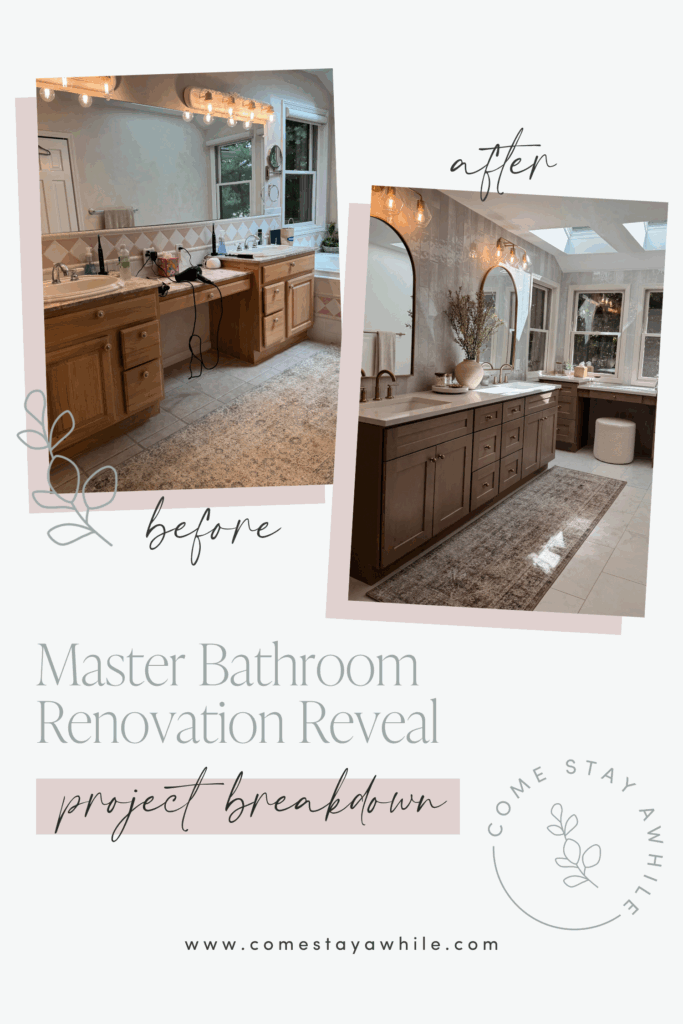
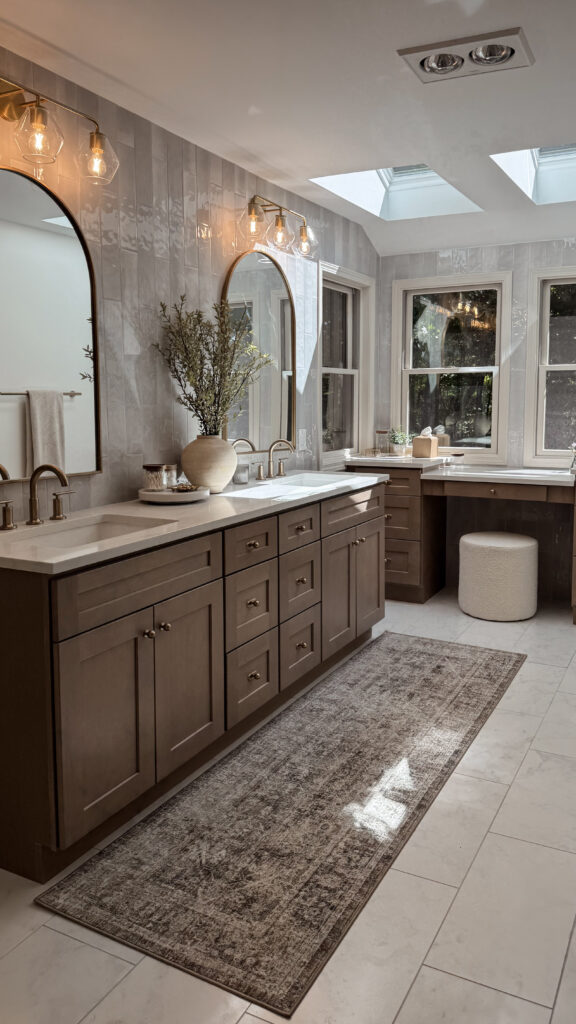
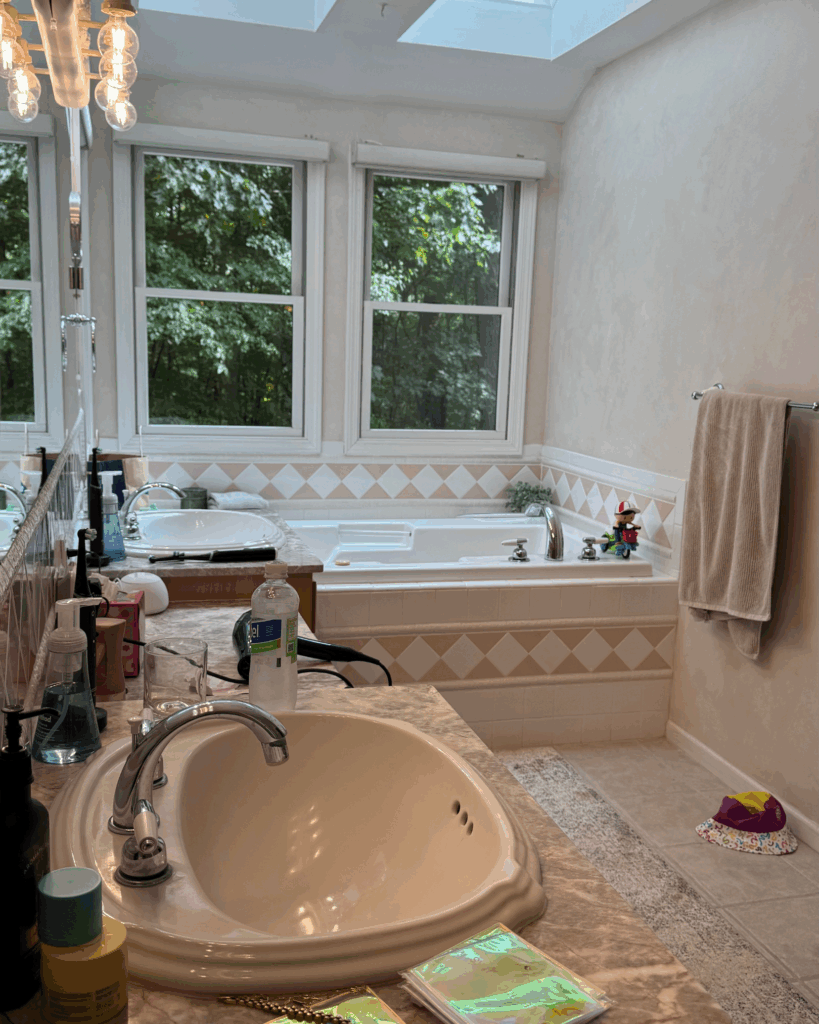
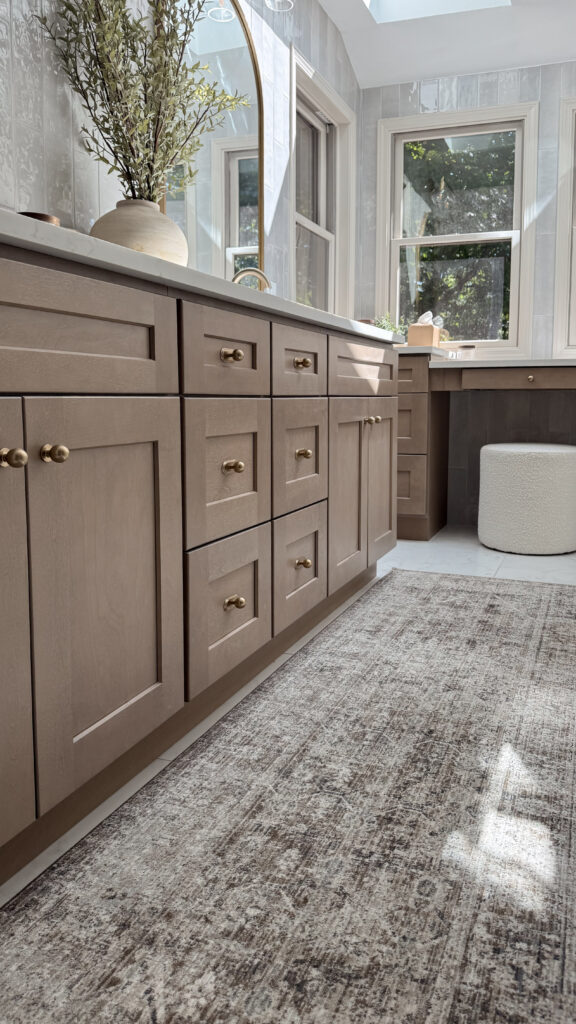
I know it was a hot debate on whether or not to keep the jacuzzi tub but we just aren’t bath people and I’m so glad I decided to put on a makeup vanity area instead. So much more functional, and so much more storage!
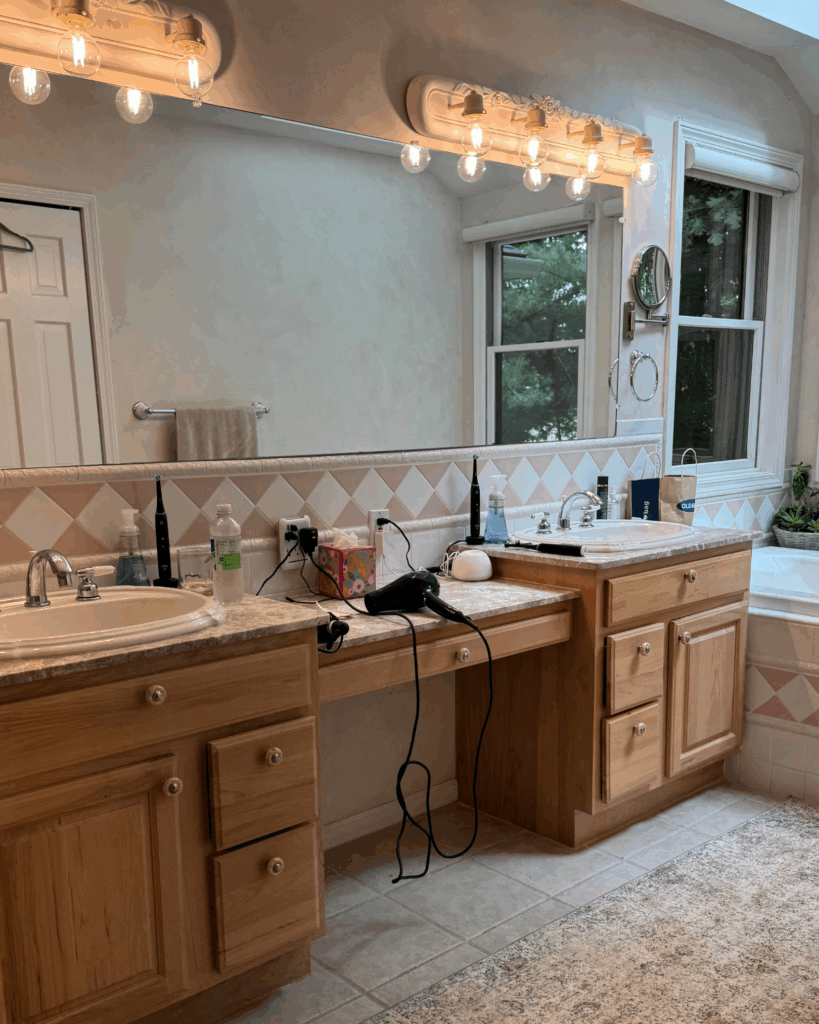
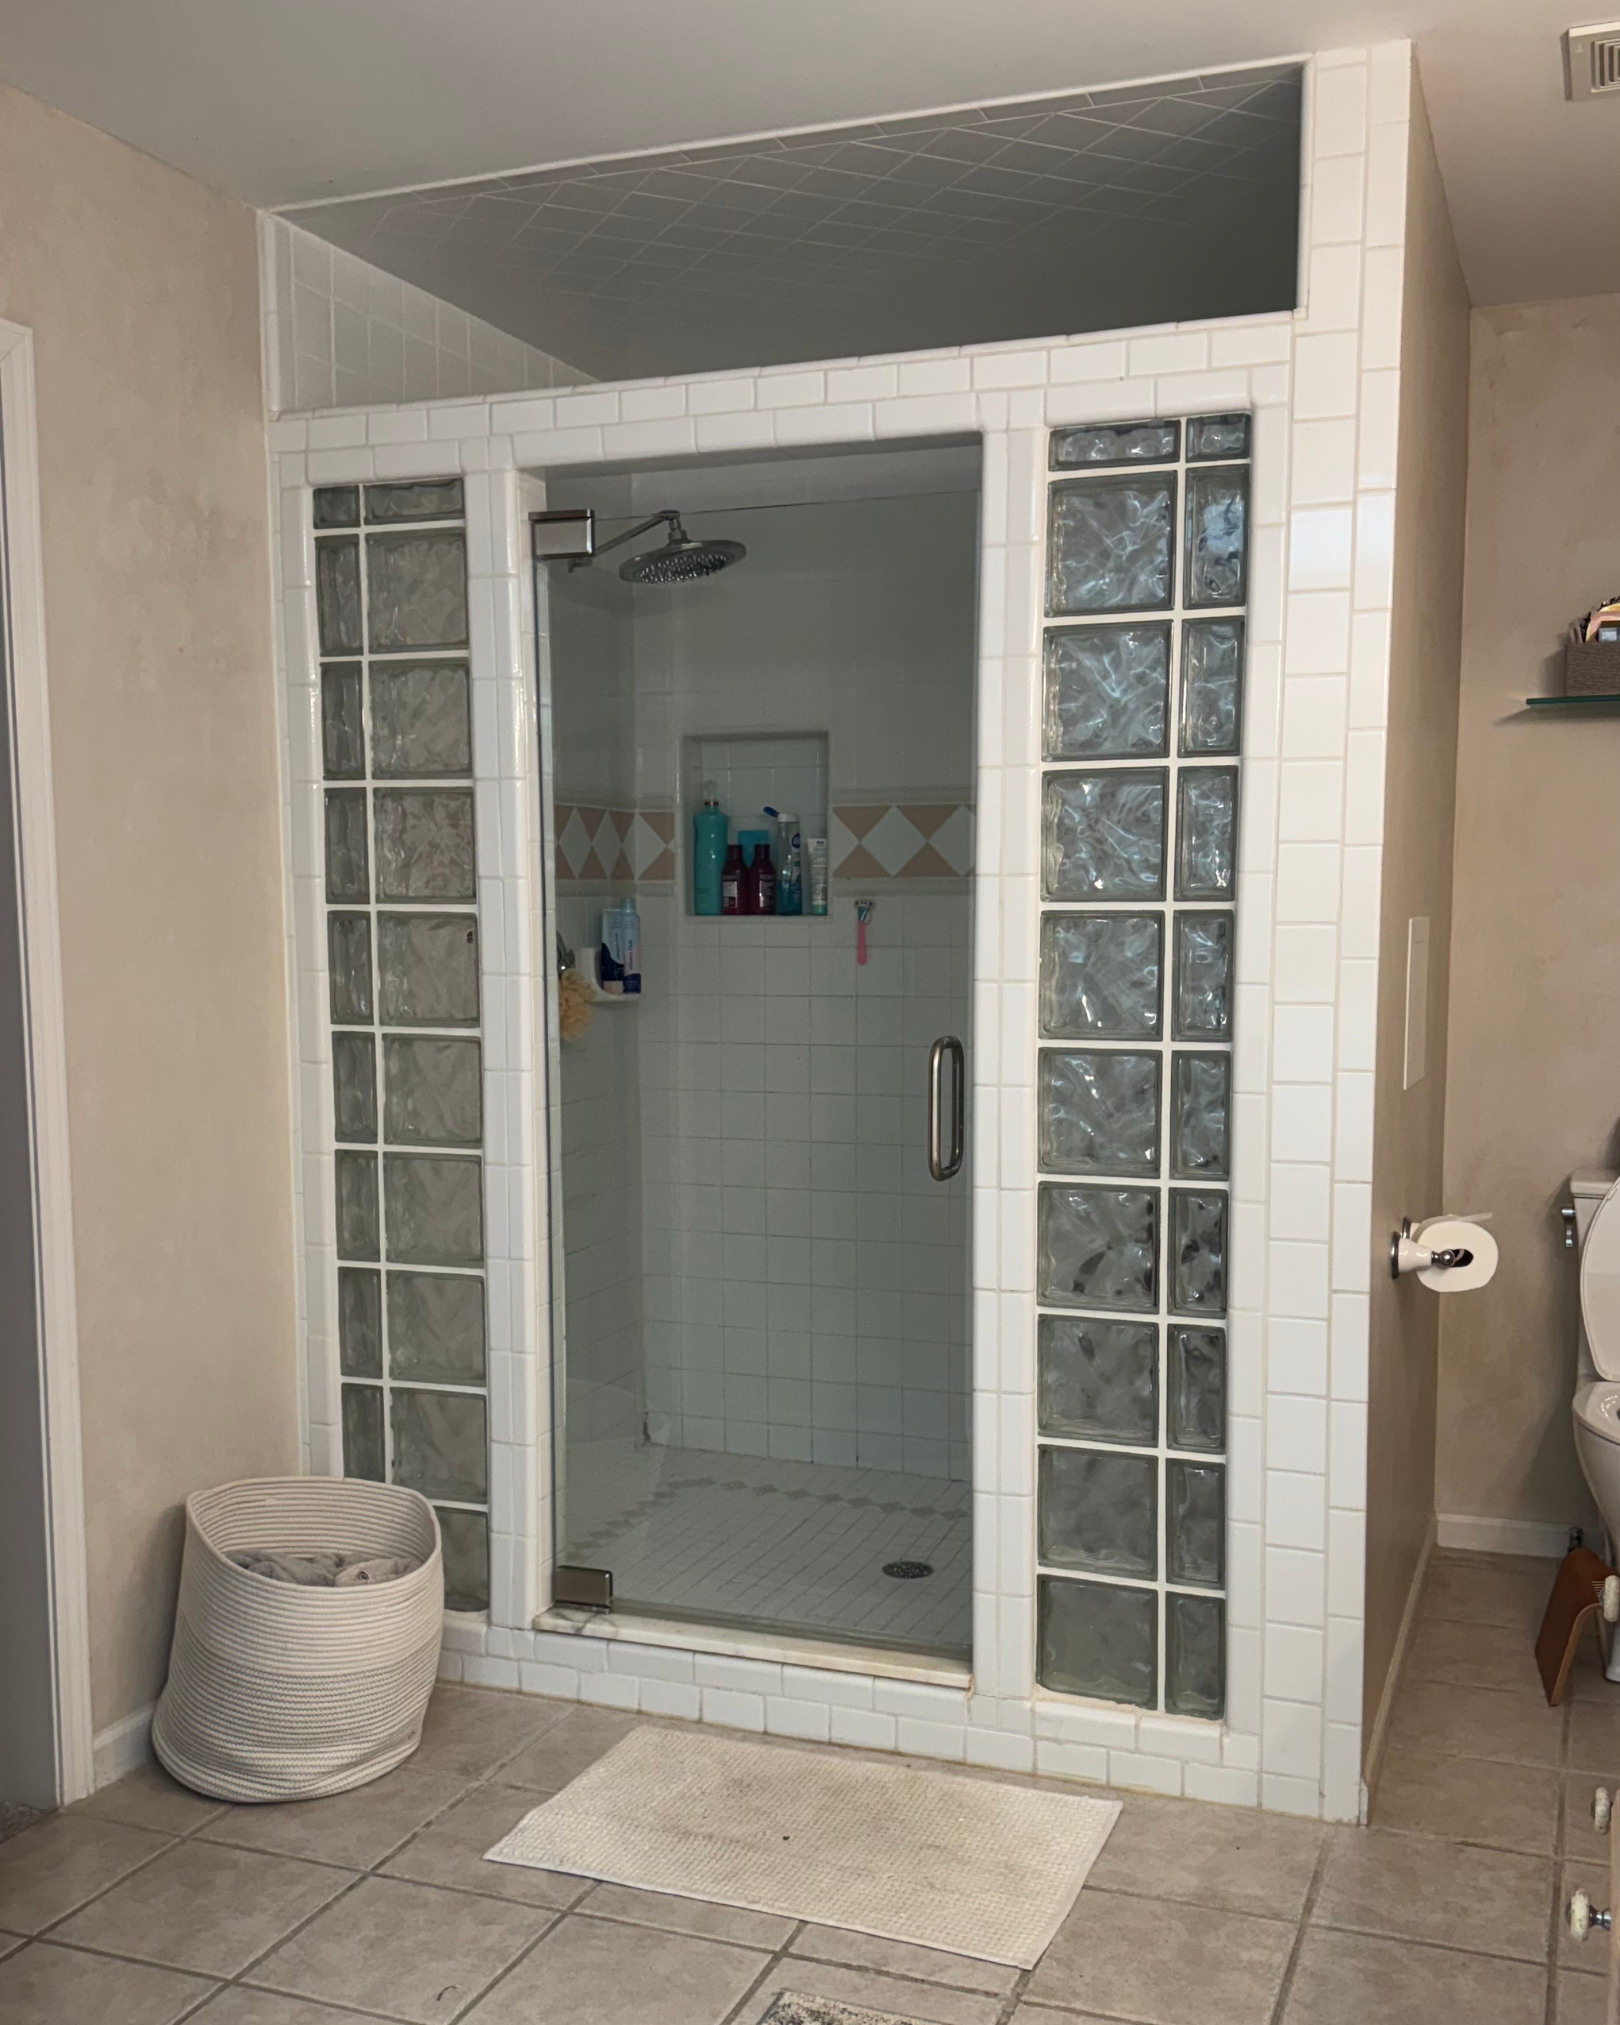
Ripping out the ugly pink tile and oak cabinets was the highlight of my month! I’ve envisioned having a spa-like bathroom since we bought this house, and it felt so good to finally see that vision come to life!
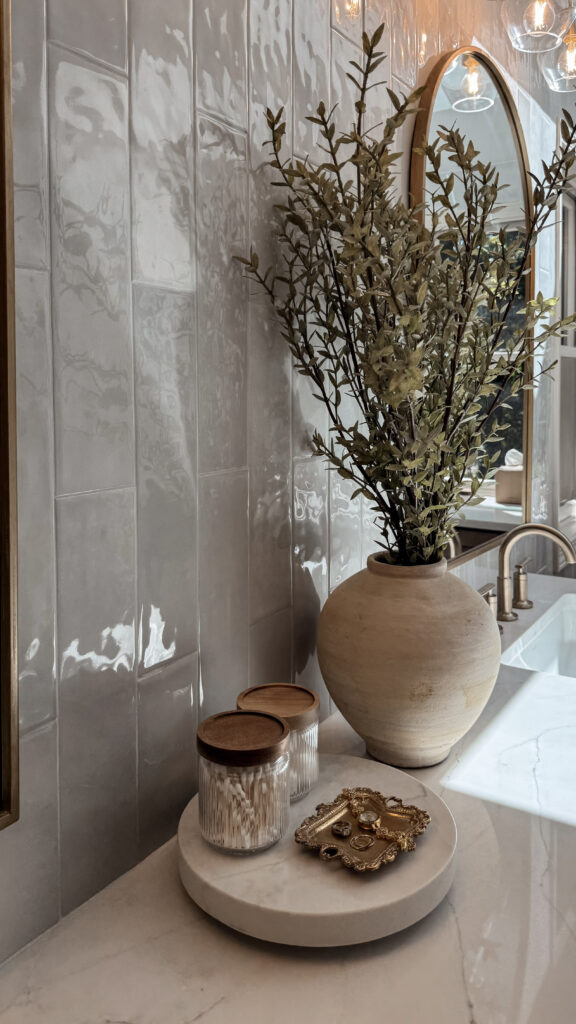
I found the most gorgeous tiles from Edward Martin, if you know me you know I love earth tones and neutrals. For the shower walls I did the Olivia Sage tiles which are the most stunning sage green. Then for the walls around the vanities I chose the Olivia Sage tiles. We had heated floors installed and used the Aniston 12×24 Carrara Bianco tile (also from Edward Martin) to complete the look. Since I’ve always dreamed of our master bathroom being a spa-like retreat, we opted to have a steam shower installed and you guys!! It was so worth it, I’m obsessed!
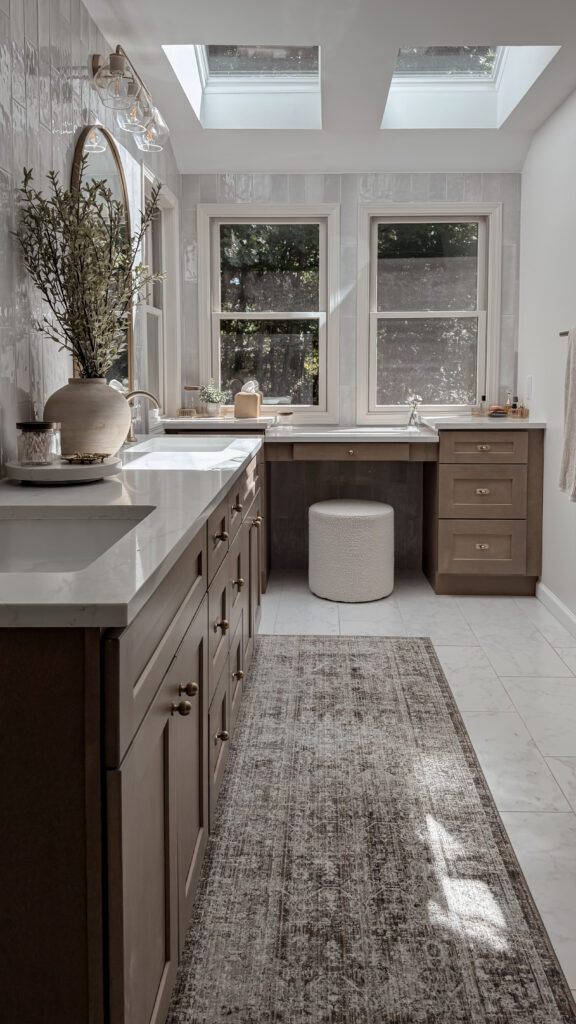
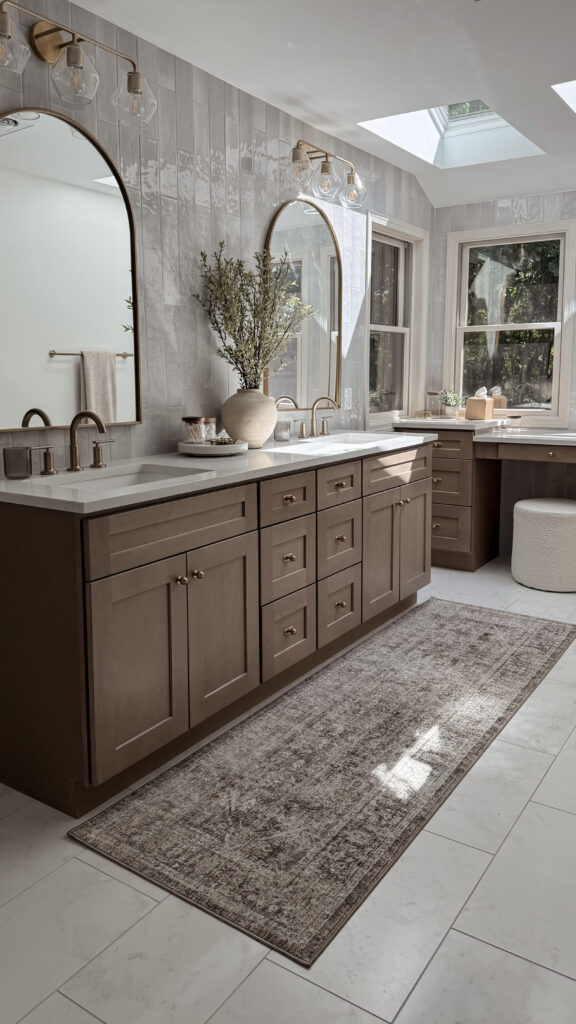
I knew I wanted the cabinets to be the statement piece that tied together the sage tile and champagne bronze fixtures, so I went with the perfect medium brown—Truffle Shaker from RTA Cabinet Store. Choosing countertops, though, was surprisingly tough! I wanted something more exciting than my usual Carrara marble, and after weighing all the gorgeous options, I landed on Bianco Bahia Porcelain. It’s full of texture and color variation, interesting without being overwhelming—and budget friendly, too.

All of the faucets, towel bars, etc are from Delta Faucet in the color Champagne Bronze. I couldn’t find a mirror that perfectly matched, so I used Rub n Buff Grecian Gold to adjust the tone in under 10 minutes!
Could I have tried to DIY this project? Yes… but it probably would’ve taken me MONTHS to finish and with this being the only bathroom upstairs, it would’ve driven me crazy to exist in a construction zone for that long. I’m so glad I called in the professionals for this job, it turned out better than I even imagined!
Labor: $15,142.50
Steam Unit: $4,500
Heated Floor: $2,500
Shower Glass: $2,500
Cabinets: $5,318
Tile: $2,602
Counters: $4,477
Mirrors: $371
Lights: $292
Labor: $15,142.50
Steam Unit: $4,500
Heated Floor: $2,500
Shower Glass: $2,500
Cabinets: $5,318
Tile: $2,602
Counters: $4,477
Mirrors: $371
Lights: $292
Total: $37,702
I realized really quickly that a handheld was a necessity for cleaning, so I’ve already swapped one of the shower heads with this one: Fixed and Handheld Shower Head
Long story short, we have two shower heads on opposing walls, so regardless of where we put the bench it would be under a shower head. However, the bench is narrow enough that it doesn’t encroach on your space when you’re showering. It hasn’t been an issue so far, and added bonus– it can be used as a ledge for shaving legs!! 🙌🏼
I used the Truffle Shaker from RTA Cabinet Store.
Most tiles come in a matte option. Shower + bathroom floors should always be a matte finish tile.