


Total Cost: $98 – total dependent on current lumber costs (I was able to get some of the boards at a discount because they were damaged)
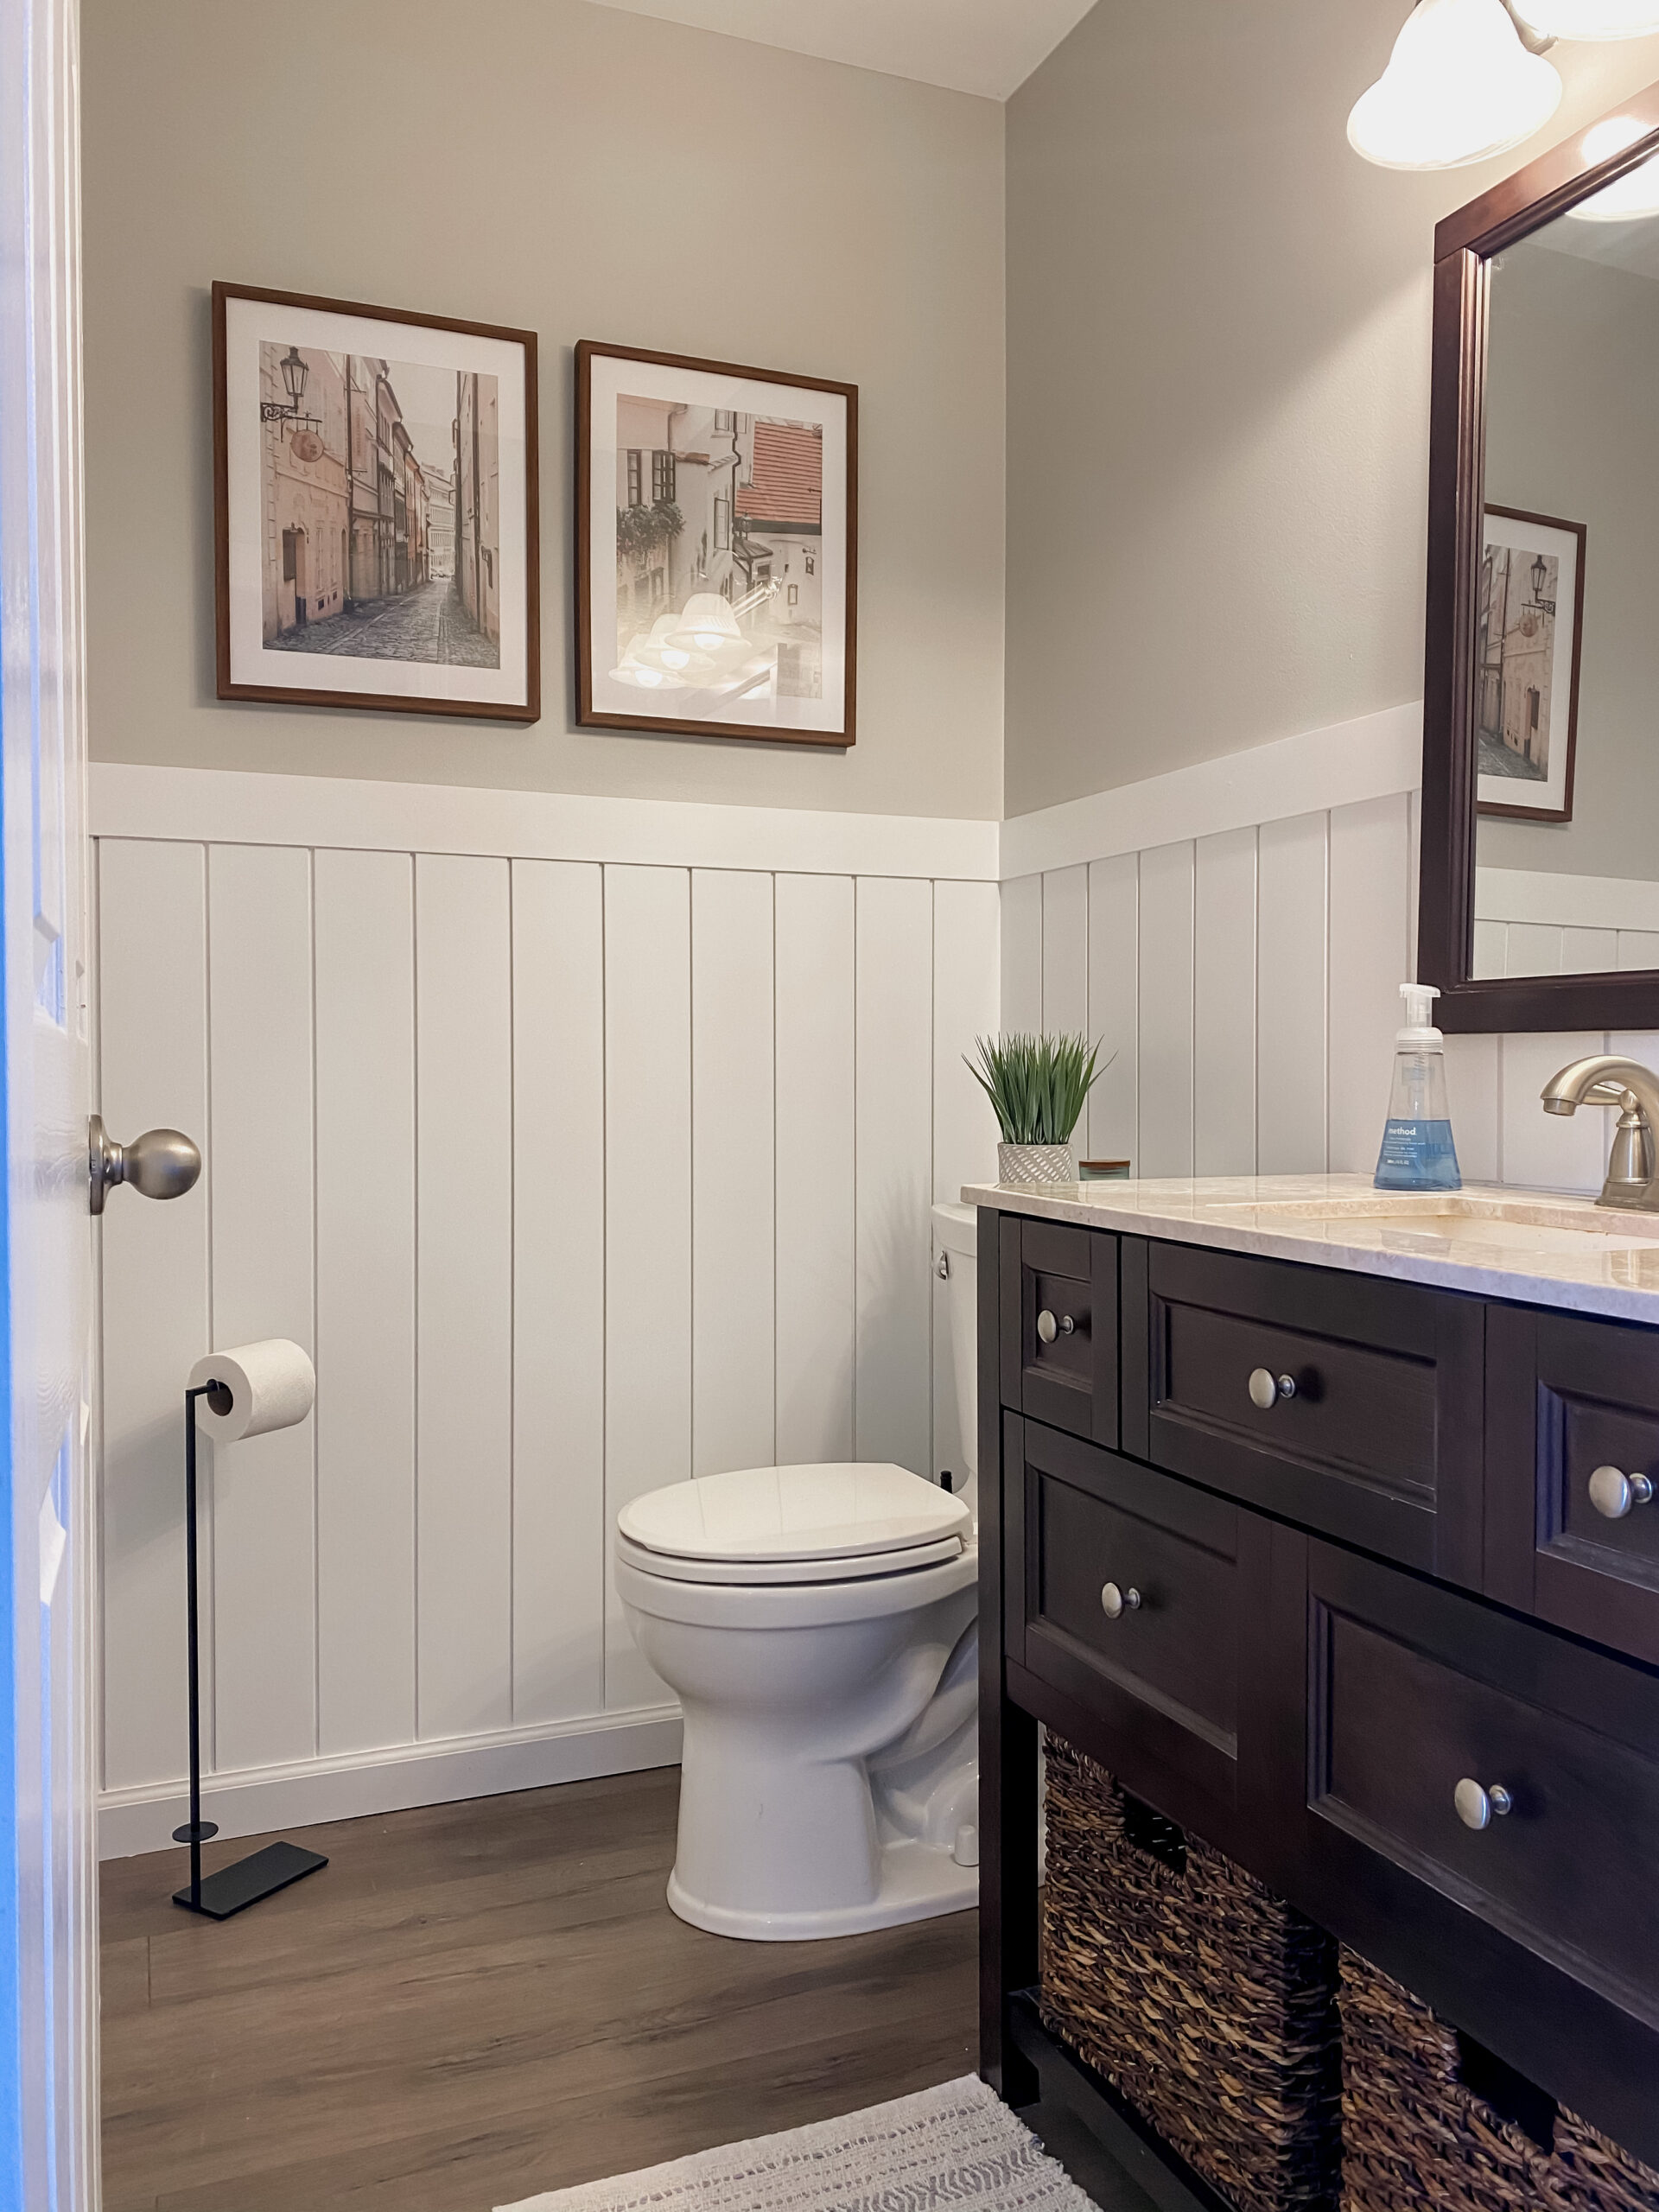
You will start by mapping out the height you want your vertical shiplap to be. For this project, I went with a half wall. I decided to make mine 4ft high so that I could get two boards out of one 8ft shiplap board, saving cost.
Use a utility knife to score along the edge of the baseboard. This is so you can break the seam between the caulk and the trim. Then use a painters tool and hammer to get back behind the trim, making some space for your trim puller. A trim puller is the easiest tool to work your way down the wall pulling the trim off without damaging it so it can be reused! If you are careful, you will be able to reuse these baseboards when you go to put them back instead of buying new!
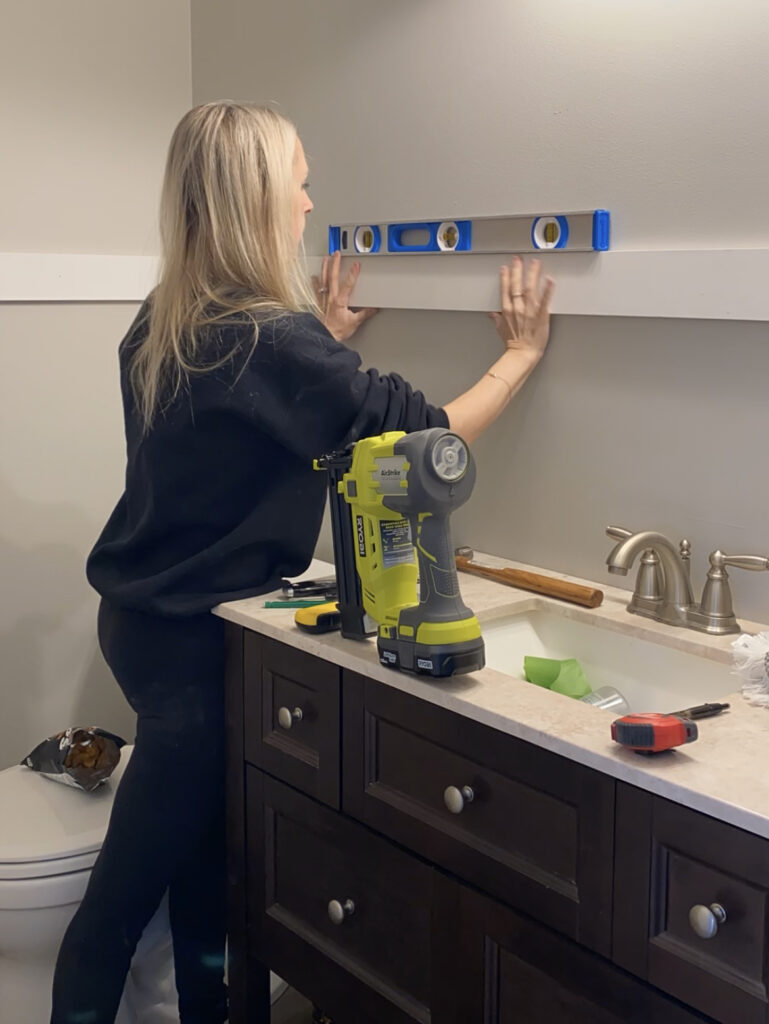
We are going to install the horizontal board first to make sure that everything is level. Cut your board the full width of the wall and nail into the studs with your brad nailer, making sure everything is level. I am attaching the 1×4 board to the wall and placing the 1×2 on its side, on top of it, to create a ledge.
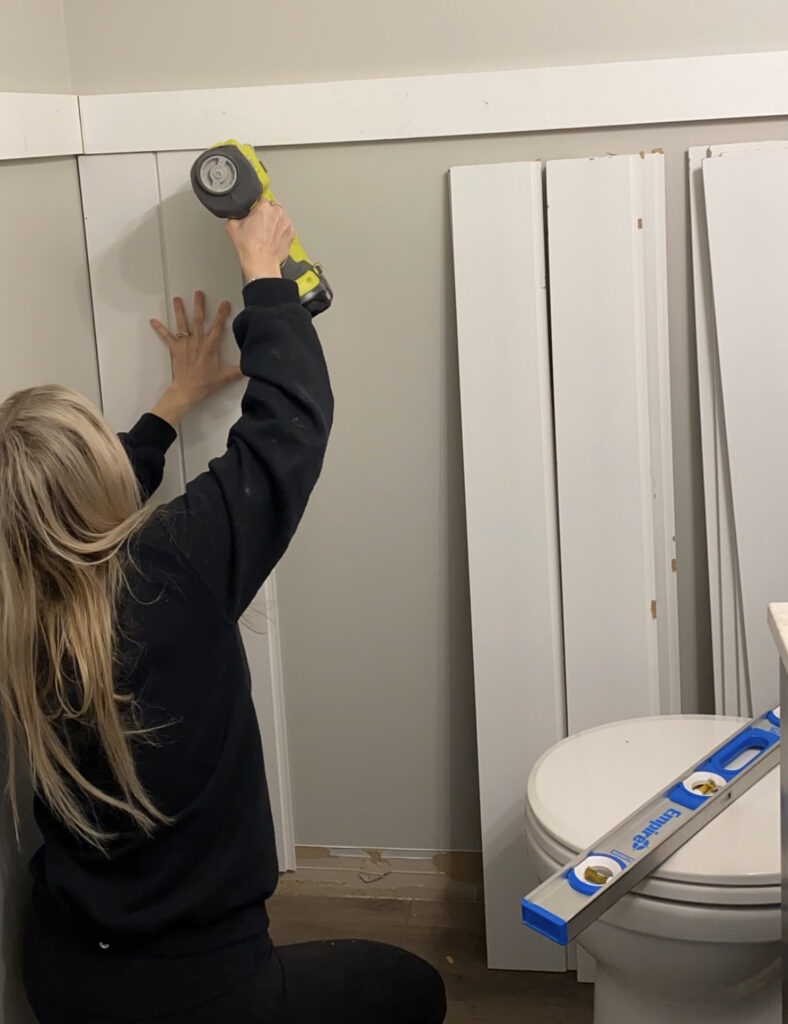
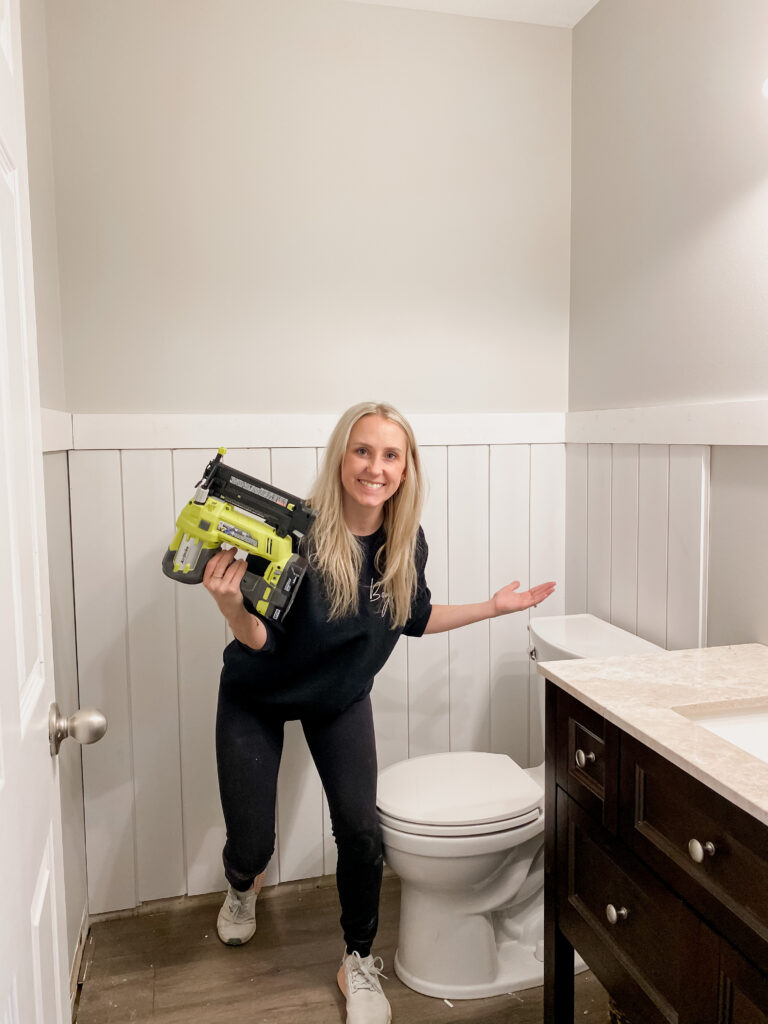
I used 1in x 6in x 8ft MDF nickel gap shiplap boards from Home Depot & cut them in half to save money on this project! Once the boards are cut, you line them on the wall up butting them right up to the horizontal board to start installing. It’s okay if they aren’t completely even at the bottom because the baseboard will cover that up! Because the shiplap boards use a tongue and groove system, you will be able to easily, lock the boards together and secure to the wall using your nail gun. I recommend shooting your nails into the tongue of the board so that when you install the next board, it will be covered and create less holes for you to fill after!
I used my jigsaw to cut out pieces around the sink and spaces for the outlets and vents. In our bathroom, our toilet isn’t attached to the wall, so I was able to just slide the boards behind it without taking anything apart.
You’ll need to cut your baseboards down a little to fit. You will miter the corners at 45 degree angles so that they fit together nicely. Use your nail gun to reinstall the baseboards to finish off the walls.
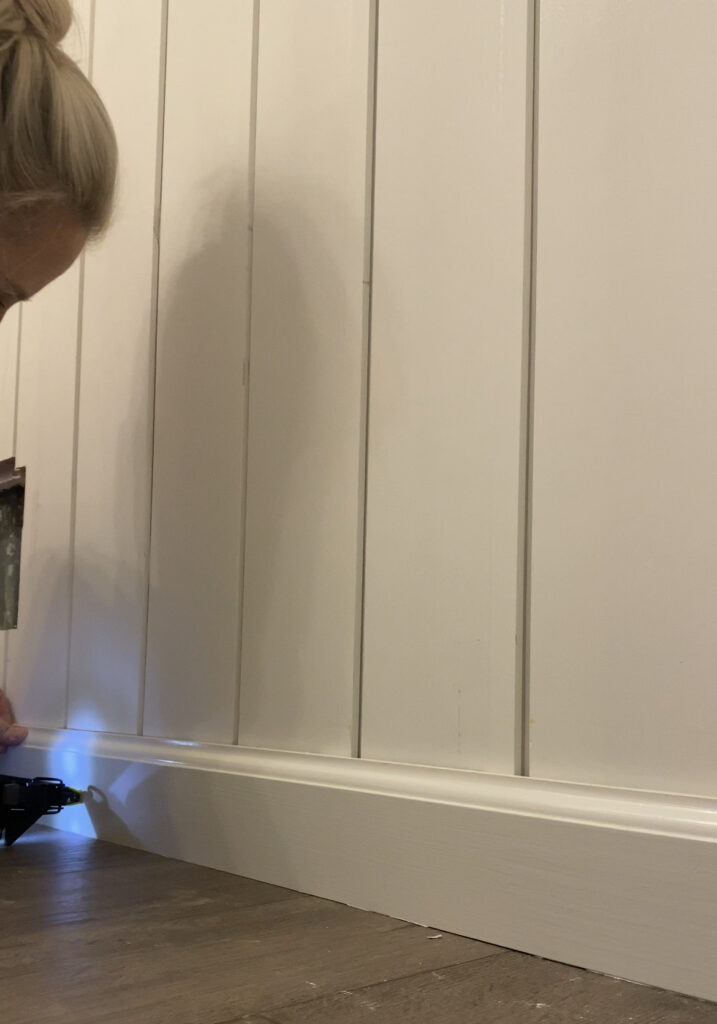
You’ll want to use wood filler on the boards & baseboards to fill in the nail holes. While it drys, use caulk around the baseboards, both edges of the horizontal board, and corners. I also caulked around the edges where the shiplap meets the sink. Quick Tip: Use a baby wipe to smooth out the caulk, it works like a charm & keeps your fingers clean! Here is a tutorial if you need help!
![]()
Once your wood filler drys, sand it down for a smooth surface to paint. I decided to use Pure White by Sherwin Williams in a semi gloss finish. If I was going to use a color, I would have painted the boards first to avoid having to paint in each of the seams, so keep that in mind!
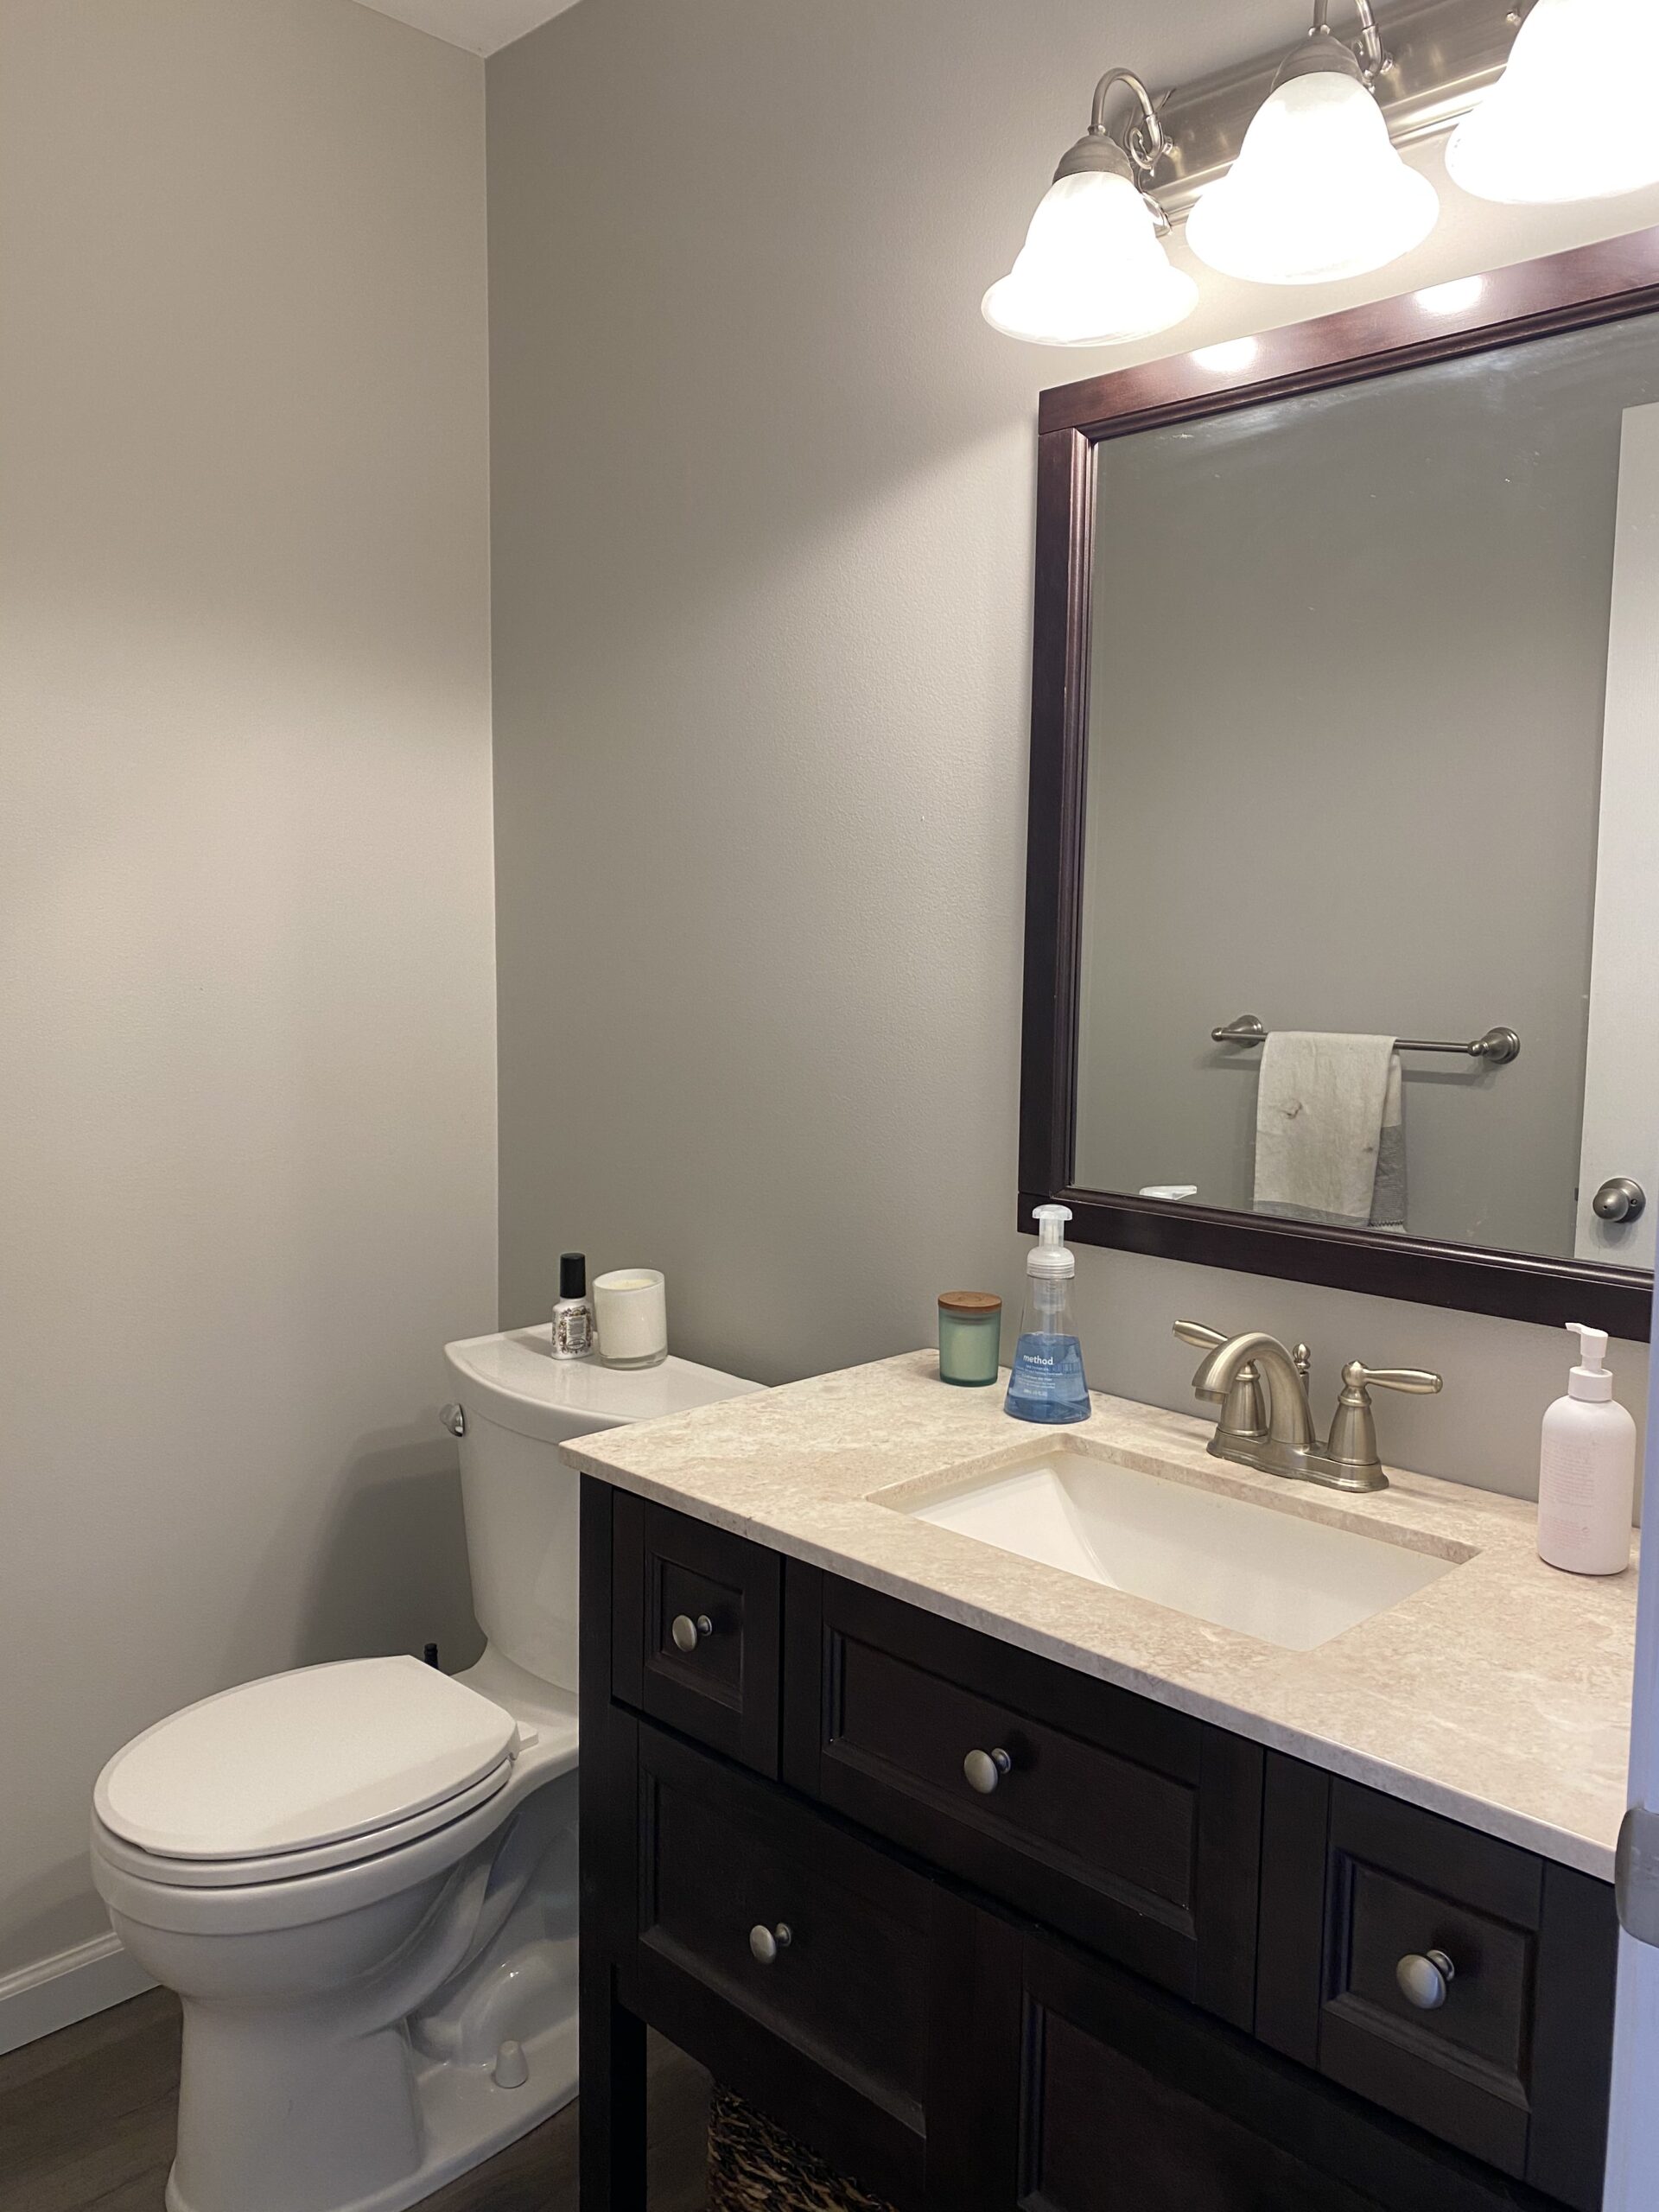
A classic update to our half bath for under $100!