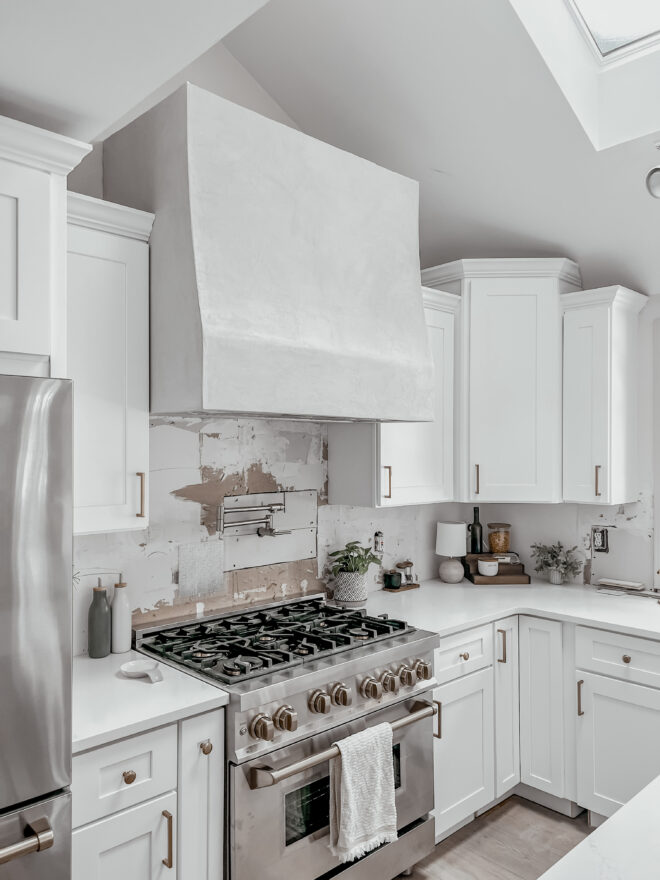

Whether you’re remodeling a small space, repairing old nail holes in the wall, or fixing holes you accidentally put in the wall (oops!) knowing how to repair the drywall is an essential DIY skill to have in your back pocket, and like most DIY skills, it’s not hard with the right tools!


The key to repairing drywall is making sure that you first remove any big or loose pieces of drywall, scrape any raised edges or pieces with a putty knife, and then sand it smooth to start with the smoothest surface possible before applying the spackling compound. It’s important to make sure that nothing is protruding outward (wallpaper, scrap drywall paper pieces, drywall anchors, etc).

Make sure you work in layers! Using your putty knife take some of the spackling compound and start pressing and working it into any gaps or rough spots in the drywall. The goal is to get one nice even coat. It doesn’t have to be perfect when you apply it because you will be sanding it smooth afterward but to save your arm from sanding for hours, it’s nice to be able to get it as close to smooth as you can. Let this dry completely before you sand it smooth in the next step. It’s better to overfill, because you can sand it down but if you apply too much at once it will have a hard time completely drying! If you don’t fill the hole all the way then there will still be an indentation after sanding is finished.


After the first coat dries, sand it smooth, wipe with a cloth and then apply a second coat. You should notice some spots need less spackling compound than others as it starts to fill in and become more of an even surface. Repeat this process as many times as you need until everything is perfectly flush and smooth, making sure to always let dry and sand before re-applying the next layer. This part is VERY messy and dusty. To minimize dust, you can also purchase a sanding sponge and get it slightly damp to sand. This is personal preference. For large walls and drywall repair, the wet sanding is a better method.
If you have a larger hole to patch you will want to use a drywall repair patch. This is a square mesh that you put over the hole and then cover with the putty starting in the middle, and feathering outward.


Yes. This step is crucial. It’s important to prime after new drywall installation because the new surface will be very porous and will absorb the color of the paint and not adhere well long-term.
The higher the number, the finer the grit for sandpaper. I like to start with 120 grit then finish with 220 grit to get the smoothest finish.
All paint stores can do a color match for you. All you need is a piece of the drywall at least the size of a quarter. If you know you are going to be repainting it the same color after you are finished, then when you are removing loose pieces of the drywall when prepping the wall, keep a piece of the paint to take in as a sample.
You will want to cover the large hole with a wall repair patch. This is a stick on wire mess piece that will reinforce the spot where the hole was and you will cover it with the spackling compound. Otherwise, you will have nothing for the spackling to adhere to and it will just fall in the hole between the studs of the wall.
You want to make sure anything protruding outward is removed before you start repairing the drywall. Use a hammer to make sure all nails are fully inserted in to the wall or remove if you can. You will always want to make sure you remove any drywall anchors.
They make something called drywall tape that you can also use! It comes on a roll almost like duct tape but its a mesh. It’s more pliable and flexible so that you can cover the hole on the curve and then apply the spackling over top just like you would repairing on a flat surface.
Chances are… you either need to feather it out further so that it tapers off and you don’t notice the bump or you are applying too much spackling compound and just haven’t sanded it down enough.
You can simply reapply the spackling compound overtop feathering away from the corner toward the open part of the wall.
They make texture spray! You repair the drywall like normal and then follow the instructions on the can to achieve the desired texture. Once dry, then you paint.