


Total Cost: $106.34
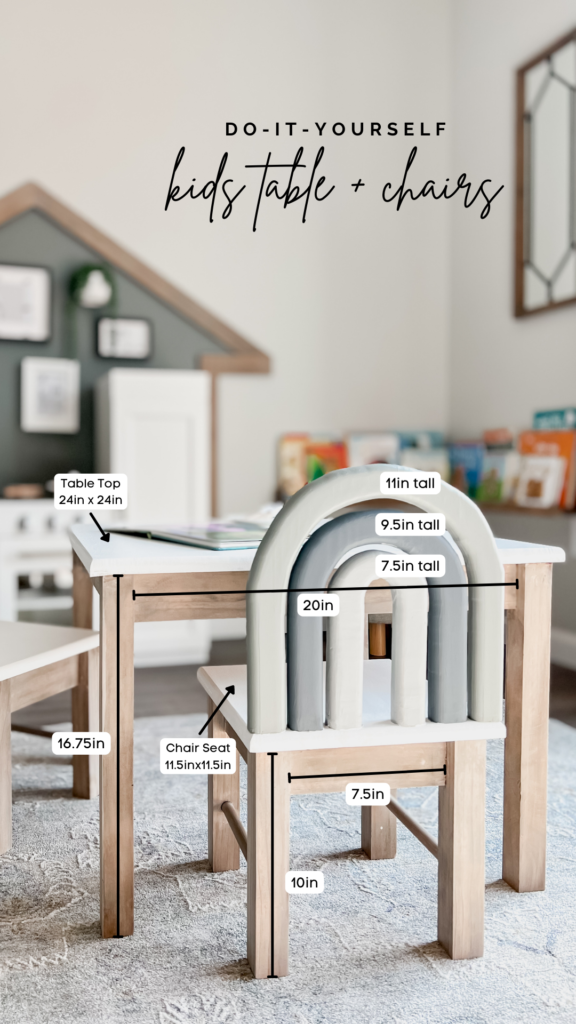
Planning and prep are everything when it comes to projects. Here are the measurements that I used.
Table Top: 24in x 24in
Table Legs: 16 3/4in Tall
Chair Seat: 11.5in x 11.5in
Chair Legs: 10in Tall
Arches: 11in Tall, 9.5in Tall, 7.5in Tall
You will want to cut your boards to length and assemble your table using wood glue and pocket hole screws then attach your table top using wood glue and your nail gun. I just did one nail in each corner, 4 total.
Cut list for the table:
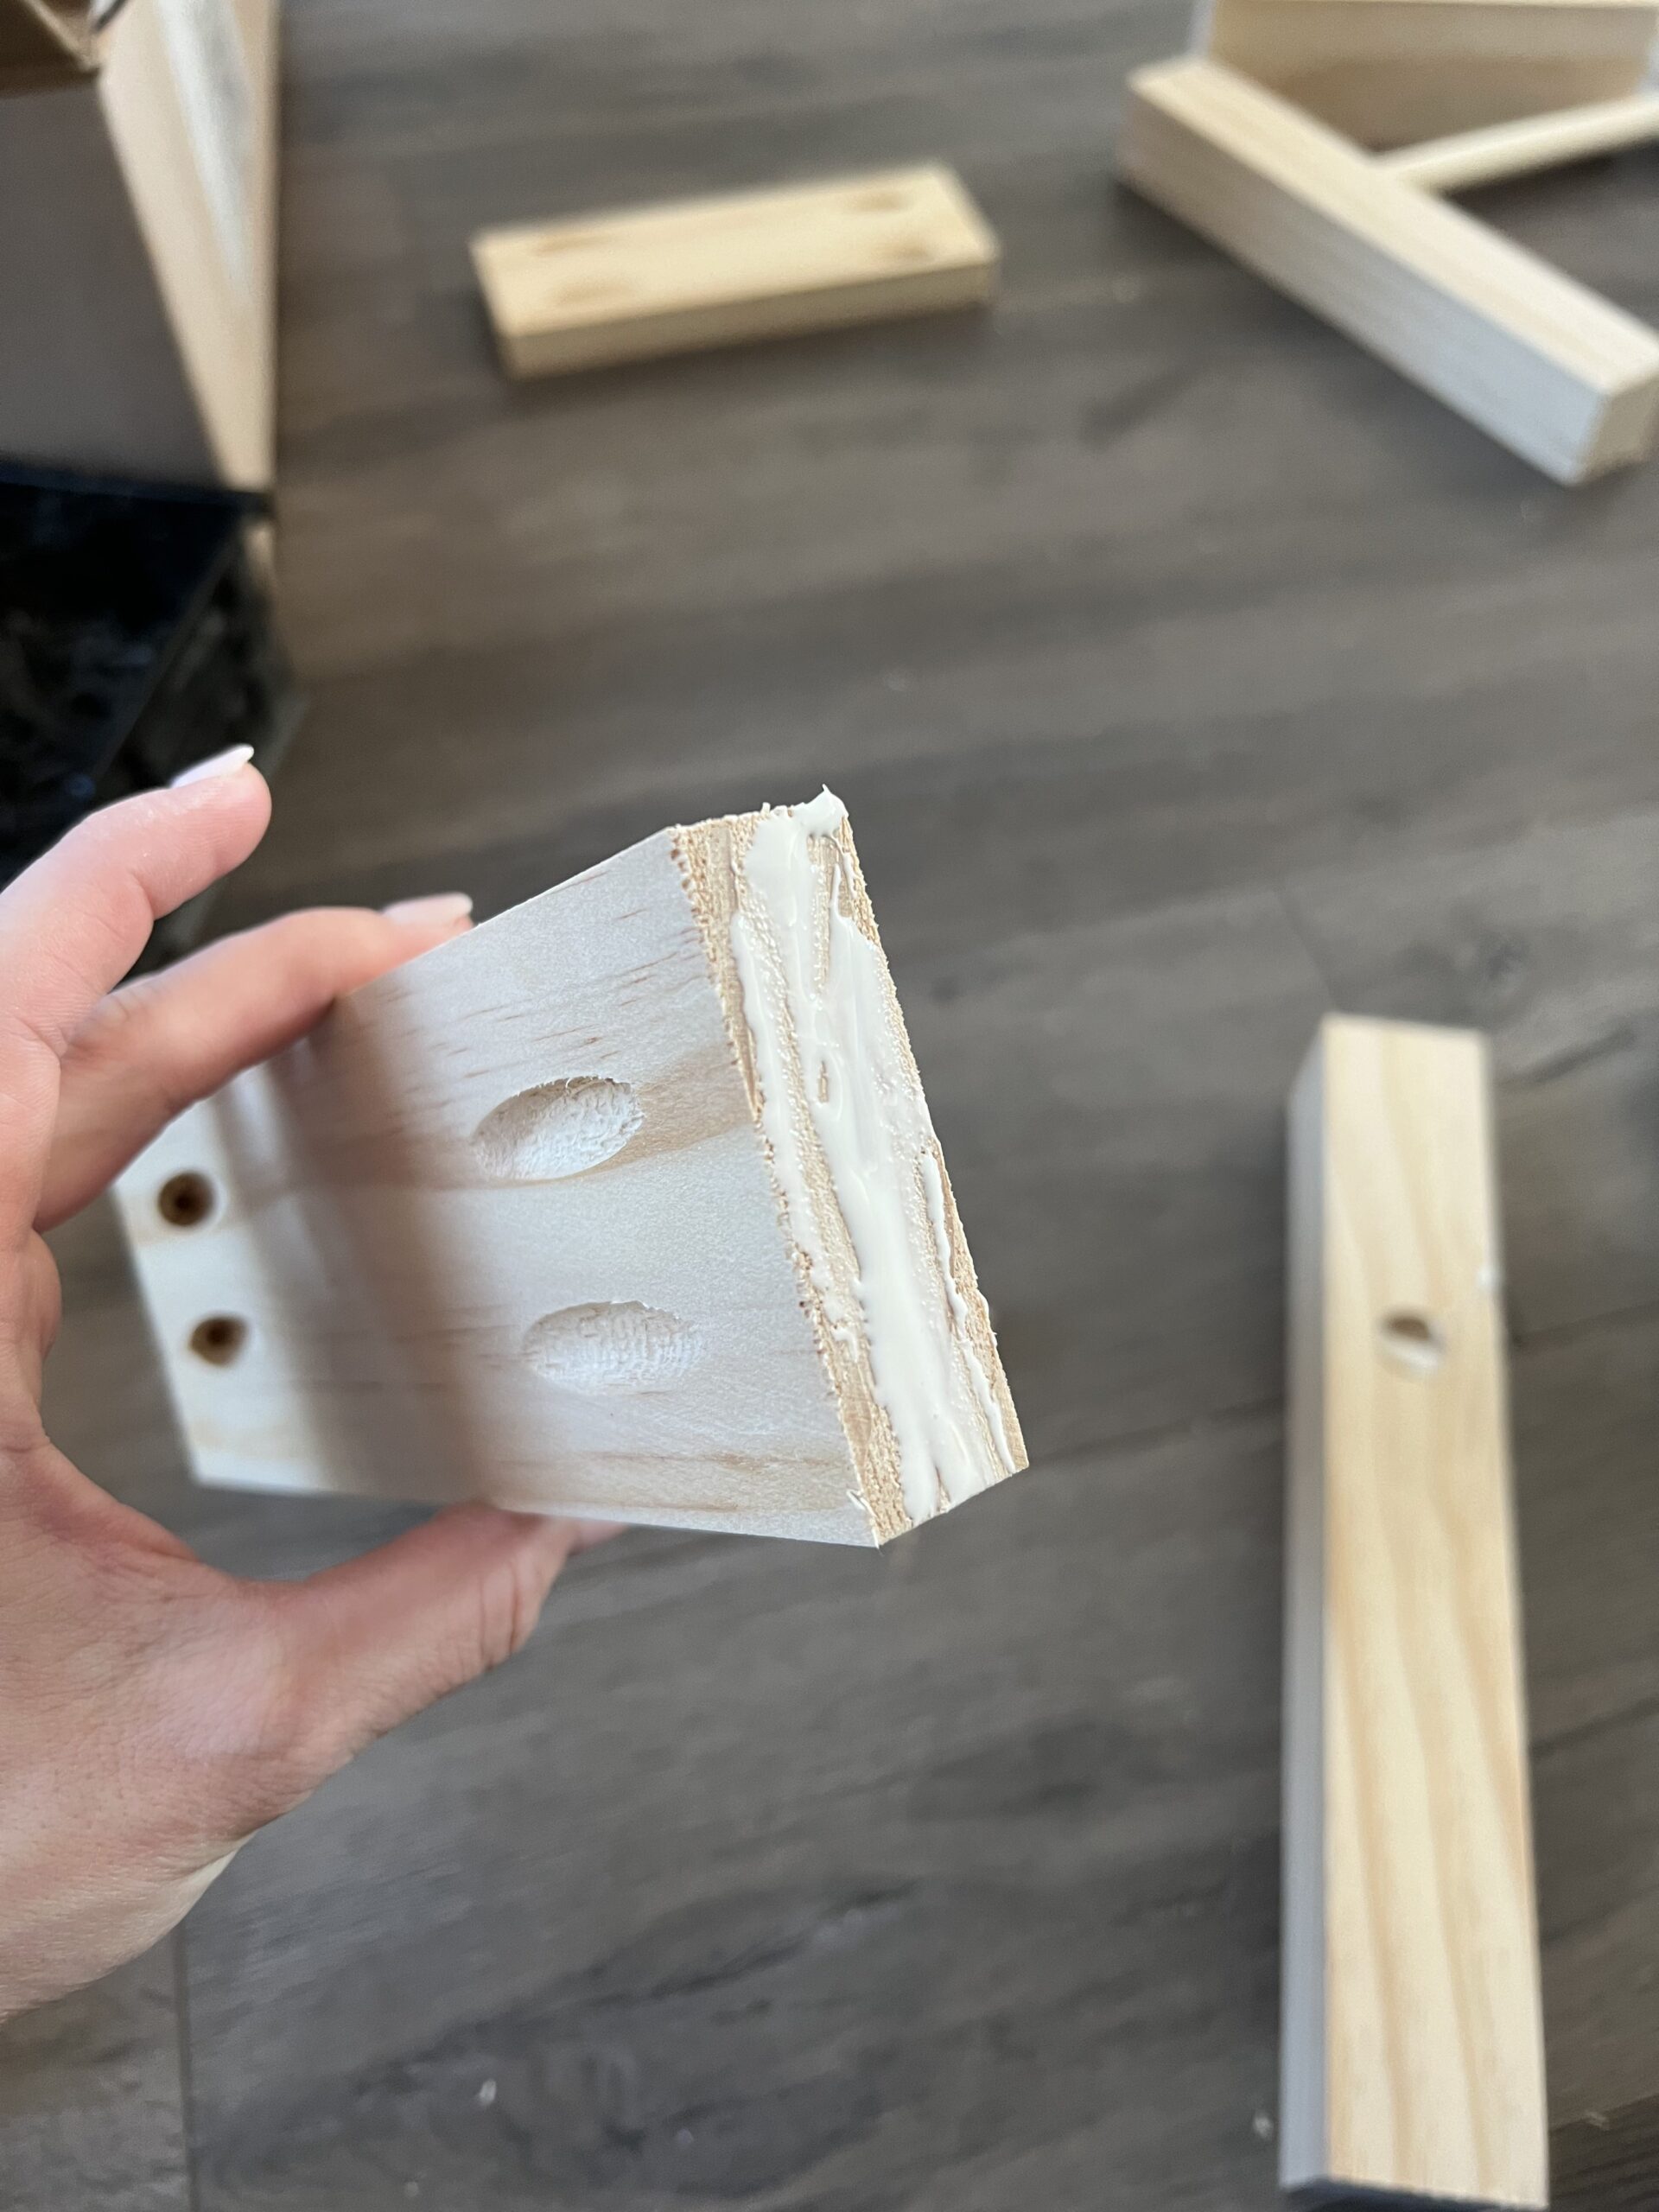
Using your Kreg Jig, make pocket holes in your 1×3 boards. Make sure that you alternate where you are placing the pocket holes so that when you screw the boards into the posts the screws won’t hit each other. Make sure you put 2 pocket holes on each end of the 1×3 board on the same side of the board. These will be hidden when you assemble the table.
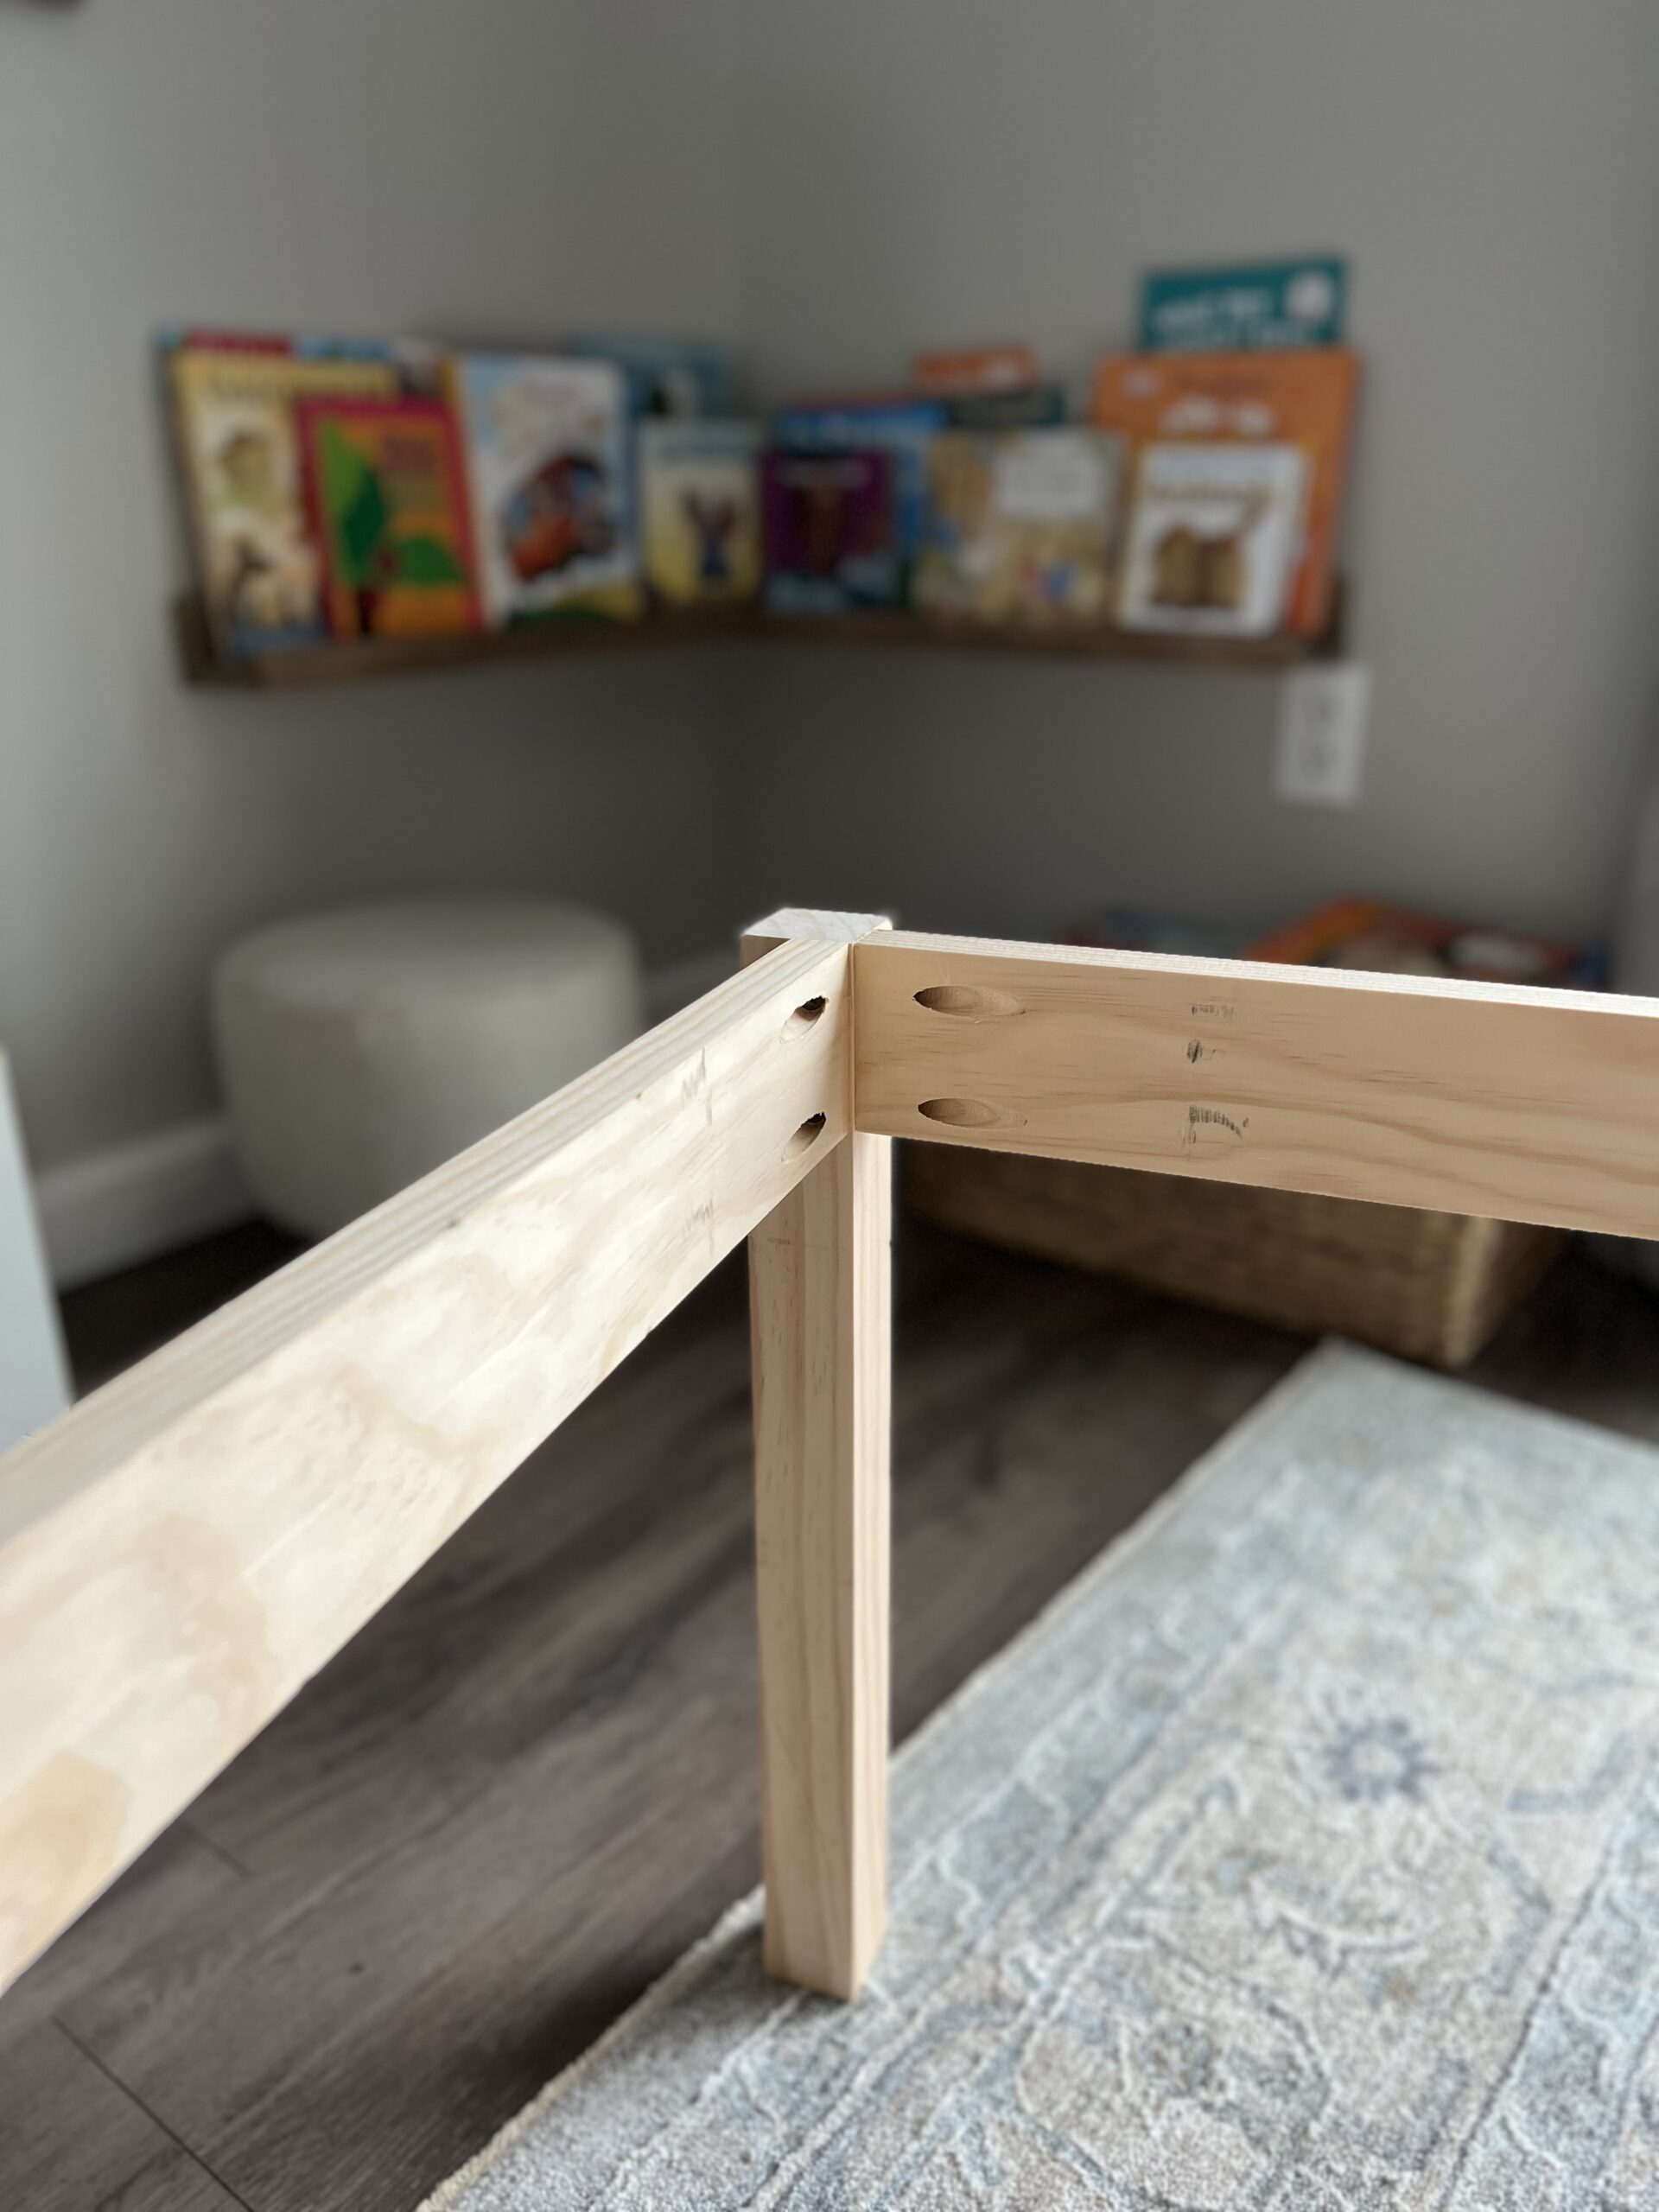
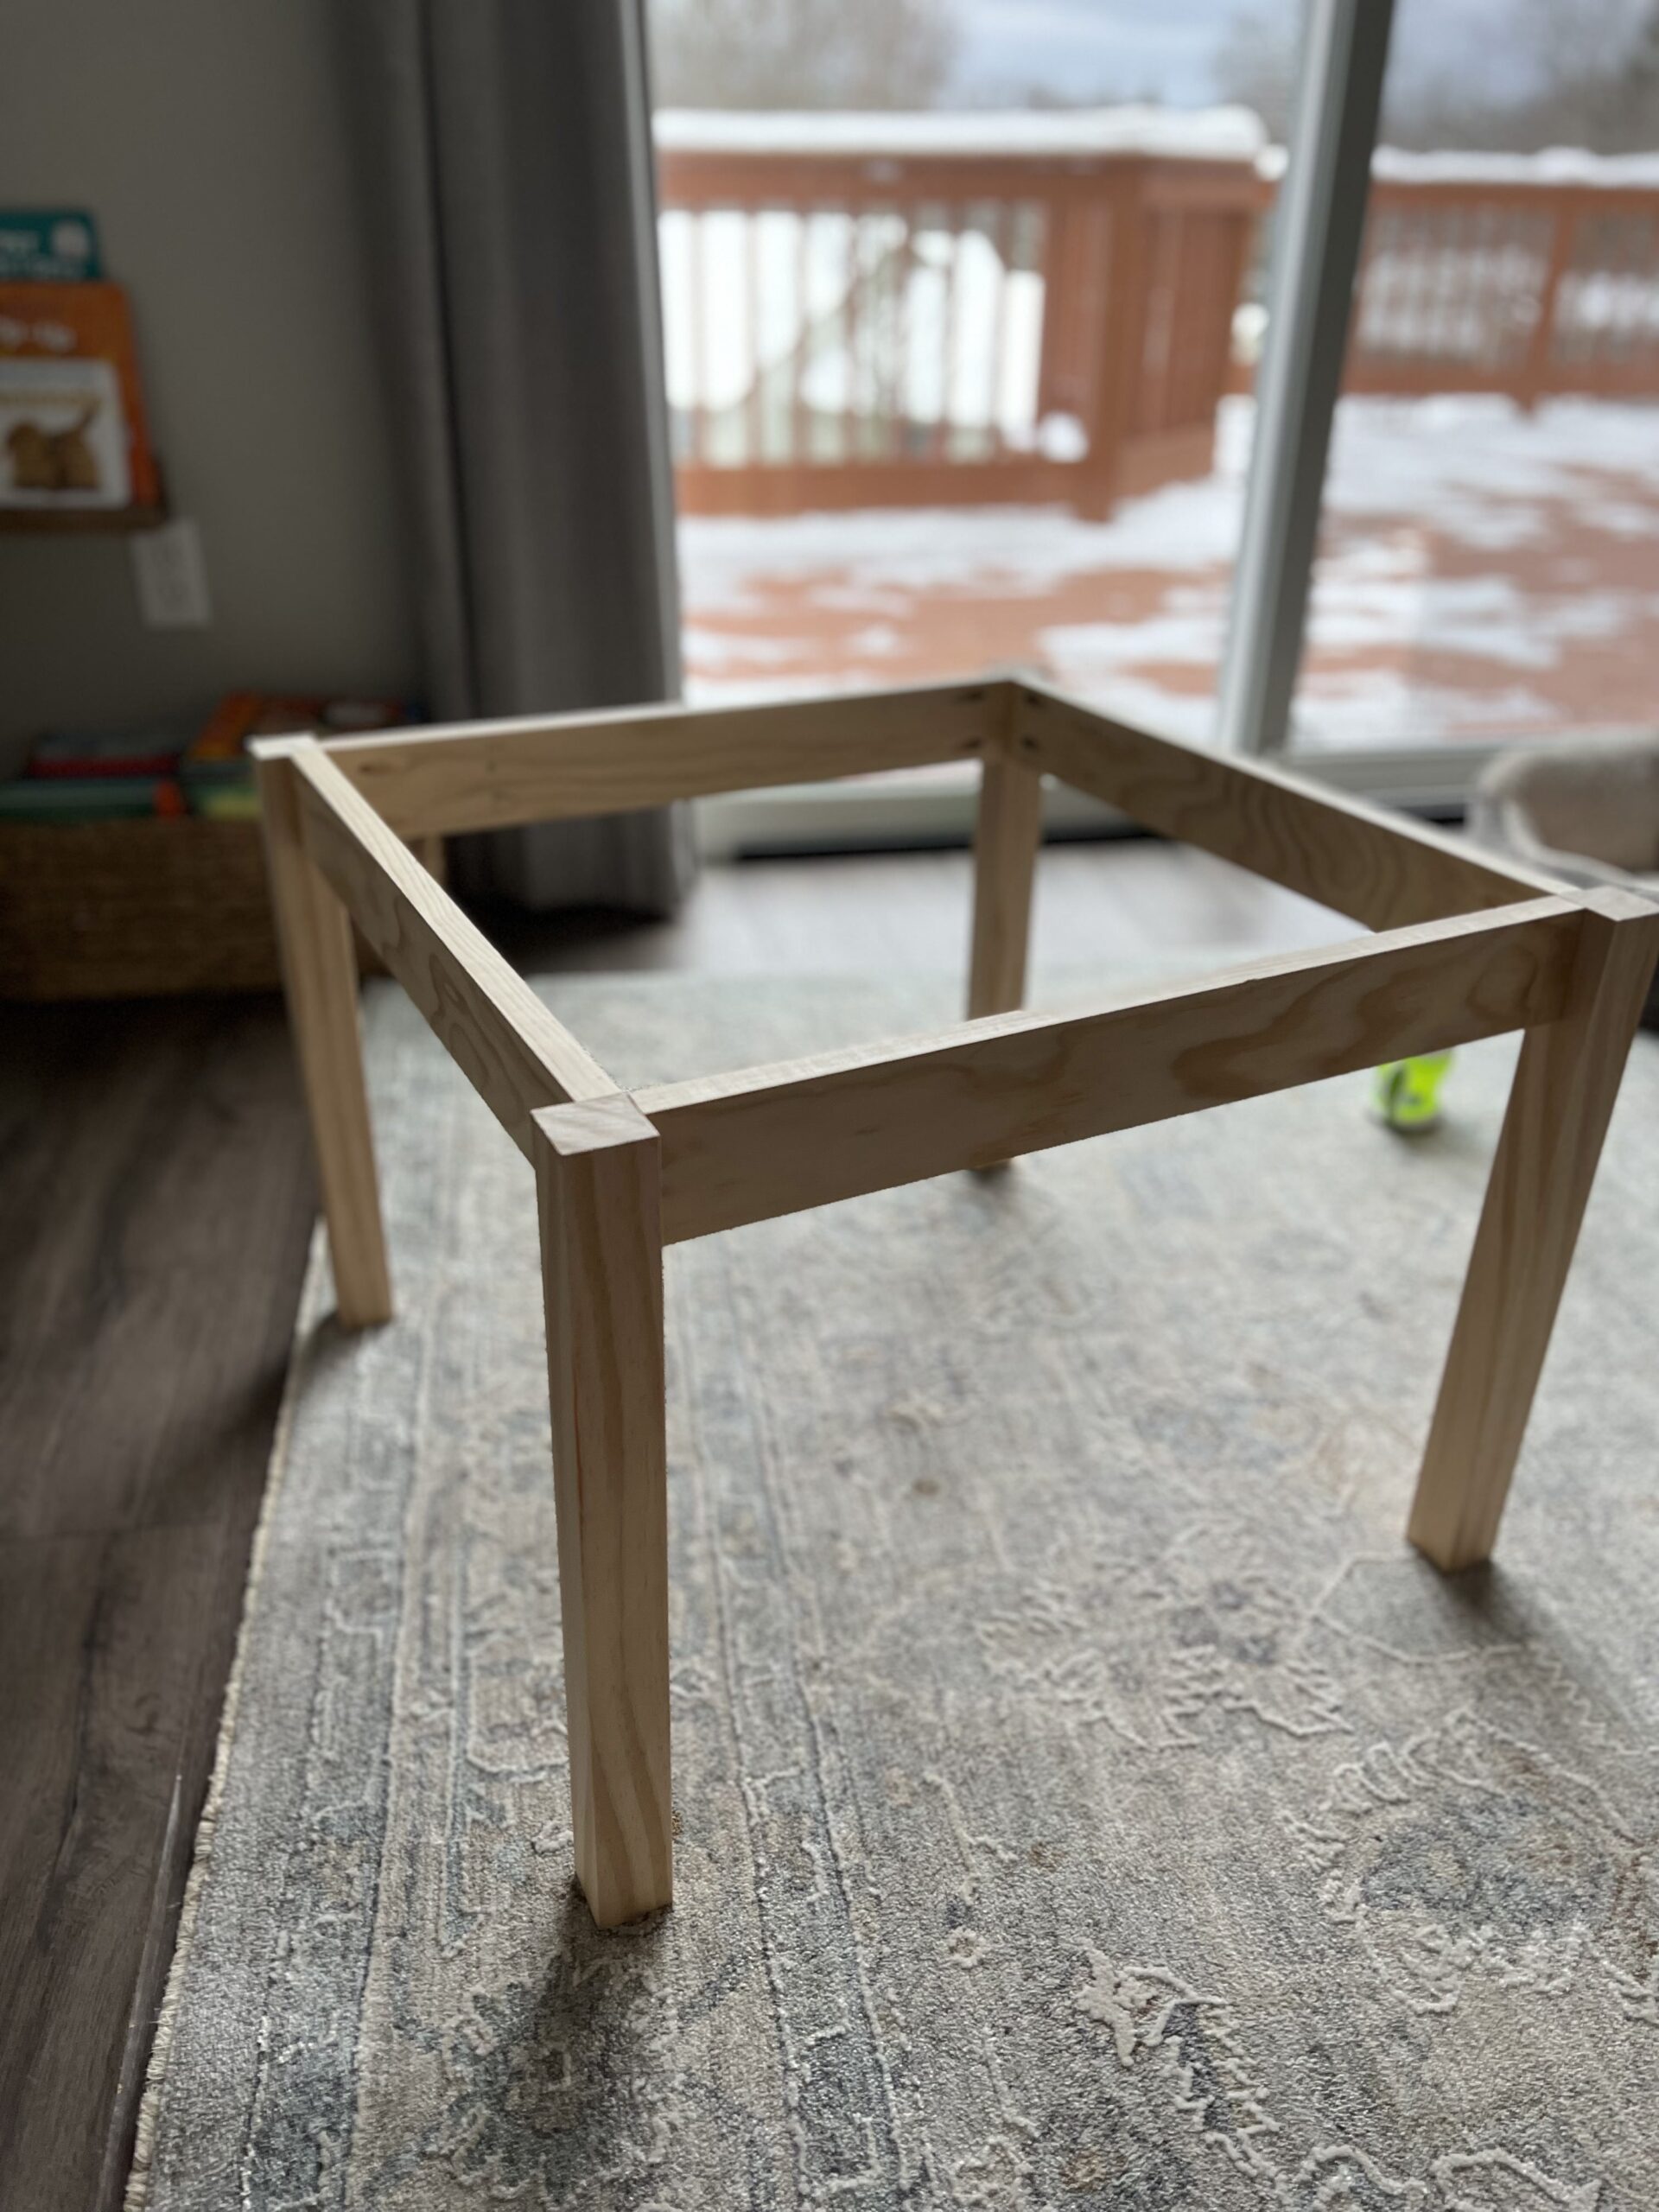
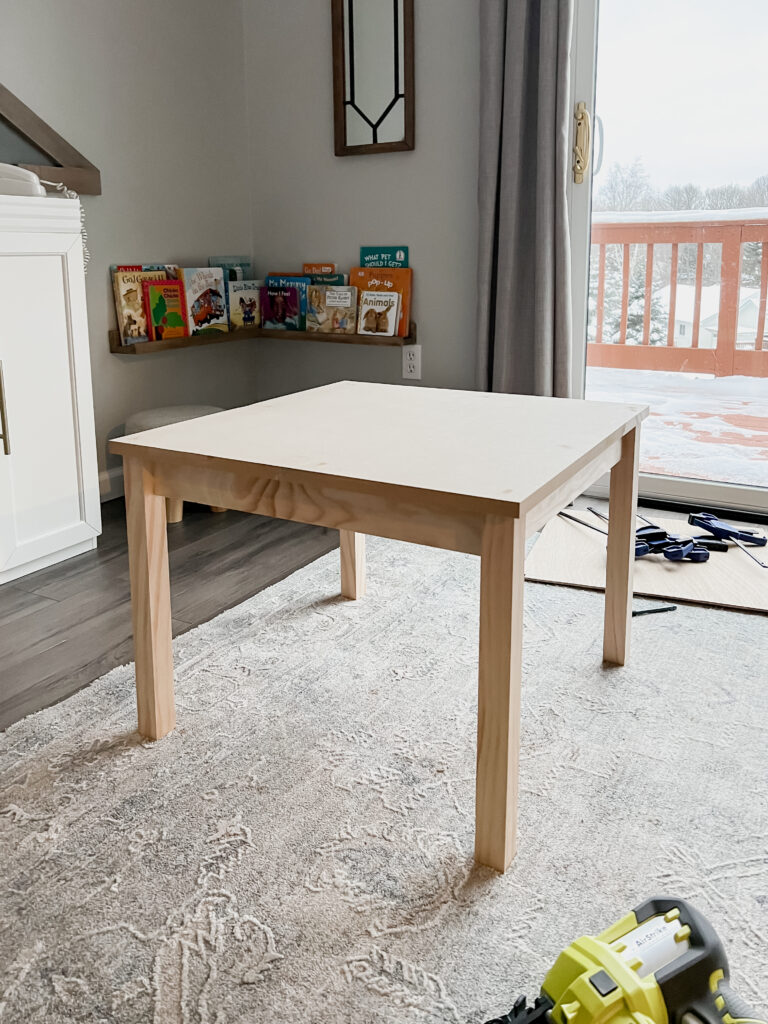
Assemble your table upside down so that you can place screws into the pocket holes. Apply wood glue to the ends before attaching so that once everything dries, you have a strong bond. Once you have the base screwed together, flip it over and place your table top on the top. Apply a thin coat of wood glue and secure in each corner with your nail gun. Place clamps while the glue dries (optional, but recommended).
Try to think of the chairs as mini tables. You will assemble them the exact same way. I made 2 chairs. Double if you want to make 4.
Cut list for the chairs:
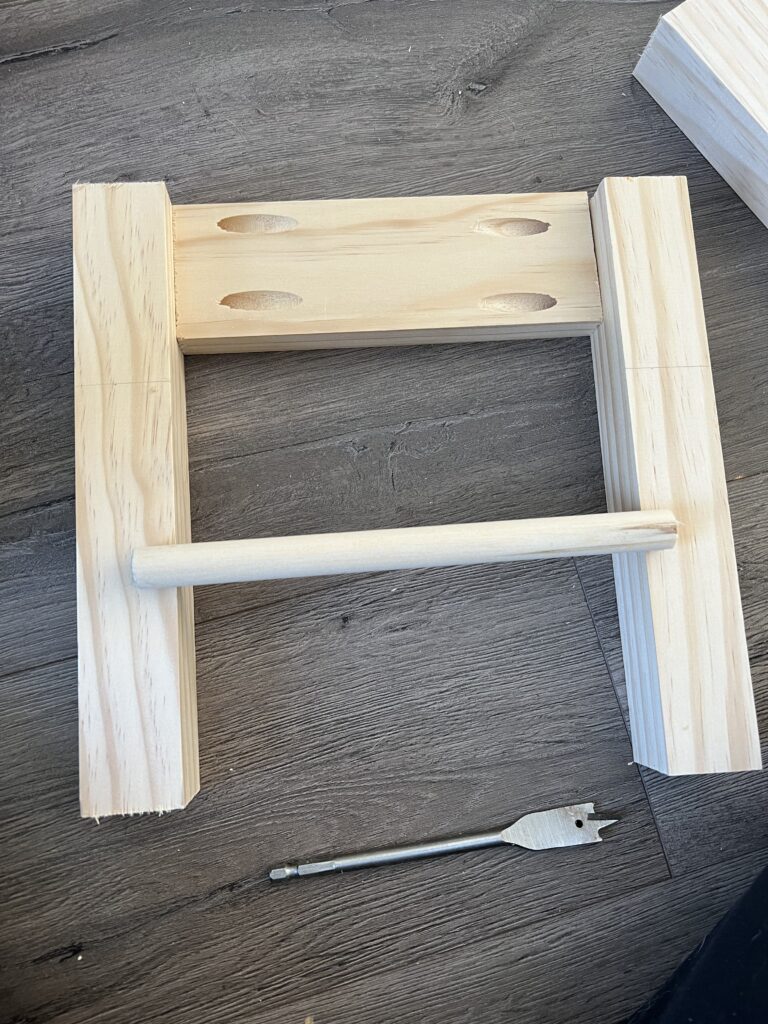
Each chair will have 2 dowel accents. Determine the desired height and measure/mark on each post. Use a 5/8in spade bit to make a hole for the dowel to fit in. Check the fit as you go to see how much deeper you need to make the hole – it took me a few tries to get it perfect. Once all of the holes are drilled, assemble the chair the same way you did for the table except add a drop of wood glue and put your dowel in before attaching with your pocket screws.
Attach your chair seat with wood glue and 1 nail in each corner, 4 total.

I decided to make a template using my Cricut machine so I could have a stencil to cut the rainbow out of the wood and then follow the lines with my jigsaw to cut out the arches. Measure for the height you want them, and use the width of the base to make sure they fit. My widest, tallest arch was 11.5″ x 11″ and the other two fit inside. After you make the rough cut with the jigsaw you can use a router to perfect the edges and round them. Sand them down + paint to get them your desired color before attaching to the chair base!
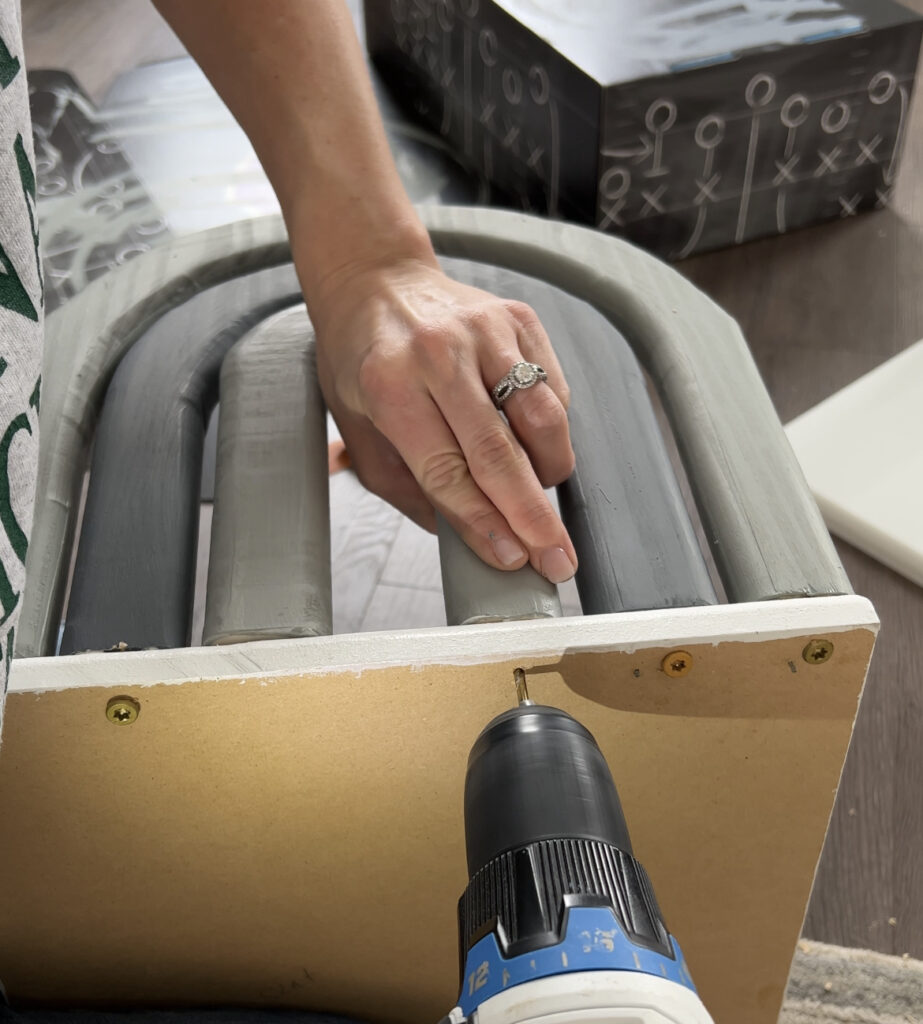
Place the arches on top of your chair base near the backside of the chair. Drill pilot holes for your screws. Apply wood glue and secure your arches into the chair seat with screws. Go slow so you don’t risk splitting the wood.
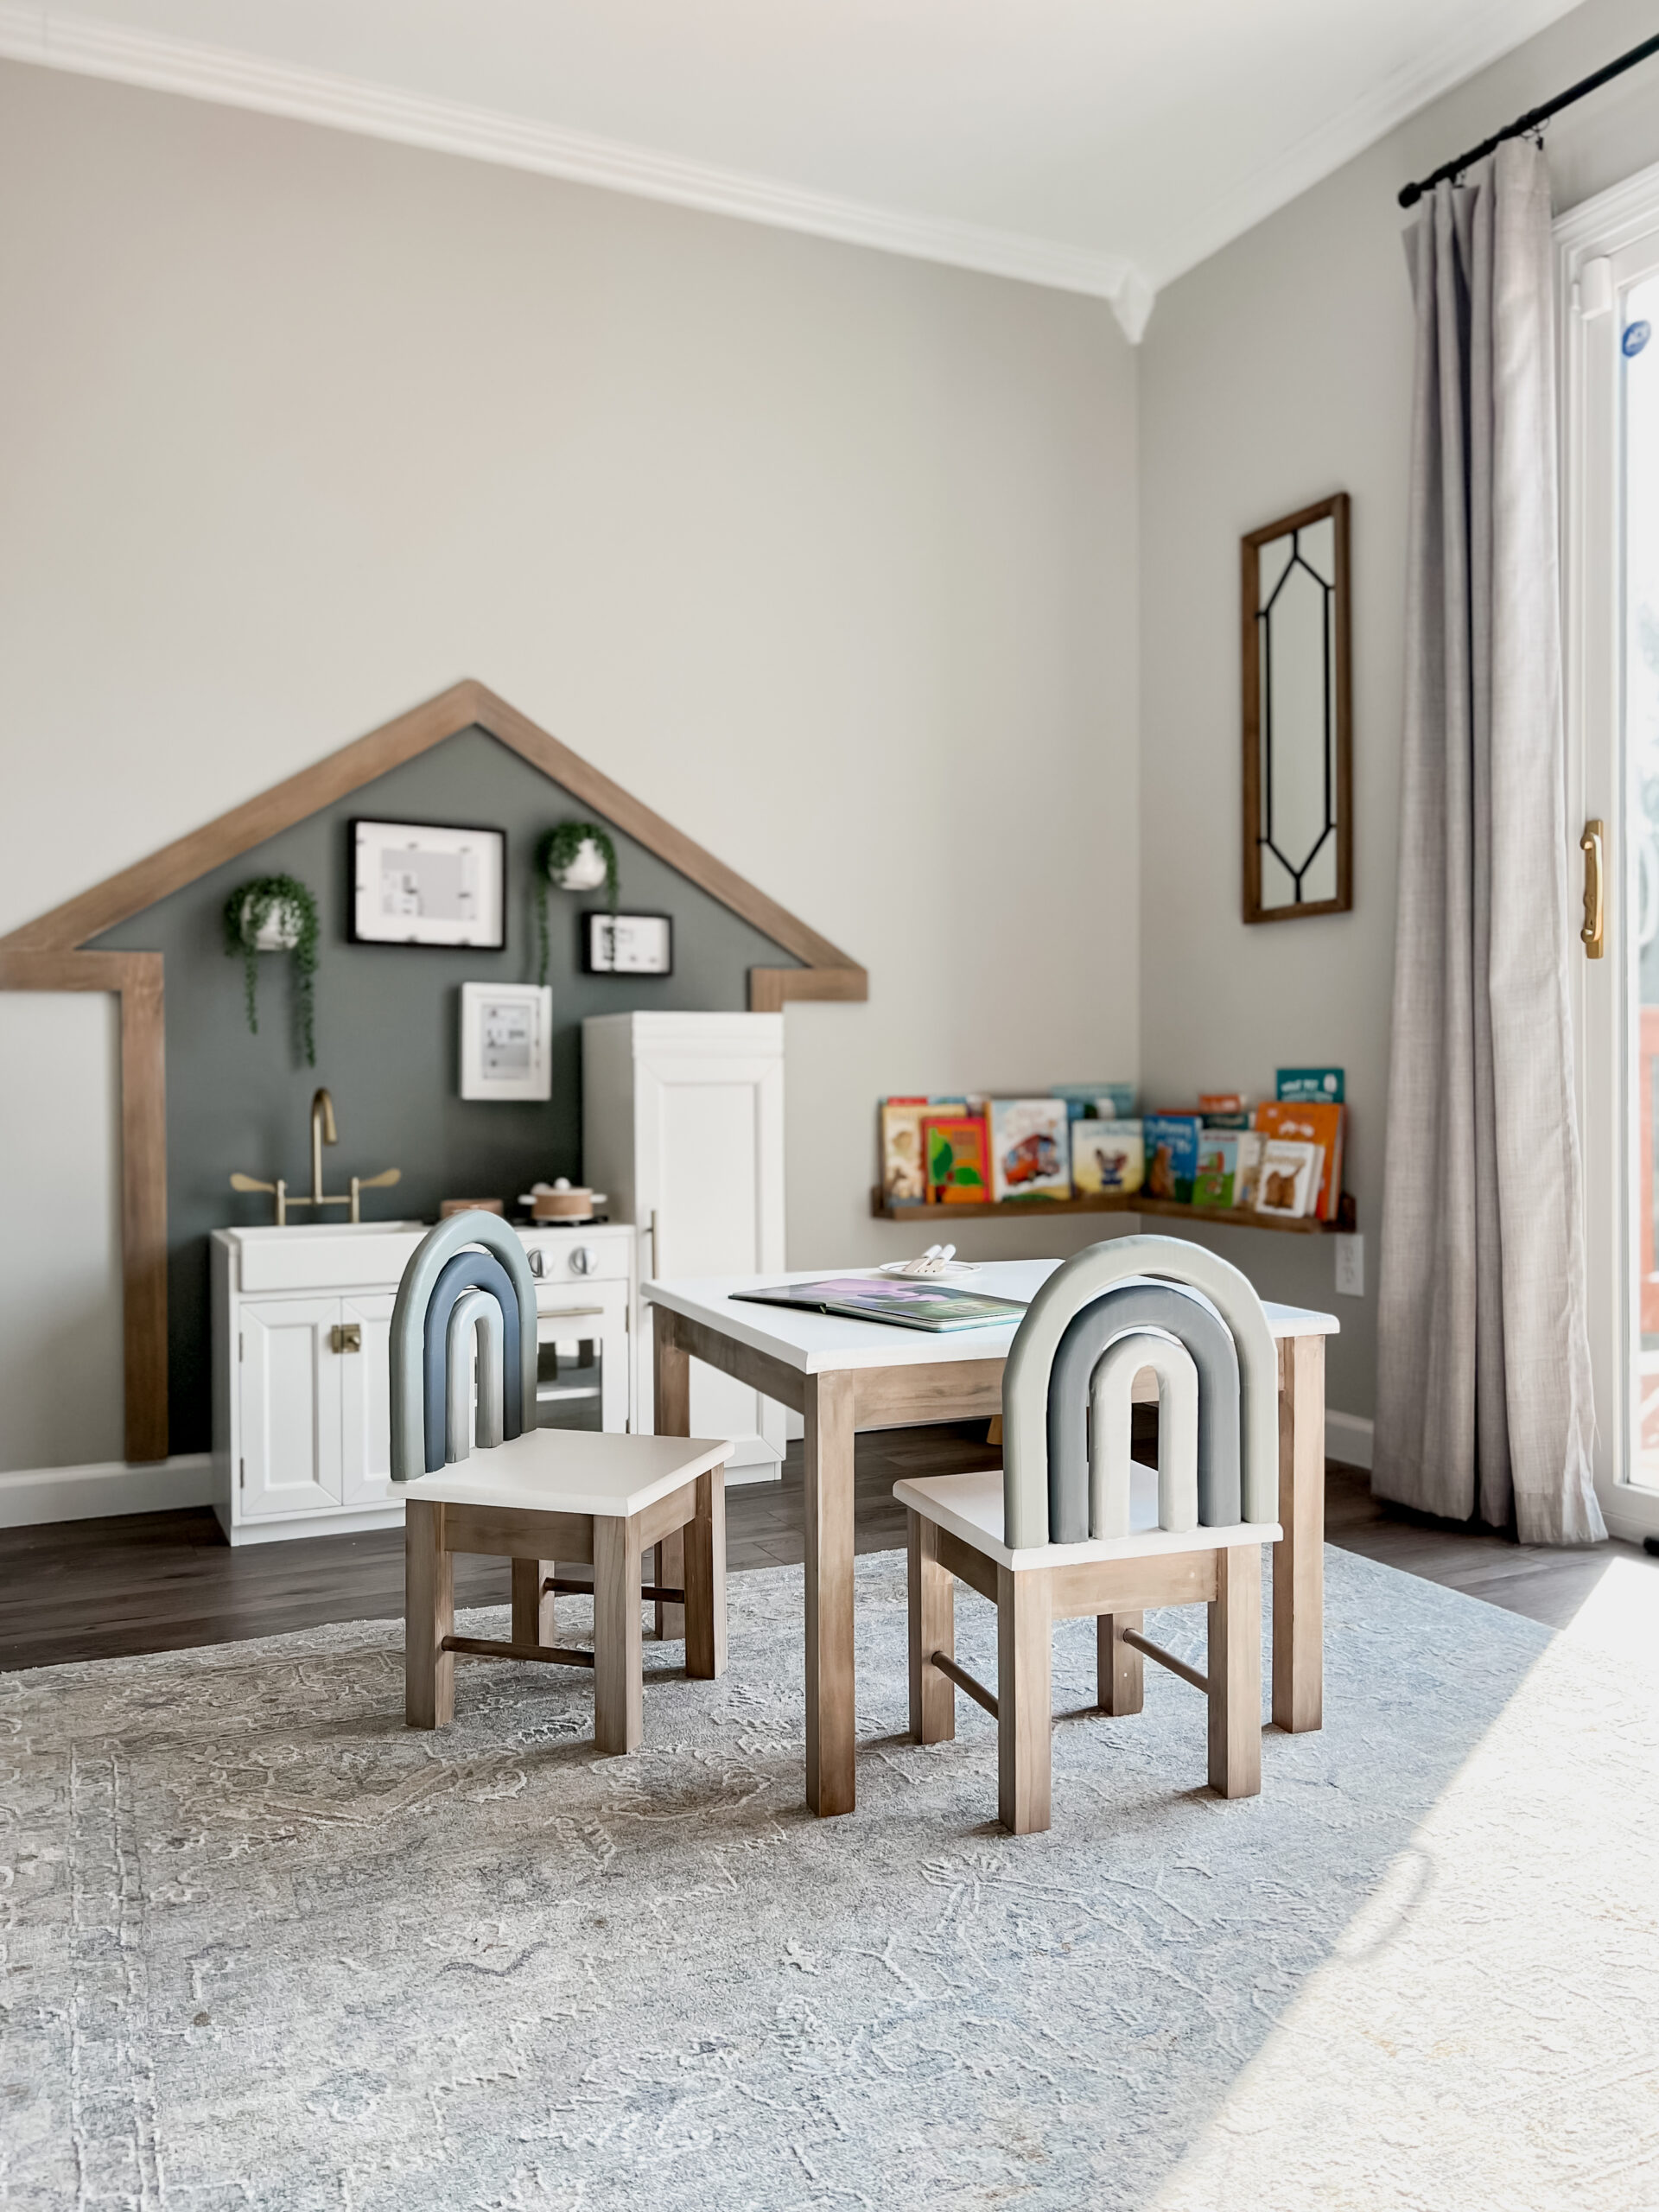
Ta-Da! Can you believe we made this table and chairs?? I can hardly believe it myself!
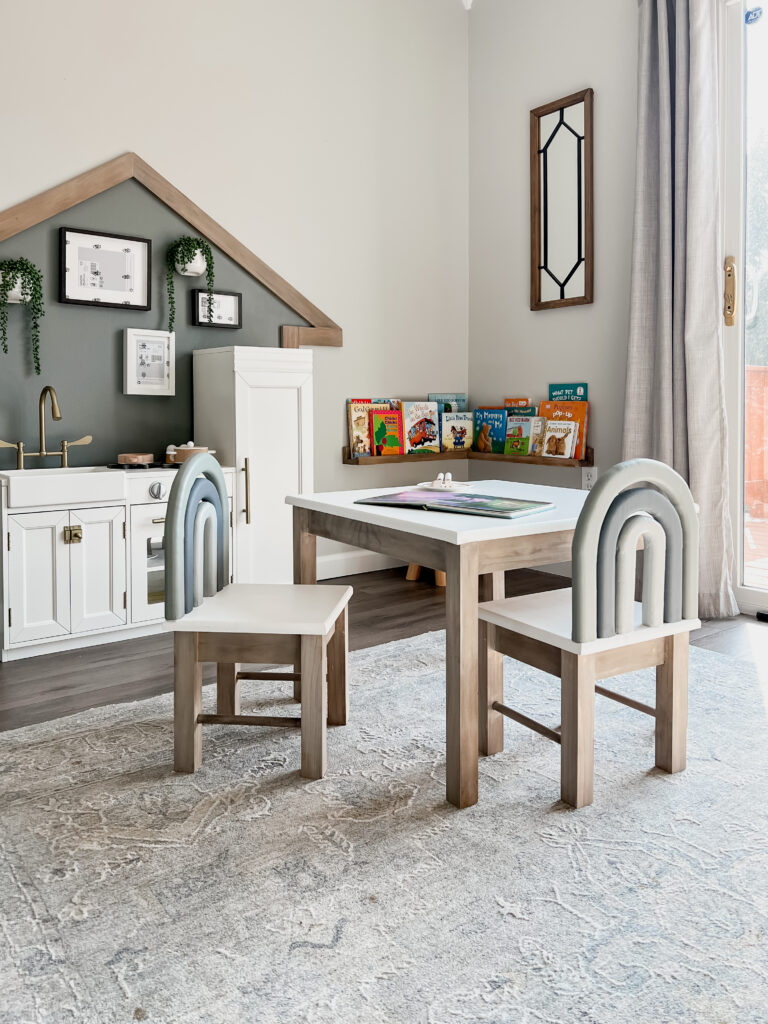

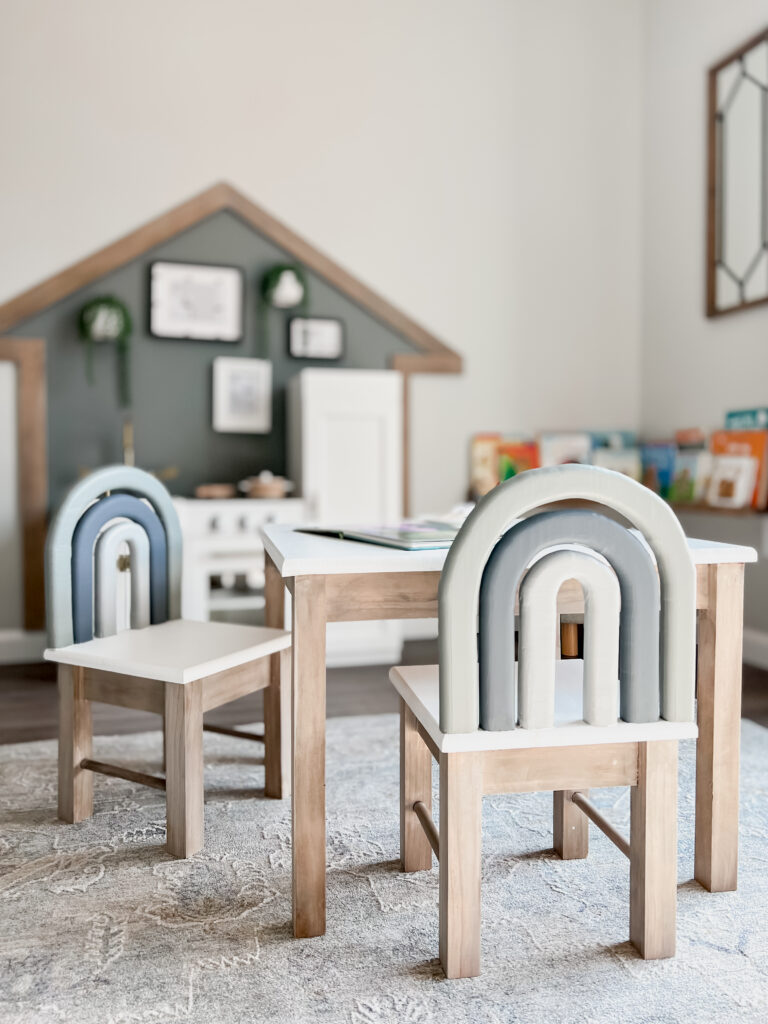
Totally custom kids table at a fraction of the cost! It feels so good knowing I made a space where my son can learn and grow with my own two hands!