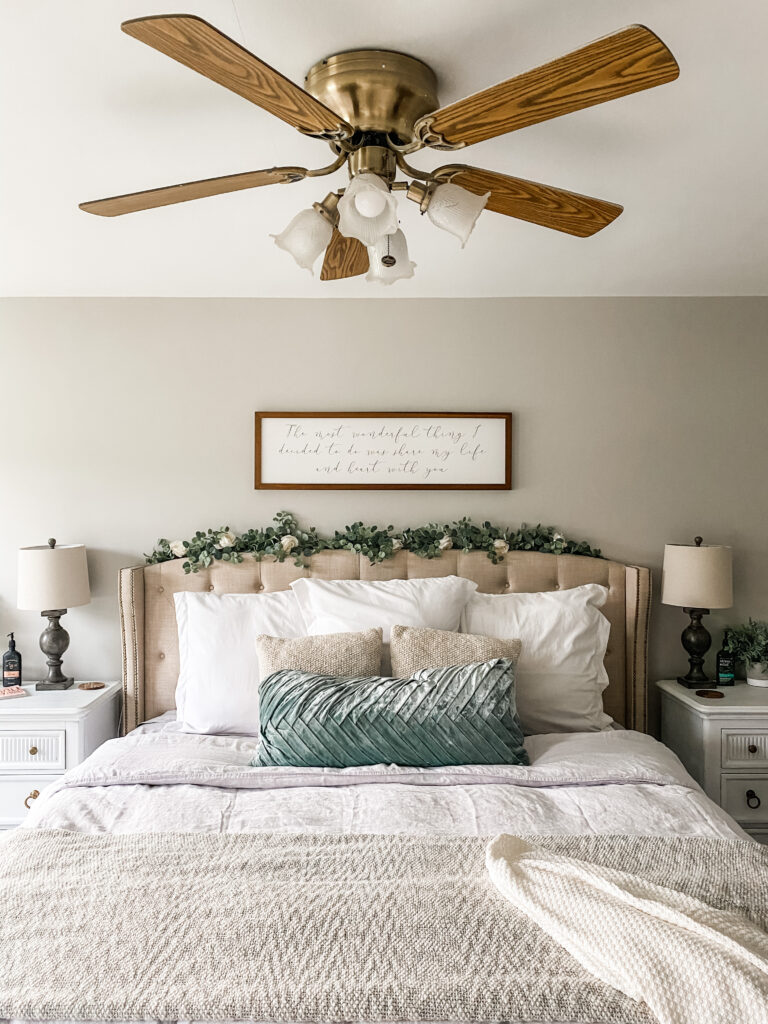


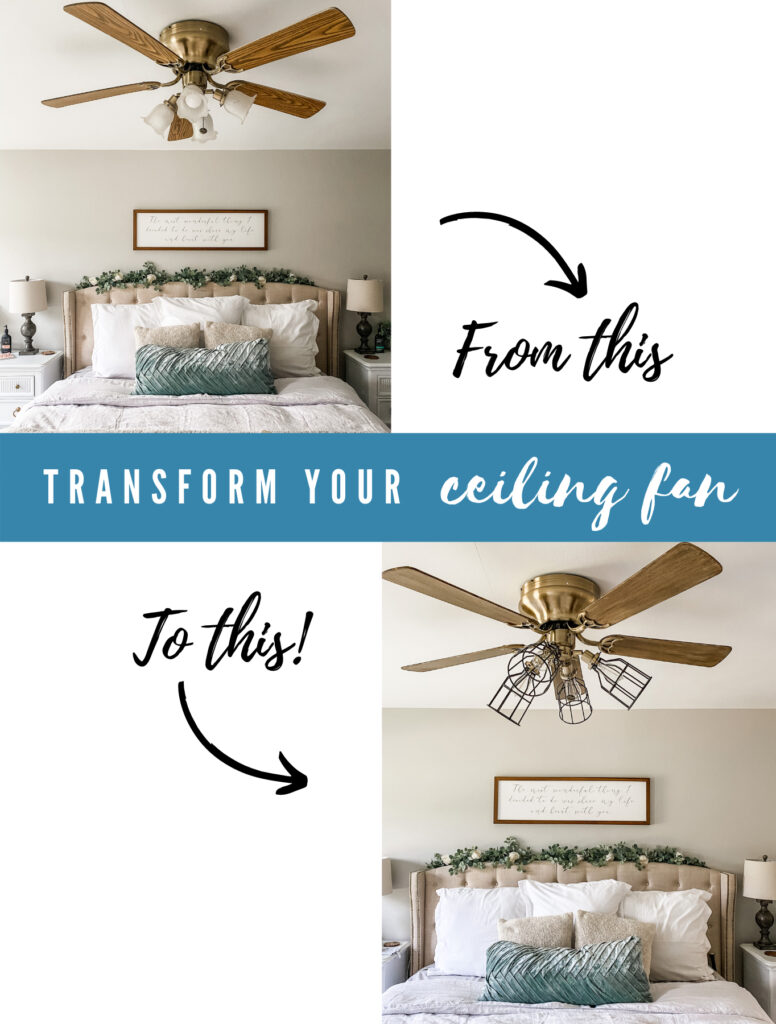
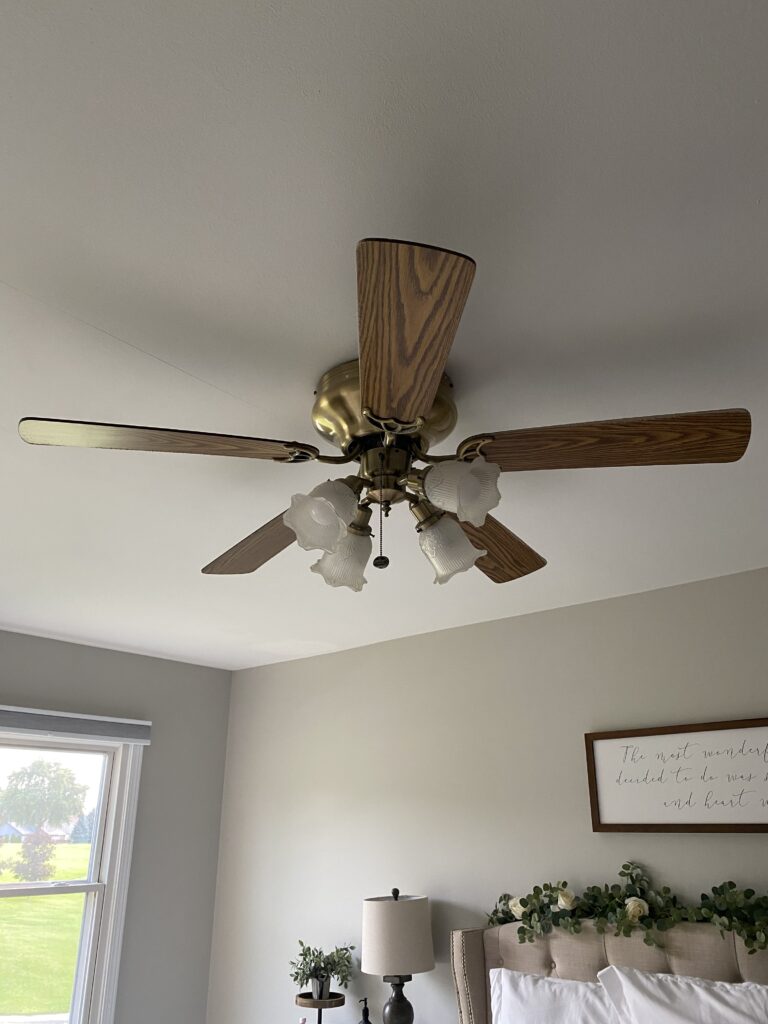
Follow this tutorial for a cheap and easy way to upgrade your ceiling fan! When we moved into our current house, we wanted to update this fan but just didn’t want to spend the money on it quite yet. We had other projects we wanted to prioritize. I found a temporary solution that makes a world of difference!

The chalk paint gives the antiquing wax something to grab on to. This doesn’t need to look perfect. One coat will be plenty.
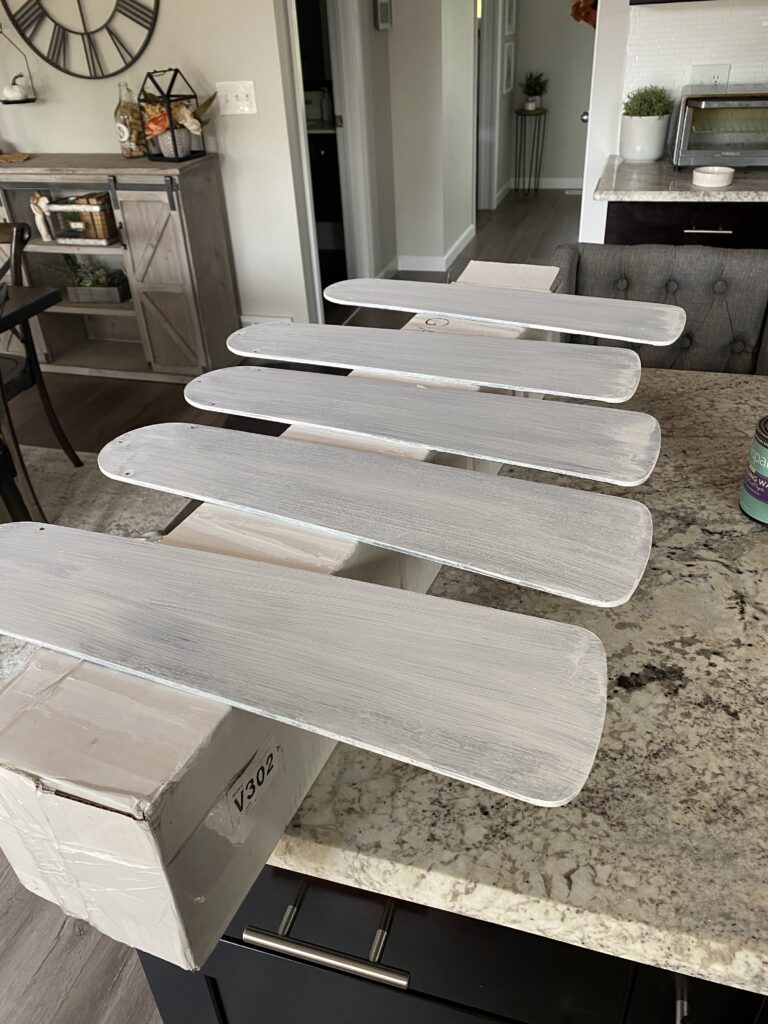
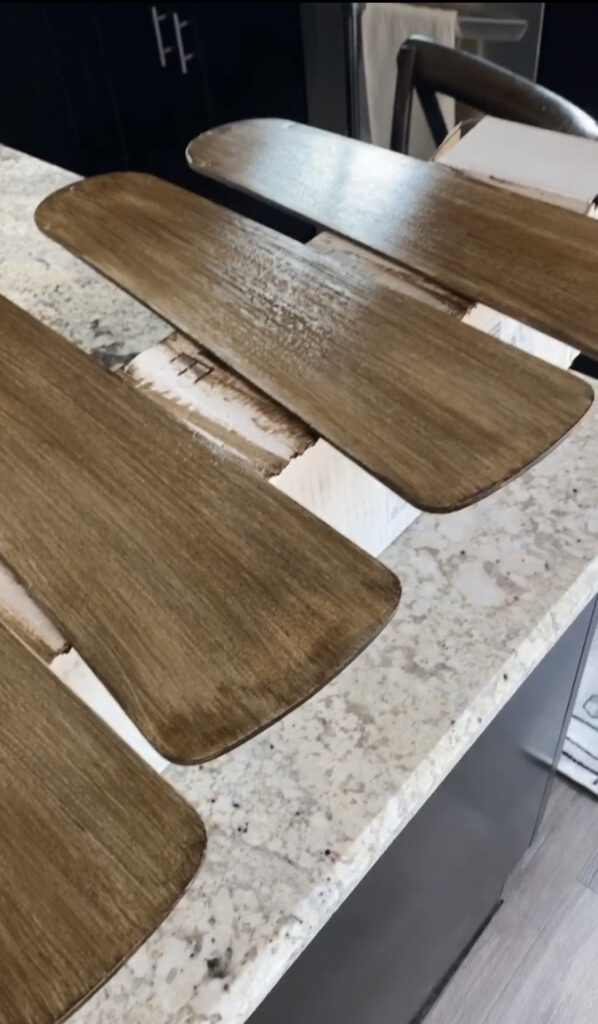
For this step, start by painting the edges of the blades and then do a even coat on top. You can do as many coats as you want to get your desired color. I did one.

https://www.instagram.com/p/CFNUU08ncB8/